For 1990-2009 cars only
Removal Procedure
- Remove the floor console. Refer to Front Floor Console Replacement in Instrument Panel, Gages and Console.
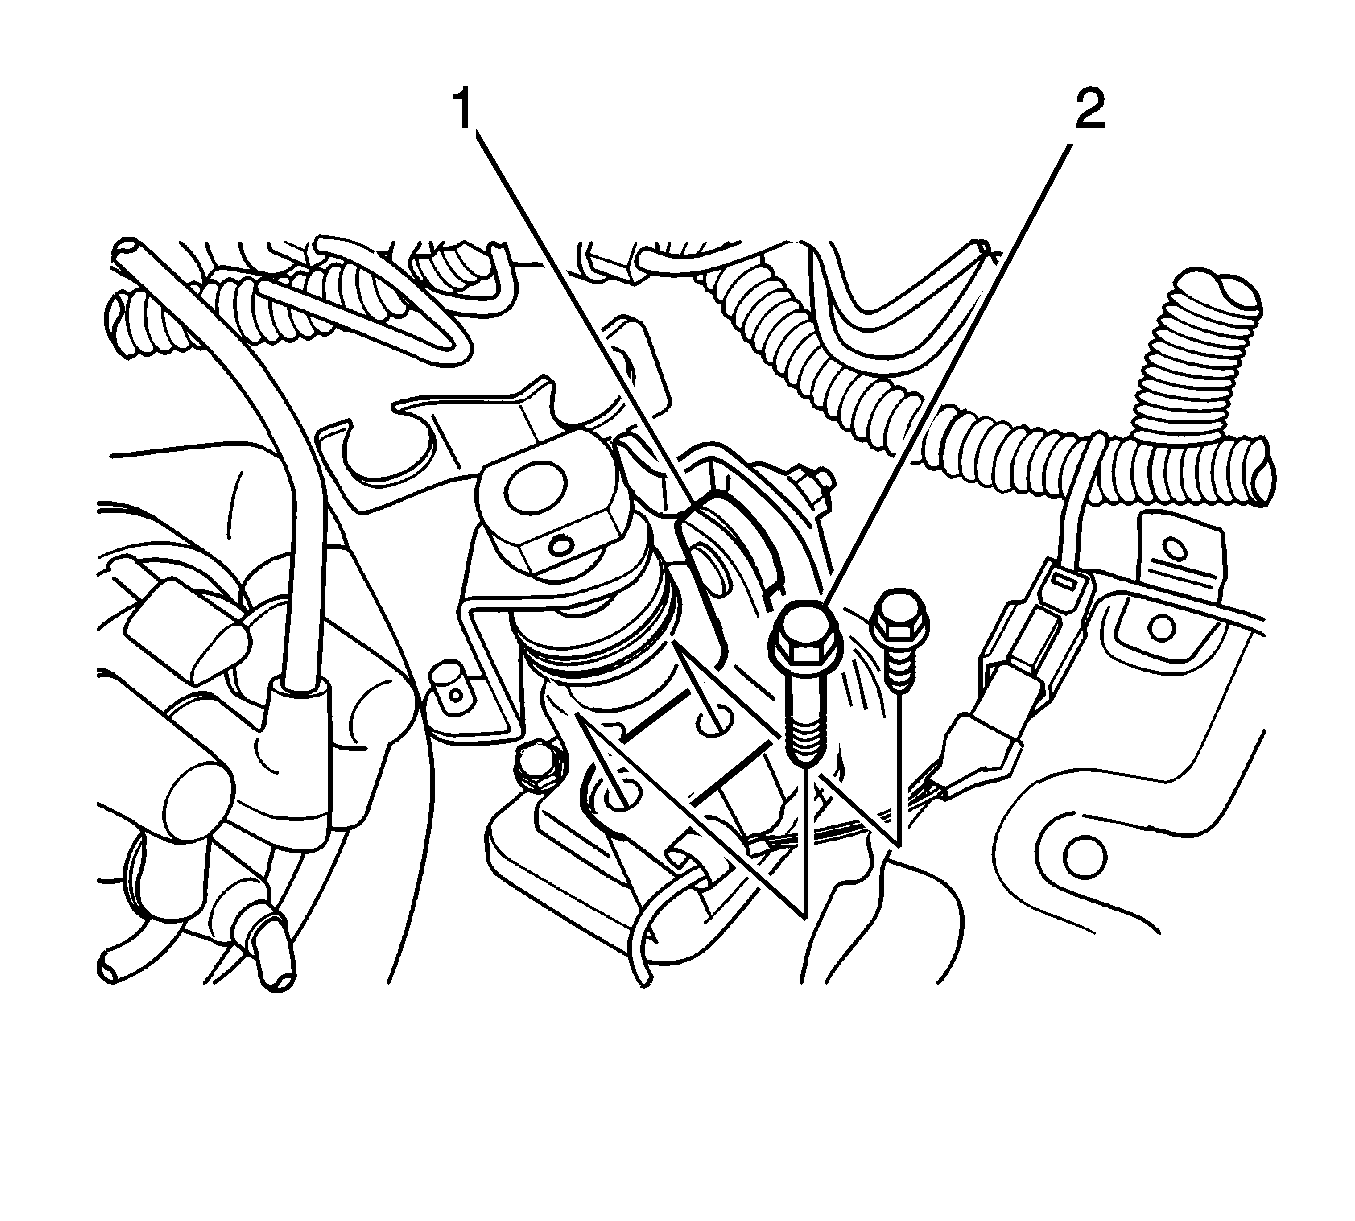
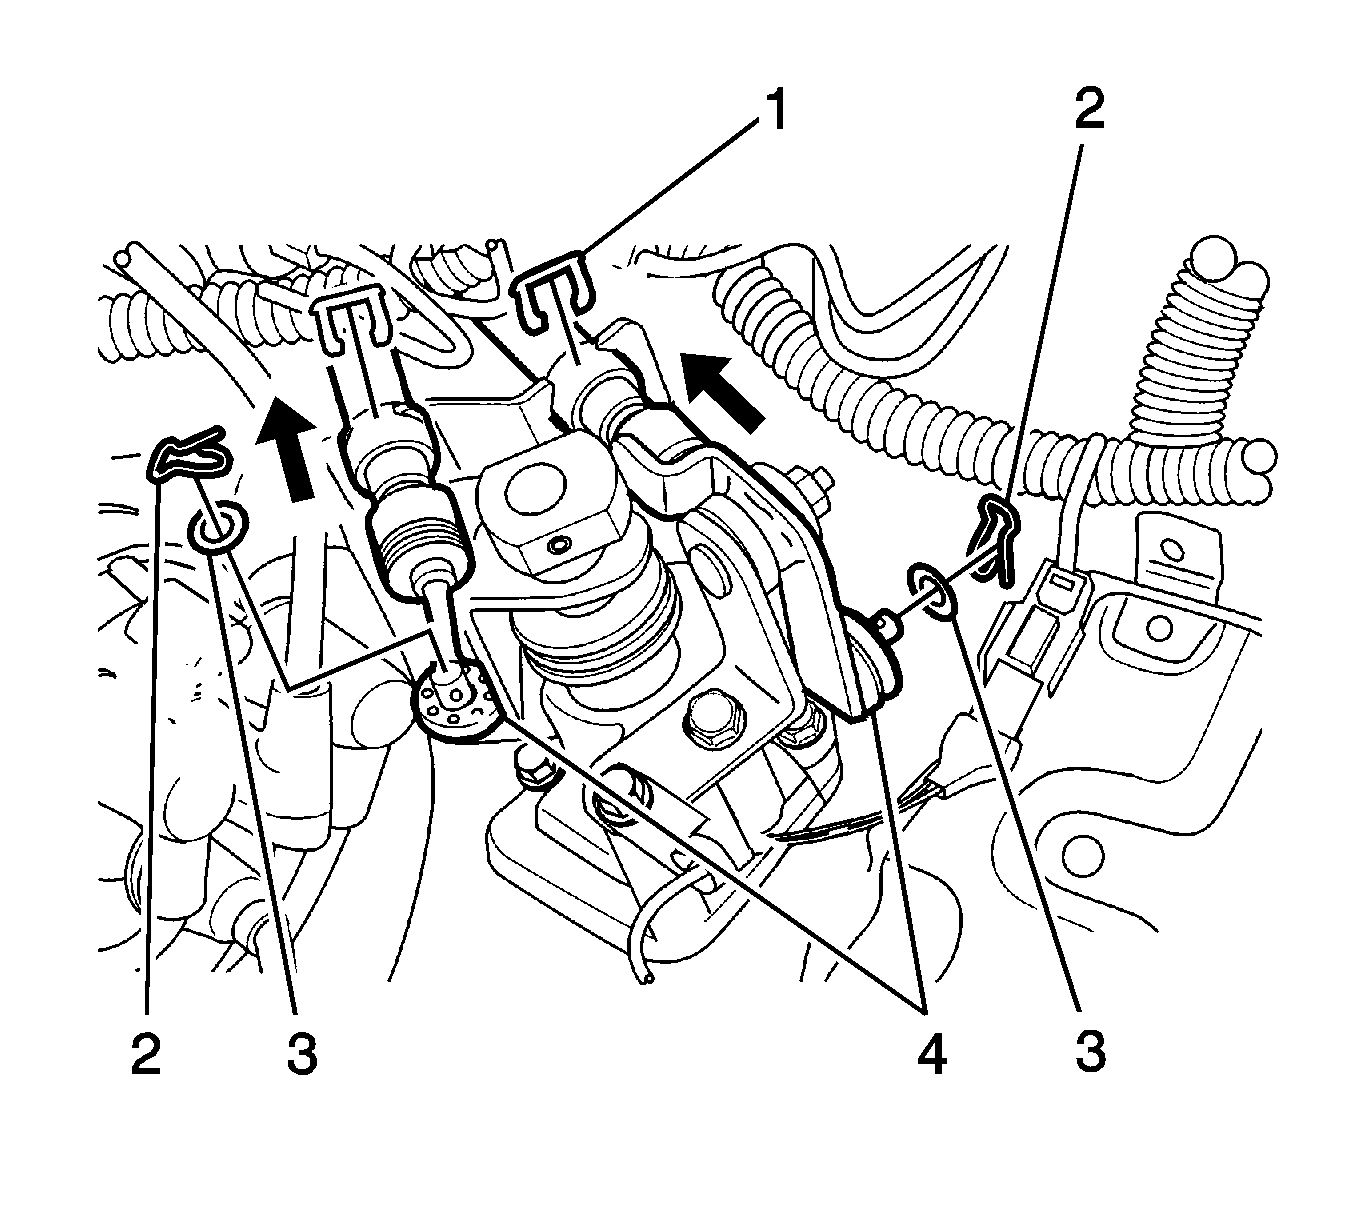
- Disconnect the select and shift control cable. Refer to Shift Control Cable Replacement .
- Remove the gear shift control lever assembly.
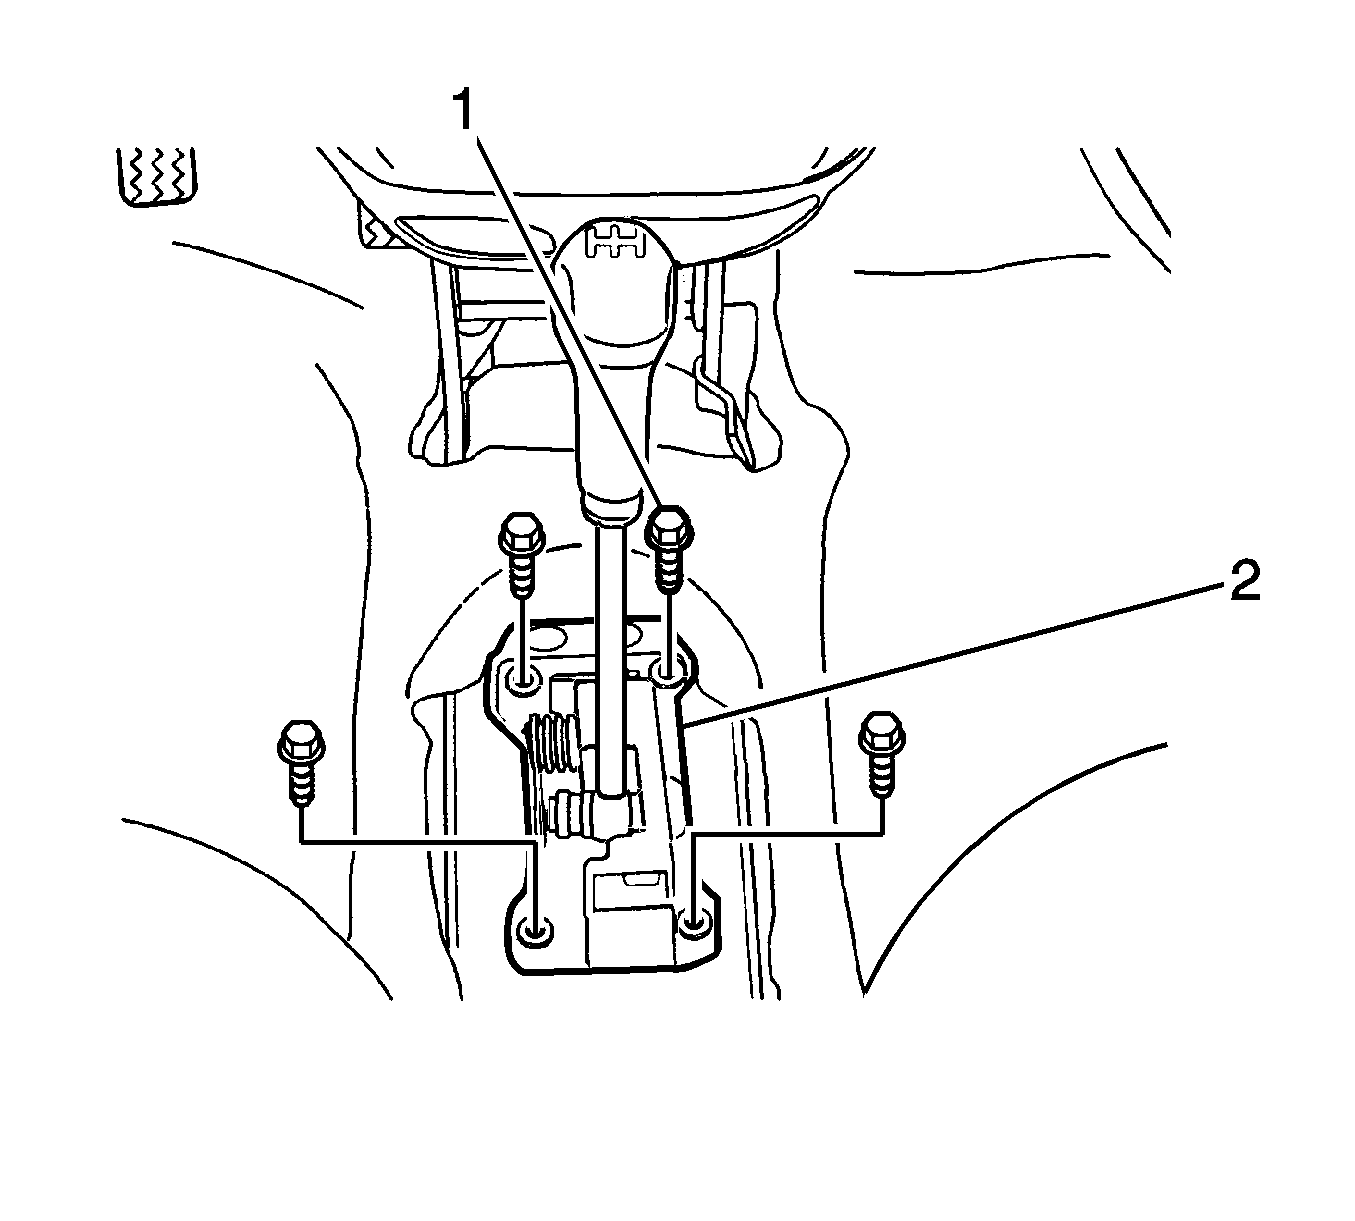
- Remove the bolts (1).
- Remove the gear shift control lever assembly (2).
Installation Procedure
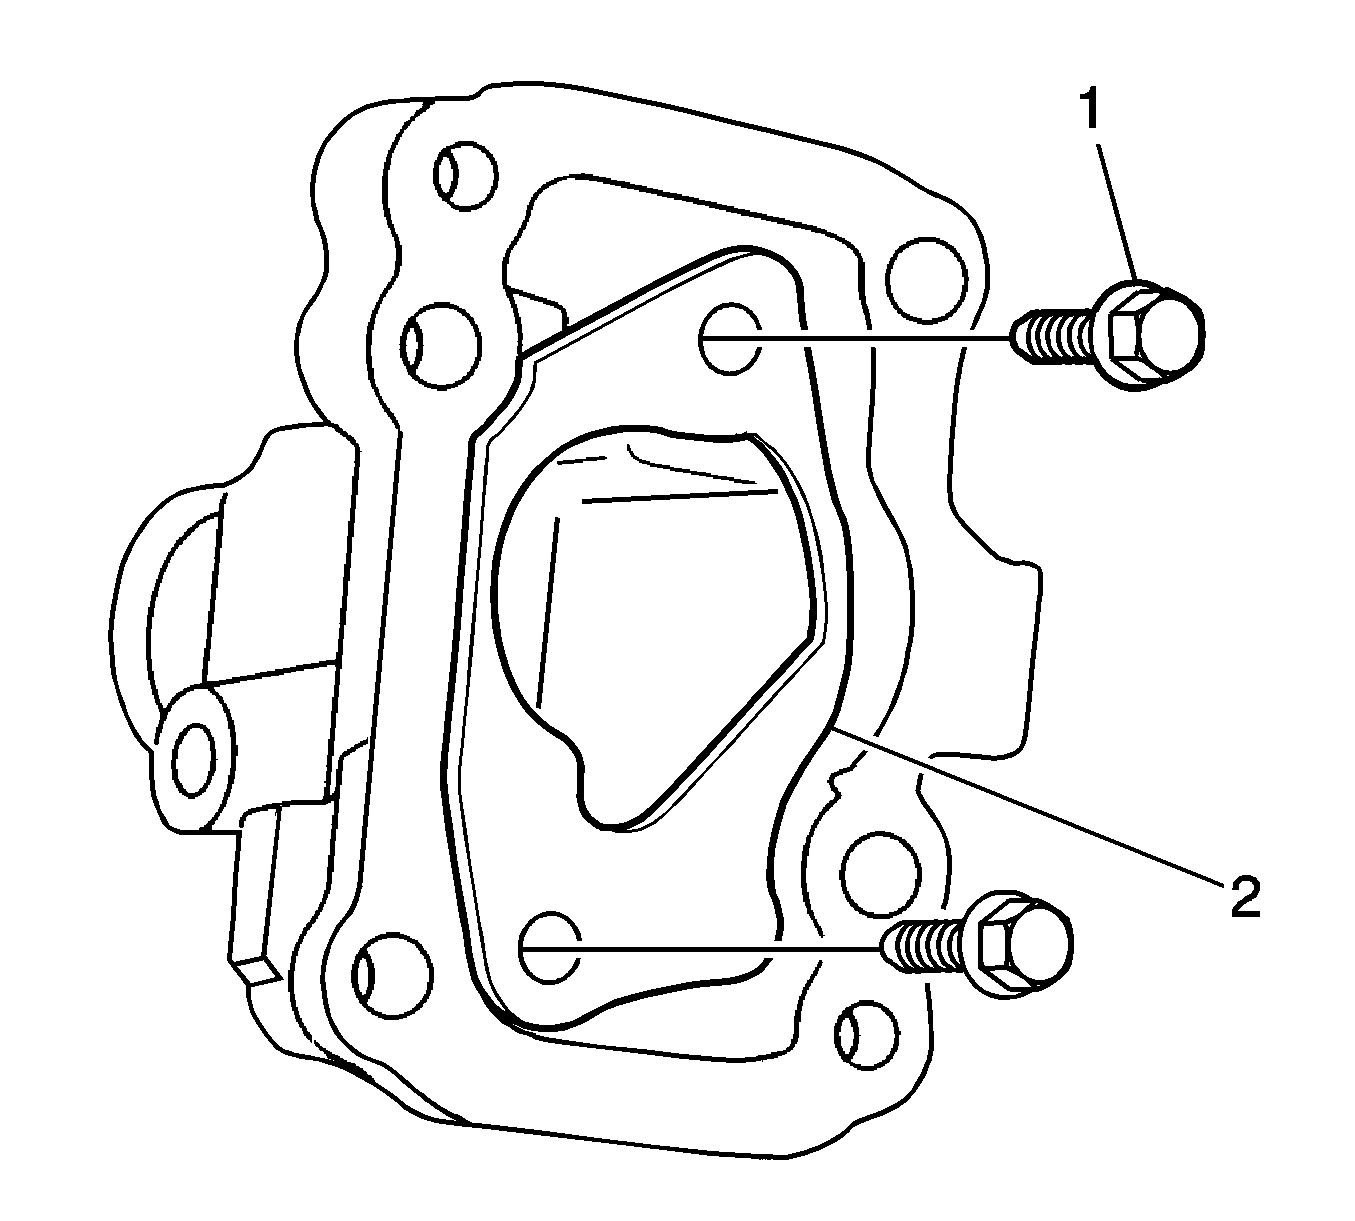
- Install the gear shift control case plate (2) onto case.
- Install the select/shift shaft and guide bolt (1).
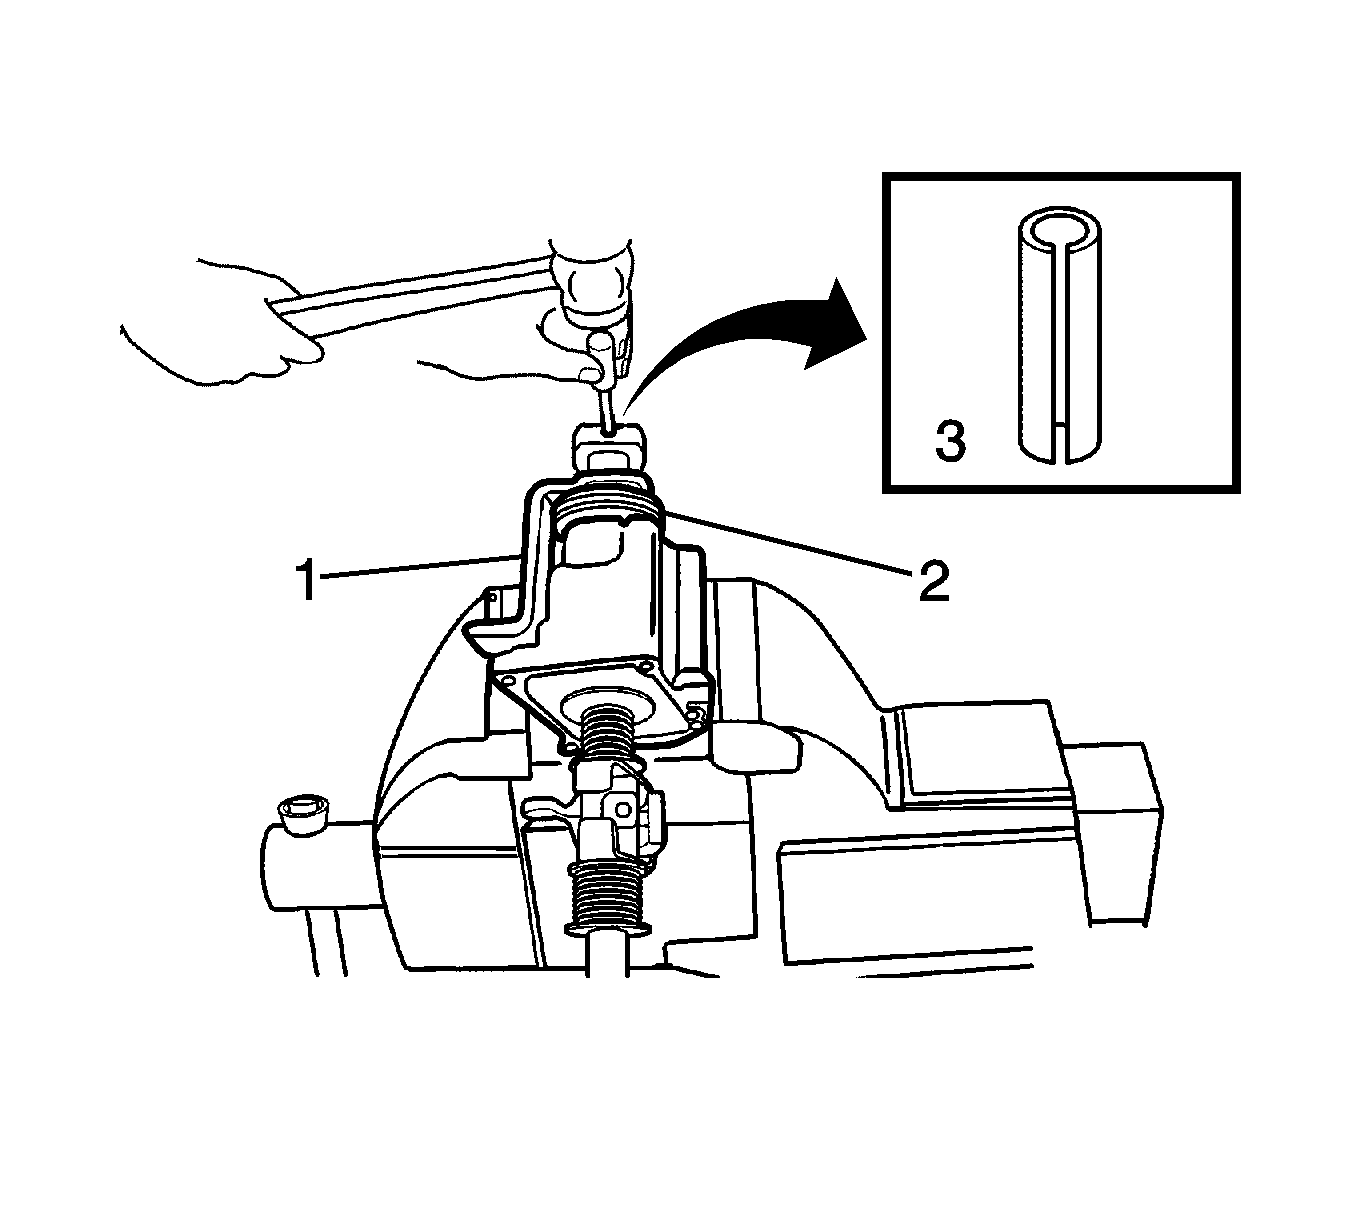
- Install shift lever (1) and boot (2).
- Position the gear shift control case assembly to the vice with a protector.
- Install the lever pin with a pin punch and a hammer.
- Install the gear shift control case and the select lever.
- Install the shift interlock bolt (1).
- Install the select lever (1).
- Connect the select and the shift control cable (4).
- Install the battery.
- Install the air hose, air cleaner to throttle body. Refer to Air Cleaner Assembly Replacement in Engine Controls-1.0L.
Notice: Refer to Fastener Notice in the Preface section.
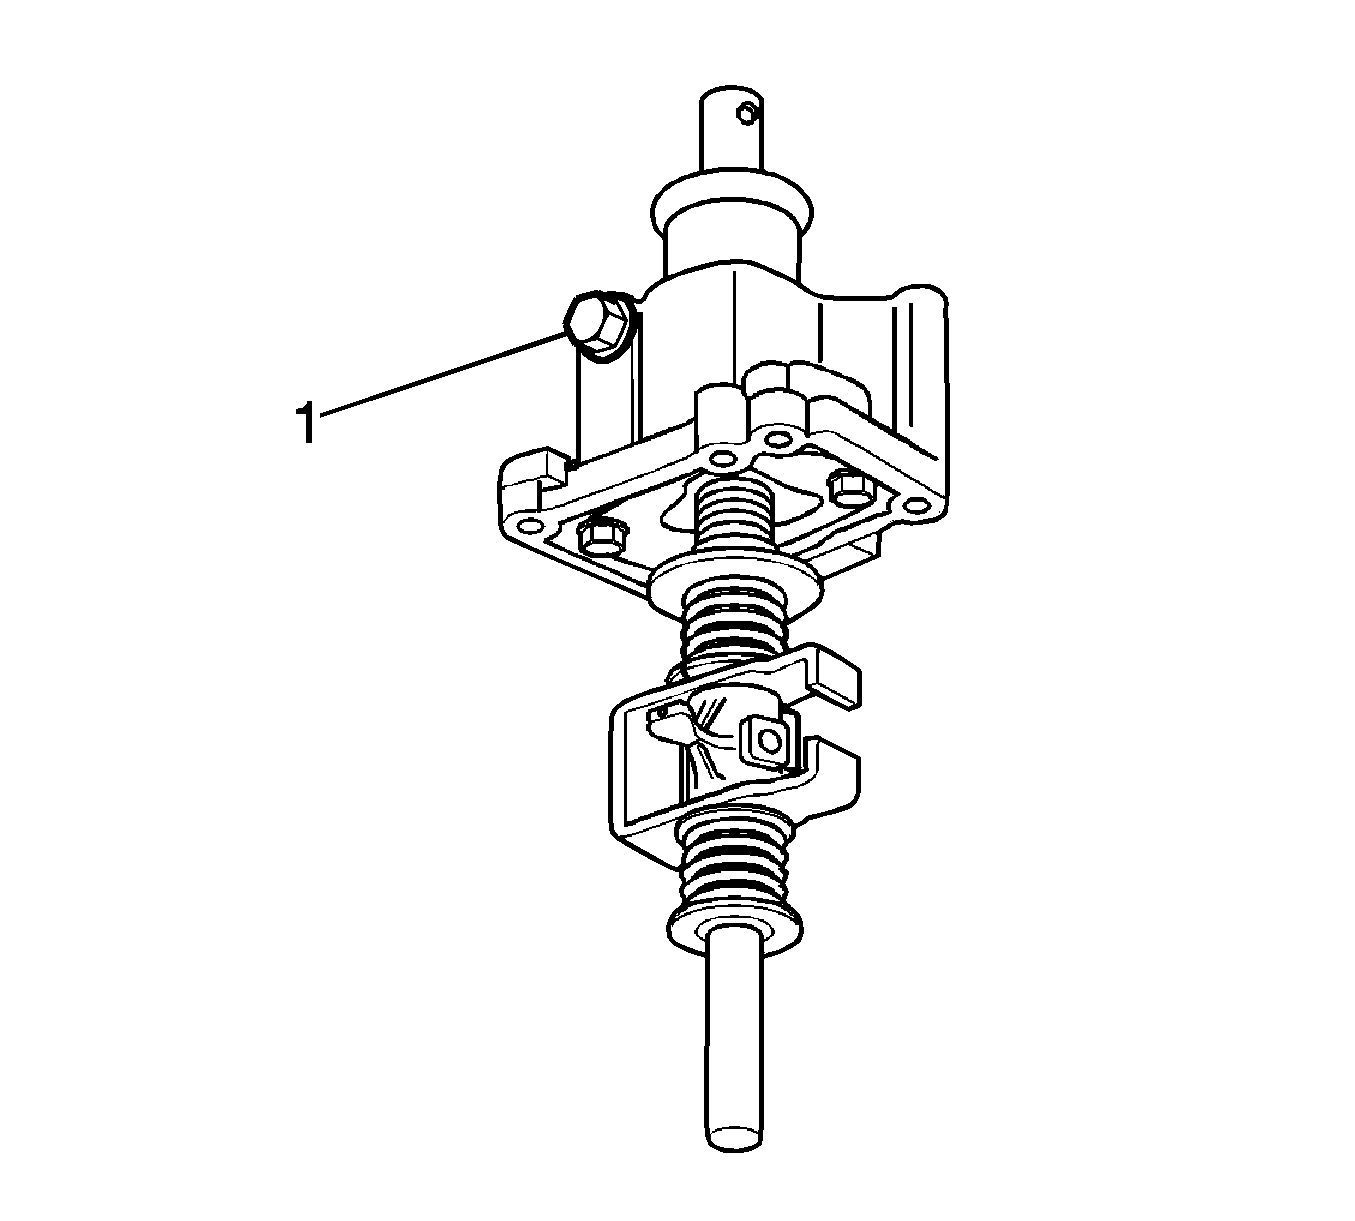
Tighten
Tighten the shift guide bolt to 18-28 N·m (13-21 lb ft).
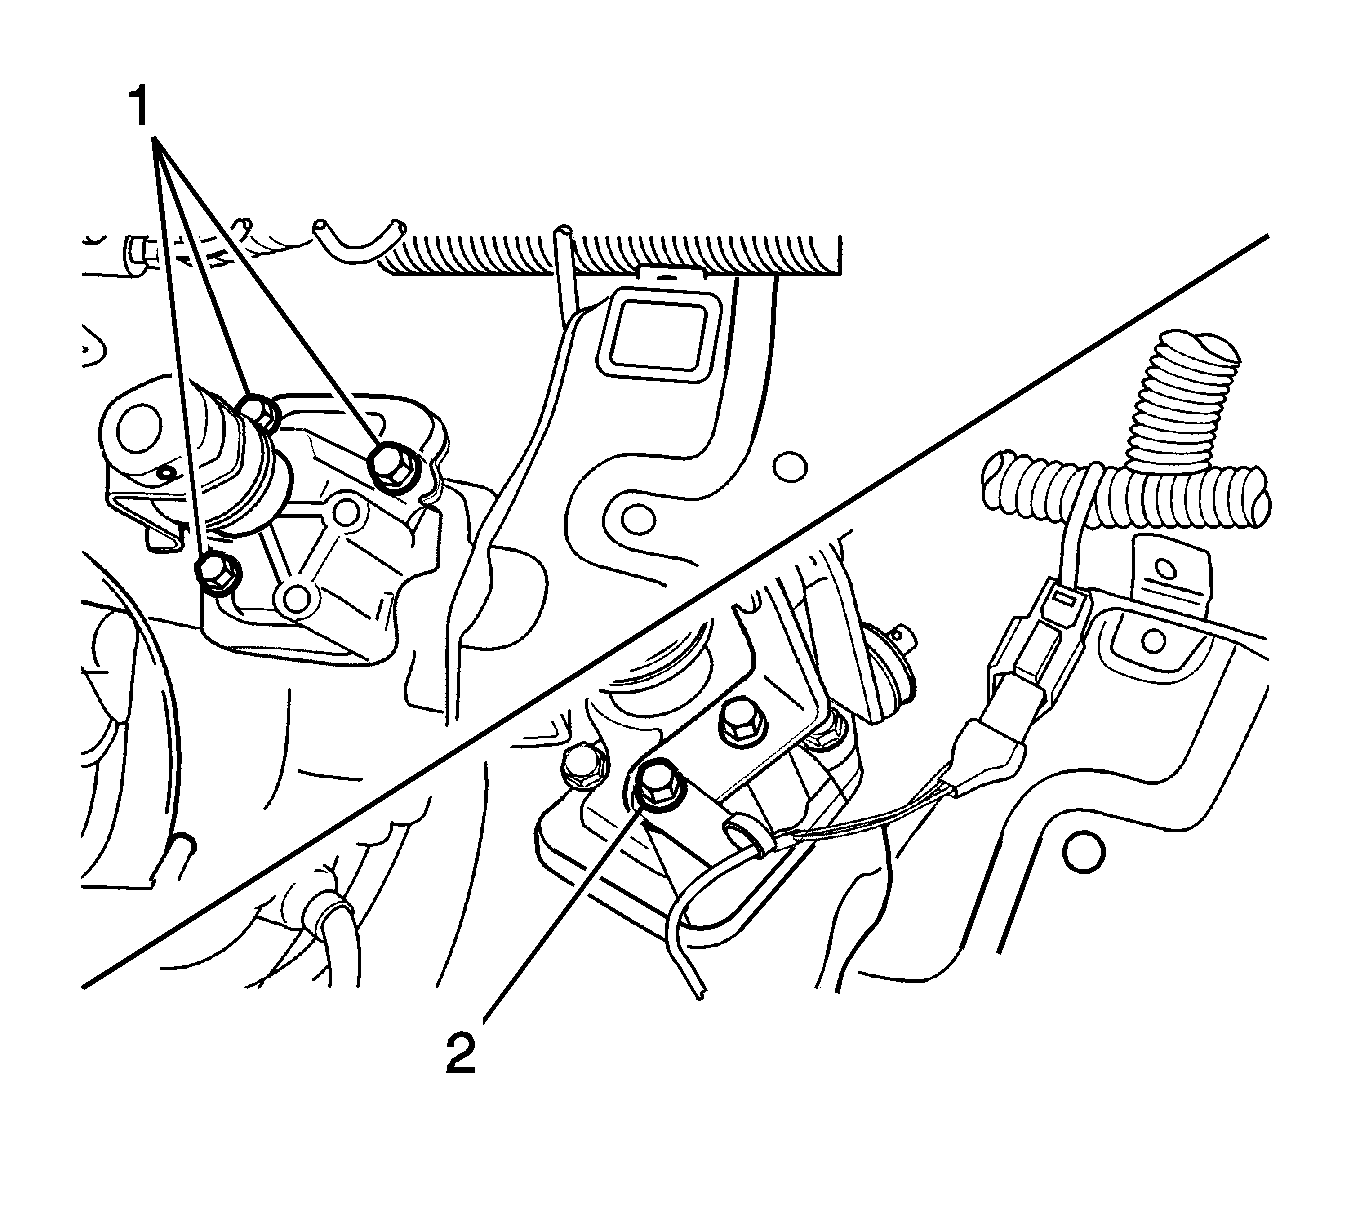
Important: Make sure you select the correct bolt. There is length difference between select lever bolts.
Tighten
Tighten the gear shift control case bolts and select lever bolts to 18-28 N·m
(13-21 lb ft).
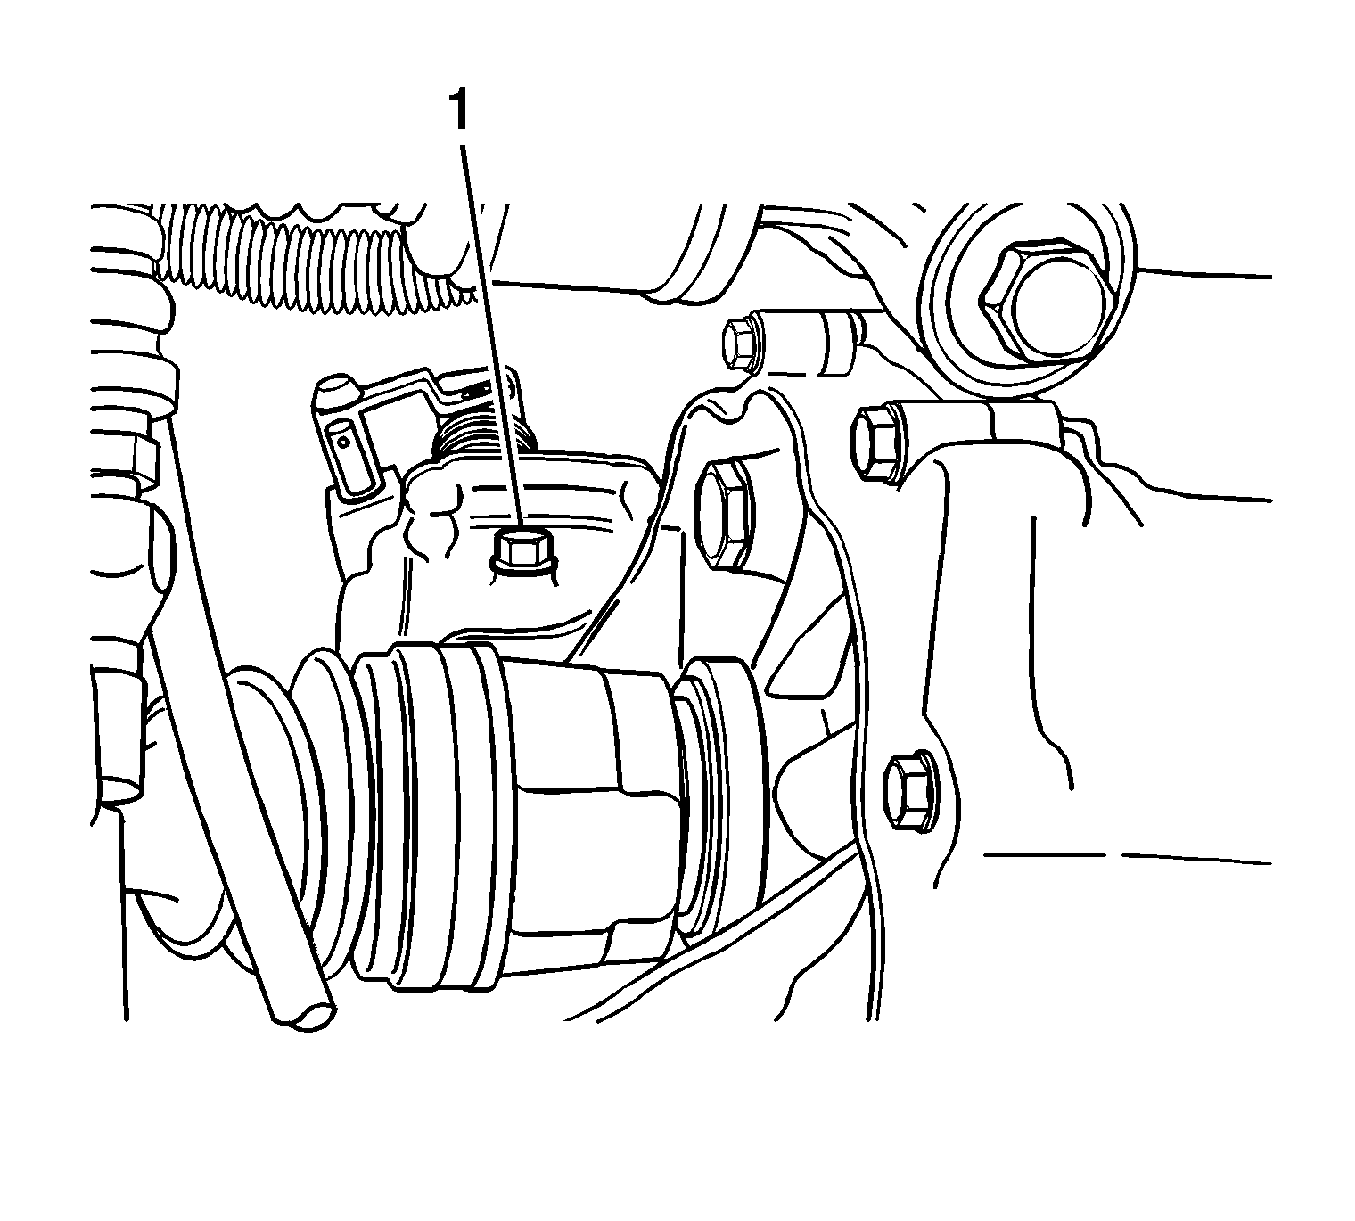
Tighten
Tighten the shift interlock bolt to 18-28 N·m (13-21 lb ft).
