For 1990-2009 cars only
Removal Procedure
- Discharge and recover the refrigerant. Refer to Refrigerant Recovery and Recharging .
- Disconnect the negative battery cable.
- Remove the front bumper fascia. Refer to Front Bumper Fascia Replacement .
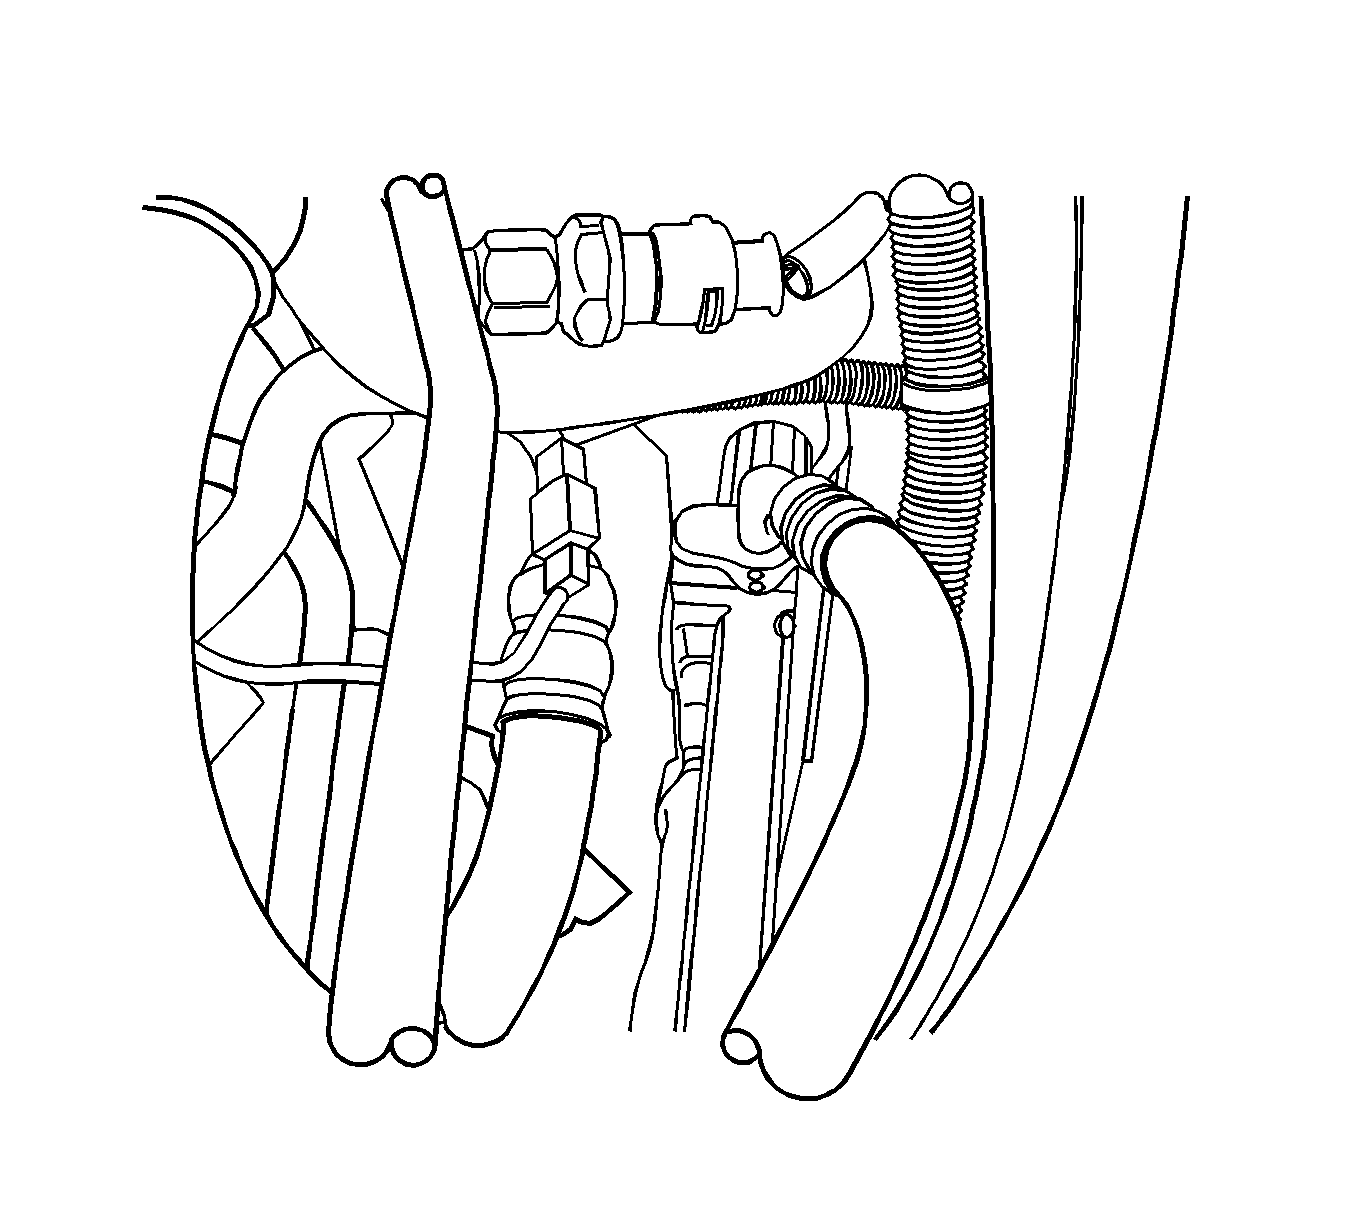
- Remove the A/C refrigerant discharge hose connector block nut at the condenser.
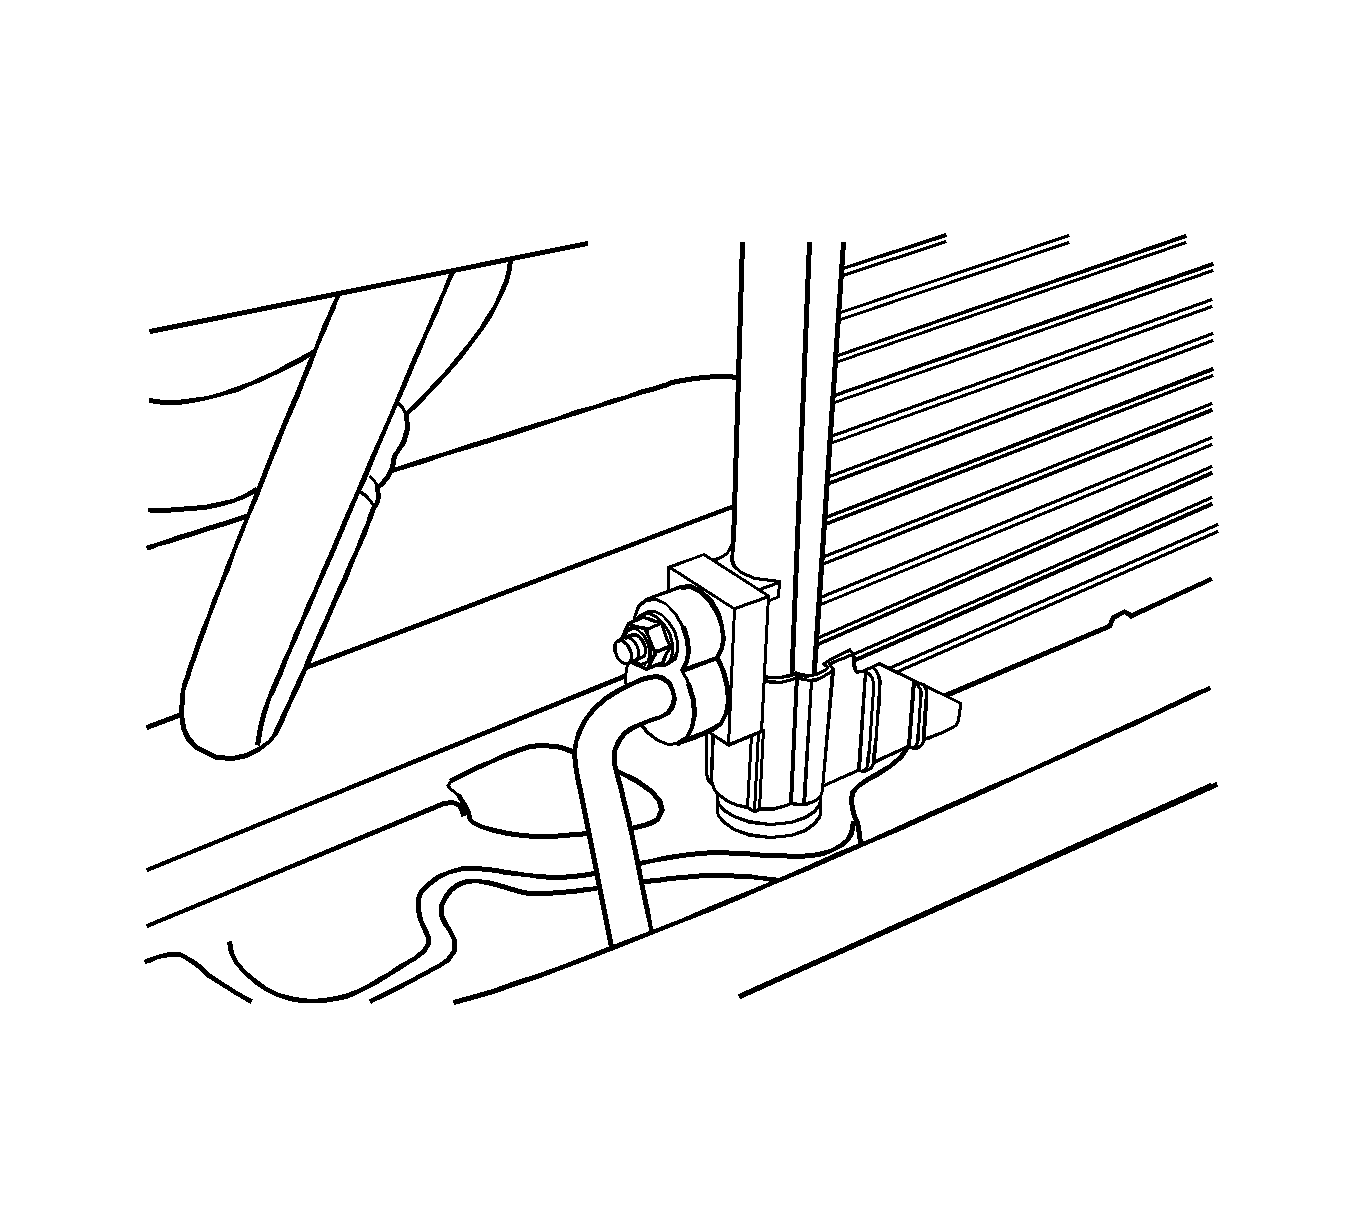
- Remove the liquid evaporator pipe to condenser retaining nut.
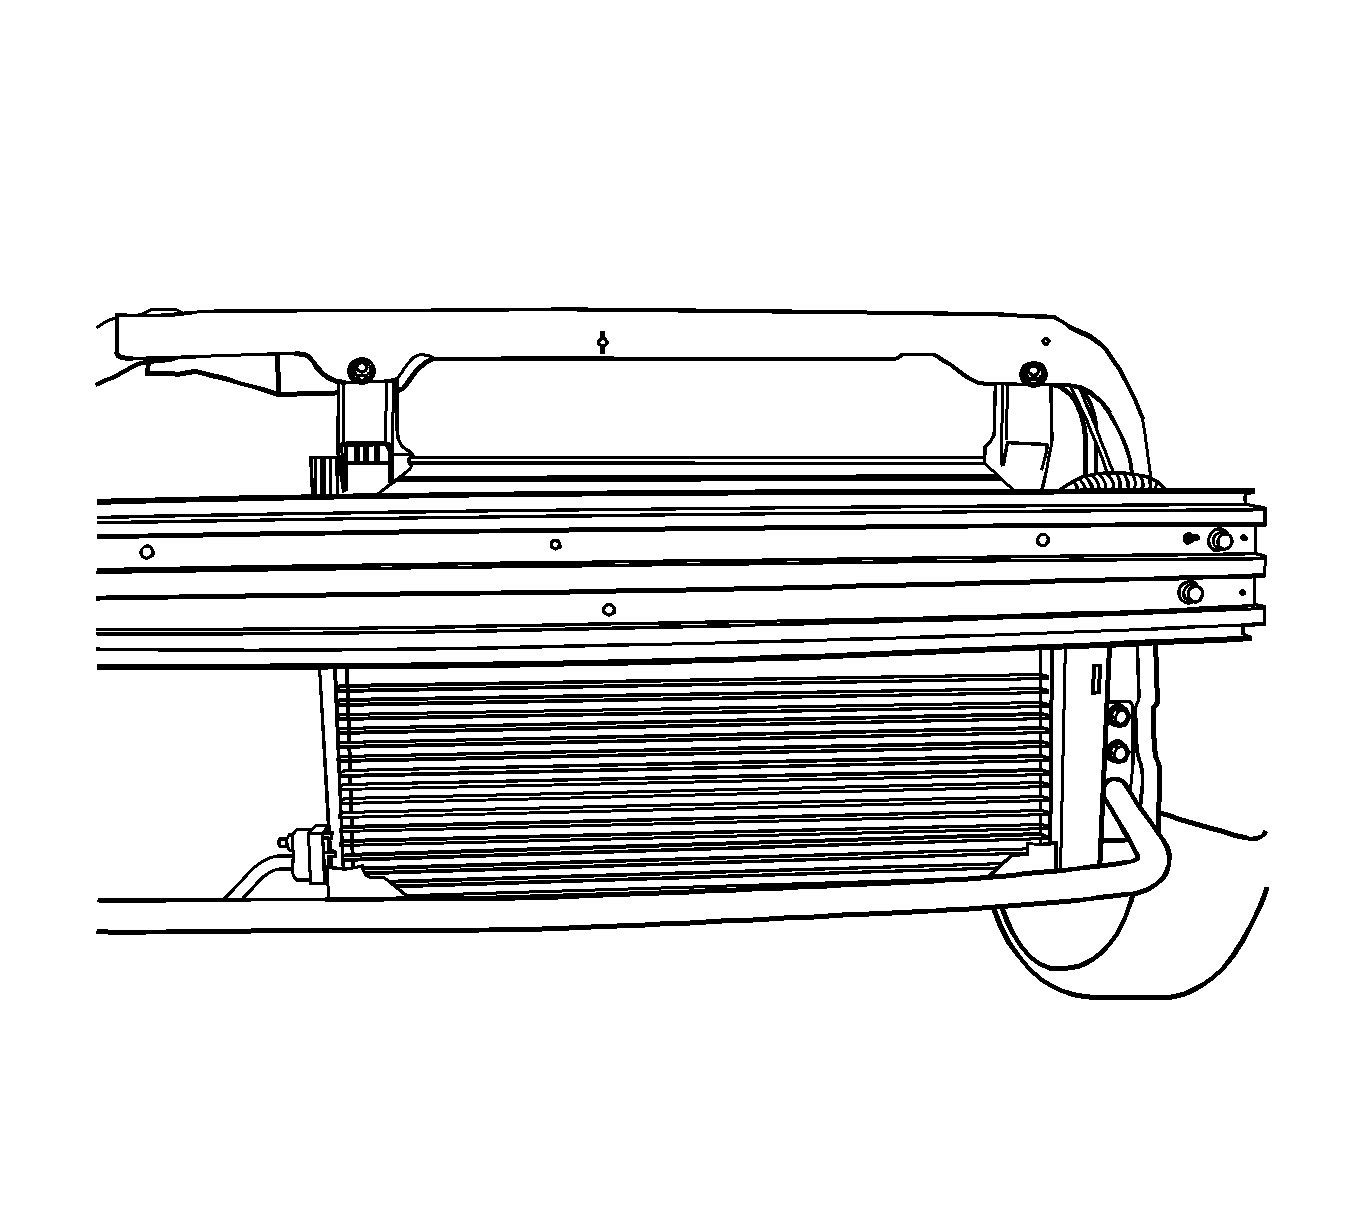
- Remove the condenser mounting nuts.
- Take off the condenser from the lower bracket by lifting the condenser.
- Remove the condenser.

Caution: Refer to Battery Disconnect Caution in the Preface section.


Installation Procedure
- Install the condenser.
- Install the condenser mounting nuts.
- Install the liquid evaporator pipe to condenser retaining nut.
- Install the A/C refrigerant discharge hose connector block nut at the condenser.
- Install the front bumper. Refer to Front Bumper Fascia Replacement .
- Charge the system. Refer to Refrigerant Recovery and Recharging .

Notice: Refer to Fastener Notice in the Preface section.
Tighten
Tighten the condenser mounting nuts to 7 N·m (62 lb in).

Tighten
Tighten the liquid evaporator pipe to condenser retaining nut to 14 N·m (124 lb in).

Tighten
Tighten the A/C refrigerant discharge hose connector block to condenser retaining nut to 14 N·m (124 lb in).
