For 1990-2009 cars only
Removal Procedure
- Disconnect the negative battery cable.
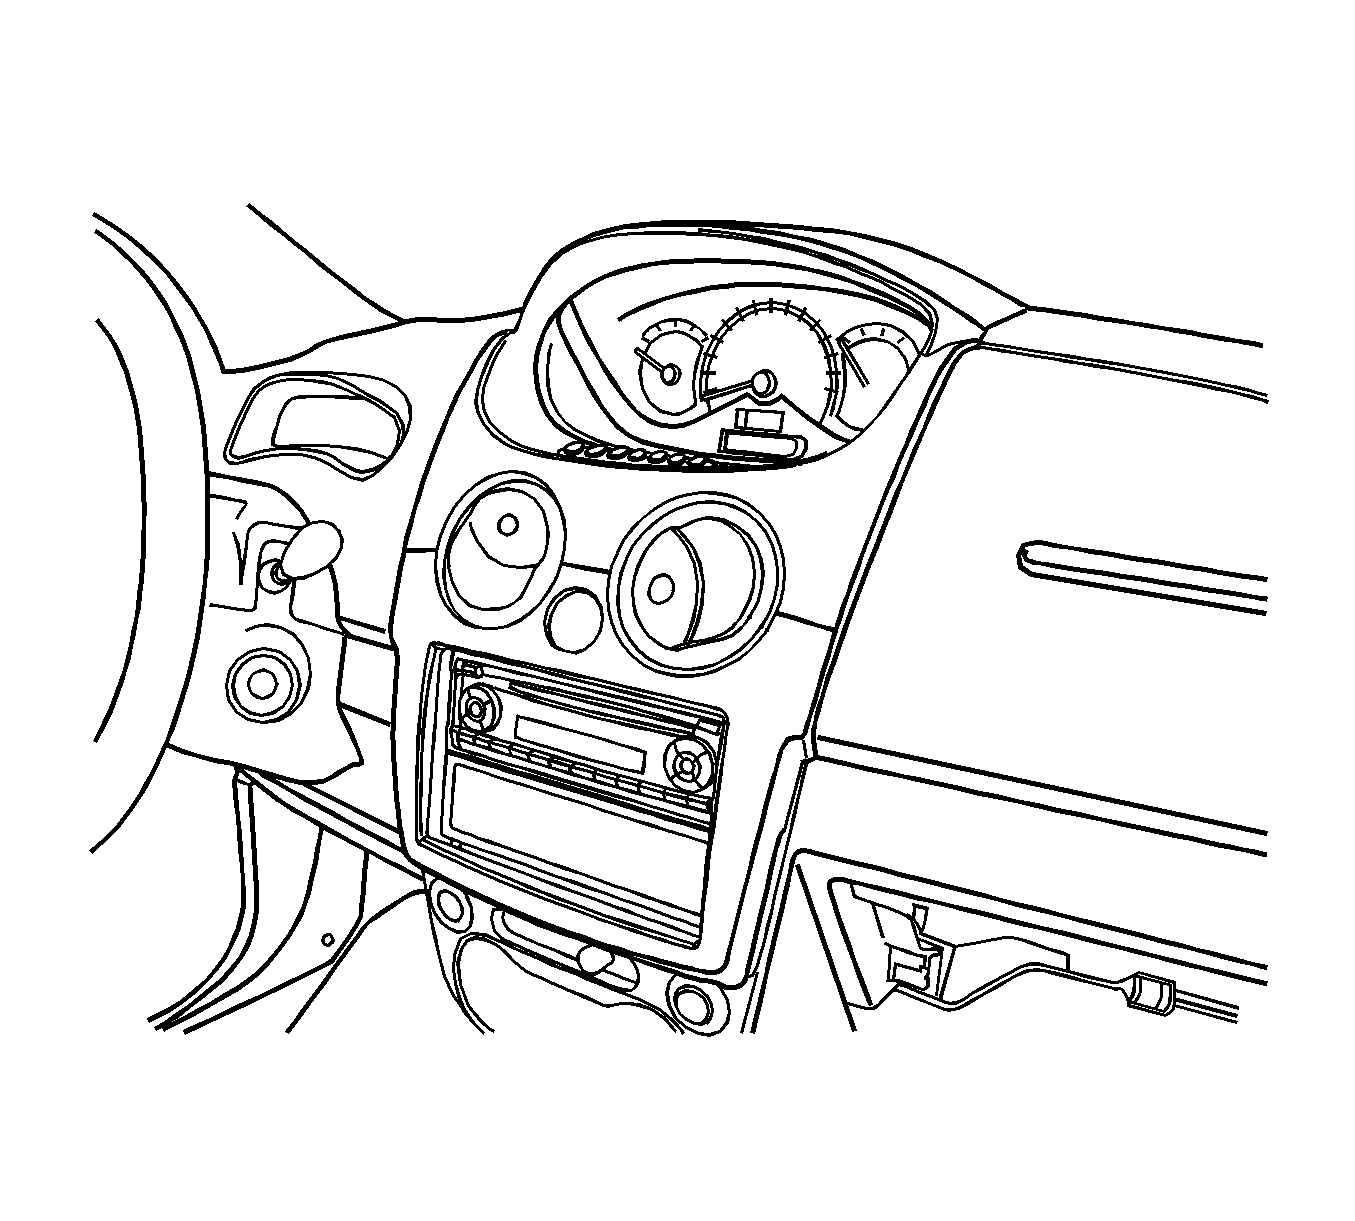
- Remove the audio system trim plate.
- Disconnect the electrical wiring harness from the audio system trim plate.
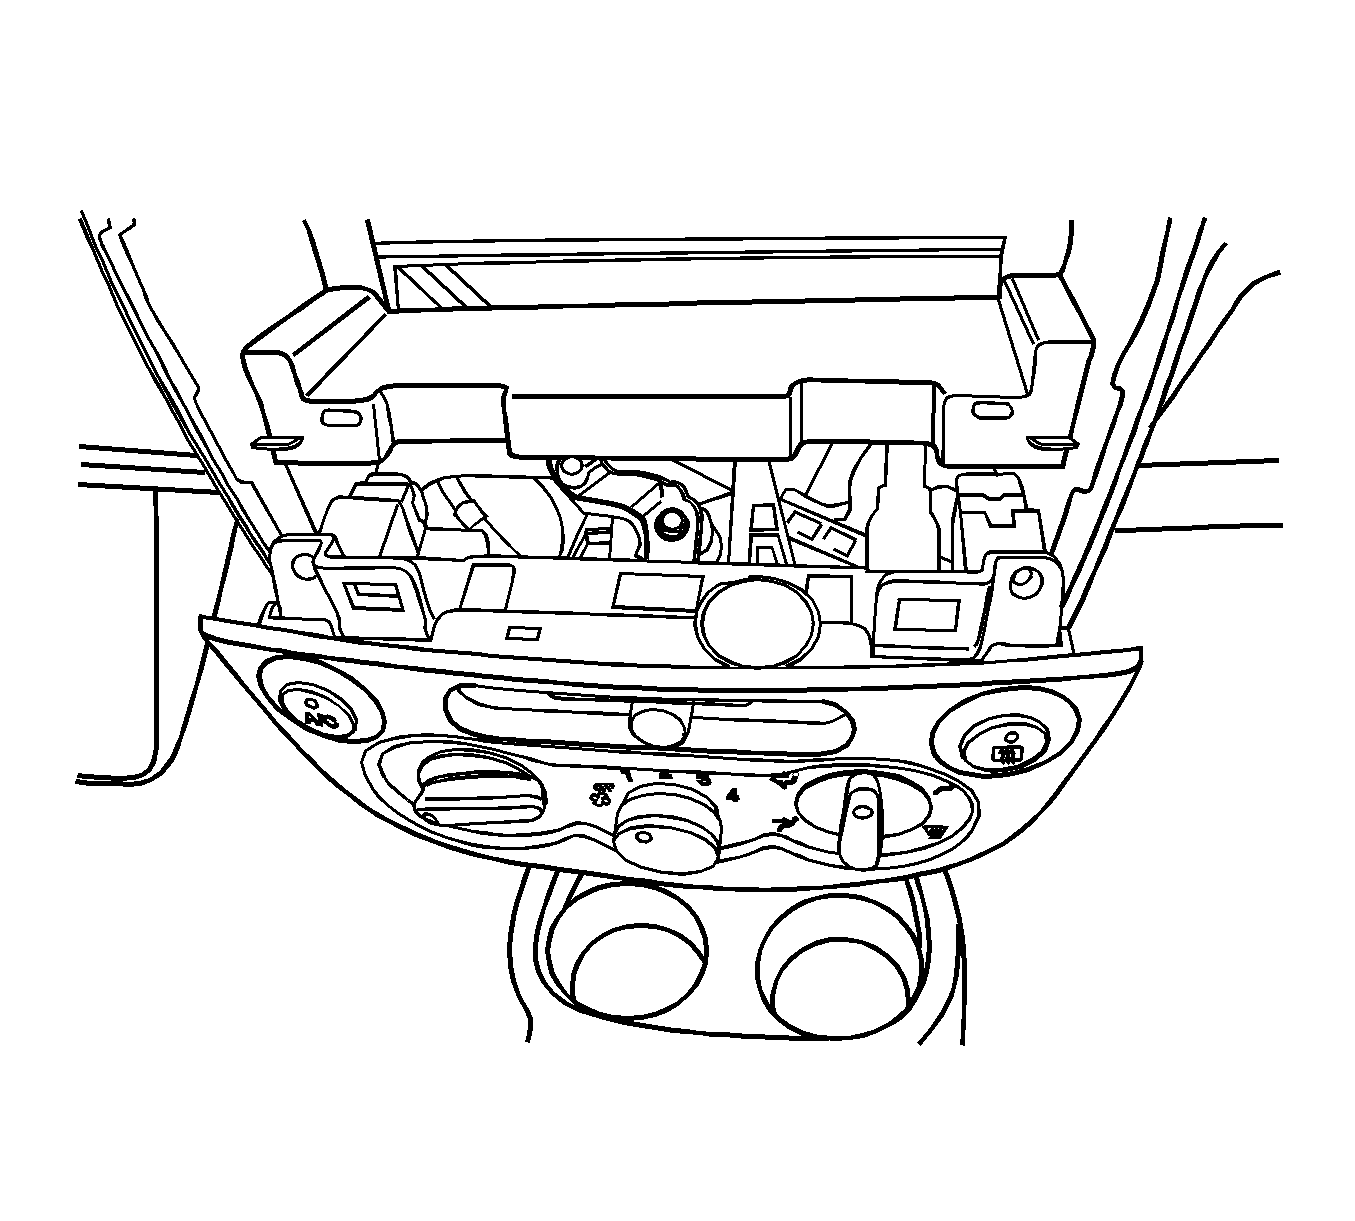
- Remove the storage compartment. Refer to Instrument Panel Storage Compartment Replacement .
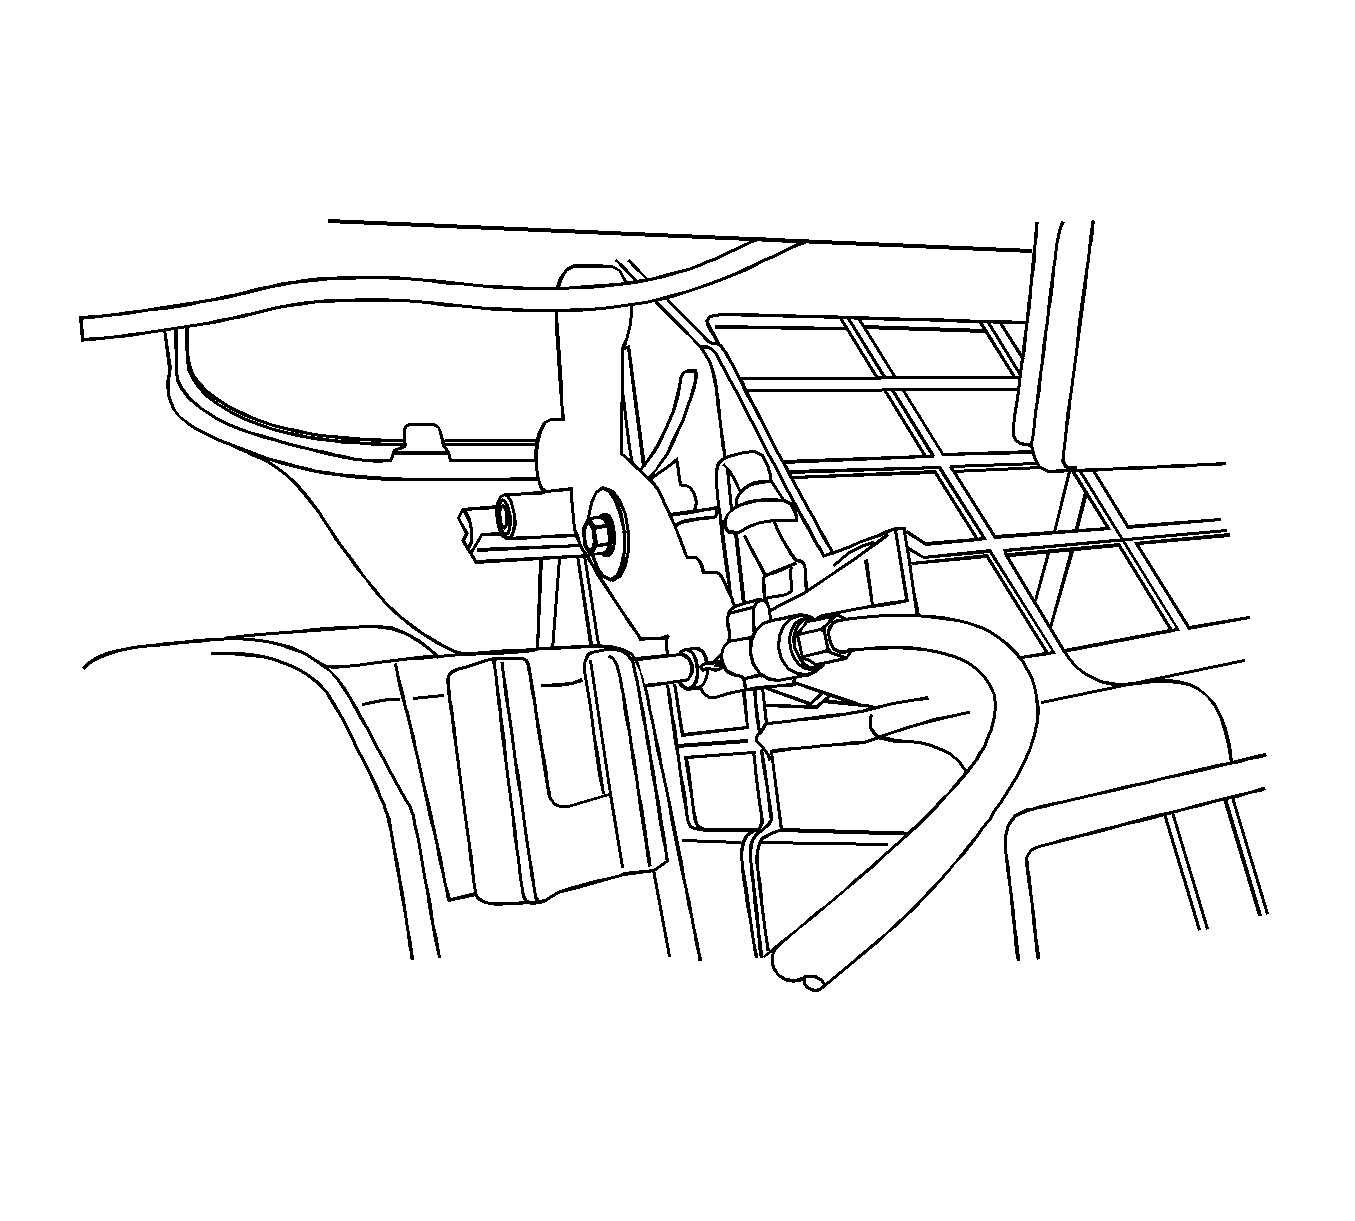
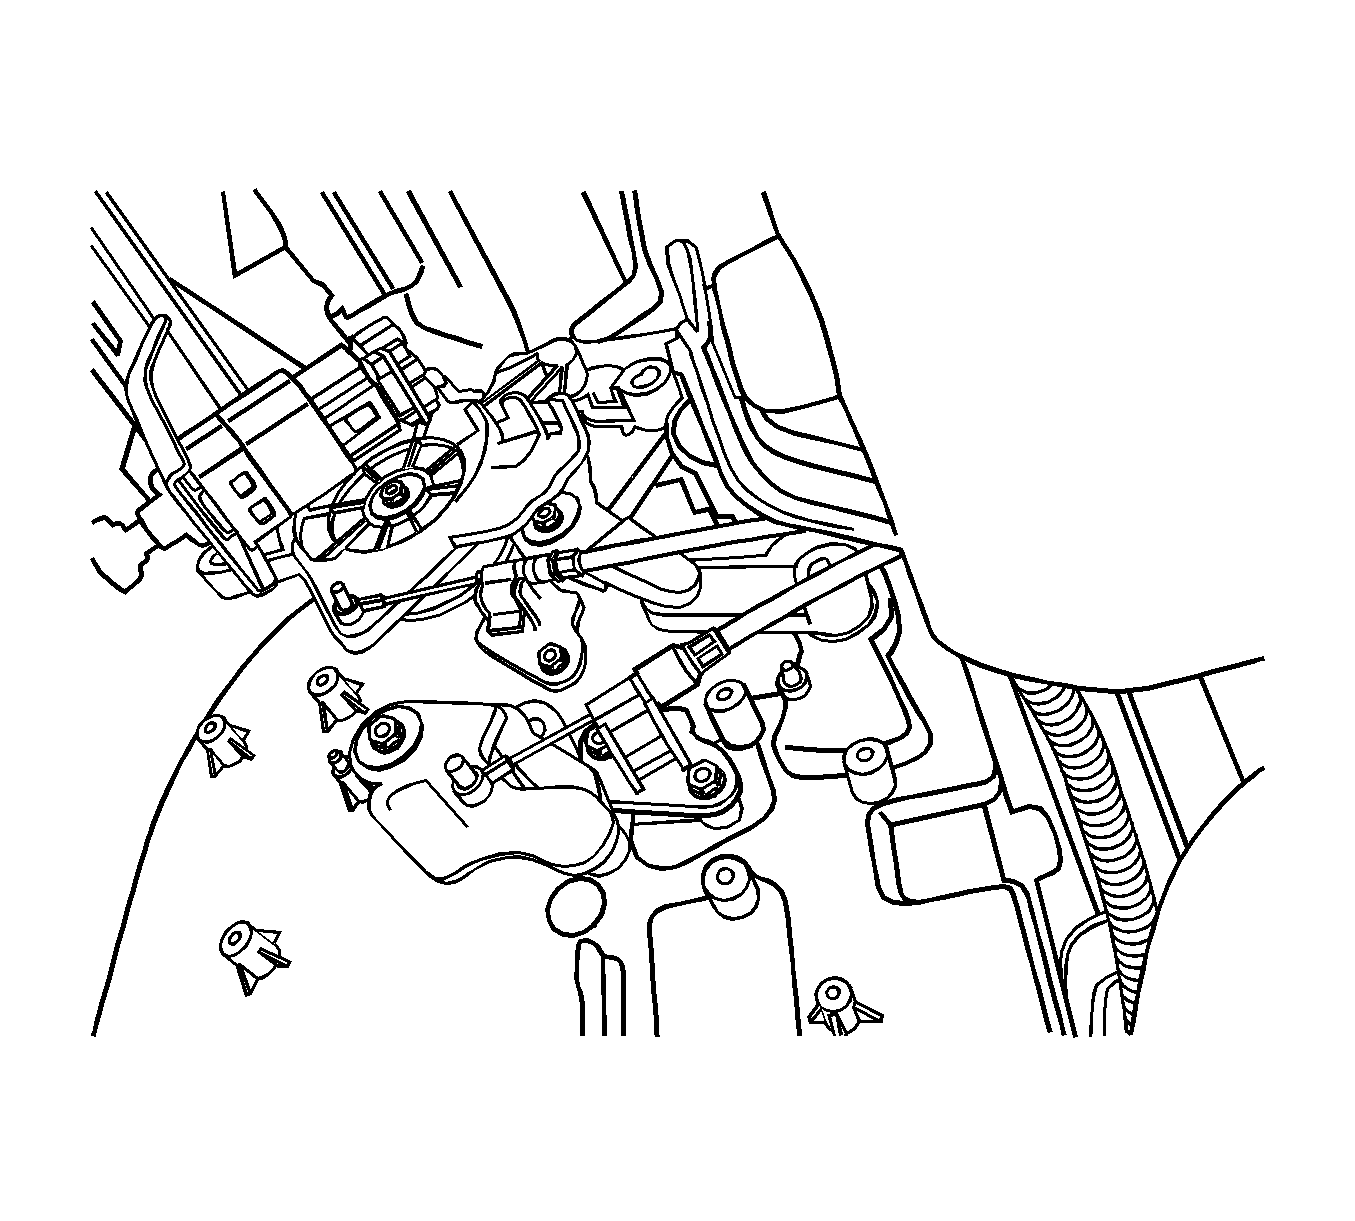
- Slide the cable eyelet off the post on the intake door lever.
- Disconnect the cable retainer from the heater/air distributor case assembly.
- Disconnect the temperature control cable eyelet from the heater/air distributor case assembly.
- Disconnect the mode cable eyelet heater/air distributor case assembly.
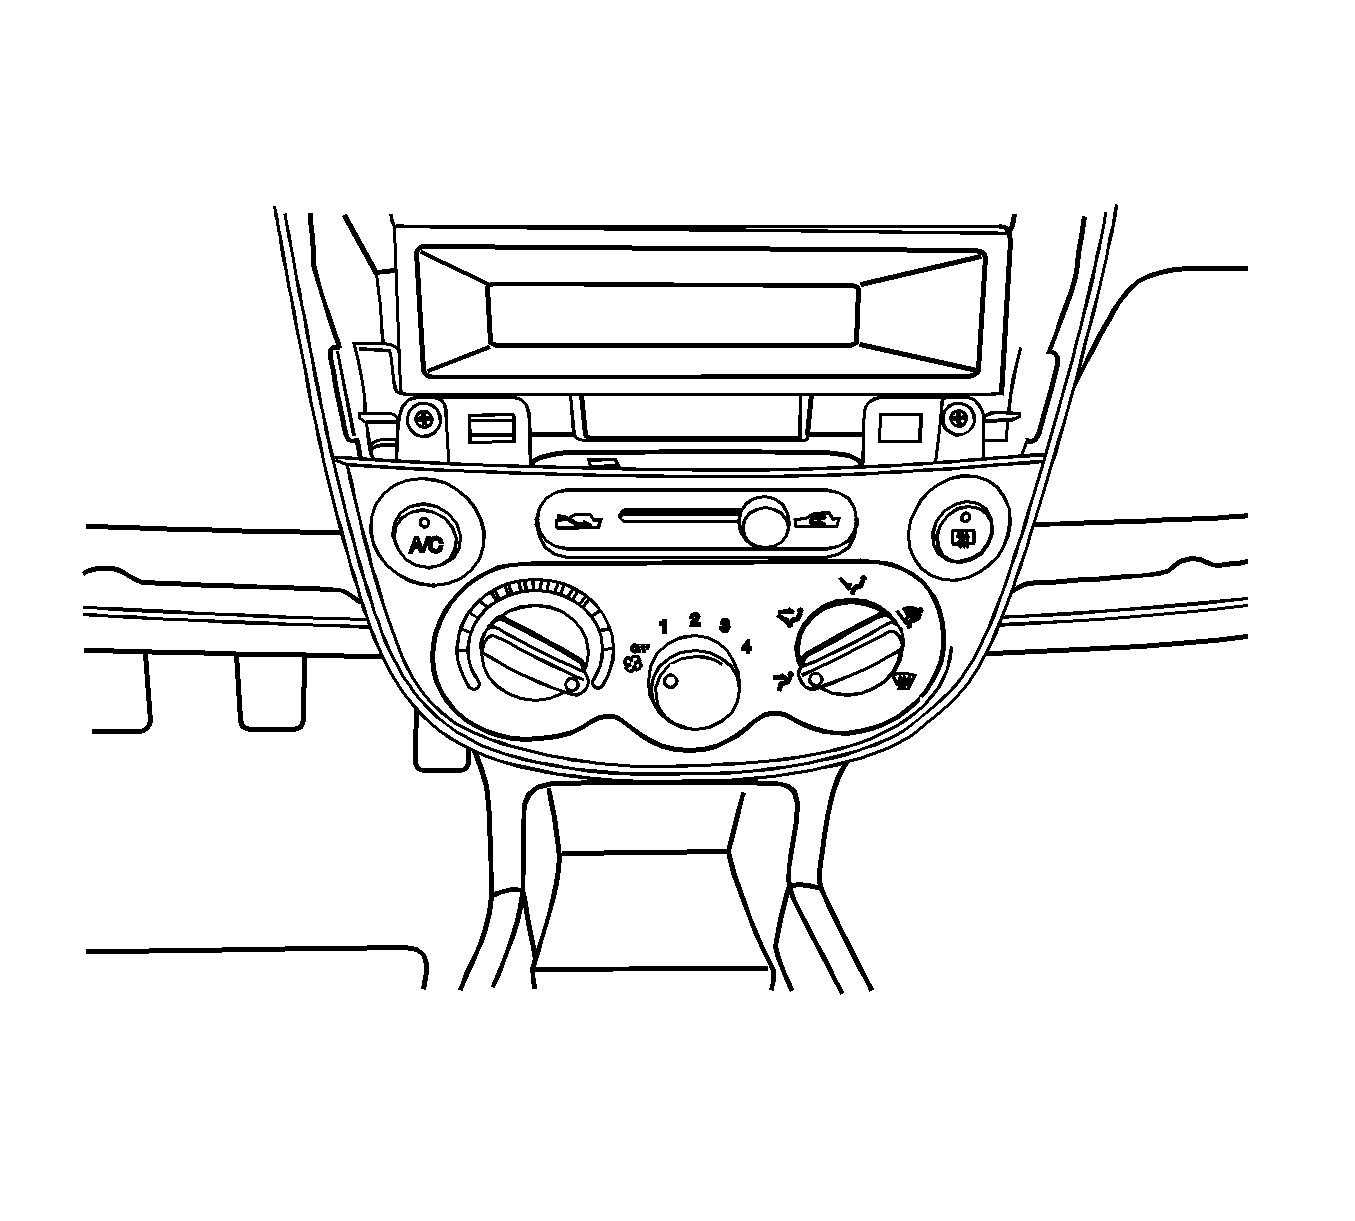
- Remove the control assembly screws.
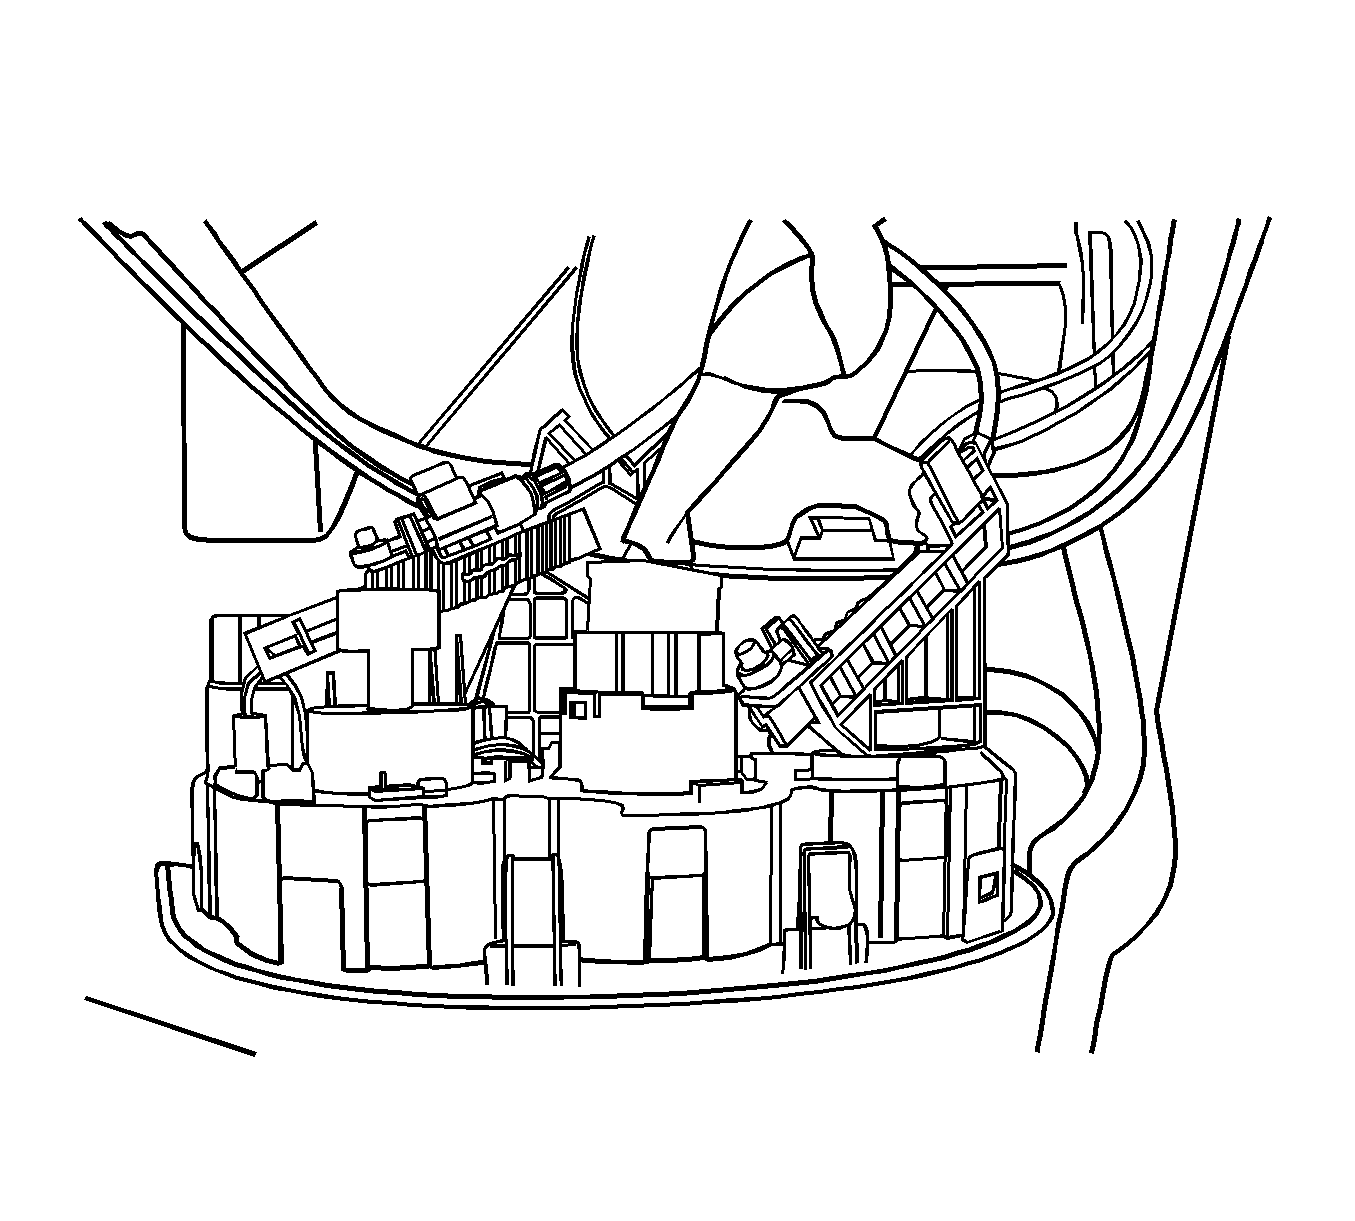
- Disconnect the A/C switch connector.
- Disconnect the defroster connector.
- Disconnect the electrical connector.
- Pull out the controller to provide clearance for removal of the intake door cable.
- Disconnect the intake door cable eyelet from the post on the controller.
- Disconnect the blower motor switch connector.
- Disconnect the temperature control cable eyelet for the post on the controller.
- Disconnect the mode cable eyelet from the post on the controller.
- Snap the cables housing connector out of the slide position on the controller.
- Remove the control assembly.
Caution: Refer to Battery Disconnect Caution in the Preface section.
Installation Procedure
- Press the cables end eyelet onto the post on the controller.
- Snap the cable housing connector to the slide position on the controller.
- Connect the electrical connectors.
- Install the control assembly.
- Install the control assembly screws.
- Install the intake door cable eyelet to the post on the intake door lever.
- Install the storage compartment. Refer to Instrument Panel Storage Compartment Replacement .
- Install the temperature control cable eyelet to the post on the temperature door lever.
- Install the mode cable eyelet to the post on the mode door lever.
- Snap the cable retainer to the heater/air distributor case assembly.
- Connect the electrical connector from the audio system trim plate.
- Install the audio system trim plate.
- Connect the negative battery cable.


Caution: Refer to Battery Disconnect Caution in the Preface section.
