For 1990-2009 cars only
Evaporator Tube Replacement w/Auxiliary A/C
Removal Procedure
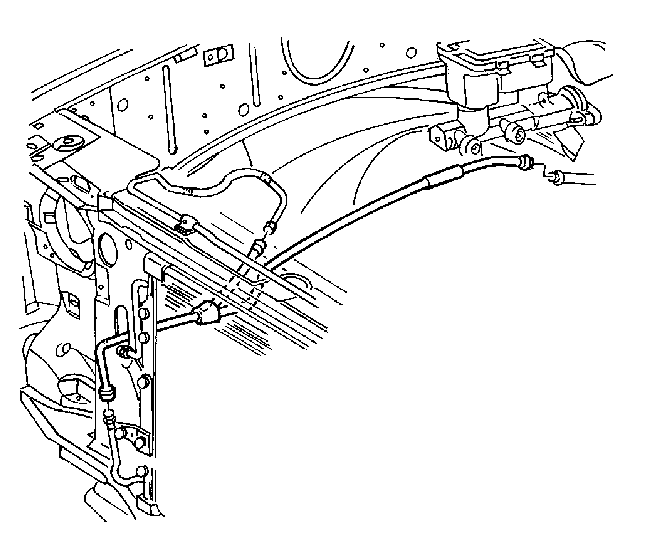
- Evacuate the A/C system. Refer to Refrigerant Recovery and Recycling, Adding Oil, Evacuating and Recharging Procedures, HVAC With A/C Manual, 1999 C/K Service Manual.
- Disconnect the evaporator tube at the evaporator tube extension.
- Disconnect the auxiliary evaporator tube at the evaporator tube extension.
- Disconnect the evaporator tube extension at the condenser.
- Disconnect the evaporator tube at the evaporator.
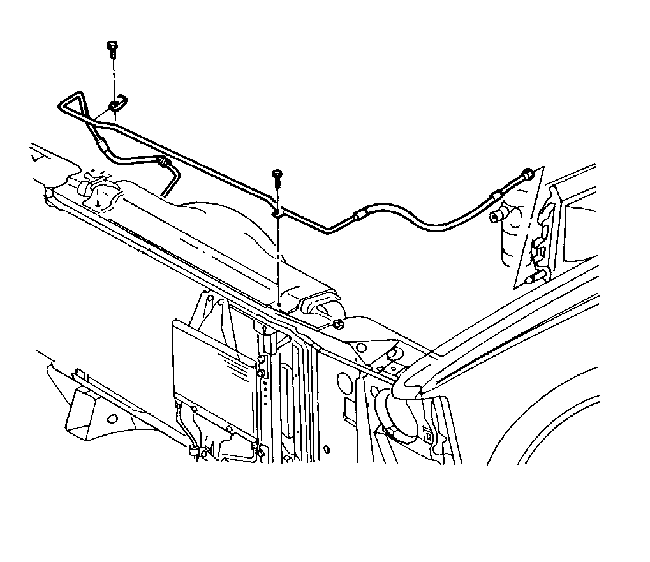
- Remove the screws from the evaporator tube clips on the radiator shroud.
- Remove the O-ring seals from the ends of the evaporator tubes.

Important: Cap or plug all of the open connections in order to prevent contamination.

Remove the following components from the vehicle:
| • | The evaporator tube |
| • | The evaporator tube extension |
Installation Procedure
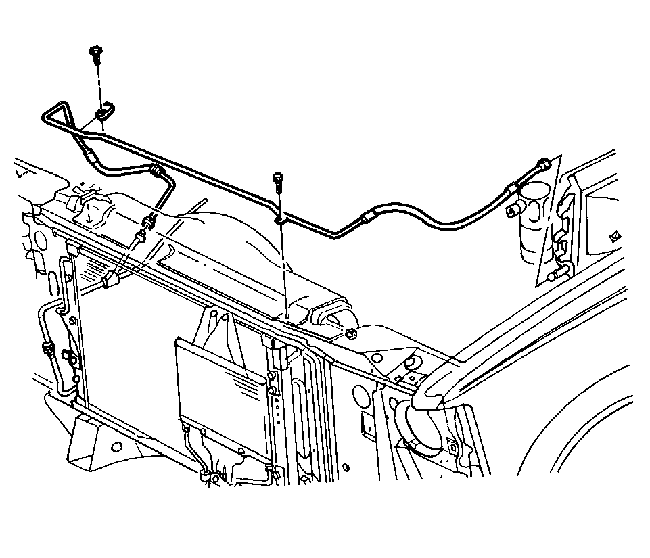
- Install new O-ring seals into the ends of the evaporator tubes.
- Install the following components into the vehicle:
- Connect the evaporator tube to the evaporator tube extension.
- Connect the evaporator tube extension to the condenser.
- Connect the auxiliary evaporator tube to the evaporator tube extension.
- Connect the evaporator tube to the evaporator.
- Install the evaporator tube screws to the evaporator tube clips on the radiator shroud.
- Recharge the A/C system. Refer to Refrigerant Recovery and Recycling, Adding Oil, Evacuating and Recharging Procedures, HVAC with A/C Manual, in the 1999 C/K Service Manual.
- Inspect the system for leaks. Refer to Leak Testing, HVAC With A/C Manual, in the 1999 C/K Service Manual.

Coat the O-ring seals with 525 viscosity refrigerant oil.
| • | The evaporator tube |
| • | The evaporator tube extension |
Tighten
Tighten the fitting to 27.5 N·m (21 lb ft).
Tighten
Tighten the fitting to 27.5 N·m (21 lb ft).
Tighten
Tighten the fitting to 27.5 N·m (21 lb ft).

Tighten
Tighten the fitting to 27.5 N·m (21 lb ft).
Evaporator Tube Replacement w/o/Auxiliary A/C
Removal Procedure
- Evacuate the A/C system. Refer to Refrigerant Recovery and Recycling, Adding Oil, Evacuating and Recharging Procedures, HVAC with A/C Manual, in the 1999 C/K Service Manual.
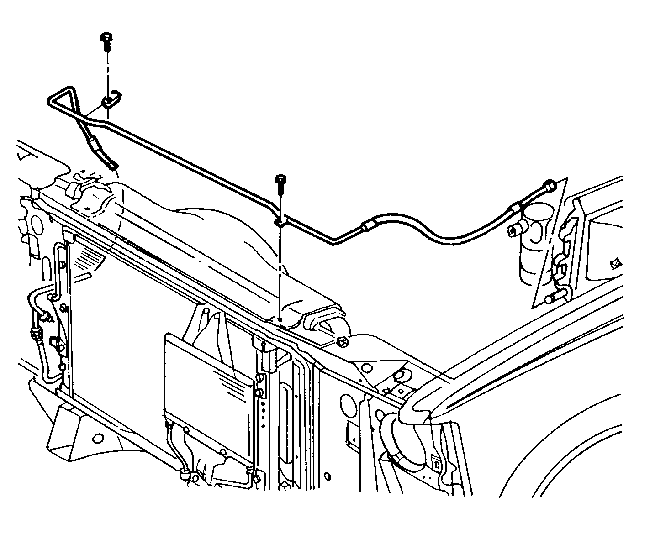
- Disconnect the evaporator tube at the evaporator.
- Disconnect the evaporator tube at the condenser.
- Remove the screws from the evaporator tube clips on the radiator shroud.
- Remove the evaporator tube from the vehicle.
- Remove the O-ring seals from each end of the evaporator tube.

Important: Cap or plug all of the open connections in order to prevent contamination.
Installation Procedure
- Install new O-ring seals into the ends of the evaporator tube.
- Install the evaporator tube into the vehicle.
- Connect the evaporator tube to the condenser.
- Connect the evaporator tube to the evaporator.
- Install the evaporator tube screws to the evaporator tube clips on the radiator shroud.
- Recharge the A/C system. Refer to Refrigerant Recovery and Recycling, Adding Oil, Evacuating and Recharging Procedures, HVAC with A/C Manual, in the 1999 C/K Service Manual.
- Inspect the system for leaks. Refer to Leak Testing, HVAC with A/C Manual, in the 1999 C/K Service Manual.

Coat the O-ring seals with 525 viscosity refrigerant oil.
Tighten
Tighten the fitting to 27.5 N·m (21 lb ft).
Tighten
Tighten the fitting to 27.5 N·m (21 lb ft).
