For 1990-2009 cars only
Removal Procedure
- Set the air flow control to the instrument panel (IP) vent position if equipped with air conditioning (A/C).
- Apply the parking brake to prevent the vehicle from moving.
- Move the shift lever all the way down (if the transmission is automatic).
- Tilt the steering wheel to the full down position.
- Remove the IP cluster trim plate bezel. Refer to Instrument Panel Cluster Trim Plate Bezel Replacement .
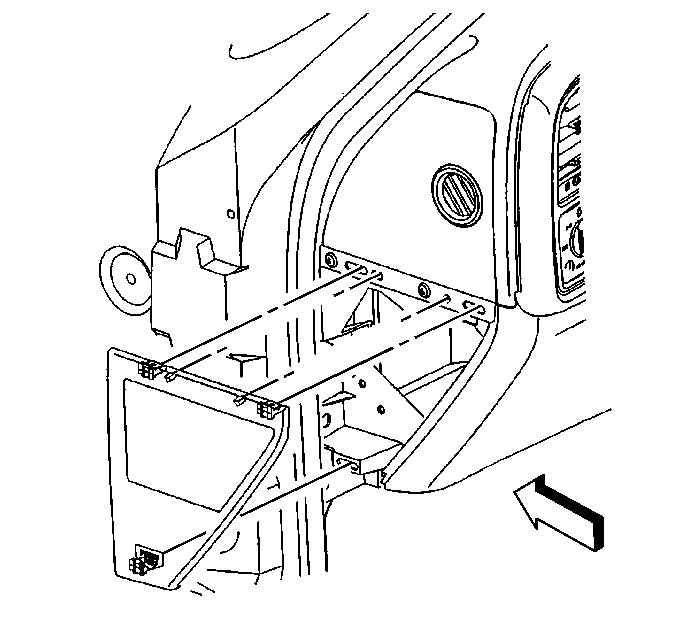
- Remove the end panels. Left is shown, right is similar.
- Remove the right side air outlets.
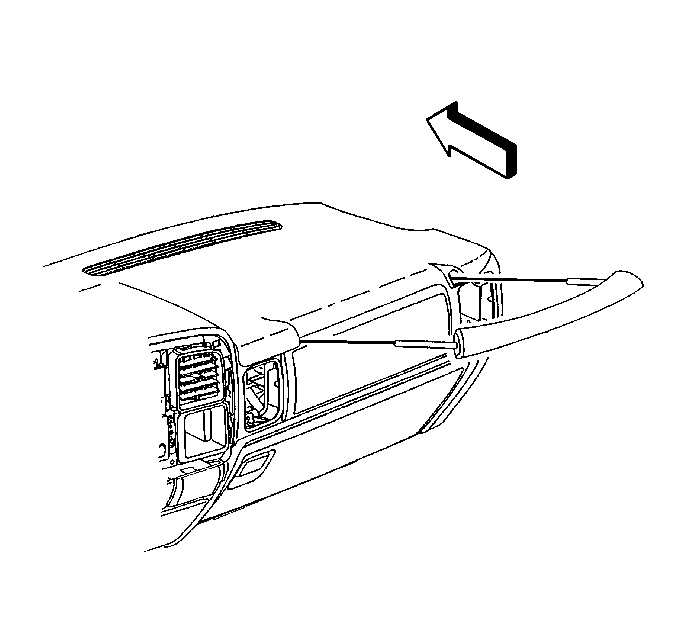
- Remove the assist handle by depressing the release tabs accessed through the air outlet duct holes.
- Remove the windshield pillar garnish moldings. Refer to Windshield Pillar Garnish Molding Replacement in Interior Trim.
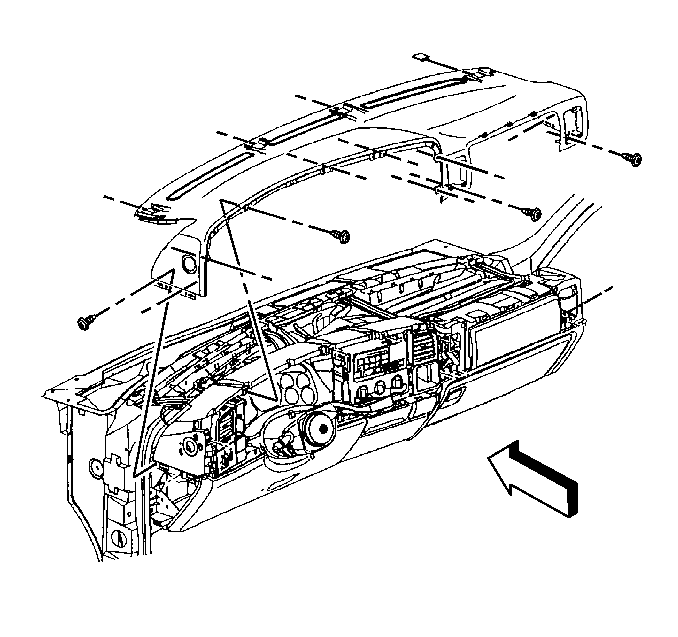
- Remove the bolts retaining the pad to IP assembly.
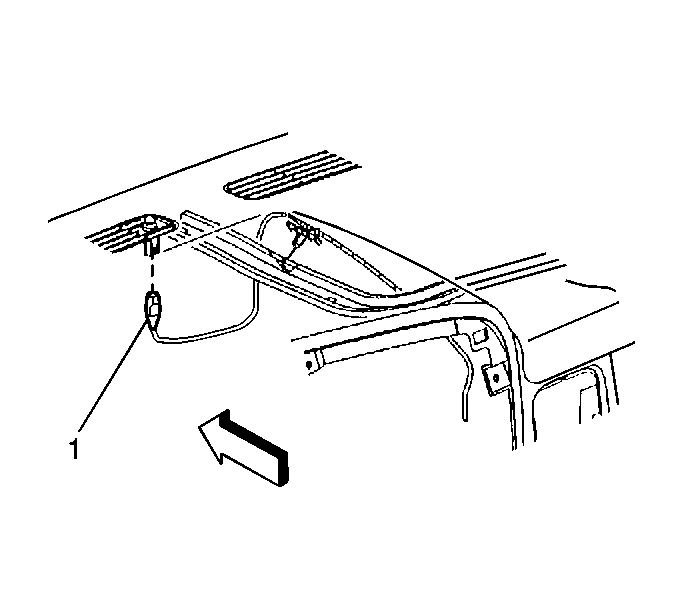
- Left the trim pad up to disconnect the electrical connector (1) to the ambient light sensor on the underside of the trim pad.
- Remove the trim pad from the assembly.


Installation Procedure
- Connect the electrical connector (1) to the ambient light sensor on the underside of the trim pad.
- Install the trim pad to the IP assembly.
- Install the trim pad retaining screws.
- Install the windshield pillar garnish moldings. Refer to Windshield Pillar Garnish Molding Replacement in Interior Trim.
- Align the assist handle with the holes in the IP assembly. Push the handle in order to engage the retaining tabs.
- Install the right side air outlets.
- Install the end panels. Left is shown, right is similar.
- Install the IP cluster trim plate bezel. Refer to Instrument Panel Cluster Trim Plate Bezel Replacement .
- Tilt the steering wheel to the normal driving position.
- If the transmission is automatic, move the shift lever to the park position.
- Disengage the parking brake.


Notice: Use the correct fastener in the correct location. Replacement fasteners must be the correct part number for that application. Fasteners requiring replacement or fasteners requiring the use of thread locking compound or sealant are identified in the service procedure. Do not use paints, lubricants, or corrosion inhibitors on fasteners or fastener joint surfaces unless specified. These coatings affect fastener torque and joint clamping force and may damage the fastener. Use the correct tightening sequence and specifications when installing fasteners in order to avoid damage to parts and systems.
Tighten
Tighten the trim pad retaining screws to 2 N·m (18 lb in).


