For 1990-2009 cars only
Removal Procedure
Support the frame with the hoist when you change the body mounts. If only one mount is changed loosen and lower the entire side on which the mount in question is being replaced.
- Raise the vehicle on a hoist. Refer to Lifting and Jacking the Vehicle in General Information.
- Using jack stands or the equivalent to support the body where the mounts will be replaced.
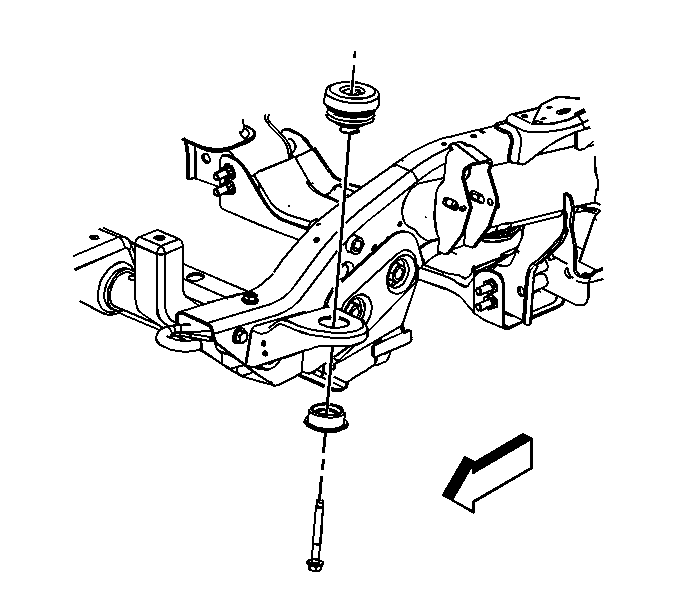
- Remove the body mount bolt, retainer, and lower cushion at the radiator support.
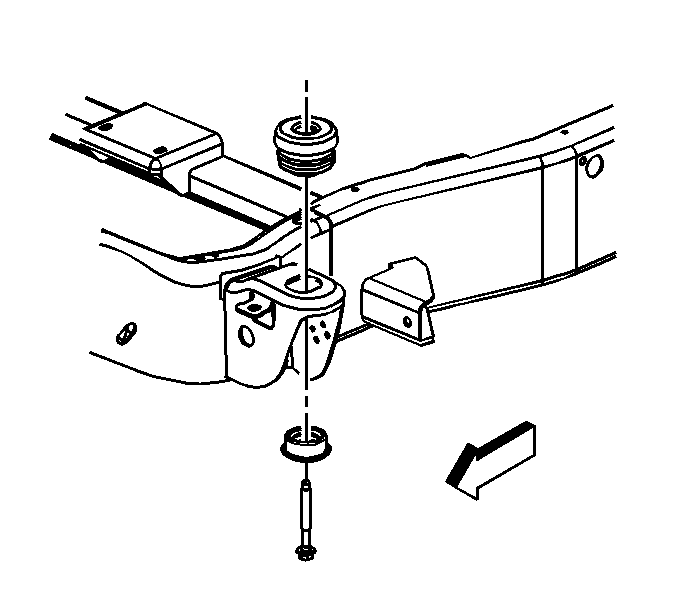
- Remove the body mount bolt, retainers, and lower cushions at the front mount location.
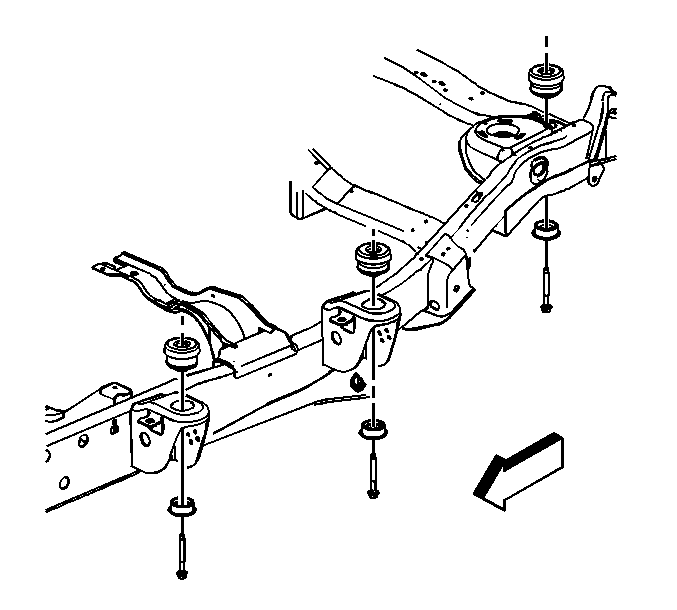
- Remove the body mount bolt, retainers, and lower cushions at the other mount locations.
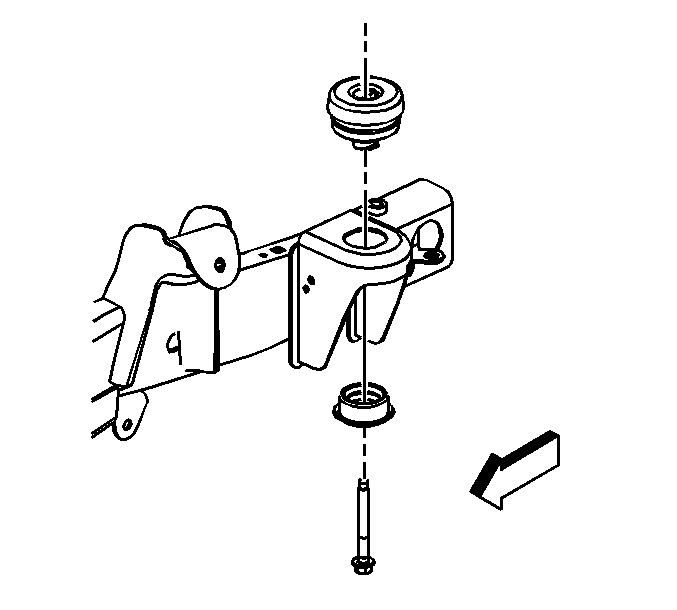
- Remove the body mount bolt, retainers, and lower cushion at the rear most mount.
- Disconnect or remove any wiring harness or component that may interfere with the lowering of the frame.
- Lower the hoist in order to leave the body supported by the jack stands.
- Remove the upper cushions and the shims from the vehicle.


Installation Procedure
- Install the upper cushions and the shims to the vehicle.
- Raise the hoist to allow the body mount bolts to be installed.
- Connect or install any wiring harness or component that was removed to allow for the lowering of the frame.
- Perform the following procedure before installing the bolts:
- Install the body mount bolt, retainer, and lower cushion at the rear most mount.
- Install the body mount bolt, retainers, and lower cushions at the other mount locations.
- Install the body mount bolt, retainers, and lower cushions at the front mount location.
- Install the body mount bolt, retainer, and lower cushion at the radiator support.
- Remove the jack stands.
- Lower the vehicle.
| 4.1. | Remove all traces of the original adhesive patch. |
| 4.2. | Clean all threads of the bolt with denatured alcohol or equivalent and allow to dry. |
| 4.3. | Apply Threadlocker GM P/N 12345493 ( Canadian P/N 10953488). |


Notice: Refer to Fastener Notice in the Preface section.

Tighten
Tighten the bolts to 85 N·m (63 lb ft).
