Removal Procedure
- Disable the SIR system. Refer to Disabling the SIR System .
- Remove the engine protection shield (if equipped). Refer to Engine Protection Shield Replacement in Frame and Underbody.
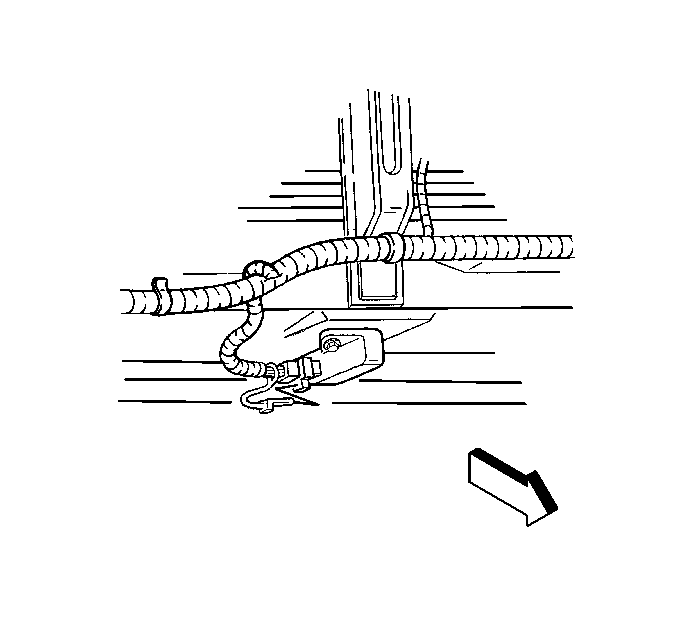
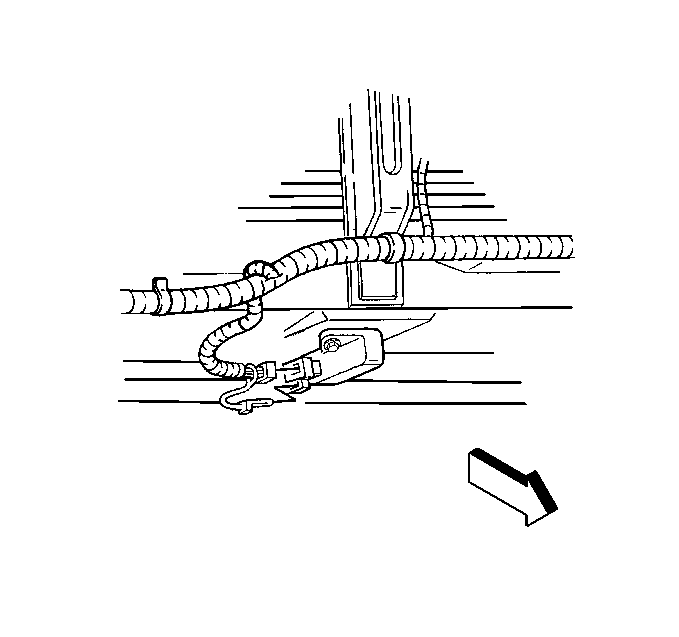
- Remove the connector position assurance (CPA) from the inflatable restraint front end discriminating sensor harness connector.
- Disconnect the inflatable restraint front end discriminating sensor harness connector from the sensor.
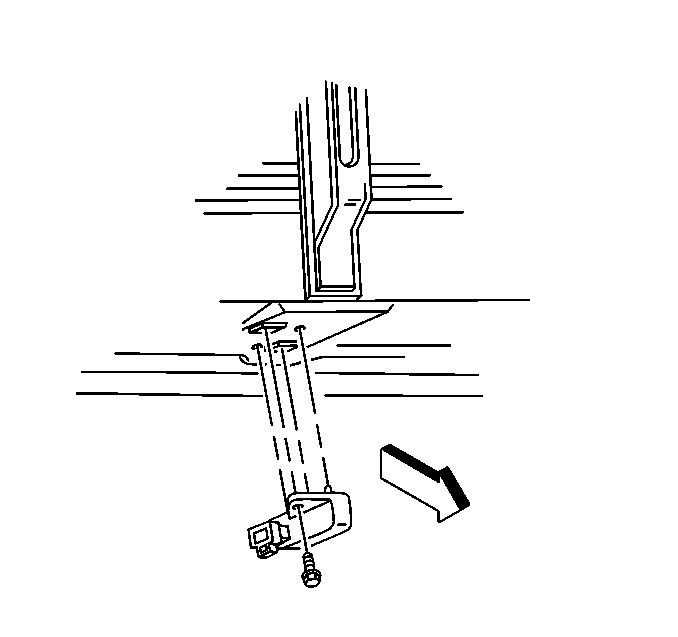
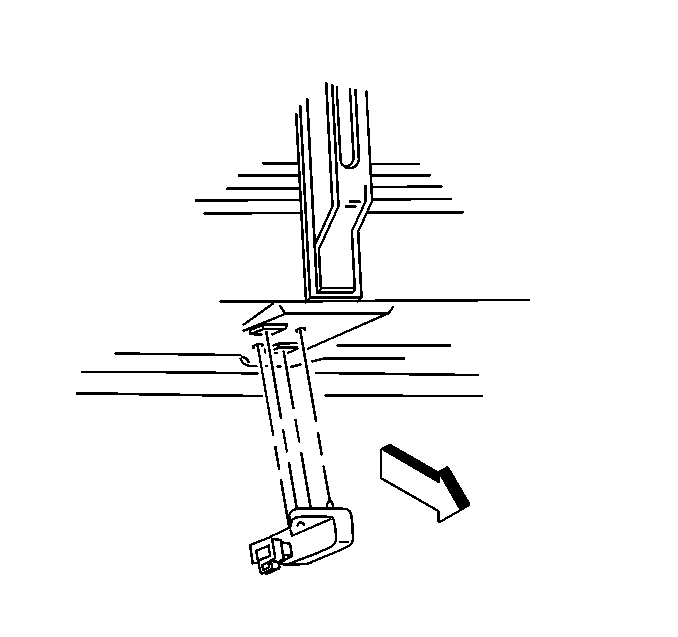
- Remove the mounting fasteners.
- Remove the inflatable restraint front end discriminating sensor from the vehicle.
- Perform the following steps in order to complete the fastener repair:


Important: The following procedure should be utilized in the event that the sensor mounting holes or fasteners are damaged to the extent that the sensor may no longer be properly mounted.
| 7.1. | Remove and discard the improperly installed fastener. |
| 7.2. | Chisel off the damaged weld nut. |
| 7.3. | Condition the front end lower tie surface where the new weld nut is to be installed. |
| 7.4. | Install the new weld nut (GM P/N 11514034) or equivalent into position. |
| 7.5. | Migweld the new weld nut to the front end lower tie surface in the correct location. |
| 7.6. | Use the new fastener (GM P/N 11515926) or equivalent. |
Installation Procedure
Caution: Be careful when you handle a sensor. Do not strike or jolt a sensor.
Before applying power to a sensor:
• Remove any dirt, grease, etc. from the mounting surface. • Position the sensor horizontally on the mounting surface. • Point the arrow on the sensor toward the front of the vehicle. • Tighten all of the sensor fasteners and sensor bracket fasteners
to the specified torque value.
- Install the inflatable restraint front end discriminating sensor to the front end lower tie surface. Make sure the arrow is pointing toward the front of the vehicle.
- Install the inflatable restraint front end discriminating sensor mounting fasteners.
- Connect the inflatable restraint front end discriminating sensor harness connector to the sensor.
- Install the connector position assurance (CPA) to the inflatable restraint front end discriminating sensor harness connector.
- Install the engine protection shield (if equipped). Refer to Engine Protection Shield Replacement in Frame and Underbody.
- Enable the SIR system. Refer to Enabling the SIR System .

Notice: Refer to Fastener Notice in the Preface section.

Tighten
Tighten fasteners to 10 N·m (89 lb in).


