Removal Procedure
- Raise and support the vehicle. Refer to Lifting and Jacking the Vehicle in General Information.
- Remove the four bolts and the front skid plate from the vehicle (if equipped).
- Remove the front differential assembly from the chassis (four wheel drive vehicles). Refer to Front Axle Housing Replacement in Driveline and Axle.
- Remove the crankshaft position sensor bolt and the crankshaft position sensor.
- Place a drain pan beneath the engine oil pan to catch escaping oil.
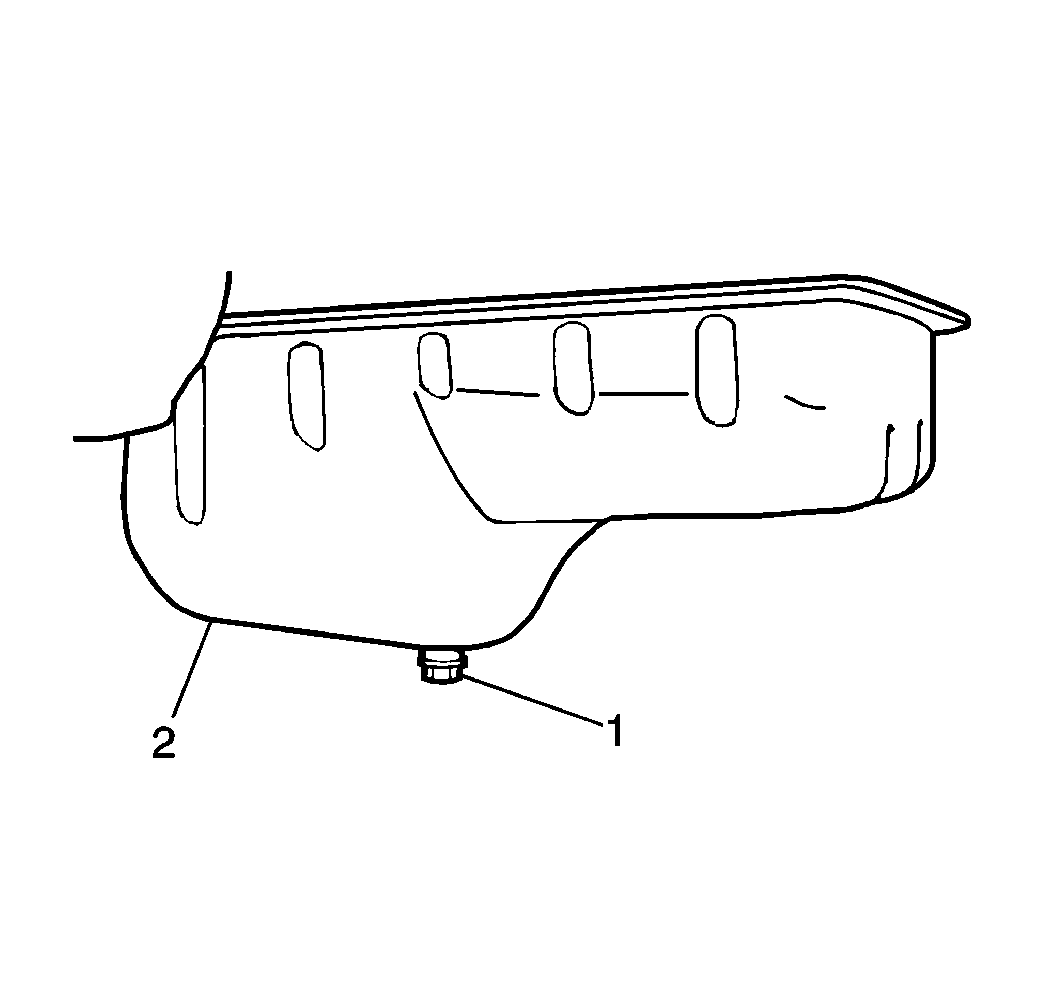
- Remove the engine oil drain plug (2) and gasket allowing the engine oil to drain.
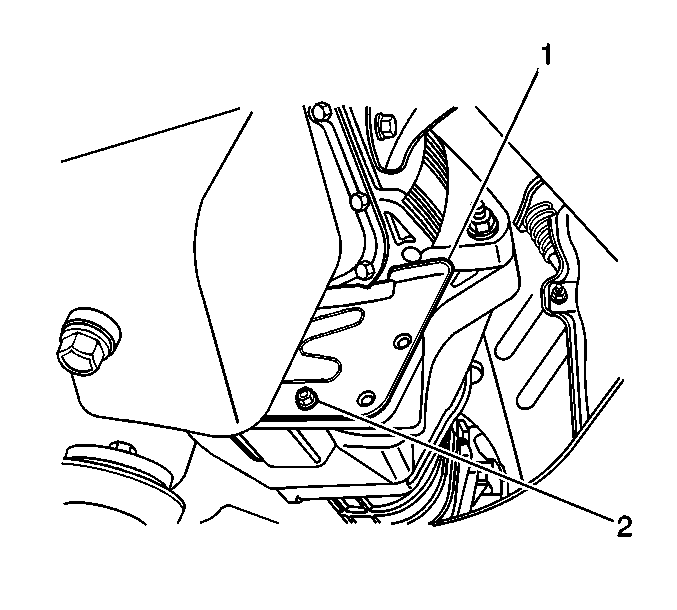
- Remove the flywheel cover (1).
- Remove the sixteen oil pan bolts and the two oil pan nuts from the cylinder block.
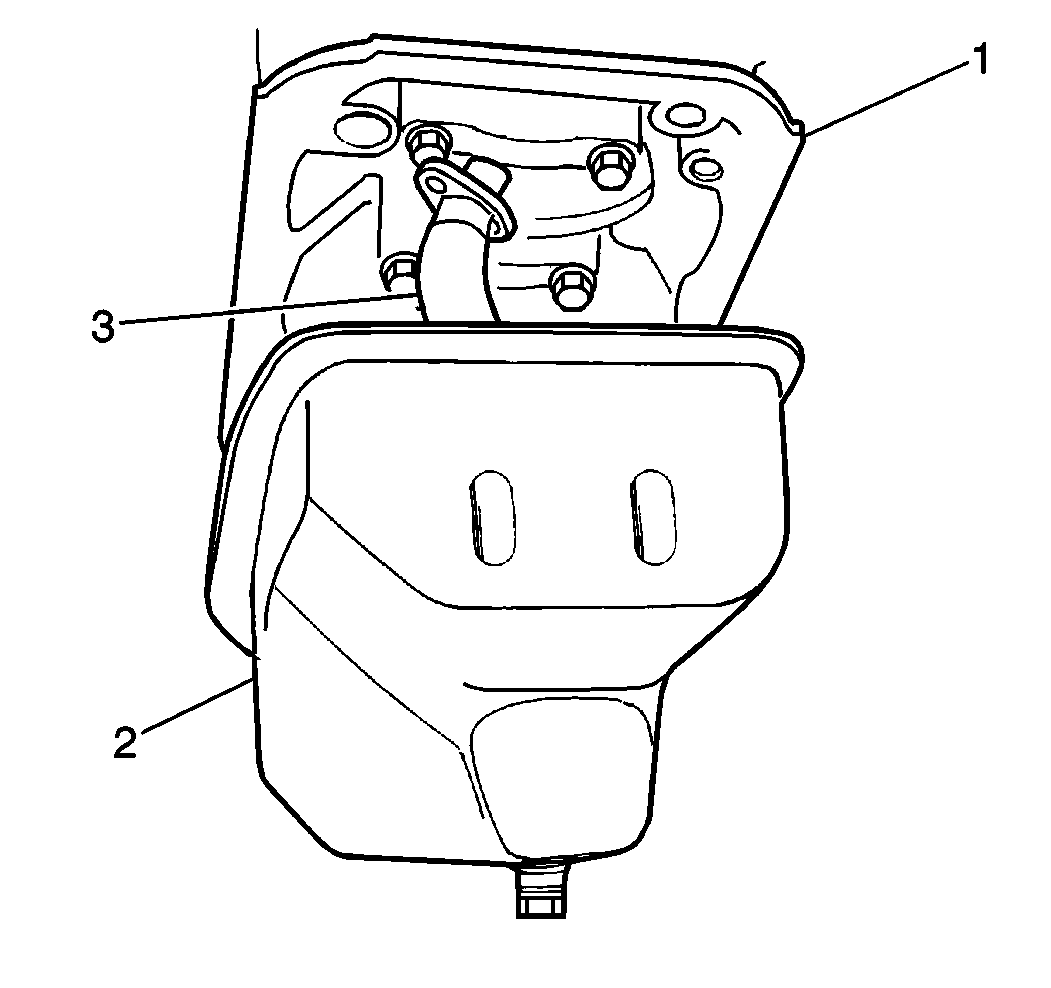
- Drop the oil pan down and remove the oil pump pick-up strainer.
- Rotate the oil pan in order to clear the steering rack and remove the oil pan from the vehicle.
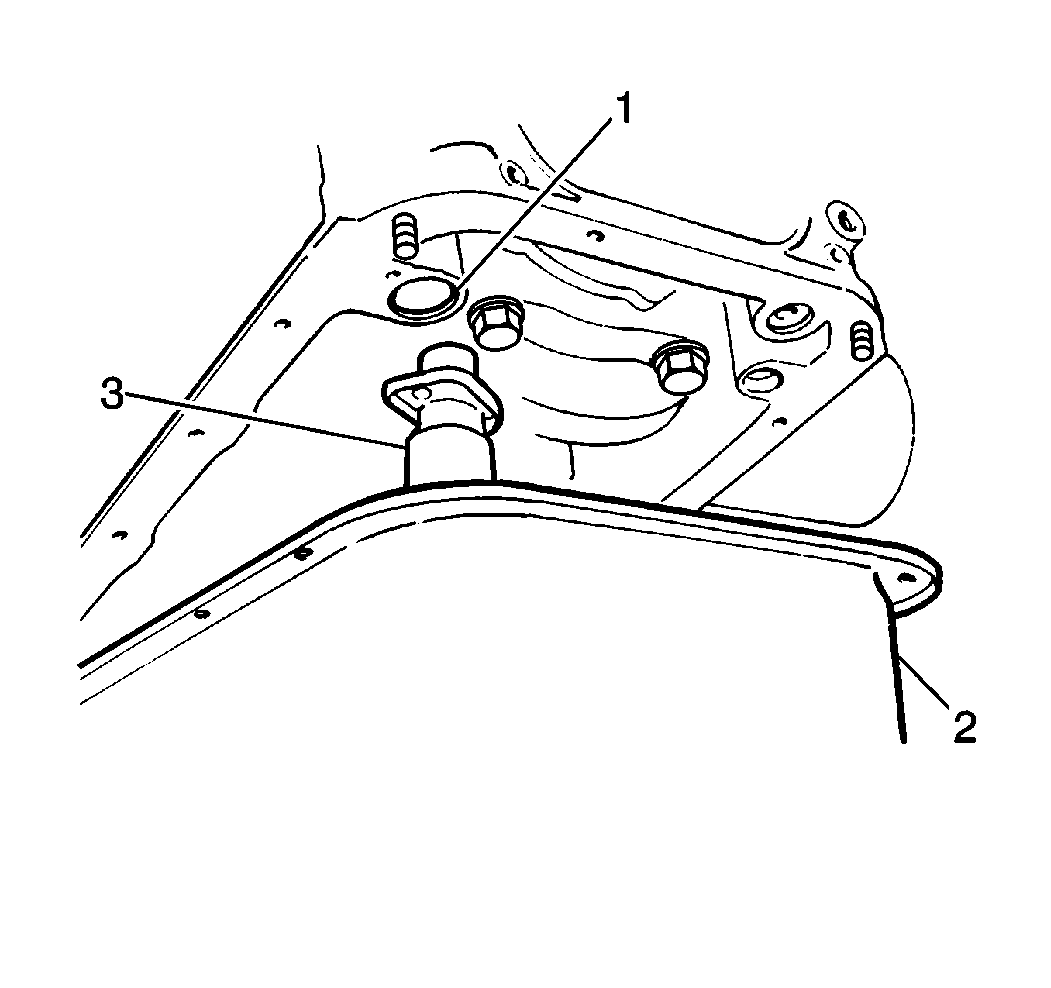
- Clean the inside of the engine oil pan (2) and oil pump strainer screen.
- Clean the mating surfaces of the engine oil pan (2) and the cylinder block (1).
Installation Procedure
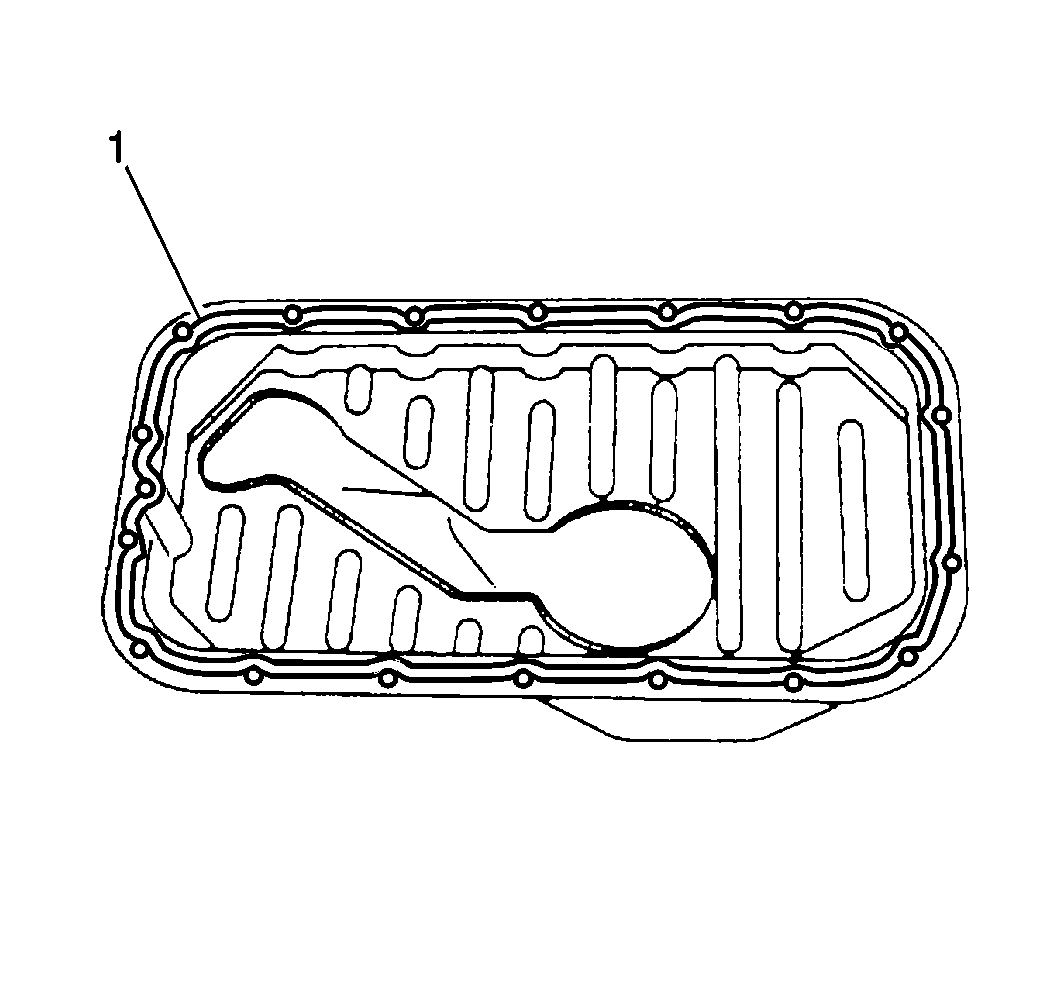
- Apply the silicone sealant GM P/N 12346240, or the equivalent, to the engine oil pan mating surface in a continuous bead (1).
- Install the engine oil pump pick-up strainer (3) to the cylinder block (1). Secure the engine oil pump pick-up strainer.
- Install the engine oil pan (2) to the cylinder block. Secure the engine oil pan (2) with sixteen bolts and two nuts.
- Install the flywheel cover (1).
- Install the engine oil drain plug and gasket.
- Install the crankshaft position sensor and bolt.
- Install the front differential assembly to the chassis (four wheel drive vehicles). Refer to Front Axle Housing Replacement in Driveline and Axle.
- Install the front skid plate (if equipped). Secure the front skid plate with the four bolts.
- Lower the vehicle.
- Refill the engine oil according to the specifications. Refer to Approximate Fluid Capacities in General Information.
- Check the oil pressure upon completion of the installation.
Notice: Use the correct fastener in the correct location. Replacement fasteners must be the correct part number for that application. Fasteners requiring replacement or fasteners requiring the use of thread locking compound or sealant are identified in the service procedure. Do not use paints, lubricants, or corrosion inhibitors on fasteners or fastener joint surfaces unless specified. These coatings affect fastener torque and joint clamping force and may damage the fastener. Use the correct tightening sequence and specifications when installing fasteners in order to avoid damage to parts and systems.
Tighten
Tighten the engine oil pump pick-up strainer bolts to 11 N·m
(97 lb in).
Tighten
Tighten the engine oil pan nuts and bolts to 11 N·m (97 lb in).

Tighten
Tighten the flywheel cover bolts to 10 N·m (89 lb in).
Tighten
Tighten the engine oil drain plug to 35 N·m (26 lb ft).
Tighten
Tighten the crankshaft position sensor bolt to 11 N·m (97 lb in).
Tighten
Tighten the front skid plate and bolts to 55 N·m (40 lb ft).
