For 1990-2009 cars only
Removal Procedure
Caution: Refer to Brake Fluid Irritant Caution in the Preface section.
Notice: Refer to Brake Fluid Effects on Paint and Electrical Components Notice in the Preface section.
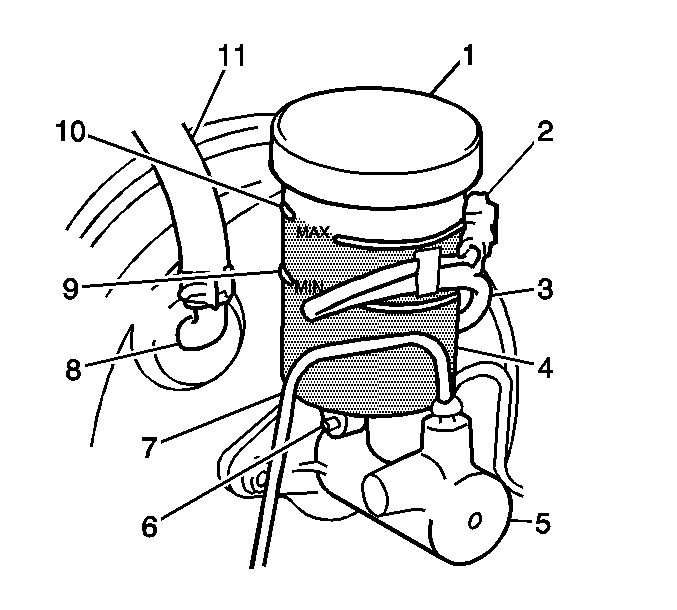
- Clean around the reservoir cap (1) and remove the fluid with a syringe.
- Raise and support the vehicle. Refer to Lifting and Jacking the Vehicle in General Information.
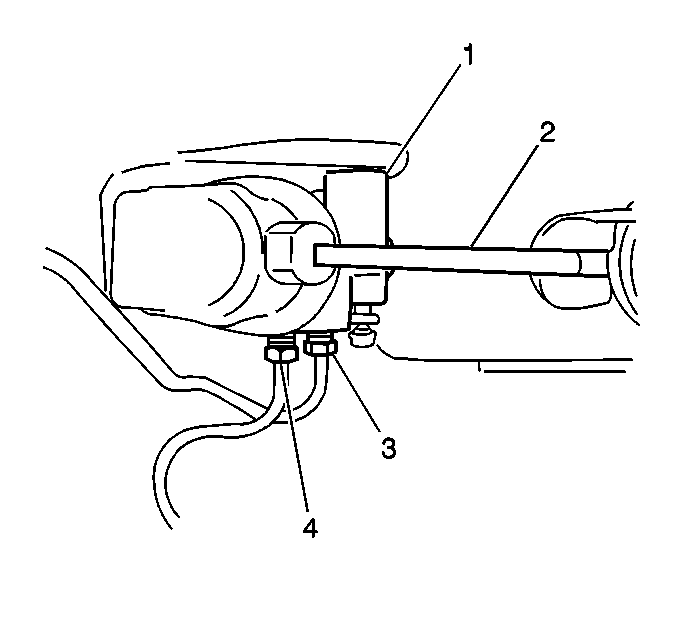
- Disconnect the brake pipes (3,4) from the Load Sensing Proportioning Valve (LSPV) (1).
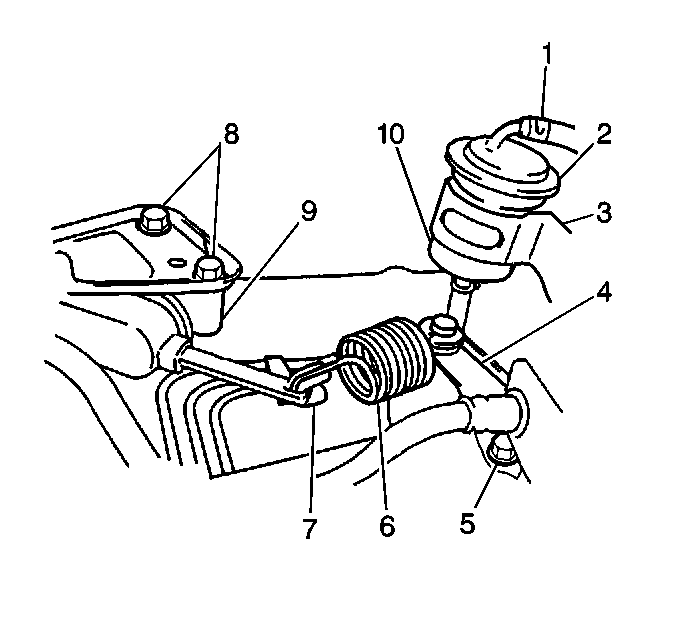
- Remove the 2 bolts (8) in order to separate the LSPV from the frame.
- Remove the one bolt (5) in order to remove the LSPV (9), the LSPV spring (6), and the LSPV stay (4), from the vehicle.
- Remove the LSPV spring (6) and the LSPV stay (4) from the lever (7).
Installation Procedure
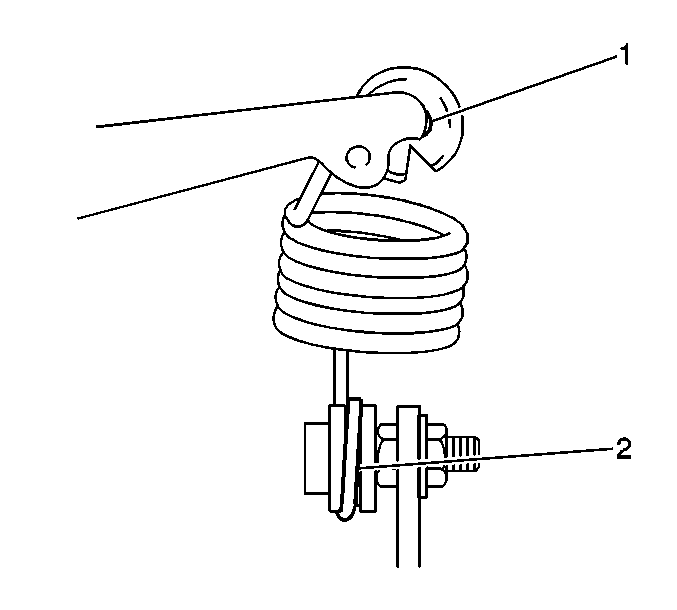
- Apply multi-purpose grease to the upper pivot point (1) and the lower pivot point (2) of the spring.
- Install the LSPV spring (6) and the LSPV stay (4) to the lever (7) of the LSPV assembly.
- Install the LSPV assembly to the vehicle body.
- Install the LSPV assembly bolts (8).
- Install the LSPV stay bolt (5).
- Install the brake pipes to the LSPV.
- Lower the vehicle.
- Fill the brake fluid reservoir. Refer to Master Cylinder Reservoir Filling .
- Bleed the air from the hydraulic brake system. Refer to Hydraulic Brake System Bleeding .
- Place the vehicle on a level floor.
- Verify the vehicle trim height is correct. Refer to Trim Height Inspection and to Trim Height Specifications in Suspension General Diagnosis.
- Push up the LSPV lever (1) with your finger until the lever stops. Measure the length of the coil spring (2).
- If necessary, adjust the spring by changing the position of the stay (4).
- Inspect the LSPV body and the brake pipe joints. Verify that these components are free from fluid leakage.

Notice: Refer to Fastener Notice in the Preface section.
Tighten
Tighten the bolts to 23 N·m (17.0 lb ft).
Tighten
Tighten the bolt to 23 N·m (17.0 lb ft).

Tighten
| • | Tighten the brake pipe flare nuts (3,4) to 16 N·m (11.5 lb ft). |
| • | Tighten the bleeder plug to 7.5 N·m (66.4 lb in). |
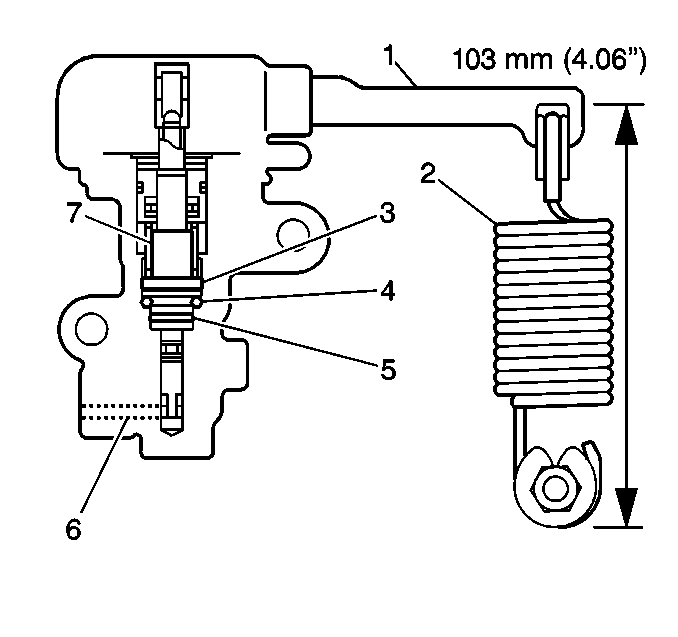
Measurement
The coil spring should measure 103 mm (4.06 in) between
the spring ends.

Tighten
Tighten the stay bolt to 23 N·m (17.0 lb ft).
