For 1990-2009 cars only
Door Striker Replacement - Left Rear 2 Door
Removal Procedure
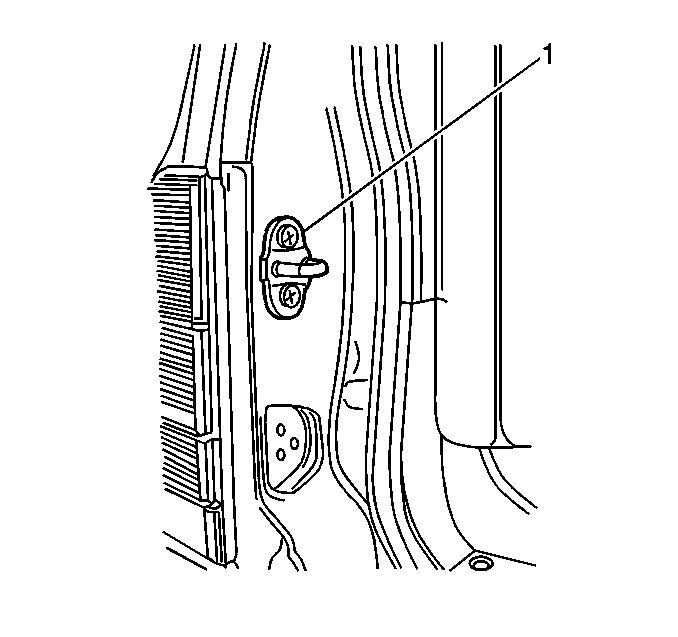
- Mark the position of the endgate lock striker (1) on the door jamb.
- Remove the 2 screws which secure the endgate lock striker (1).
- Remove the endgate lock striker (1) from the door jamb.

Installation Procedure
- Install the endgate lock striker (1) to the door jamb. Secure the striker with the 2 screws.
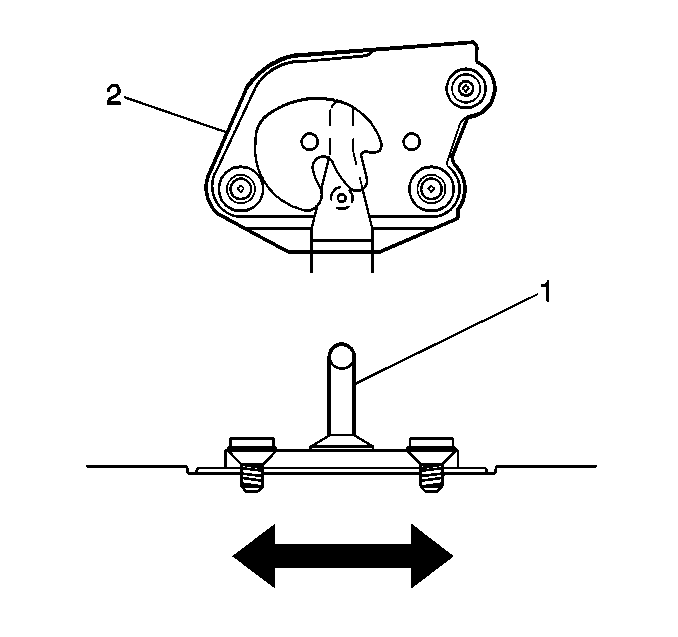
- Adjust the striker (1) vertical measurement in order to align with the center of the endgate lock (2).
- Keep the lock striker (1) level while moving the striker sideways in order to adjust the endgate panel flushness with the quarter panel, as needed. Refer to Door Adjustment Specifications in Doors.


Door Striker Replacement - Left Rear 4 Door
Removal Procedure
- Mark the position of the rear door lock striker (1) on the door jamb.
- Remove the 2 screws which secure the rear door lock striker (1).
- Remove the rear door lock striker (1) from the door jamb.

Installation Procedure
- Install the rear door lock striker (1) to the door jamb. Secure the striker with the 2 screws.
- Adjust the striker (1) vertical measurement in order to align with the center of the rear door lock (2).
- Keep the lock striker (1) level while moving the striker sideways in order to adjust the rear door flushness with the quarter panel, as needed. Refer to Door Adjustment Specifications in Doors.


