For 1990-2009 cars only
- Various methods and equipment can be used for flushing. Follow the manufacturer's instructions if using special equipment such as a back flusher.
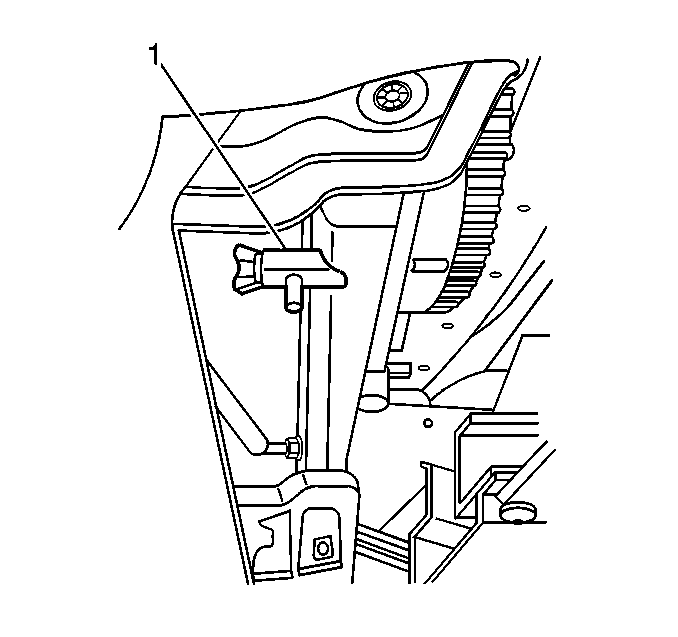
- Open the drain plug (1) on the radiator. Drain the coolant into a container.
- Close the drain plug (1).
- Add water to fill the cooling system.
- Repeat the drain and fill procedure until the drained water is clean.
- Close the radiator drain plug (1).
- Re-install the thermostat if removed.
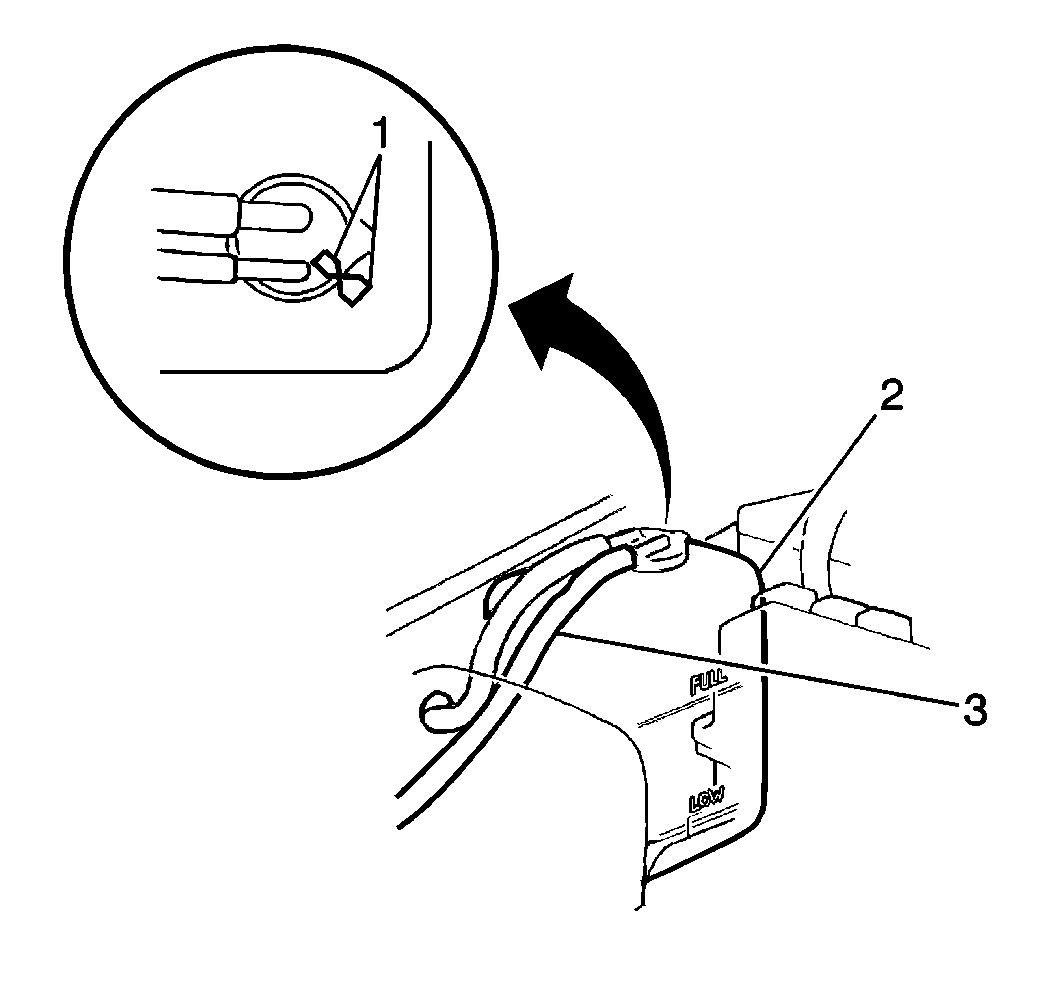
- Remove the hose (3) from the reservoir cap.
- Slide the coolant reservoir (2) from the mounting bracket.
- Clean the inside of the coolant reservoir with soap and water.
- Rinse the coolant reservoir thoroughly.
- Install the coolant reservoir to the vehicle.
- Fill the radiator to the base of the radiator filler neck with a 50/50 mixture of ethylene glycol coolant GM P/N 1052753 (Canadian P/N 993089), or equivalent, and water.
- Fill the coolant reservoir up to the FULL mark on the reservoir.
- Install the reservoir cap on the reservoir and align the marks (1) on the cap and the reservoir.
- Install the reservoir hose (3) to the reservoir cap.
- Run the engine until the coolant is at running temperature - when both hoses feel warm and the coolant is moving in the radiator.
- Add coolant as necessary to the radiator until the coolant reaches the radiator filler neck.
- Install the radiator cap.
- Check the following for any signs of leaks:
- Tighten any loose connections as necessary.
Important: Always remove the thermostat prior to flushing the cooling system.

Important: Dispose of used coolant in a coolant holding tank which is picked up along with used oil. NEVER POUR USED COOLANT DOWN THE DRAIN. Ethylene glycol antifreeze is a very toxic chemical. Do not dispose of ethylene glycol antifreeze into the sewer system or ground water.

| • | The radiator |
| • | The coolant reservoir |
| • | All of the coolant pipe and hose connections |
