Leak Testing b
Perform a refrigerant leak test on the system if you suspect a leak because
of the following conditions:
| • | A system indication of a low charge |
| • | A service operation which disturbed the following items: |
Before beginning the leak test, ensure that the refrigerant system has a sufficient
charge. Measure the static pressure by using a gauge set. The system must have
a pressure above 345 kPa (50 psi) for an acceptable leak test.
Most leaks occur at the refrigerant fittings or at the connections. Leaks
may result from the following conditions:
| • | Lack of lubricant on the O-rings |
| • | Dirt or debris across an O-ring |
The smallest piece of lint from the following items may create a leak path
along an O-ring:
Fluorescent Leak Detection Method
Tools Required
| • | J 41459 R134a A/C
Tracer Dye Injector |
Important: General Motors vehicles are now manufactured with fluorescent dye installed
directly into the A/C system.
The preferred method of leak testing is with the use of fluorescent dye. J 41447
is the only fluorescent dye approved
by General Motors.
The fluorescent dye mixes and flows with the PAG oil throughout the refrigerant
system.
Verifying some passive leaks may require using the J 39400-A
,
even though the A/C system contains fluorescent dye.
The only time that adding additional fluorescent dye is required is after flushing
the A/C system.
Notice: The tracer dye J 41447 was developed for use with the A/C Refrigerant
134a (R-134a) equipped vehicles or with vehicles that have been retrofitted
from R-12 to R-134a. Do not use any other tracer dye in the R-134a system.
Use of another dye may affect the system reliability and cause premature compressor
failure. Use only a 1/4 oz. charge of the dye. Larger amounts may compromise
the reliability of the A/C system. After adding the tracer dye, clean the
service valves and all affected surfaces of the dye with GM Engine Degreaser
GM P/N 1050436 or an equivalent in order to prevent a false
diagnosis.
| • | The R-134a refrigerant is different from the R-12 refrigerant that was
used in the past. The R-134a refrigerant may require additional methods for leak
detection. |
| • | The R-134a molecule is smaller than the R-12 molecule and can leak through
smaller openings. |
| • | The fluorescent leak detection method will locate smaller leaks. |
| • | The R-134a dye takes time to work through the A/C system. Depending on
the rate of the leak, the dye may not be visible for 7 days. |
| • | The dye mixed with PAG oil remains detectable in the system for 2 years.
Larger amounts may compromise the reliability of the system. Use only the 1/4-oz
charge of dye. |
| • | If you inspect the leak locations with an ultraviolet light, the dye
glows yellow and green. |
| • | PAG oil is soluble in water. Condensation on the refrigeration lines,
or on the evaporator core, may wash the dye off the lines, or off the core. This
may make some leaks harder to locate. |
| • | Fluorescent dye at the evaporator core drain indicates a core leak. |
Electronic Leak Detection Method
Caution: Do not operate the detector in a combustible atmosphere since its sensor
operates at high temperature. Personal injury or damage to the equipment may
result.
Tools Required
J 39400 Halogen Leak Detector
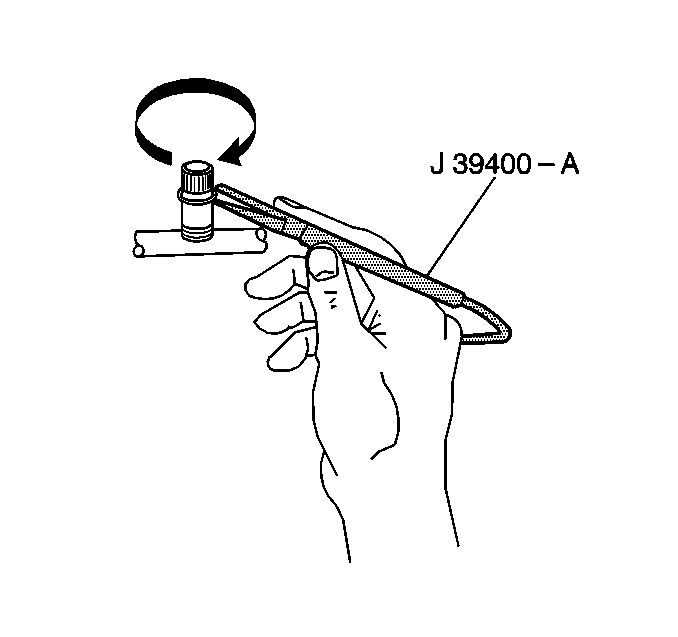
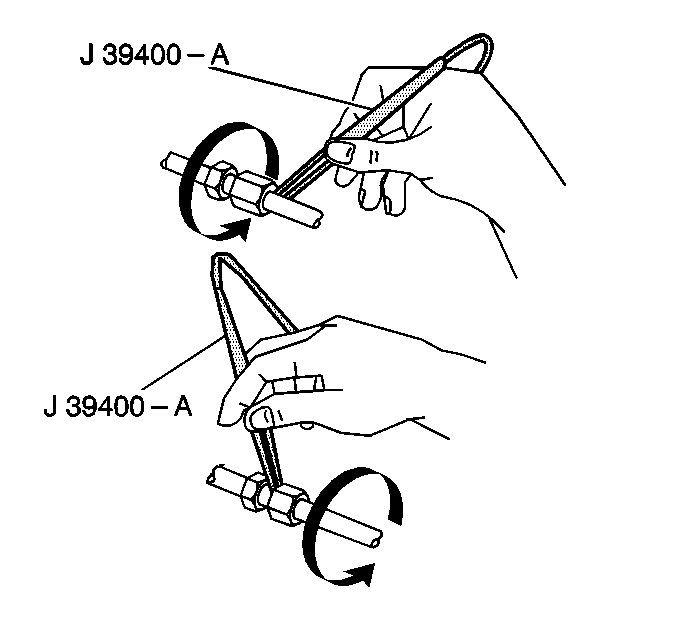
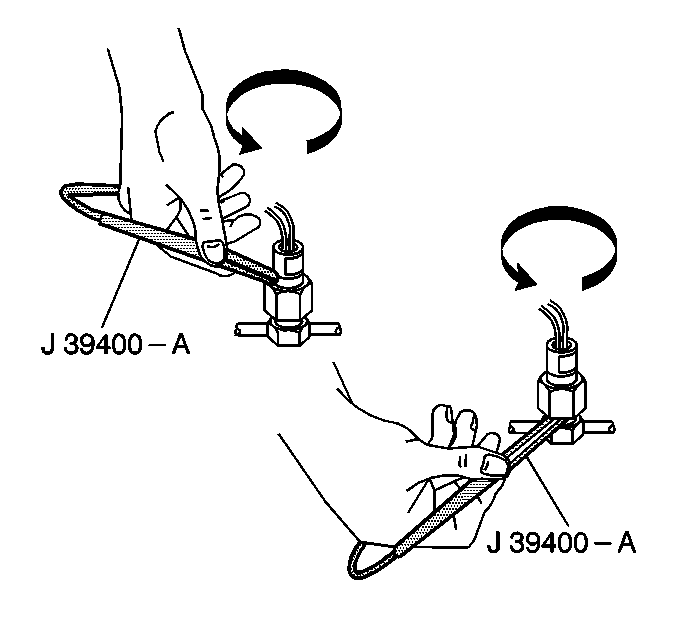
Use the J 39400
in order
to locate refrigerant leaks. The J 39400
provides an audible signal that increases in frequency if the unit detects
refrigerant.
There are 3 settings:
Use the gross leak setting in order to isolate very large leaks that you found
by using another setting. Correctly calibrate the instrument according to the instructions.
Set the detector to the refrigerant setting that is correct for the system being
tested. Place the detector GAS switch in the R-134a setting prior to use.
The successful use of an electronic leak detector depends greatly upon the
following conditions:
| • | Correct calibration, operation, and maintenance of the detector, according
to the manufacturer's instructions |

Important: Halogen leak detectors are sensitive to the following items in a vehicle:
| • | Windshield washing solutions |
- Verify that the surfaces are clean in order to prevent a false warning.
- Verify that the surfaces are dry, because the ingestion of liquids damages
the detector.
- Blow out the engine compartment using an air hose prior to the test.
The presence of vapors may cause a false warning.
- Move the probe completely around each joint.
- Move the probe at a rate of 25-50 mm (1-2 in) per second.
- Keep the tip on the probe as close to the surface as possible.
Keep the tip closer than 6 mm (1/4 in) from the surface. Do not block
the air intake of the probe.
- Adjust the balance knob frequently in order to maintain the 1-2 clicks
per second rate.
If the steady 1-2 clicks per second changes to a solid alarm, a leak is present.

Test the following areas:
| • | The receiver-dryer inlet |
| • | The receiver-dryer outlet |
| • | Areas that show signs of damage |
| • | The compressor rear head and the housing joints |

Service Access Ports
The main seal for the service port is the sealing cap. This cap contains a
special O-ring or a gasket that provides a leak-free seal. The following conditions
may cause a refrigerant loss:
Evaporator Core
Leaks in the evaporator core are difficult to find. The core is inside an encapsulated
module. The core is inaccessible to leak detector devices. Use the following procedure
in order to test the core:
- Turn the blower fan on HIGH for 15 seconds. Shut the fan off.
- Wait 10 minutes.
- Remove the blower motor or the blower motor resistor.
- Insert the leak detector probe into the opening. Get the probe as close
as possible to the evaporator.
A solid alarm on the detector indicates a leak
- If possible, use a flashlight in order to visually inspect the core face
for evidence of refrigerant oil.
Compressor and Block Fitting
A worn shaft seal often causes compressor gas leaks. A small amount of compressor
oil leakage from the shaft seal is normal. Replace the compressor only when a large
leak is detected. At times, an oil leak can be detected visually. A gas leak check
will require a gas leak detector.
- For at least 15 seconds, blow shop air behind the compressor clutch pulley
and in front of the compressor clutch pulley.
- Probe the compressor area. If the detector goes to a solid alarm, a leak
is present.


