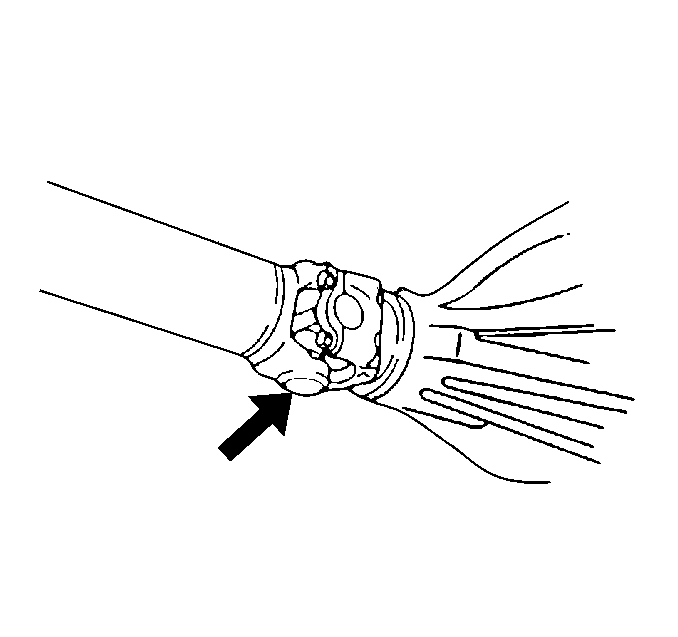
Inspect the propeller shaft for correct phasing. Correct phasing means that the front and the rear U-Joint are directly in line or parallel with each other so that proper cancellation takes place.
One Piece Propeller Shaft Phasing Inspection
- Rotate the propeller shaft so that the propeller shaft rear U-Joint bearing cap is vertical.
- Inspect the front propeller shaft bearing cap to ensure that it is also vertical.
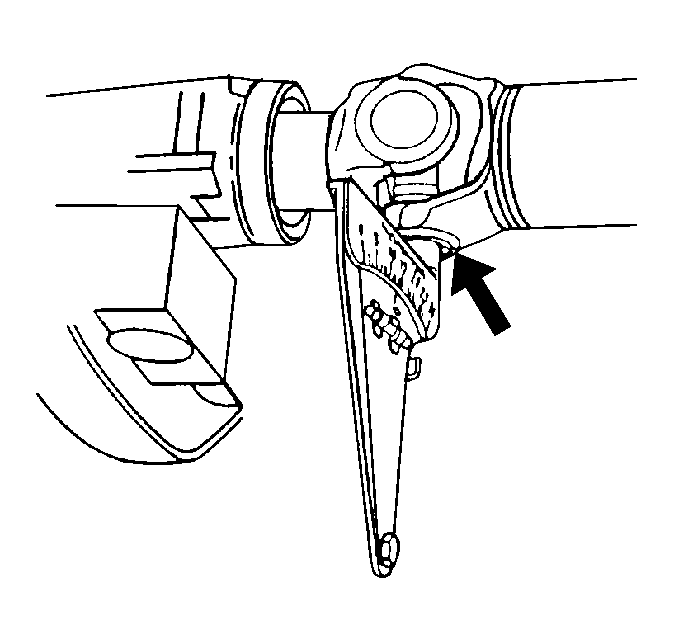
- Place the inclinometer on the propeller shaft rear U-Joint bearing cap, installing it 90 degrees (perpendicular) in relation to the propeller shaft.
- Set the indicator line above the sight glass on 15 (the horizontal reference). Rotate the propeller shaft until the bubble centers in the sight glass. This action brings the rear Joint to vertical.
- Remove the inclinometer without disturbing the prop shaft. Leave the setting on 15.
- Install the inclinometer on the front Joint. The bubble should remain centered plus or minus 3 degrees if the shaft is properly phased.


The out of phasing of the single-piece propeller shaft is very unusual. If the shaft is visibly out of place, the end yokes are welded on in the wrong position or the shaft is damaged due to twisting. In either case, replace the propeller shaft before continuing with this procedure.
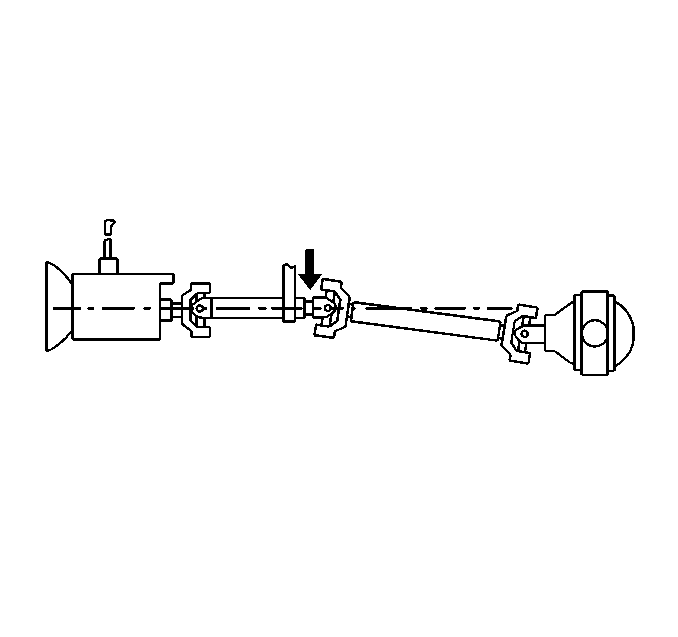
Multiple-Piece Propeller Shaft Phasing
The setup and measurement techniques are identical to that of a the one-piece propeller shaft system. First, check for proper phasing, using the following procedure:
- Turn the rear propeller shaft so that the rear Joint is straight up and down. Verify that the front Joint of the rear propeller shaft is also straight up and down.
- Rotate the shafts 90 degrees so that the front propeller shaft front Joint is straight up and down. Ensure that the front propeller shaft is also straight up and down (actually part of the slip yoke on the rear shaft).

If the 2 U-Joints of the front propeller shaft are not in this phase, the 2 halves of the propeller shaft may have been assembled incorrectly.
