Removal Procedure
- Disconnect the negative battery cable.
- Remove the front axle assembly, 4WD only. Refer to Front Axle Housing Replacement in Front Drive Axle.
- Remove the rack and pinion assembly. Refer to Steering Gear Replacement in Power Steering.
- Drain the engine oil.
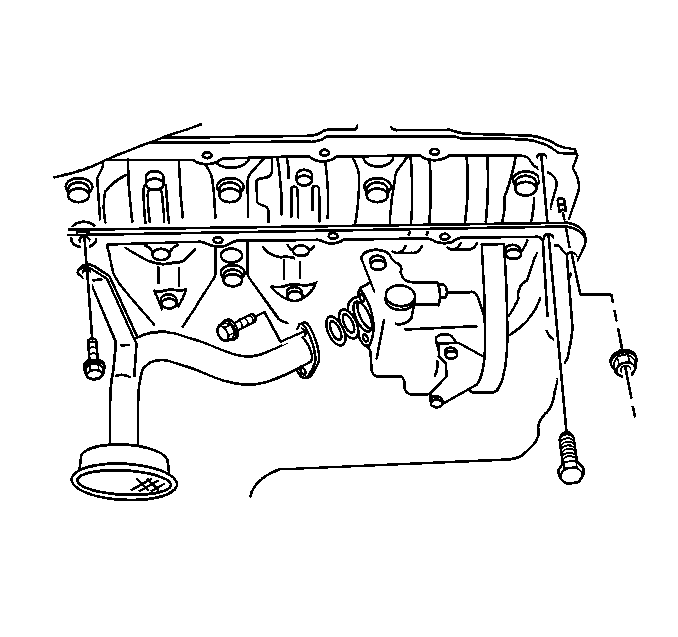
- Remove the oil pan. Refer to Oil Pan Replacement .
- Drain the cooling system. Refer to Cooling System Draining and Filling in Engine Cooling.
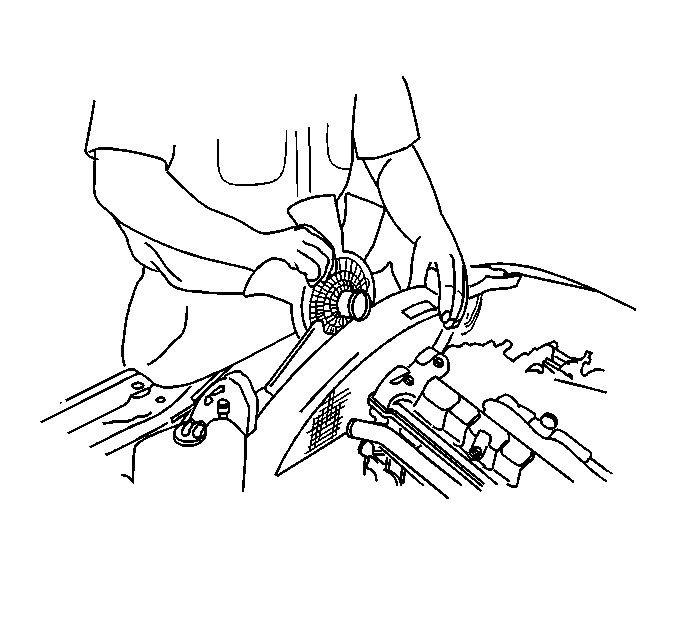
- Remove the cooling fan and shroud. Refer to Fan Replacement in Engine Cooling.
- Remove the cooling fan drive belt. Refer to Fan Belt Replacement .
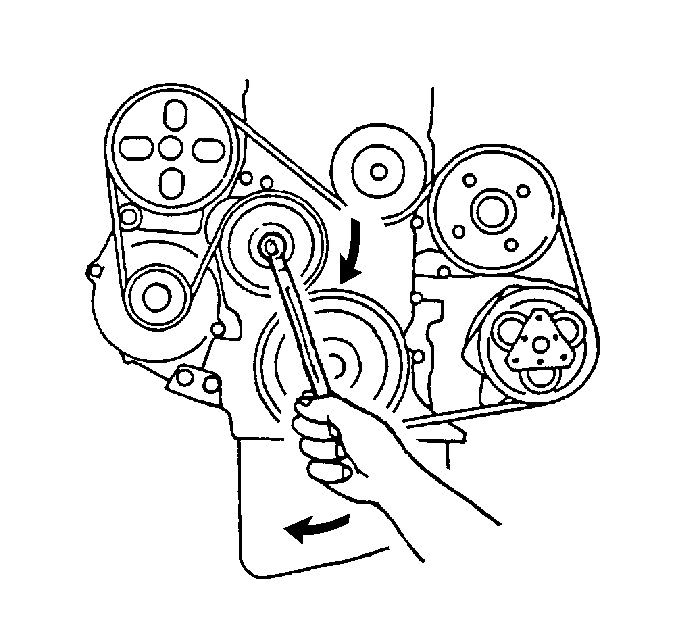
- Remove the accessory drive belt. Refer to Generator and Air Conditioning Compressor and Power Steering Pump Belt Replacement .
- Remove the cooling fan drive belt tensioner. Refer to Drive Belt Tensioner Replacement - Cooling Fan .
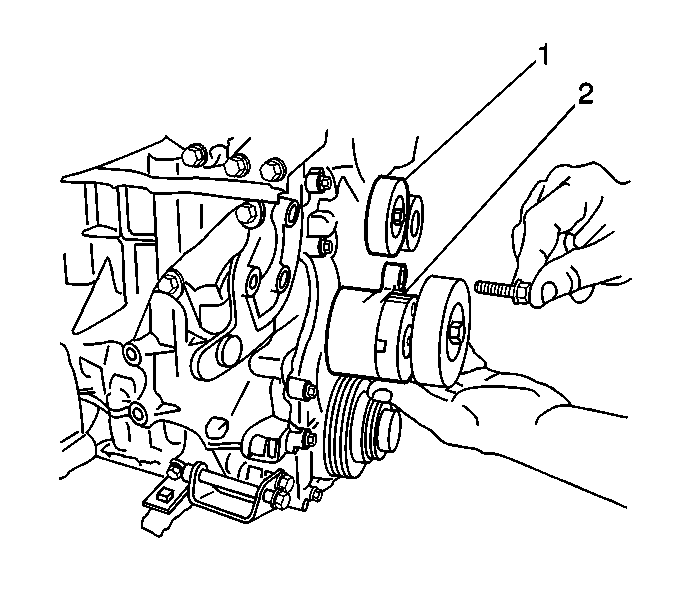
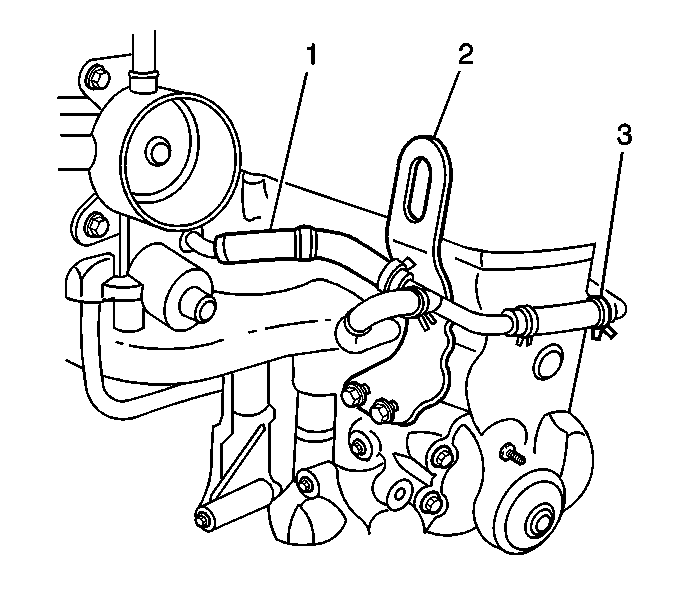
- Remove the accessory drive belt tensioner (2). Refer to Drive Belt Tensioner Replacement - Generator, Air Conditioning, and Power Steering .
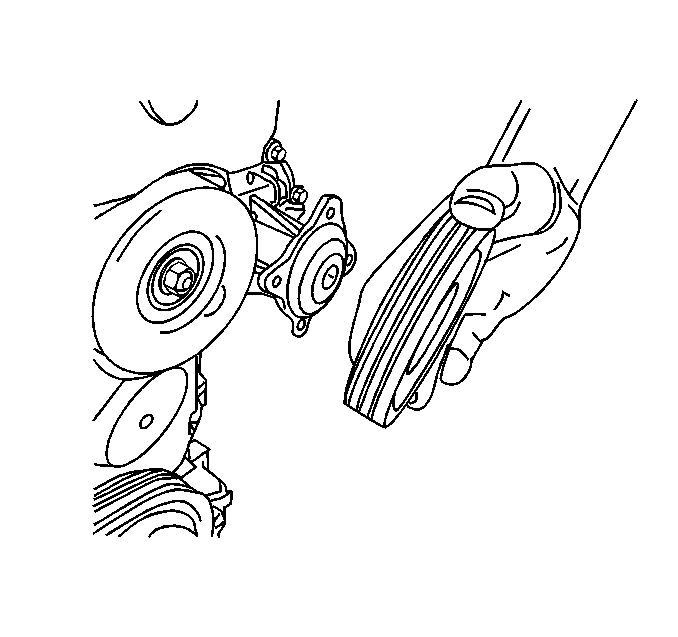
- Remove the accessory drive belt idler pulley (1).
- Remove the 4 bolts and the water pump pulley.
- Remove the bypass hose (3) from the coolant outlet pipe.
- Remove the 2 bolts and the water bypass pipe bracket (2) from the cylinder head.
- Remove the crankshaft bolt and pulley. Refer to Crankshaft Pulley Replacement .
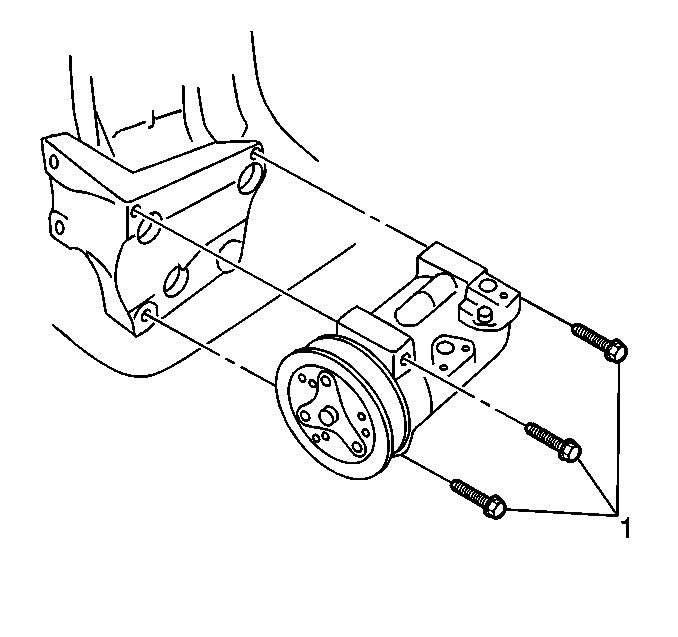
- Remove the 3 bolts (1) and the A/C compressor, if equipped, from its bracket and position aside. Refer to Air Conditioning Compressor Replacement in HVAC Systems with A/C Manual.
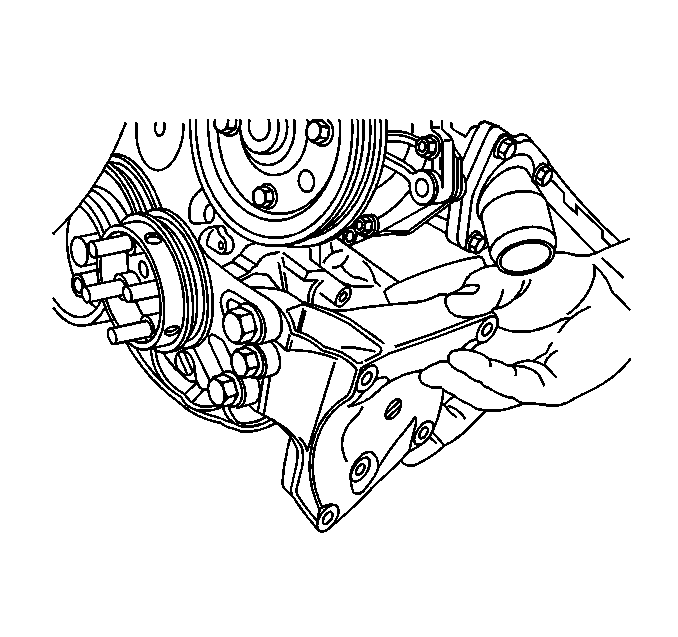
- Remove the 4 bolts and the A/C compressor bracket, if equipped. Refer to Compressor Mounting Bracket Replacement in HVAC Systems with A/C Manual.
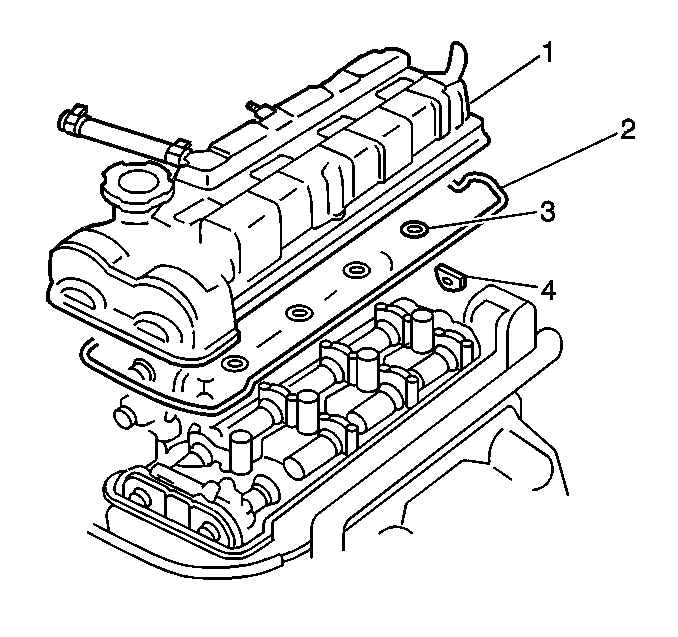
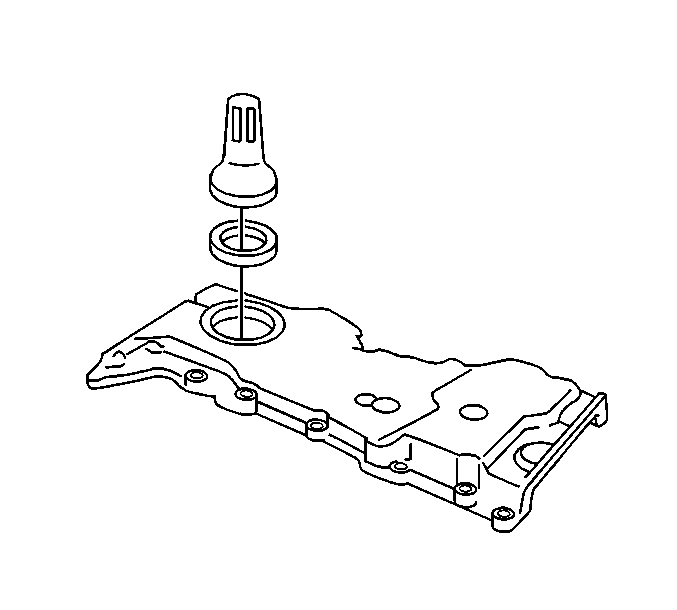
- Remove the cylinder head cover (1). Refer to Cylinder Head Cover Replacement .
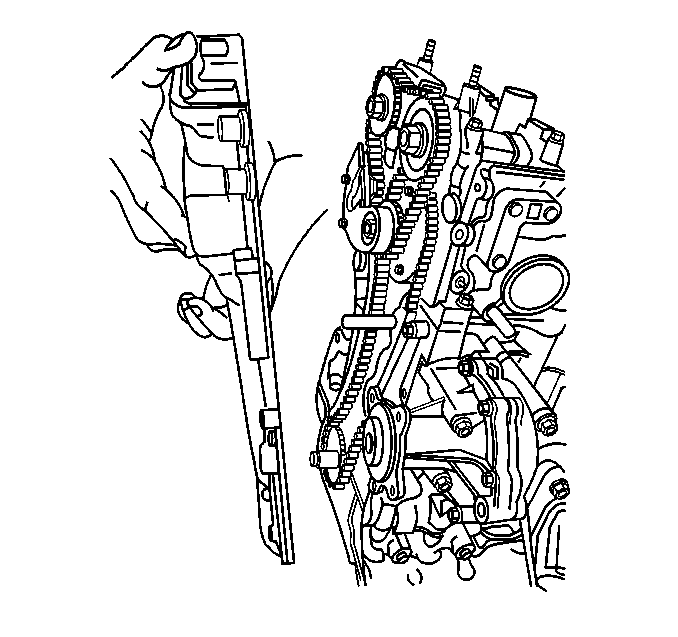
- Remove the nut and 15 bolts and the timing chain housing.
Caution: Unless directed otherwise, the ignition and start switch must be in the OFF or LOCK position, and all electrical loads must be OFF before servicing any electrical component. Disconnect the negative battery cable to prevent an electrical spark should a tool or equipment come in contact with an exposed electrical terminal. Failure to follow these precautions may result in personal injury and/or damage to the vehicle or its components.
Important: Do not discharge the A/C system, nor remove the refrigerant lines from the compressor.
Installation Procedure
- Clean the sealing surfaces on the timing chain housing, the cylinder head, the oil pan, the engine block and the lower crankcase.
- Inspect the front crank seal. Replace as necessary. Refer to Crankshaft Front Oil Seal Replacement .
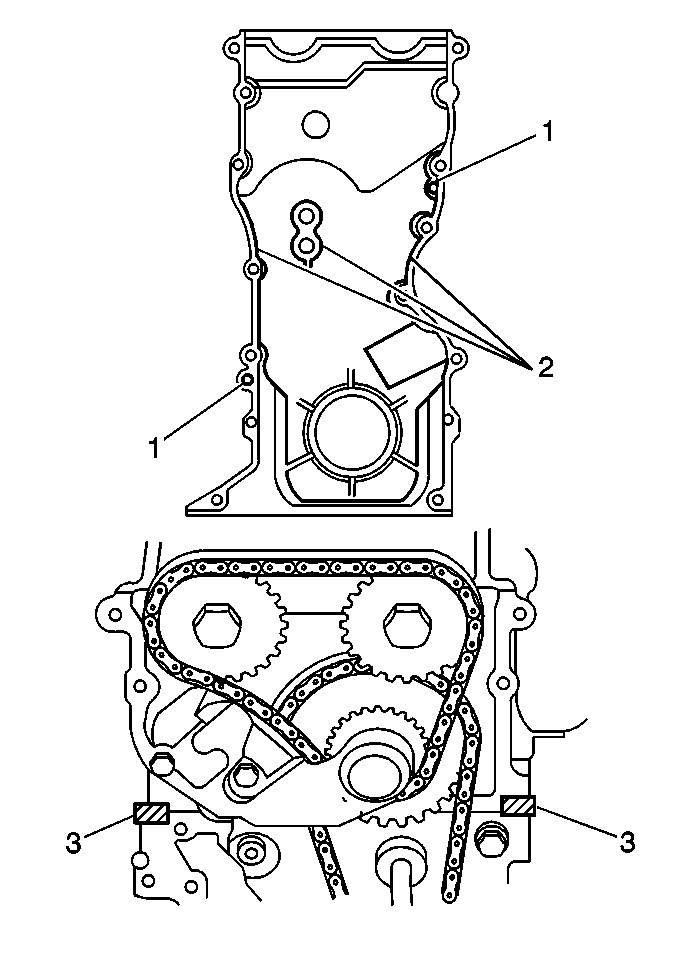
- Install the dowel pins to the timing chain housing (1).
- Apply a continuous bead of GM P/N 12345997 or equivalent to the timing cover mating surface (2).
- Apply a bead of GM P/N 12345997 or equivalent to the cylinder head-to-engine block mating points (3).
- Lubricate the front crank seal lip with Chassis Grease GM P/N 1051344 (Canadian P/N 993037) or equivalent.
- Install the timing chain housing. Secure with the nut and 15 bolts.
- Install the cylinder head cover (1). Refer to Cylinder Head Cover Replacement .
- Install the crankshaft pulley and bolt. Refer to Crankshaft Pulley Replacement .
- Install the A/C compressor bracket, if equipped. Refer to Compressor Mounting Bracket Replacement in HVAC Systems with A/C Manual.
- Install the A/C compressor, if equipped, to its bracket and secure with the 3 bolts (1). Refer to Air Conditioning Compressor Replacement in HVAC Systems with A/C Manual.
- Install the water bypass pipe bracket (2) to the cylinder head. Secure with the 2 bolts.
- Install the bypass hose (3) to the coolant outlet pipe.
- Install the water pump pulley. Secure with the 4 bolts.
- Install the accessory drive belt idler pulley (1).
- Install the accessory drive belt tensioner (2). Refer to Drive Belt Tensioner Replacement - Generator, Air Conditioning, and Power Steering .
- Install the cooling fan drive belt tensioner. Refer to Drive Belt Tensioner Replacement - Cooling Fan .
- Install the accessory drive belt. Refer to Generator and Air Conditioning Compressor and Power Steering Pump Belt Replacement .
- Install the cooling fan drive belt. Refer to Fan Belt Replacement .
- Install the cooling fan and shroud. Refer to Fan Replacement in Engine Cooling.
- Install the oil pan. Refer to Oil Pan Replacement .
- Install the rack and pinion assembly. Refer to Steering Gear Replacement in Power Steering.
- Install the front axle assembly on four wheel drive vehicles. Refer to Front Axle Housing Replacement in Front Drive Axle.
- Fill the differential on four wheel drive vehicles. Refer to Front Axle Lubricant Level Inspection in Front Drive Axle.
- Fill the power steering system. Refer to Checking and Adding Power Steering Fluid in Power Steering.
- Bleed the power steering system. Refer to Power Steering System Bleeding in Power Steering.
- Fill the crankcase with engine oil.
- Fill the cooling system. Refer to Cooling System Draining and Filling in Engine Cooling.
- Connect the negative battery cable.
- Adjust the front toe-in. Refer to Front Toe Adjustment in Wheel Alignment.

Notice: Use the correct fastener in the correct location. Replacement fasteners must be the correct part number for that application. Fasteners requiring replacement or fasteners requiring the use of thread locking compound or sealant are identified in the service procedure. Do not use paints, lubricants, or corrosion inhibitors on fasteners or fastener joint surfaces unless specified. These coatings affect fastener torque and joint clamping force and may damage the fastener. Use the correct tightening sequence and specifications when installing fasteners in order to avoid damage to parts and systems.
Tighten
Tighten the nut and bolts to 11 N·m (97 lb in).

Tighten
Tighten the nuts to 11 N·m (97 lb in).

Tighten
Tighten the bolts to 55 N·m (40 lb ft).

Tighten
Tighten the bolts to 23 N·m (17 lb ft).


