For 1990-2009 cars only
- Mark the connecting rod, the cap and the piston with the cylinder number from which the piston assembly is being removed. Also mark the orientation to the front of the cylinder block. This will ensure that the pistons, caps and connecting rods are re-assembled correctly.
- Rotate the crankshaft to the bottom dead center position for the cylinder being serviced.
- Place a cloth over the piston to catch the debris.
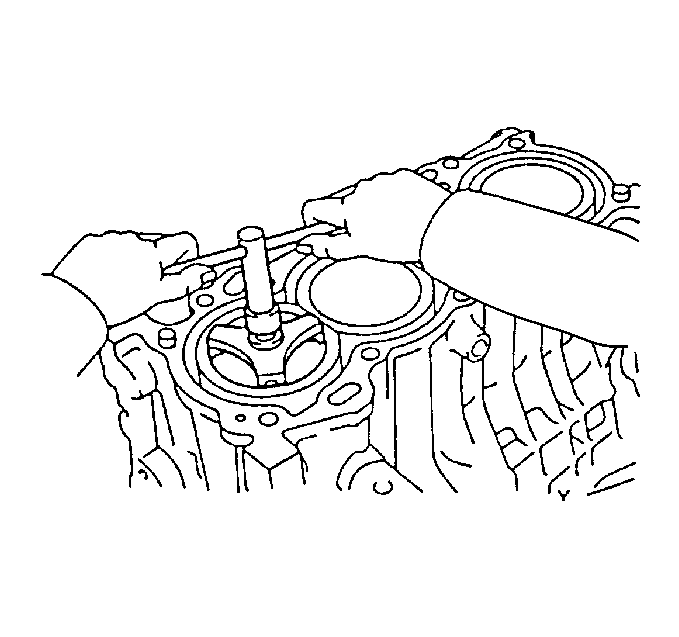
- Remove all of the ridge from the top of the cylinder using a ridge reamer.
- Turn the crankshaft until the piston is at the top dead center position.
- Remove the cloth with the metal shavings from the cylinder and piston.
- Rotate the crankshaft to a position where the connecting rod nuts are the most accessible.
- Remove the connecting rod nuts.
- Remove the connecting rod cap and bearing.
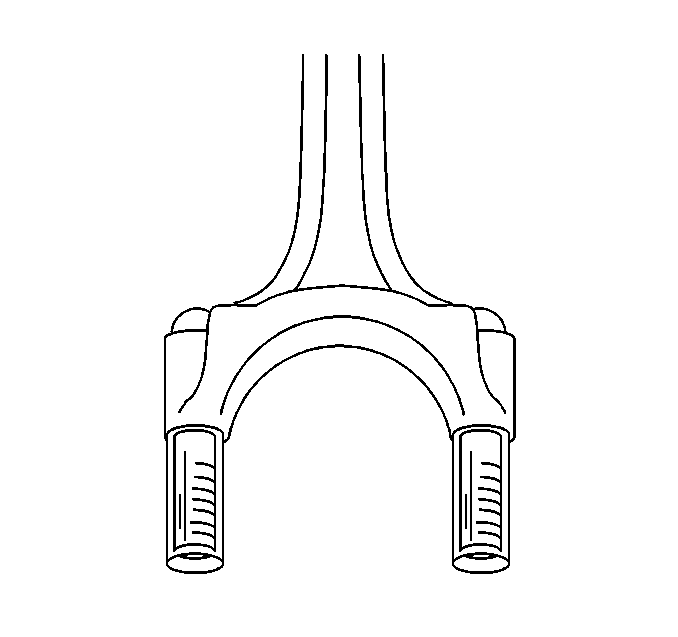
- Install guide hoses over the connecting rod studs. This prevents damage to the crankshaft bearing journal and the connecting rod stud threads.
- Remove the piston and connecting rod assembly from the cylinder.
Notice: If there is a pronounced ridge at the top of the piston travel, the ridge must be removed with a ridge reamer before the piston and connecting rod assembly are removed. Applying force may break the piston rings or damage the piston.


