For 1990-2009 cars only
Front Pipe Replacement 2.0L
Removal Procedure
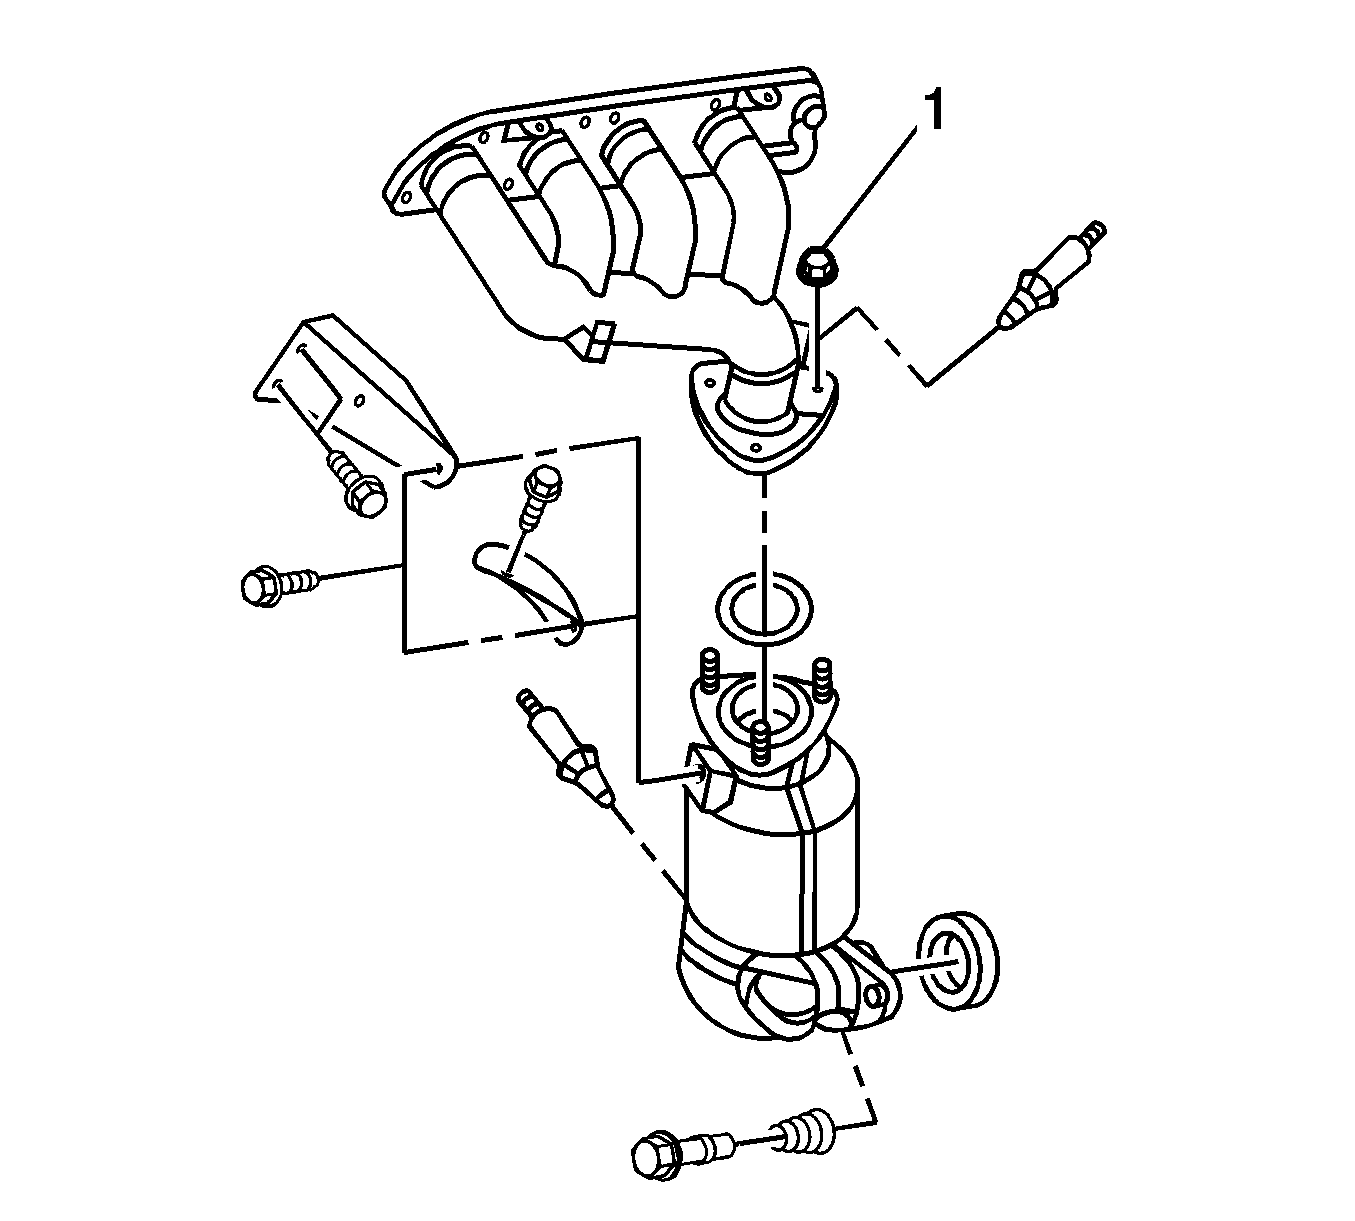
- On California 2.0L engine, remove 5 upper exhaust manifold heat shield bolts.
- Remove the upper exhaust manifold heat shield.
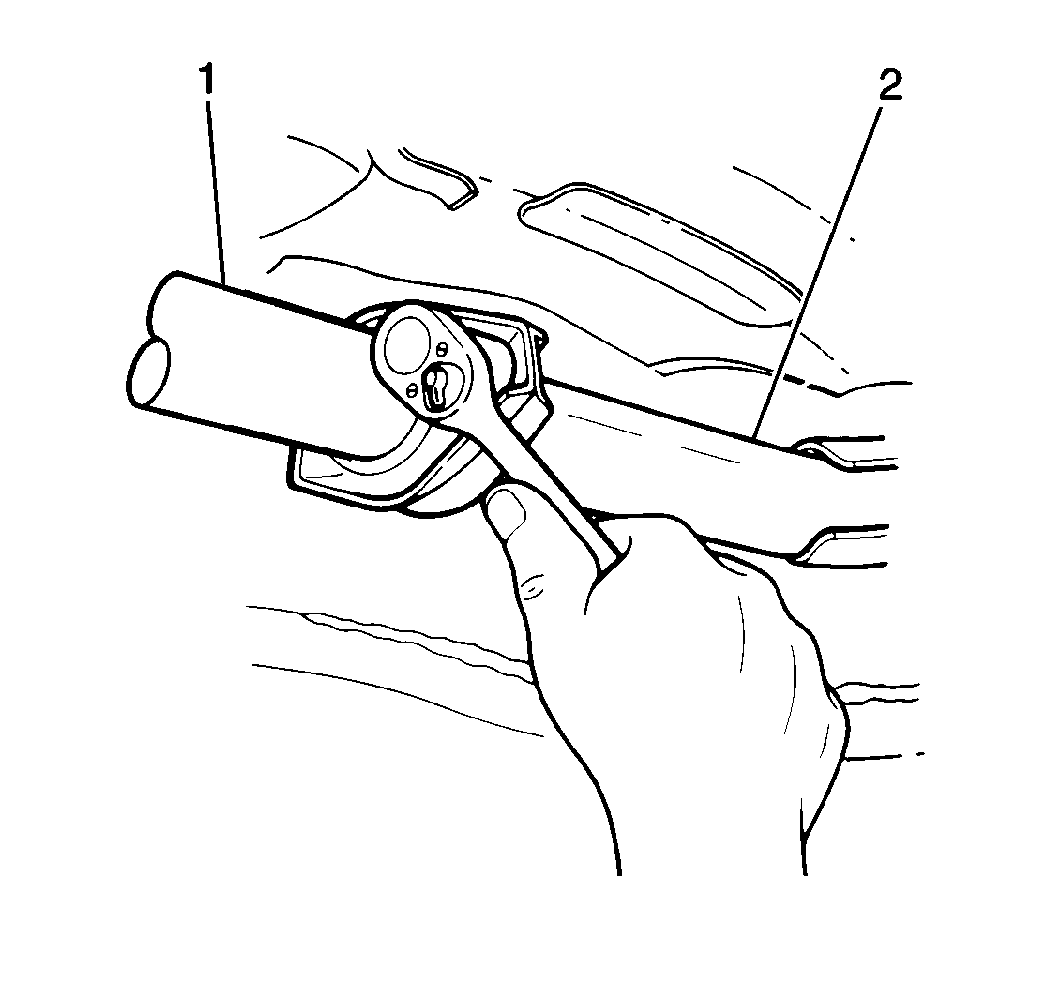
- Remove 3 exhaust manifold to front pipe nuts (1).
- On all, raise and support the vehicle. Refer to Lifting and Jacking the Vehicle in General Information.
- On California 2.0L engine, remove the heated oxygen sensor (HO2S) 2. Refer to Heated Oxygen Sensor 2 Replacement in Engine Controls-2.0L.
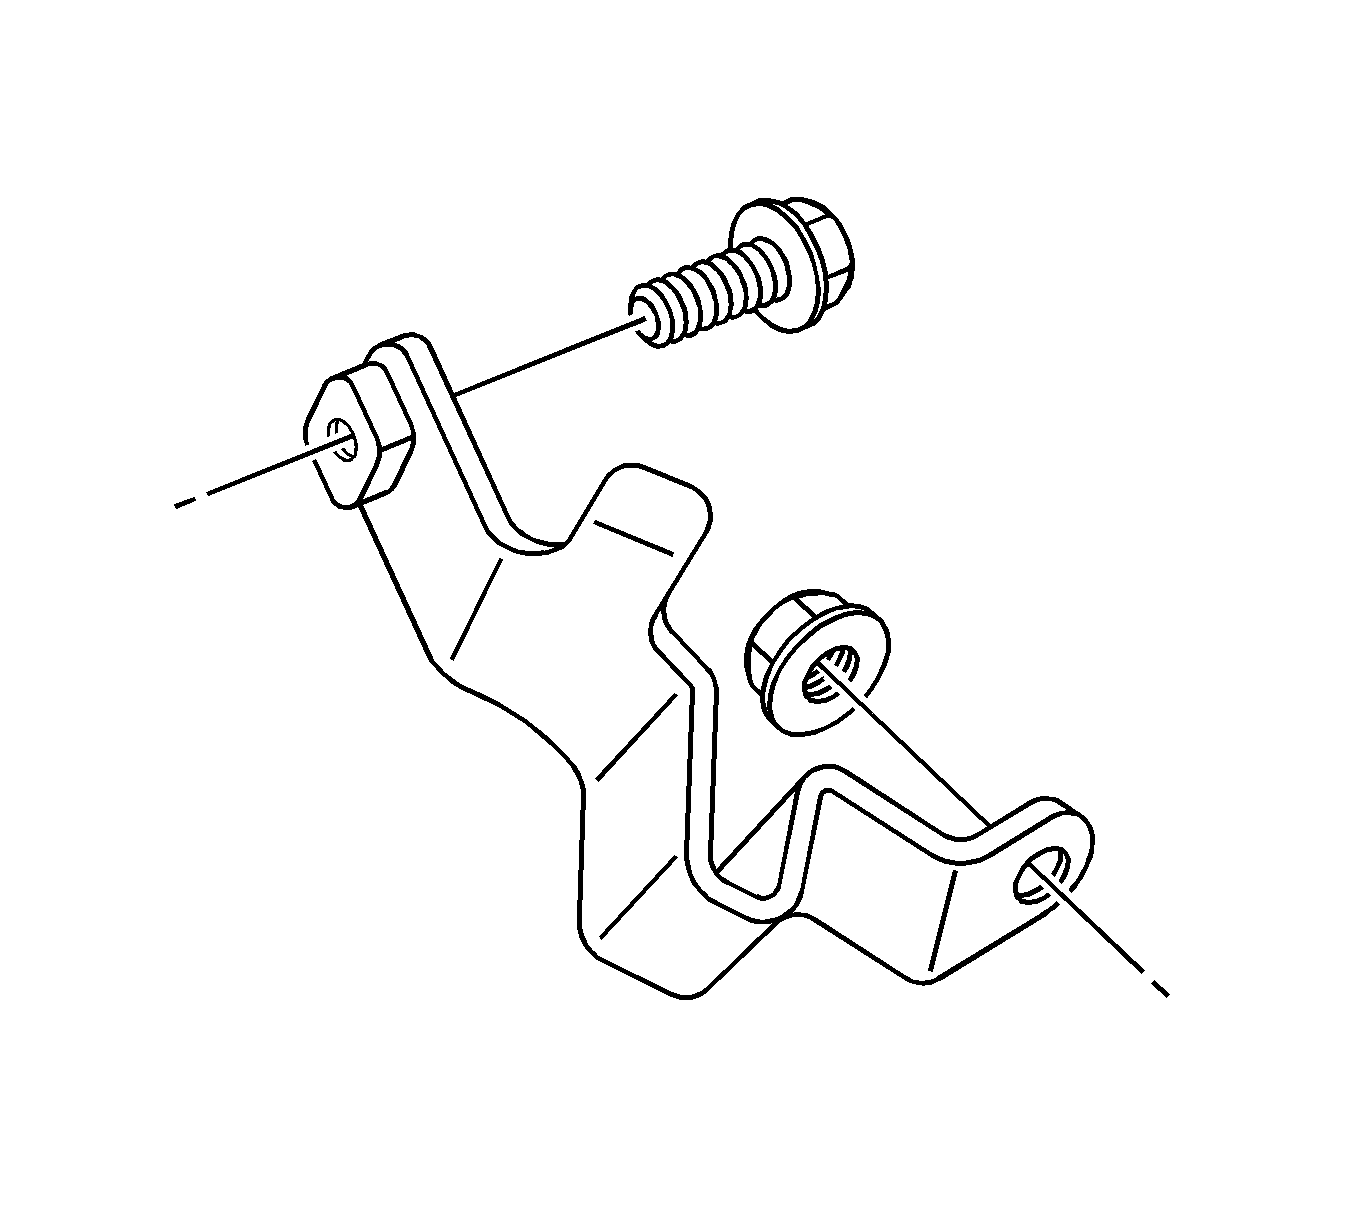
- Remove 1 bolt and 1 nut from the exhaust manifold pipe bracket.
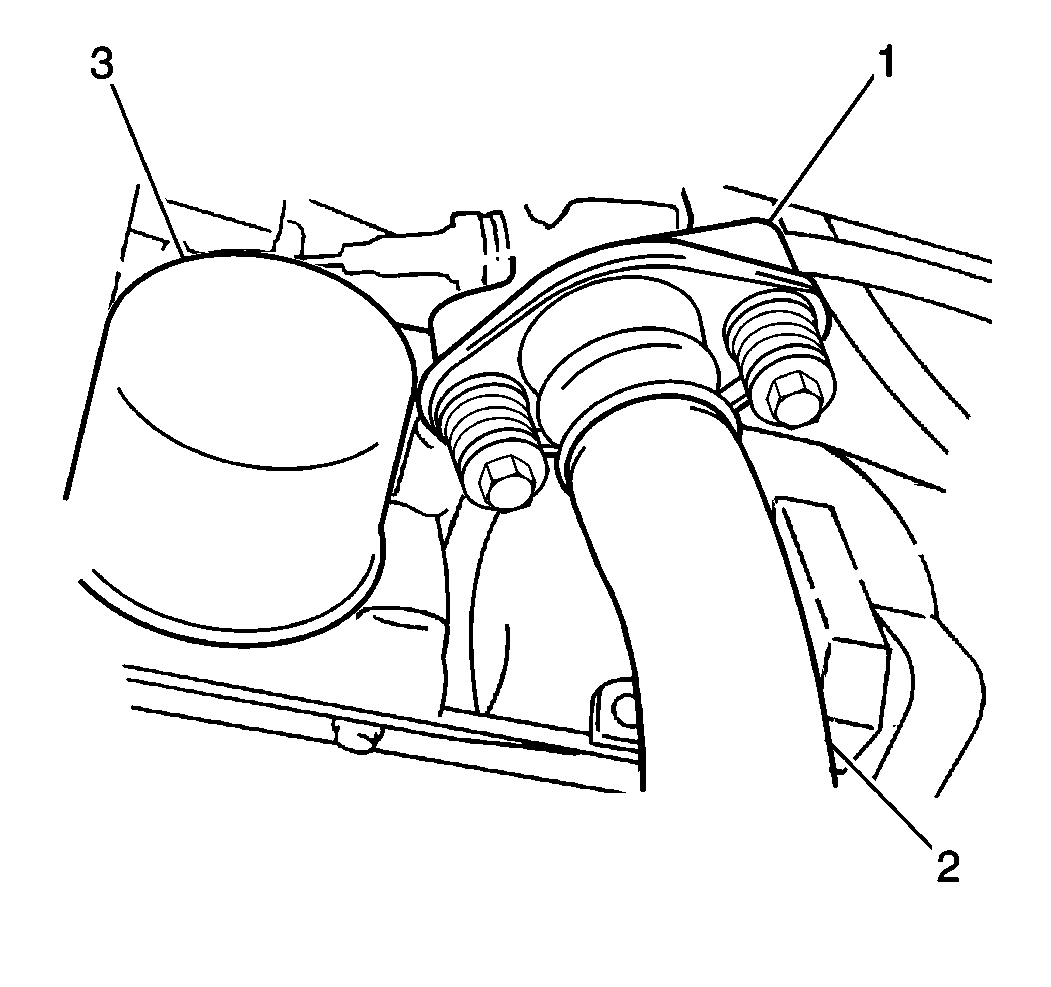
- On all, remove 2 bolts and the front pipe/TWC assembly (2) from the exhaust manifold (1).
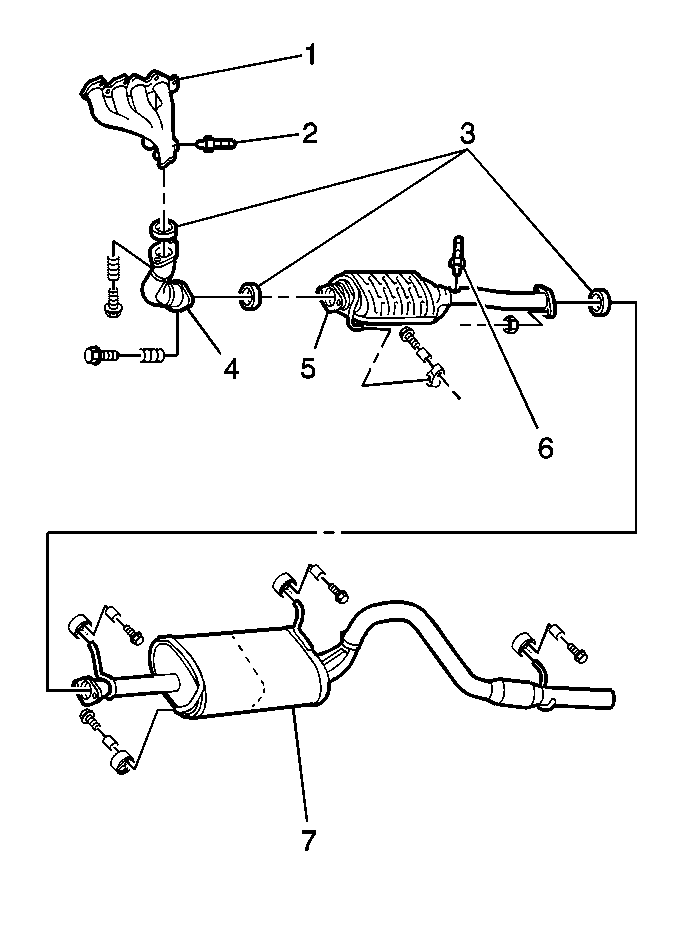
- On non-California 2.0L engine, remove the electrical connector at the heated oxygen sensor (H02S2) (6).
- On all, remove two nuts and the front pipe/TWC assembly (1) from the resonator/muffler/tail pipe assembly.
- Remove the hanger supporting the TWC.
- Remove the front pipe/TWC assembly (1) from the vehicle.
- Clean the gasket and the seal mating surfaces.
Installation Procedure
Important: When installing a new exhaust system component, always use new gaskets and seals.
- On all, install the front pipe/TWC assembly to the vehicle.
- Support the TWC with a hanger.
- Attach the front pipe/TWC assembly with a new gasket to the resonator/muffler/tail pipe assembly.
- Secure the resonator/muffler/tail pipe assembly with 2 nuts. Do not fully tighten the nuts.
- On non-California 2.0L engine, attach the electrical connector to the heated oxygen sensor (H02S2) (6).
- On all, connect the front pipe/TWC assembly, with a new seal, to the exhaust manifold and secure with 2 bolts. Do not fully tighten the bolts.
- On California 2.0L engine, install 1 bolt and 1 nut to the exhaust manifold pipe bracket.
- Install the heated oxygen sensor (HO2S) 2. Refer to Heated Oxygen Sensor 2 Replacement in Engine Controls-2.0L.
- On non-California engines, align all system components before tightening the fasteners, in order to prevent noise or vibrations.
- On California 2.0L engine, align all system components before tightening the fasteners, in order to prevent noise or vibrations.
- On all, lower the vehicle.
- On California 2.0L engine, install 3 exhaust manifold to front pipe nuts (1).
- Position exhaust manifold upper heat shield to the exhaust manifold.
- Install 5 exhaust manifold upper heat shield bolts.

Notice: Refer to Fastener Notice in the Preface section.

Tighten
Tighten the front exhaust pipe bracket nut and bolt
to 50 N·m (37 lb ft).
Tighten
| • | Tighten the front pipe/TWC assembly-to-exhaust manifold bolts to 50 N·m (37 lb ft). |
| • | Tighten the front pipe/TWC assembly-to-resonator/muffler/tail pipe assembly nuts to 35 N·m (26 lb ft). |
Tighten
Tighten the front pipe/TWC assembly-to-resonator/muffler/tail
pipe assembly nuts to 35 N·m (26 lb ft).

Tighten
Tighten the front pipe assembly-to-exhaust manifold
bolts to 50 N·m (37 lb ft).
