For 1990-2009 cars only
Removal Procedure
- Remove the intake manifold. Refer to Intake Manifold Replacement.
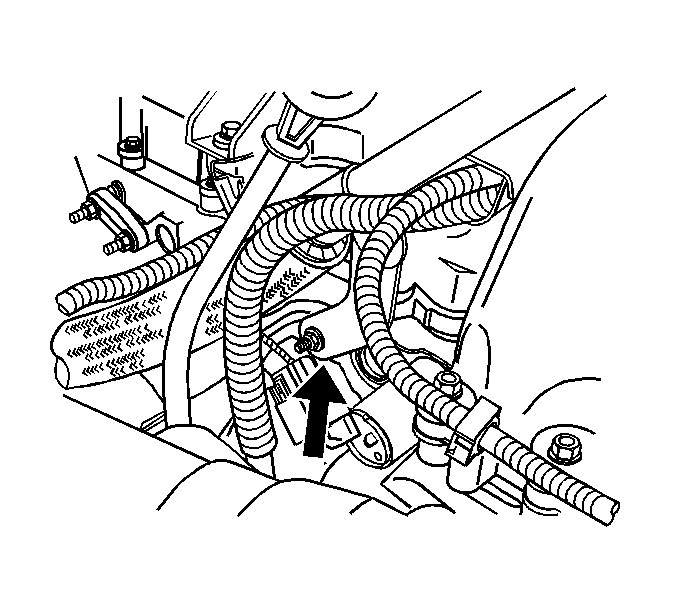
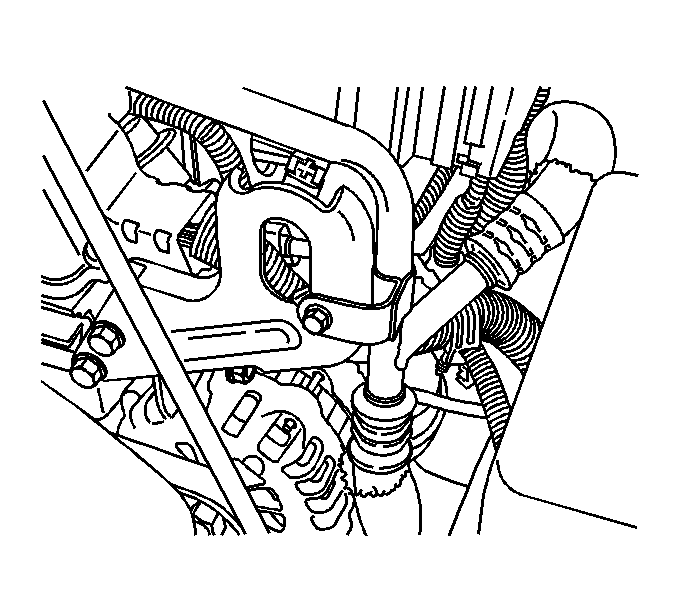
- Remove the A/C line at the oil level indicator tube bracket nut.
- Remove the A/C bracket bolt from the engine lift hook.
- Position the A/C line out of the way.
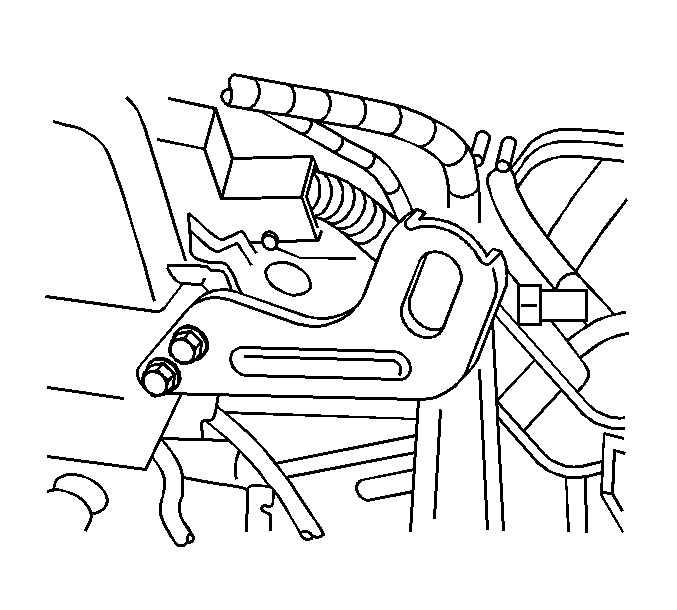
- Remove the engine lift bracket.
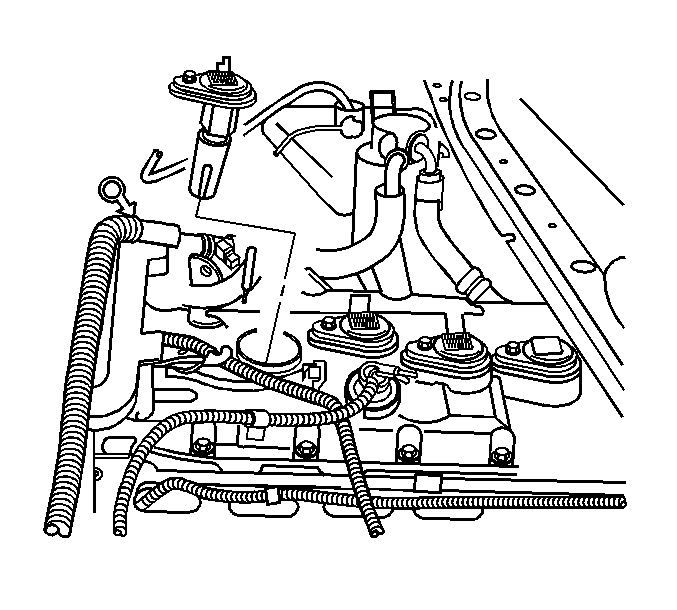
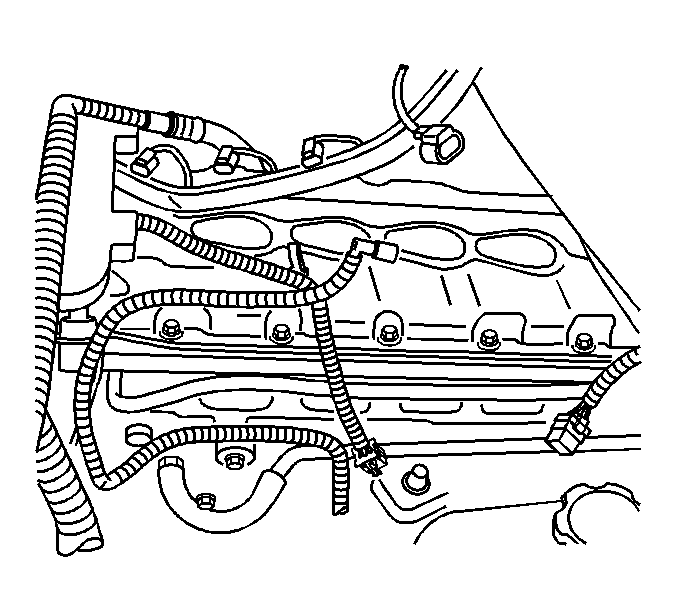
- Disconnect the ignition control module electrical connectors.
- Loosen the ignition control module bolts.
- Remove the ignition control module.
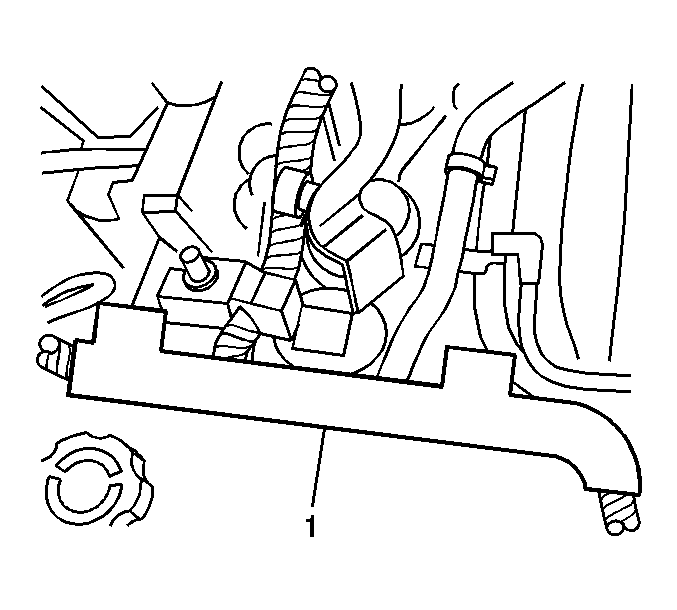
- Disconnect the engine electrical harness housing from the camshaft cover (1) taking care not to damage the clips that hold the housing in place.
- Disconnect the fuel injection harness electrical connector.
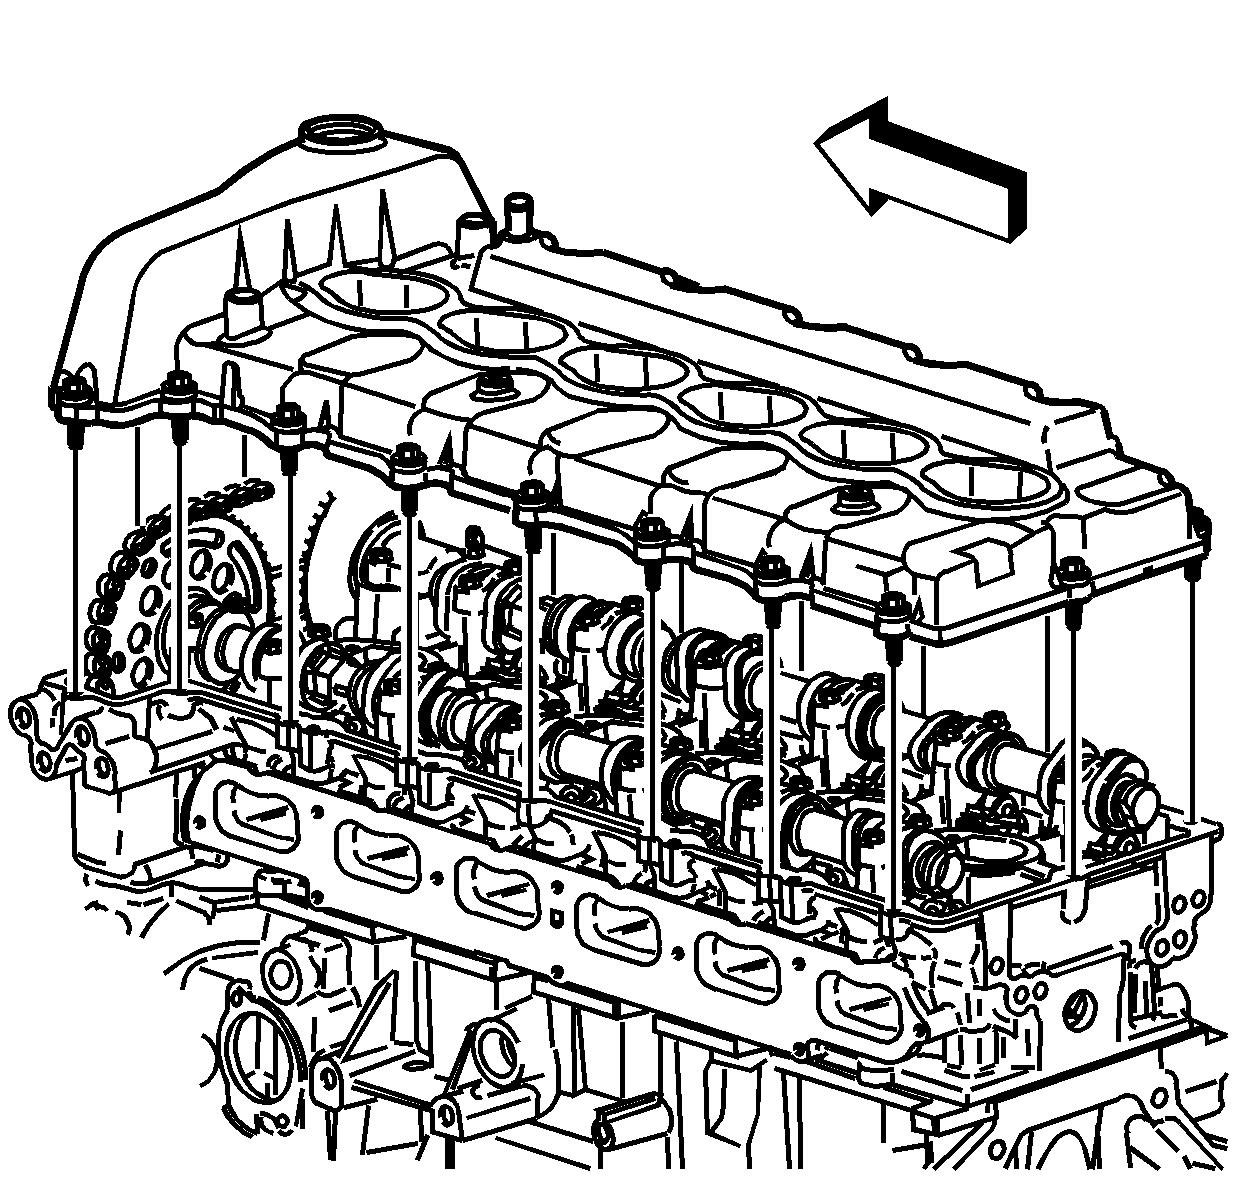
- Loosen and remove the camshaft cover bolts.
- Remove the camshaft cover.
- Clean and inspect the camshaft cover. Refer to Camshaft Cover Cleaning and Inspection.
Installation Procedure
- Install a new camshaft cover seal.
- Install new rubber ignition control module seals.
- Install the camshaft cover and secure with the cam cover bolts. Tighten the camshaft cover bolts to 10 N·m (89 lb in).
- Install the ignition control modules and secure the modules with bolts and tight to 10 N·m (89 lb in).
- Connect the ignition control module electrical connectors.
- Install the fuel injector electrical connectors.
- Install the engine electrical harness housing (1).
- Install the A/C line bracket to the oil level indicator tube stud and secure the bracket with the nut then tighten to 7 N·m (62 lb in).
- Install the engine lift bracket and secure the lift hook with the bolts then tighten to 50 N·m (37 lb ft).
- Install the A/C line bracket to the engine lift bracket and secure the A/C bracket with the bolt then tighten to 10 N·m (89 lb in).
- Install the intake manifold. Refer to Intake Manifold Replacement.
Caution: Refer to Fastener Caution in the Preface section.


