For 1990-2009 cars only
Removal Procedure
- Remove the rear interior trim panel covering the actuator. Refer to Body Side Window Rear Garnish Molding Replacement.
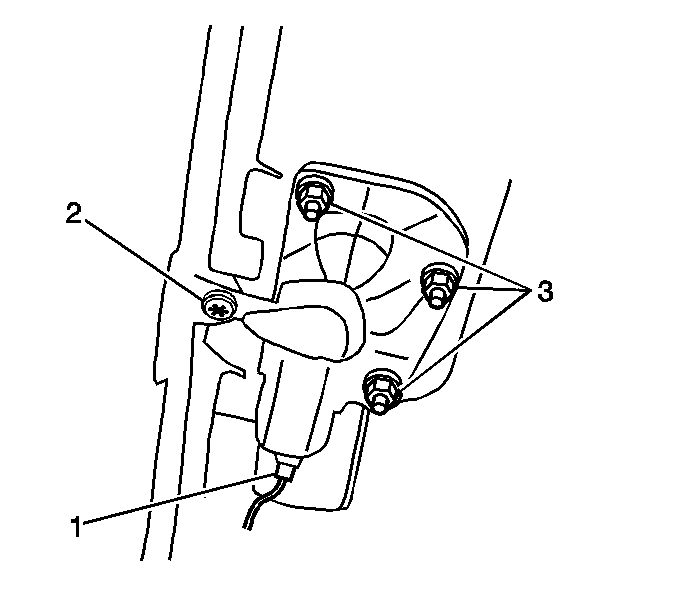
- Disconnect the electrical connection (1).
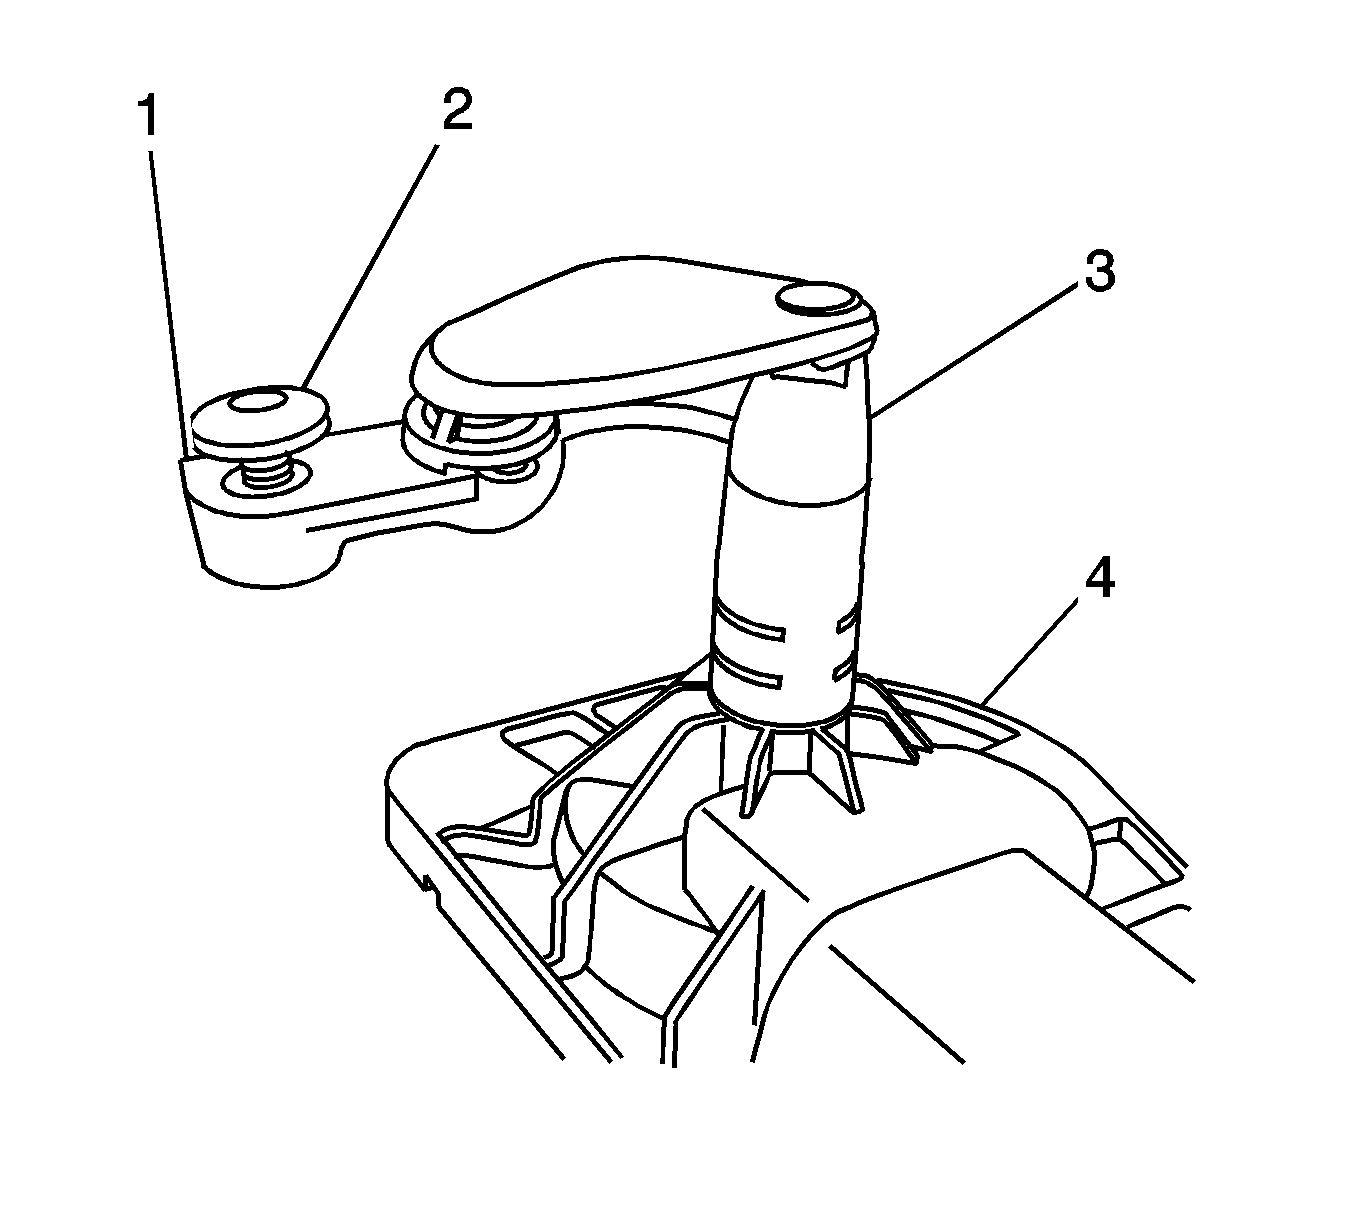
- Remove the actuator arm (1) to the window hinge screw (2)
- Remove the actuator retaining nuts.
- Remove the actuator from the vehicle.
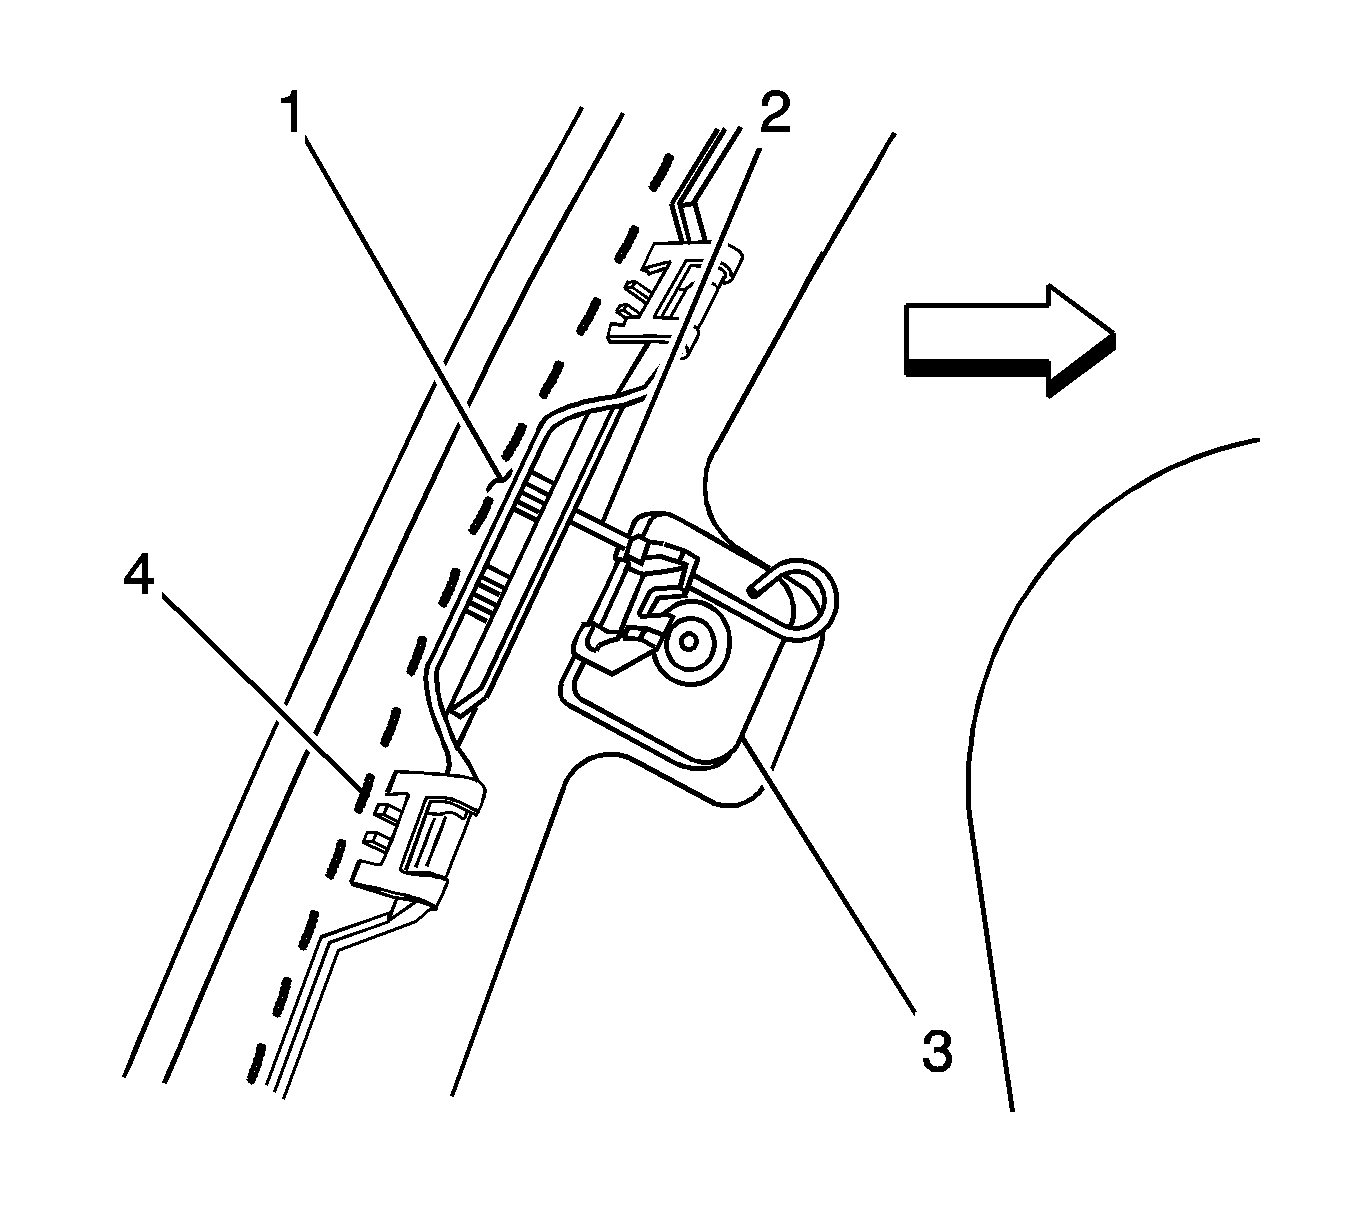
- Using a 2.0 mm (0.08 in) pin (1), secure the window bracket (3) to the window frame (4).
Installation Procedure
- Position the actuator over the mounting studs and install the retaining nuts (3).
- Connect the electrical connector (1).
- If installing or adjusting the old actuator proceed as follows:
- Ensure the window latch bracket (3) is pinned (1) the window frame (4).
- Position the bellcrank (1) at a 45 degree angle (2) compared to the vertical edge of the window side sheet metal (4).
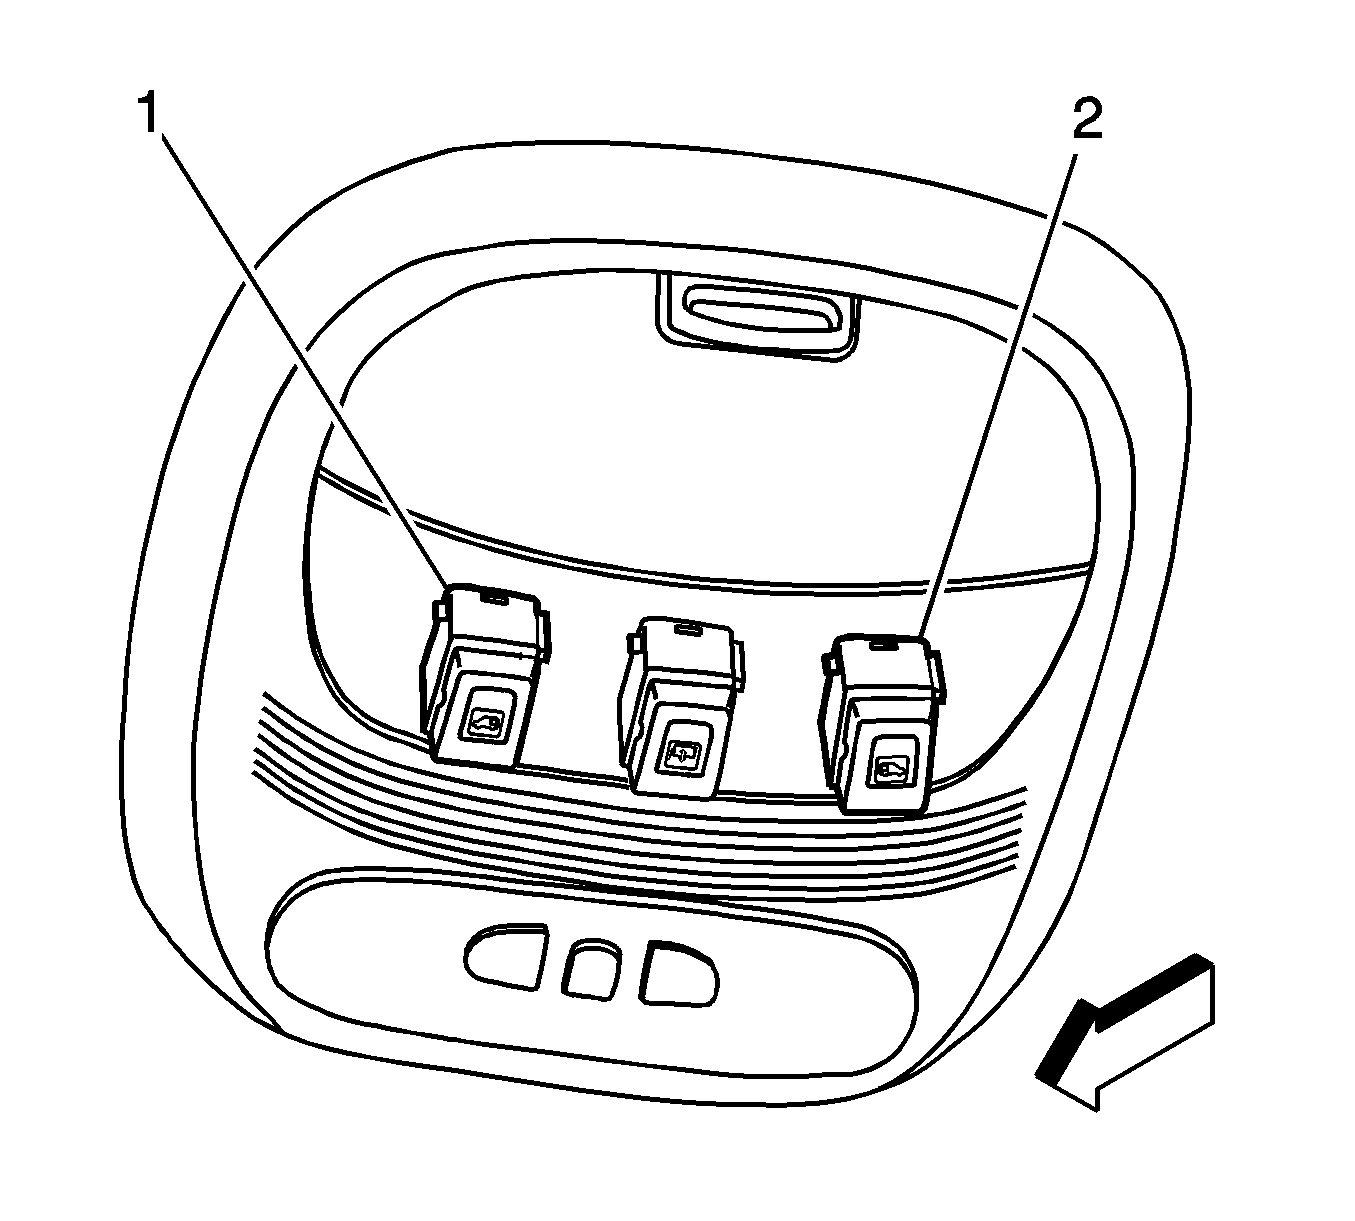
- Using the body side power window switches (1 or 2) at the overhead console, push the switch in order to position the bellcrank at a 45 degree angle to the sheet metal flange.
- Install the screw connecting the window bracket to the actuator arm.
- Remove the window bracket to the window frame pin (1).
- Verify the operation of the body side window.
- Install the rear interior trim panel. Refer to Body Side Window Rear Garnish Molding Replacement.
Caution: Refer to Fastener Caution in the Preface section.

Tighten
Tighten the nuts (3) to 7 N·m (2 lb in).
Note: If installing a new actuator, the actuator is timed correctly at the factory.

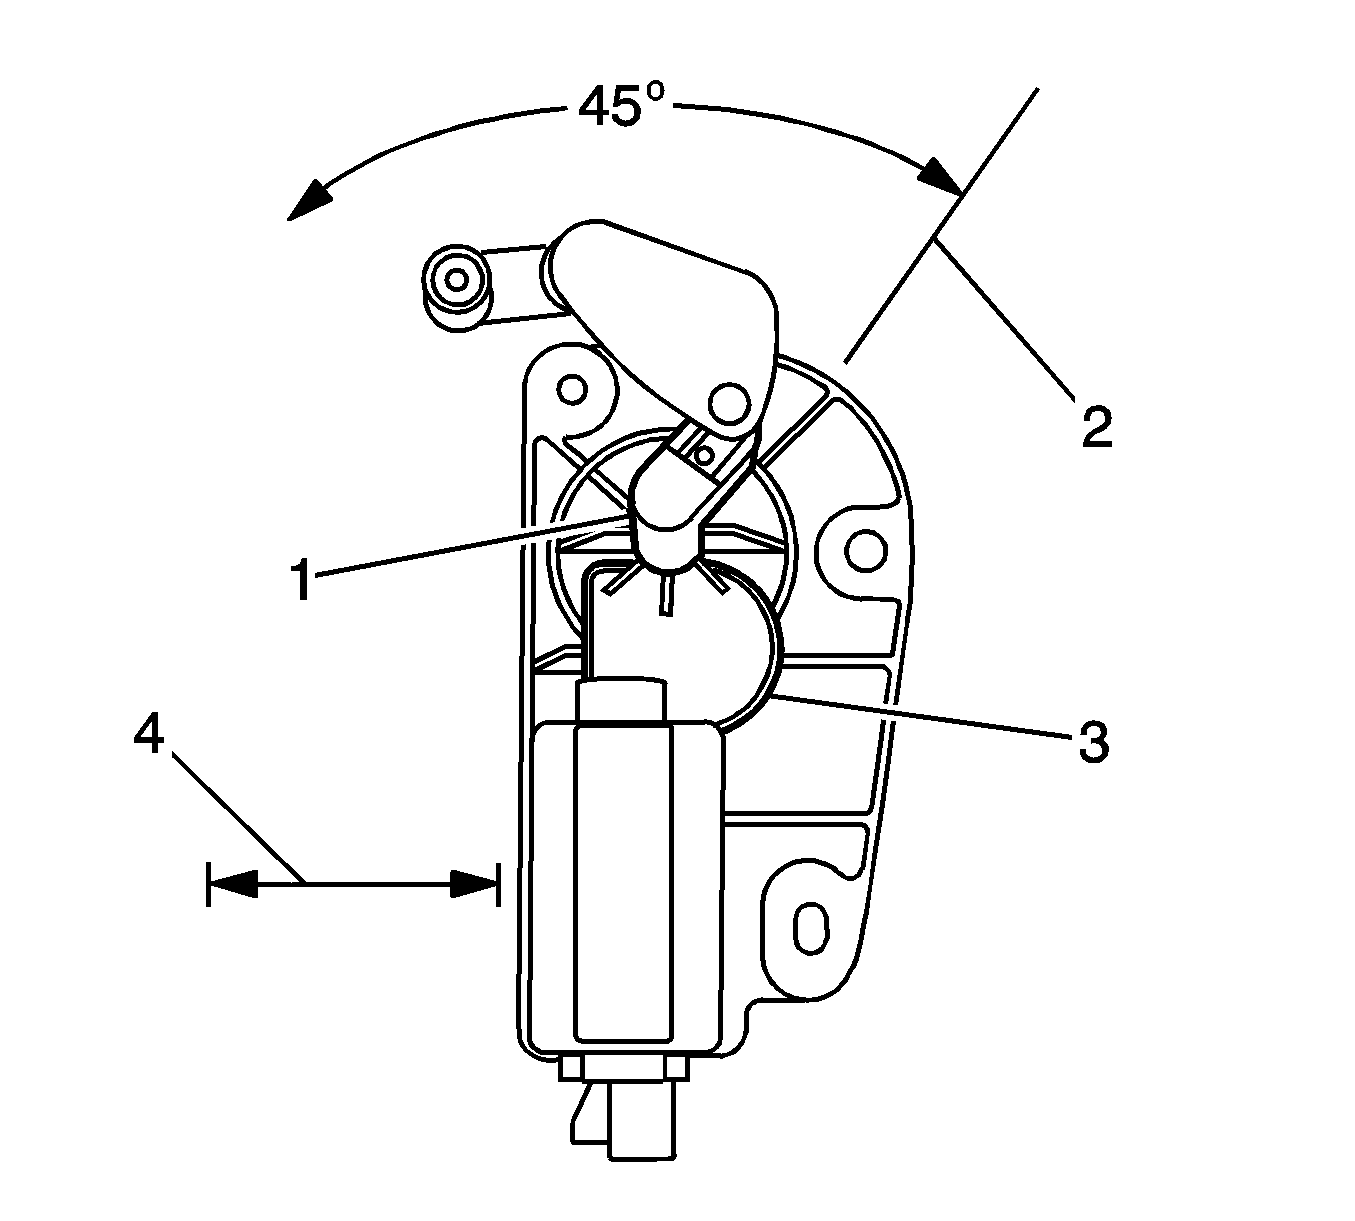

Note: The bellcrank arm (1) needs to be at a 45 degree angle (2) parallel to the sheet metal flange (4) prior to securing the actuator arm screw.
Tighten
Tighten the screw to 5 N·m (44 lb in).

