Removal Procedure
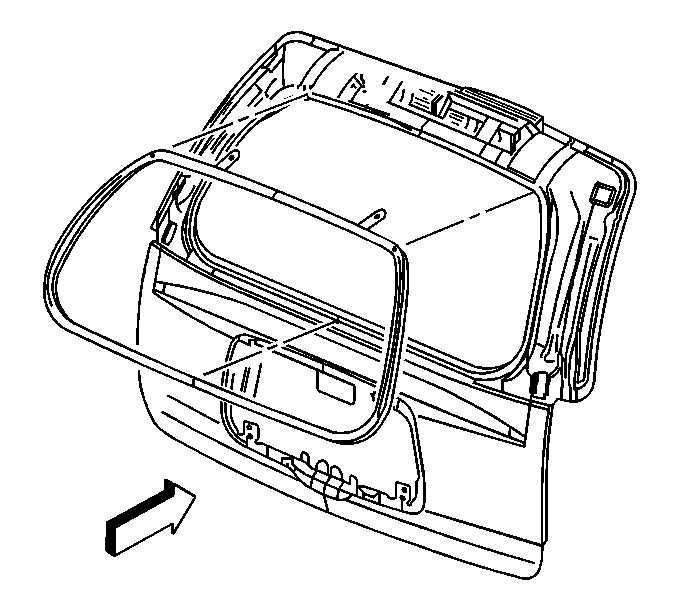
- Remove the liftgate upper molding. Refer to Liftgate Upper Molding Replacement.
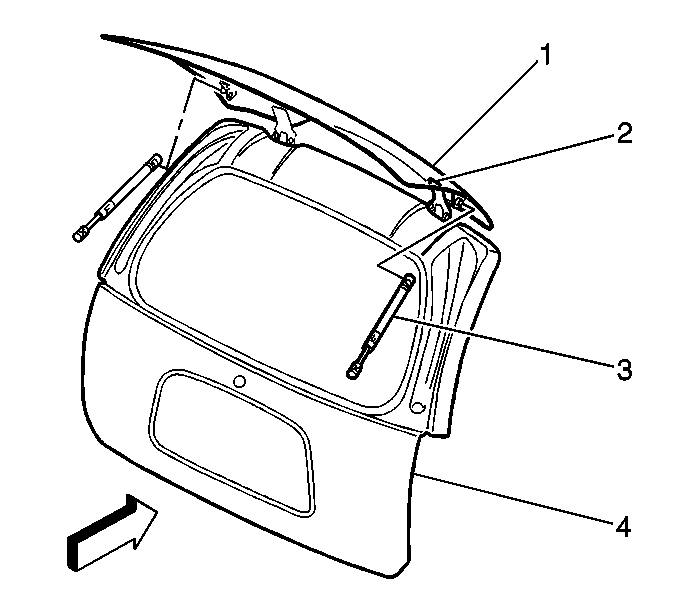
- Open the liftgate window (1).
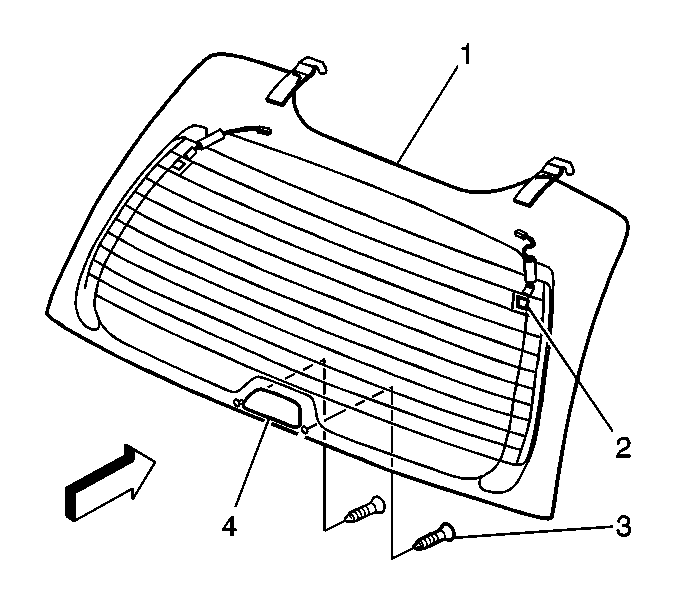
- Remove the liftgate window handle bolts (3).
- Remove the outside handle (4) and striker from the liftgate window.
- Remove the liftgate window defogger electrical connectors (2) from the right and left sides.
- With the aid of an assistant remove the struts (3) from the liftgate window. Refer to Liftgate Strut Replacement.
- Lower the liftgate window (1).
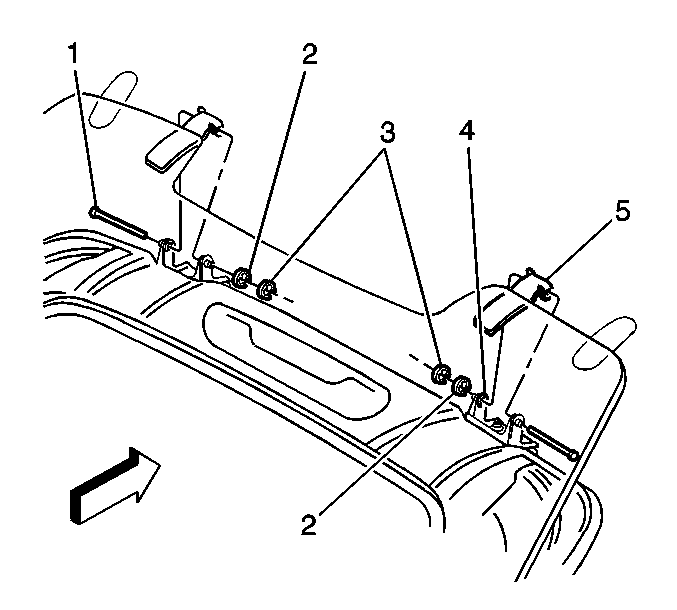
- With the liftgate closed, remove the hinge pin C-clips (2) and (3) from the liftgate window hinges.
- Remove the hinge pins (1).
- Remove the liftgate window from the vehicle with the aid of an assistant.
Note: Ensure that the liftgate is closed before starting the removal procedure on the liftgate window.

Warning: Refer to Glass and Sheet Metal Handling Warning in the Preface section.


Warning: When a lift gate hold open device is being removed or installed, provide alternate support to avoid the possibility of damage to the vehicle or personal injury.

Note: Do not open liftgate once the hinge pins have been removed from the liftgate window.

Installation Procedure
- Install the liftgate window to the vehicle with the aid of an assistant.
- With the liftgate closed align the liftgate windows hinge pin holes, install the hinge pins (1).
- Install the hinge pin C-clips (2) and (3) to the liftgate window hinge pins.
- Open the liftgate window.
- Install the outside handle (4) and striker to the liftgate window.
- Install the liftgate window handle bolts (3).
- Install the liftgate window defogger electrical connectors (2) to the right and left sides.
- Install the liftgate upper molding. Refer to Liftgate Upper Molding Replacement.
- Inspect the operations of the liftgate window (1) and center high mounted stop lamp (CHMSL).
- Close the liftgate window (1).

Note: Do not open the liftgate once the hinge pins have been removed from the liftgate window.

With the aid of an assistant install the struts (3) to the liftgate window. Refer to Liftgate Strut Replacement.

Caution: Refer to Fastener Caution in the Preface section.
Tighten
Tighten the liftgate window handle bolts (3) to the striker plate to 5 N·m (44 lb in).

