Fuel Rail and Injectors Cleaning and Inspection LLT
Special Tools
| • | EN-47909 Injector Bore and Sleeve Cleaning Kit
|
| • | EN-48266 Injector Seal Installer and Sizer
|
For equivalent regional tools, refer to
Special Tools.
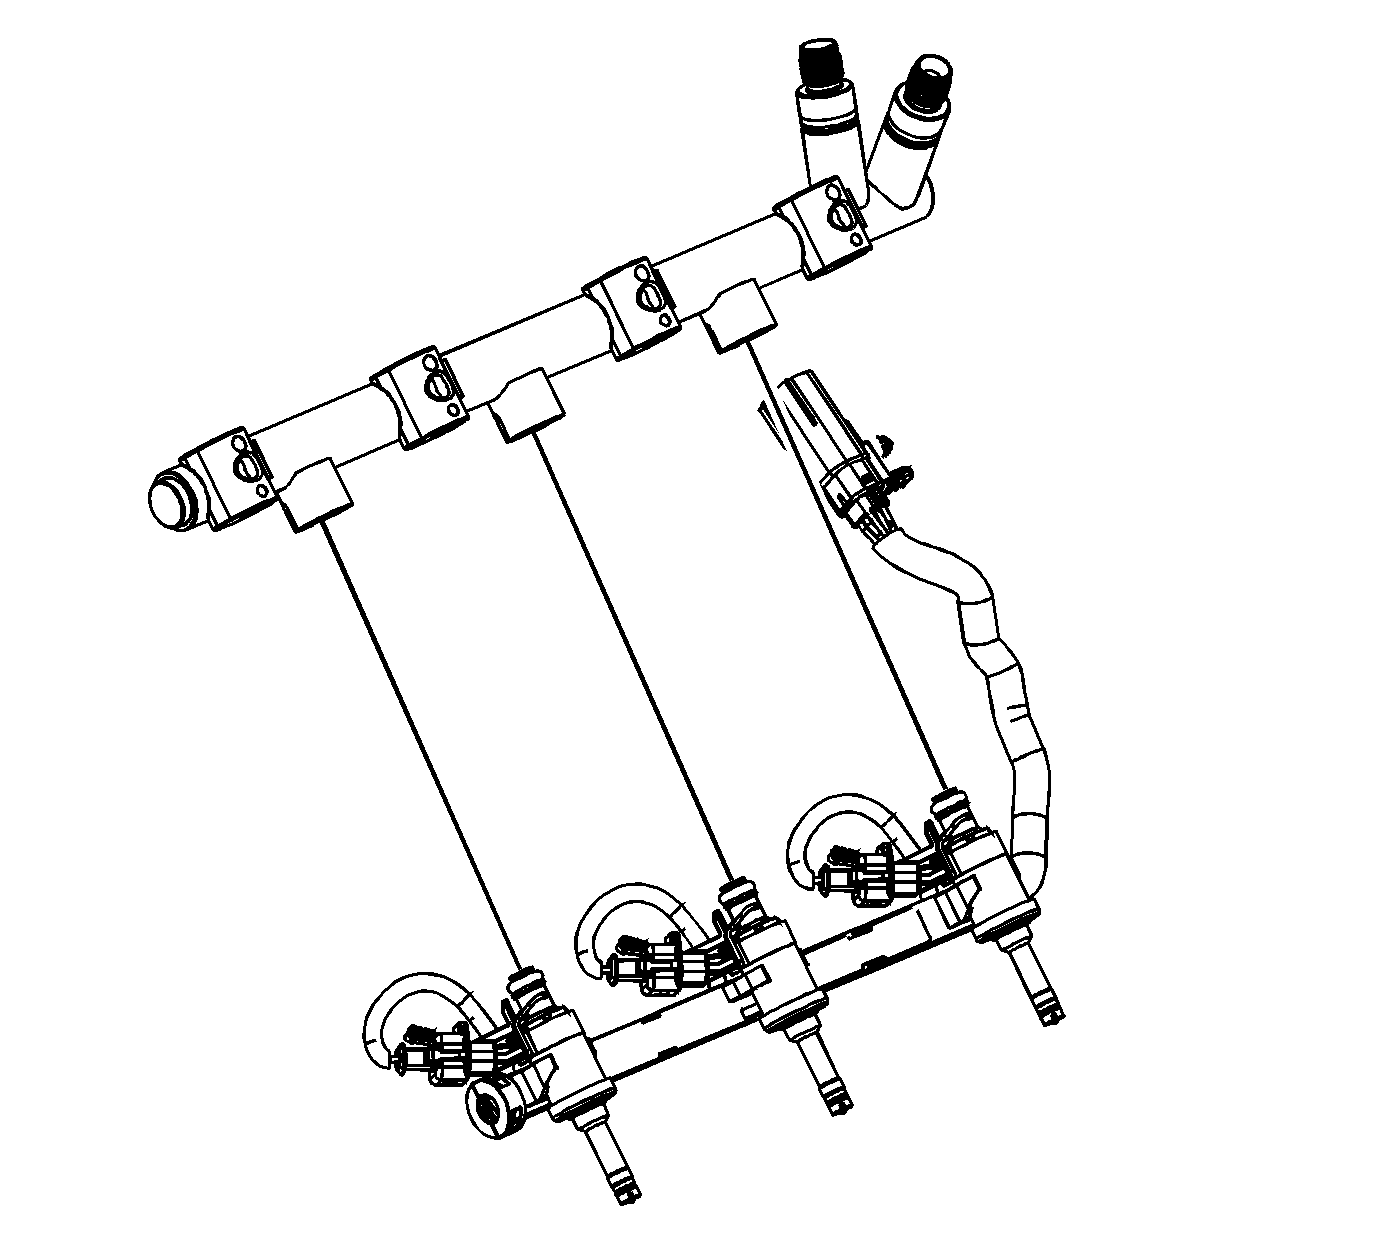
- Remove the injectors from the fuel rail.
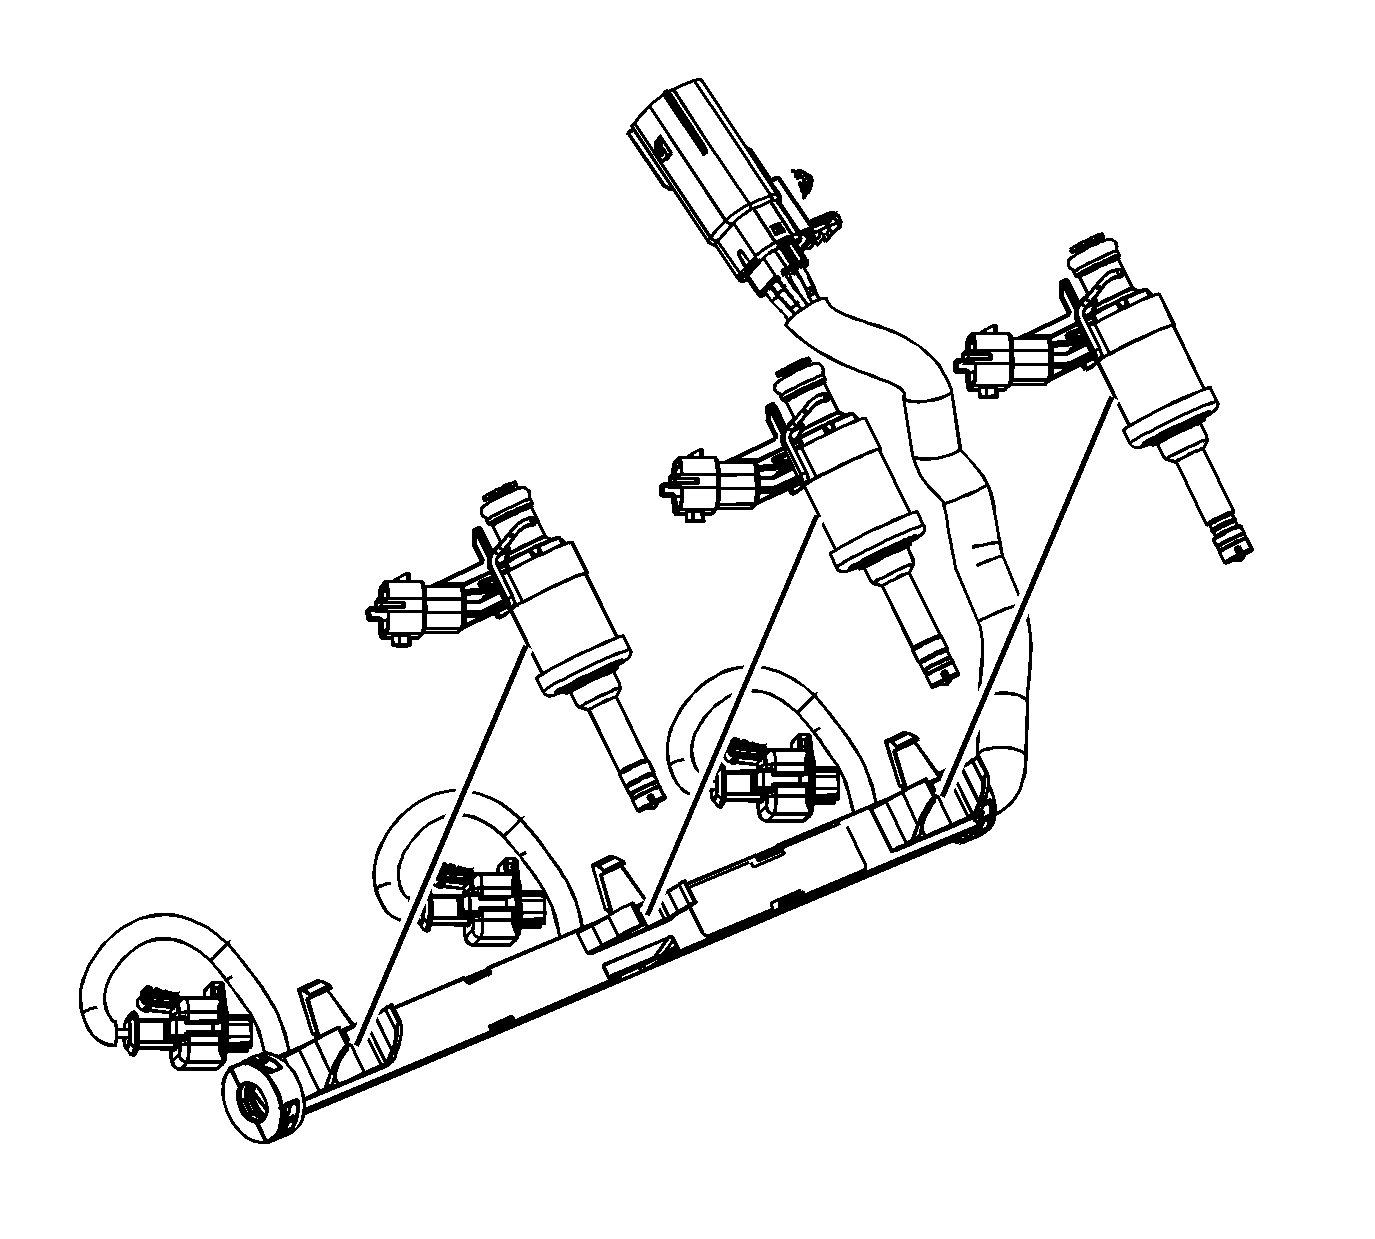
- Remove the wiring harness from the fuel injectors.
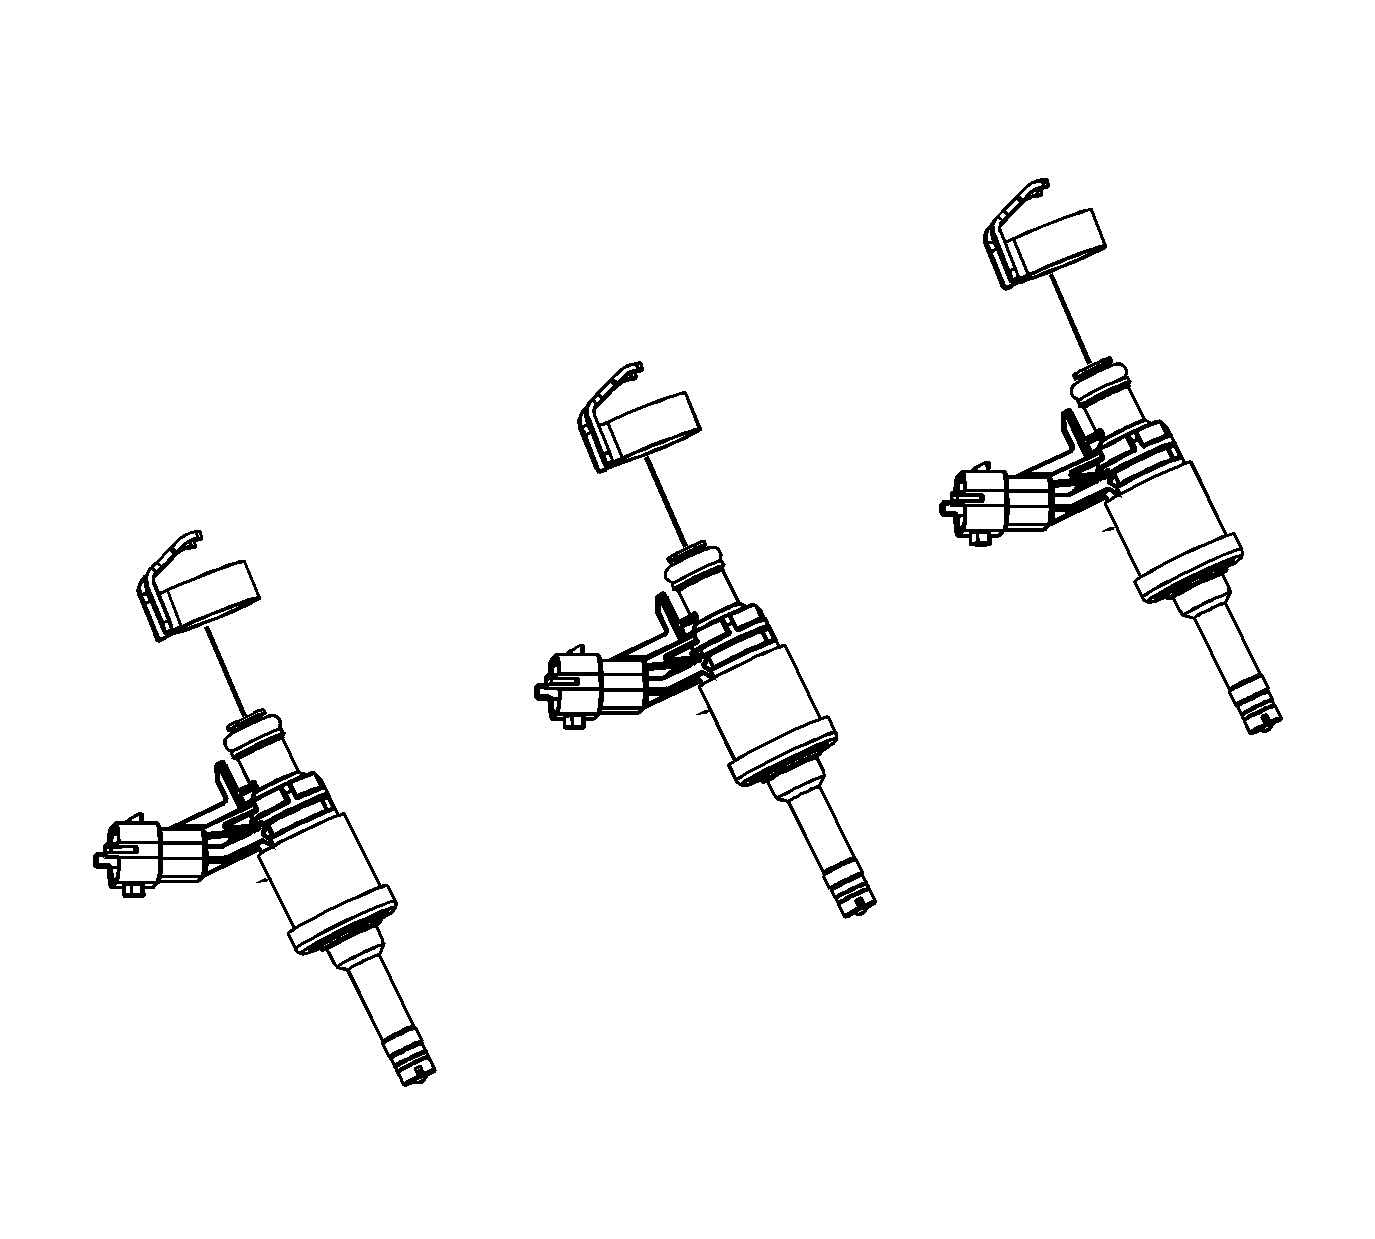
- Remove and discard the fuel injector hold-down clamp.
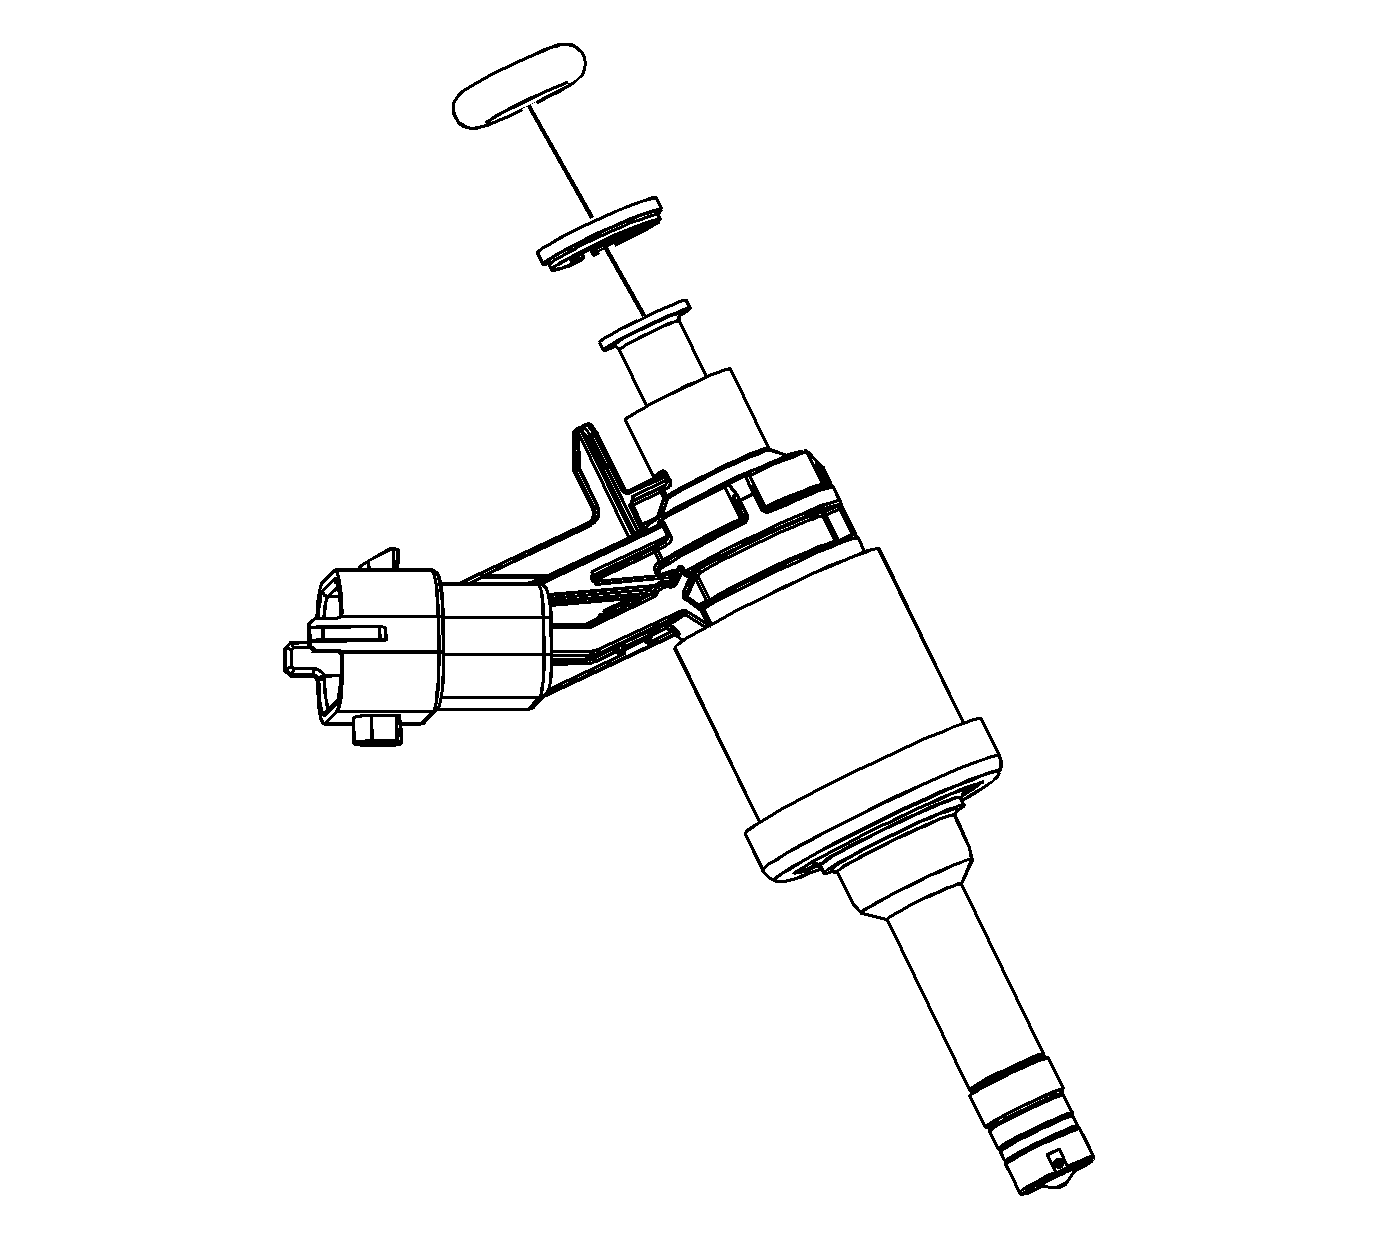
- Remove and discard the fuel injector O-ring and plastic spacer.
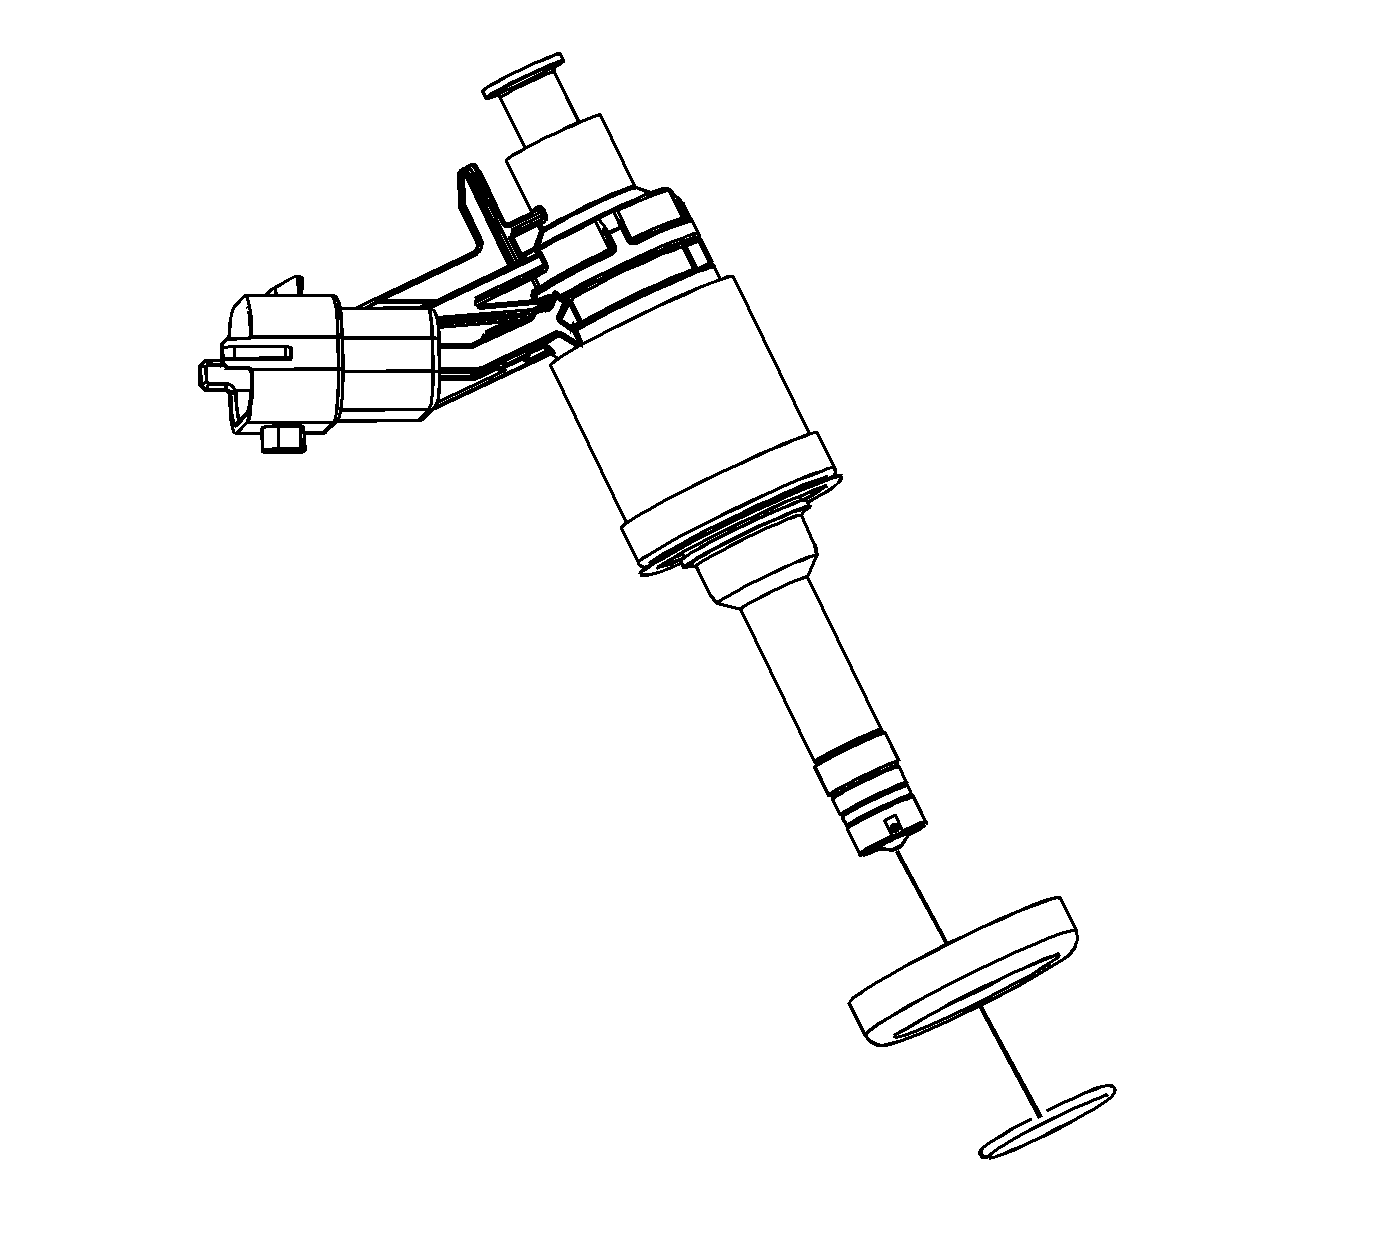
- Remove and discard the isolator cup and retainer.
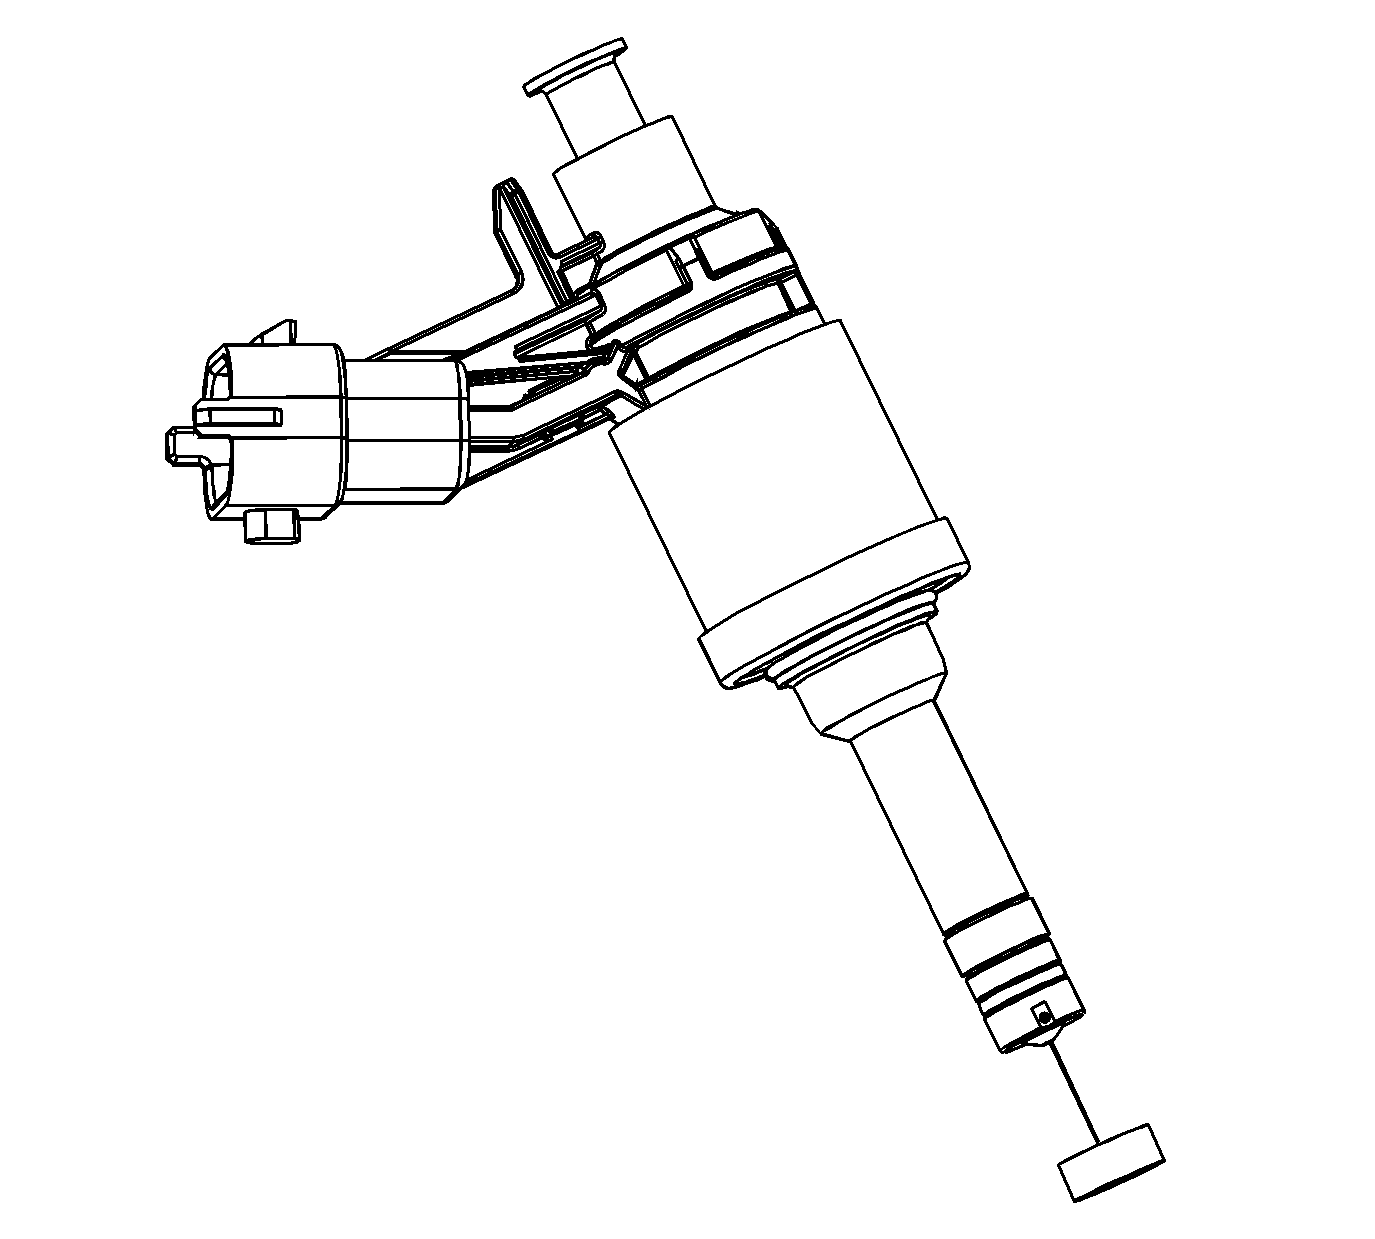
- Remove and discard the fuel injector seal.
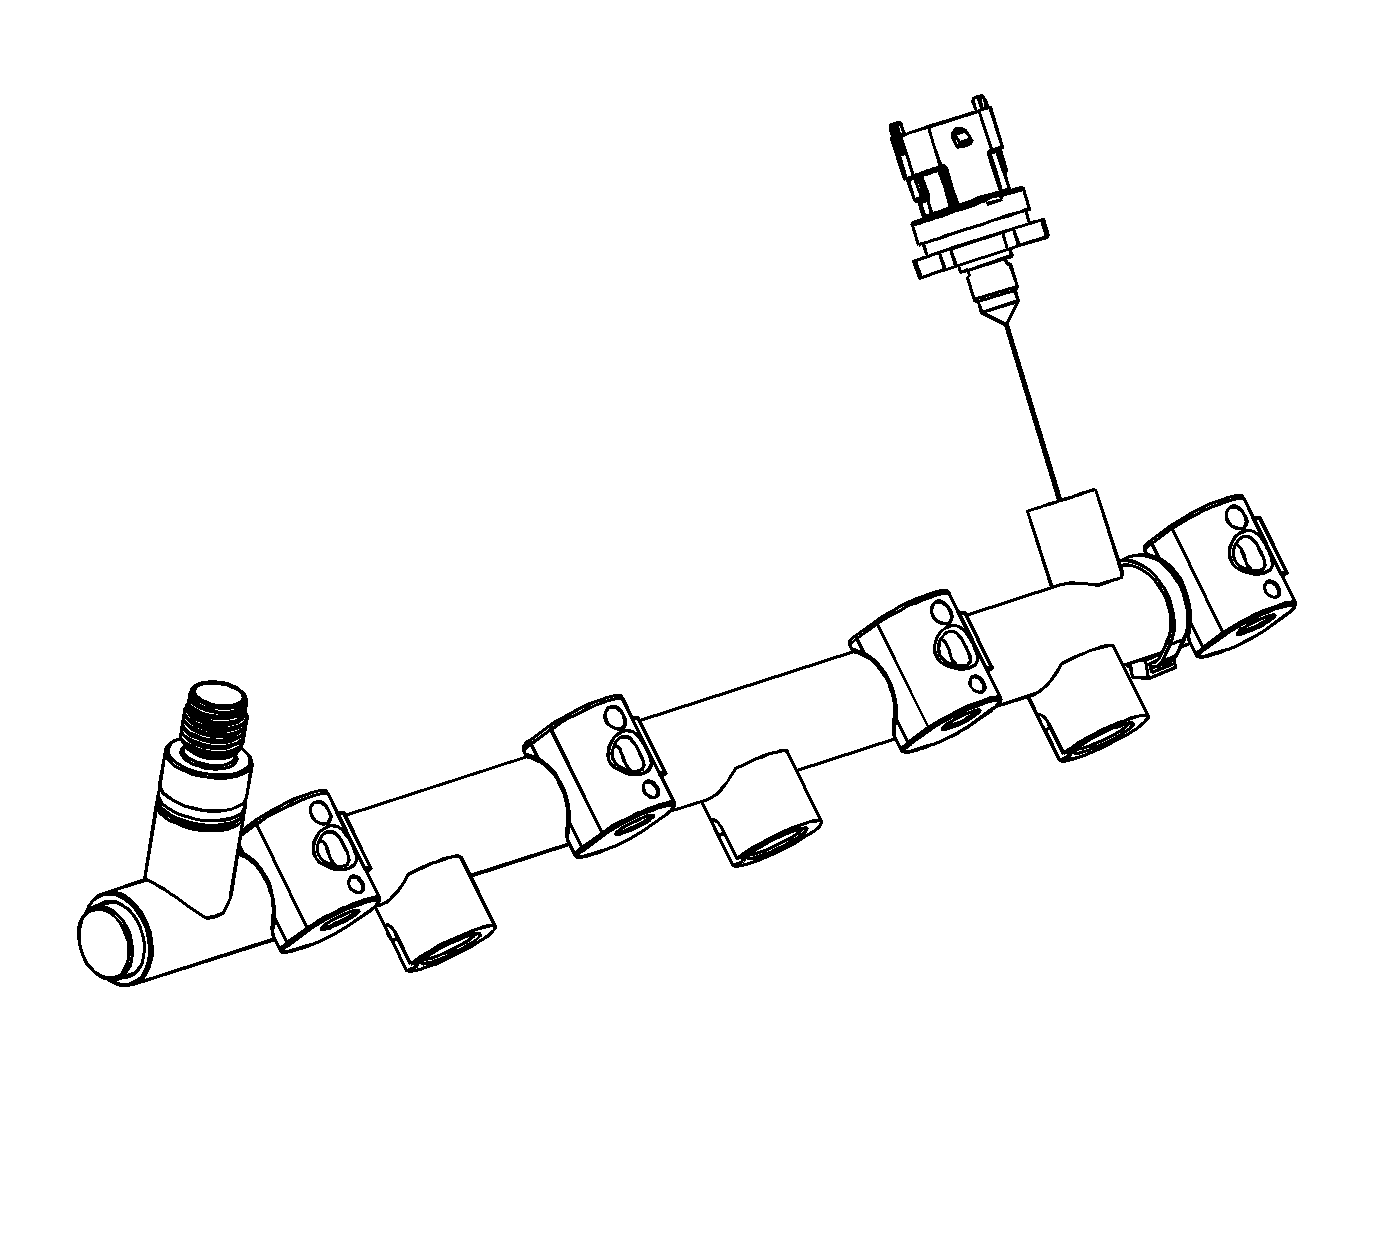
Note: Applying force to the plastic housing of the sensor will destroy the sensor. To tighten or loosen, only apply force to the attached hexagon.
- Remove and discard the fuel pressure sensor.
Note: Do not soak or submerge the fuel rail or injectors in solvent.
- Clean the exterior of the fuel rail and injectors with solvent.
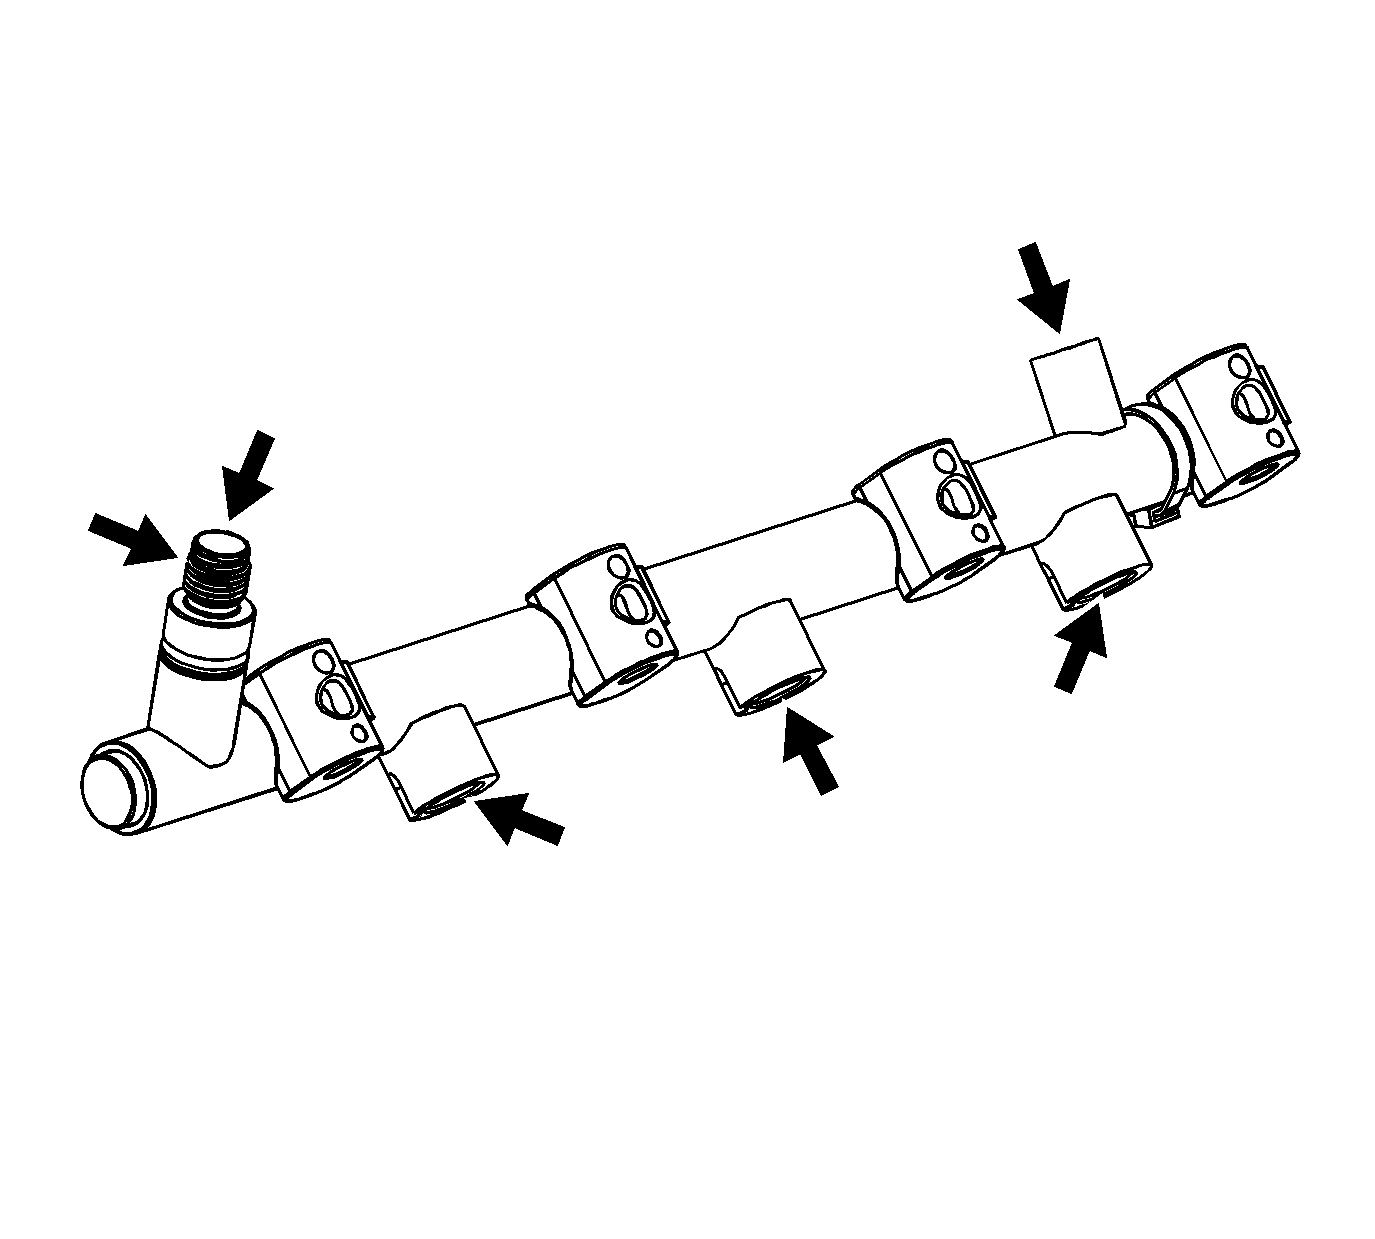
- Inspect the fuel rail and components for the following conditions:
| • | Damage, debris or restrictions to the fuel rail |
| • | Damage, debris or restrictions to the fuel ports in the fuel rail |
| • | Damage to the mounting area for the fuel rail |
| • | Damage to the fuel rail mounting bolts |
| • | Damage to the threads on the fuel rail feed fitting |
| • | Damage to the threads in the fuel pressure sensor bore |
Note: Applying force to the plastic housing of the sensor will destroy the sensor. To tighten or loosen, only apply force to the attached hexagon.
- Install the fuel pressure sensor.
| | Note: Ensure that the fuel rail threads have been cleaned of any excess fuel, or the NEW fuel injection fuel rail fuel pressure sensor will NOT seal properly.
|
| • | Lubricate the threads and the sealing cone in the fuel rail with silicon free engine oil GM P/N 12345610, Canadian P/N 993193, or equivalent. |
| • | Lubricate the threads and the sealing cone on the NEW fuel injection fuel rail fuel pressure sensor with silicon free engine oil GM P/N 12345610, Canadian P/N 993193, or equivalent. |
| • | Install the NEW fuel injection fuel rail fuel pressure sensor hand tight. |
| • | Remove the NEW fuel injection fuel rail fuel pressure sensor, re-lubricate following steps 1 and 2 above. |
Caution: Refer to Fastener Caution in the Preface section.
| • | Install the NEW fuel injection fuel rail fuel pressure sensor and tighten to
33 N·m (25 lb ft). |
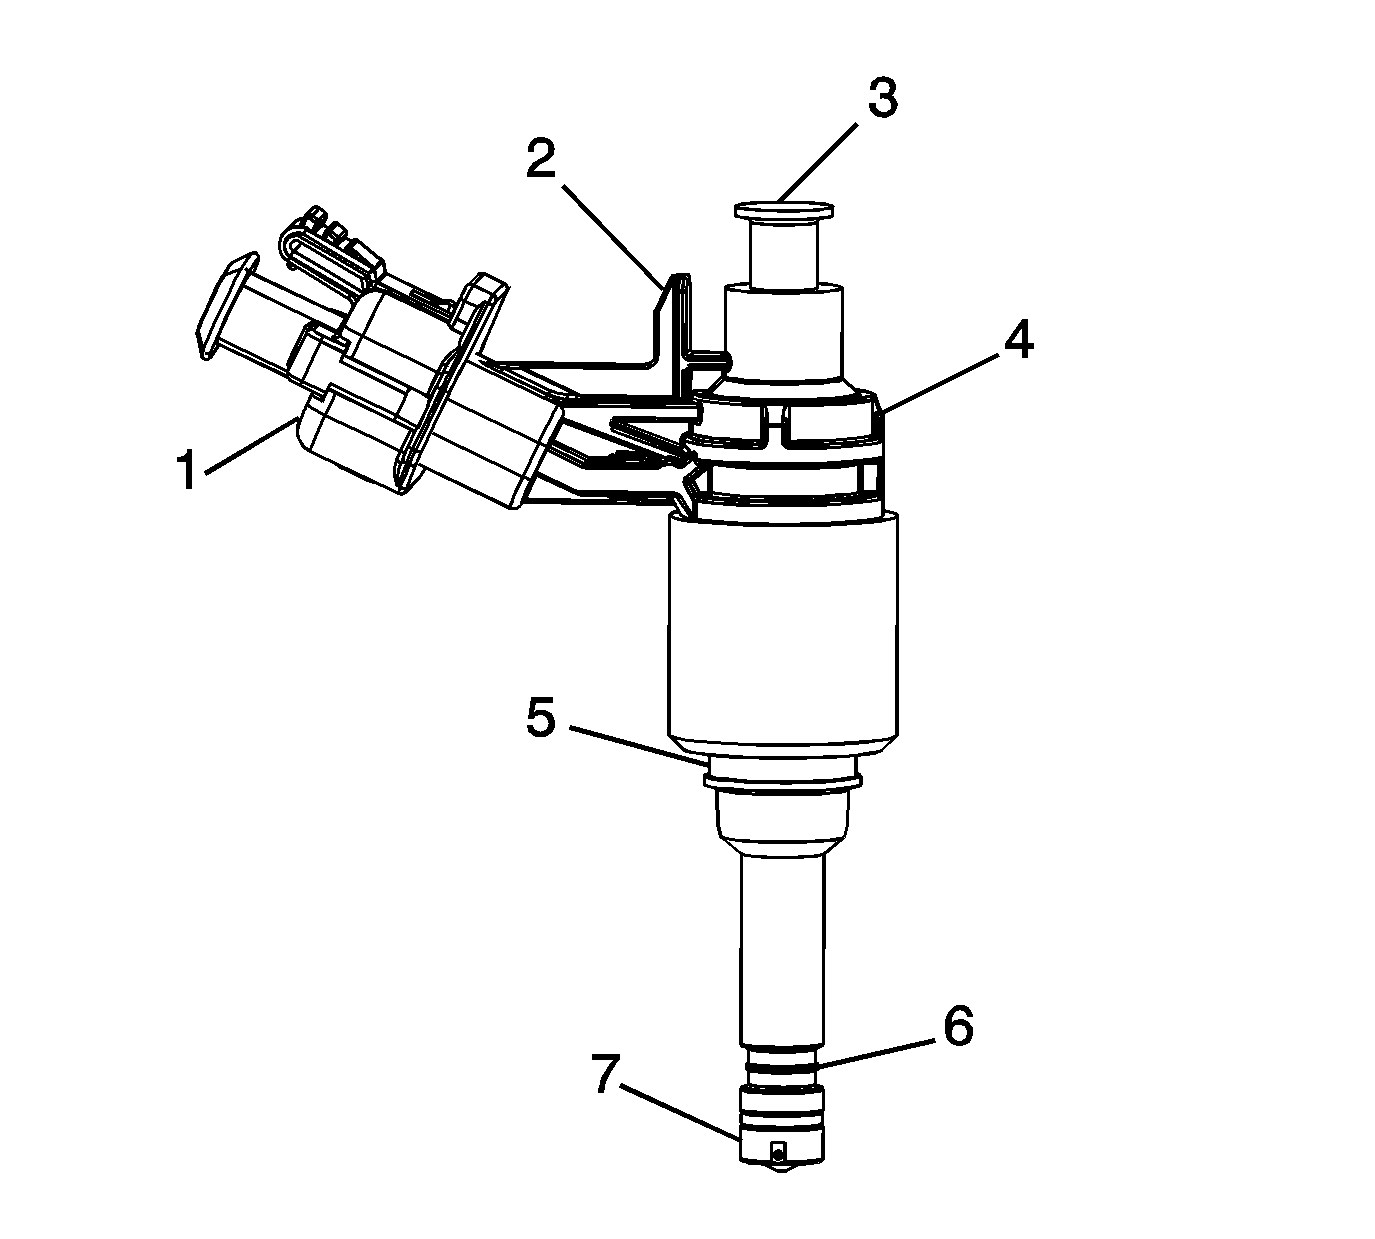
- Inspect the fuel injectors for the following conditions:
| • | Damage to the fuel injector connector (1) |
| • | Damage to the injector locator tab (2) |
| • | Damage to the fuel inlet cone (3) |
| • | Damage the plastic fuel injector body (4) |
| • | Damage to the isolator cup retainer groove (5) |
| • | Damage to the teflon seal (6) |
| • | Damage to the fuel injector tip (7) |
- Replace the fuel rail or injector if any damage is found. Do not attempt to repair a fuel rail or injector.
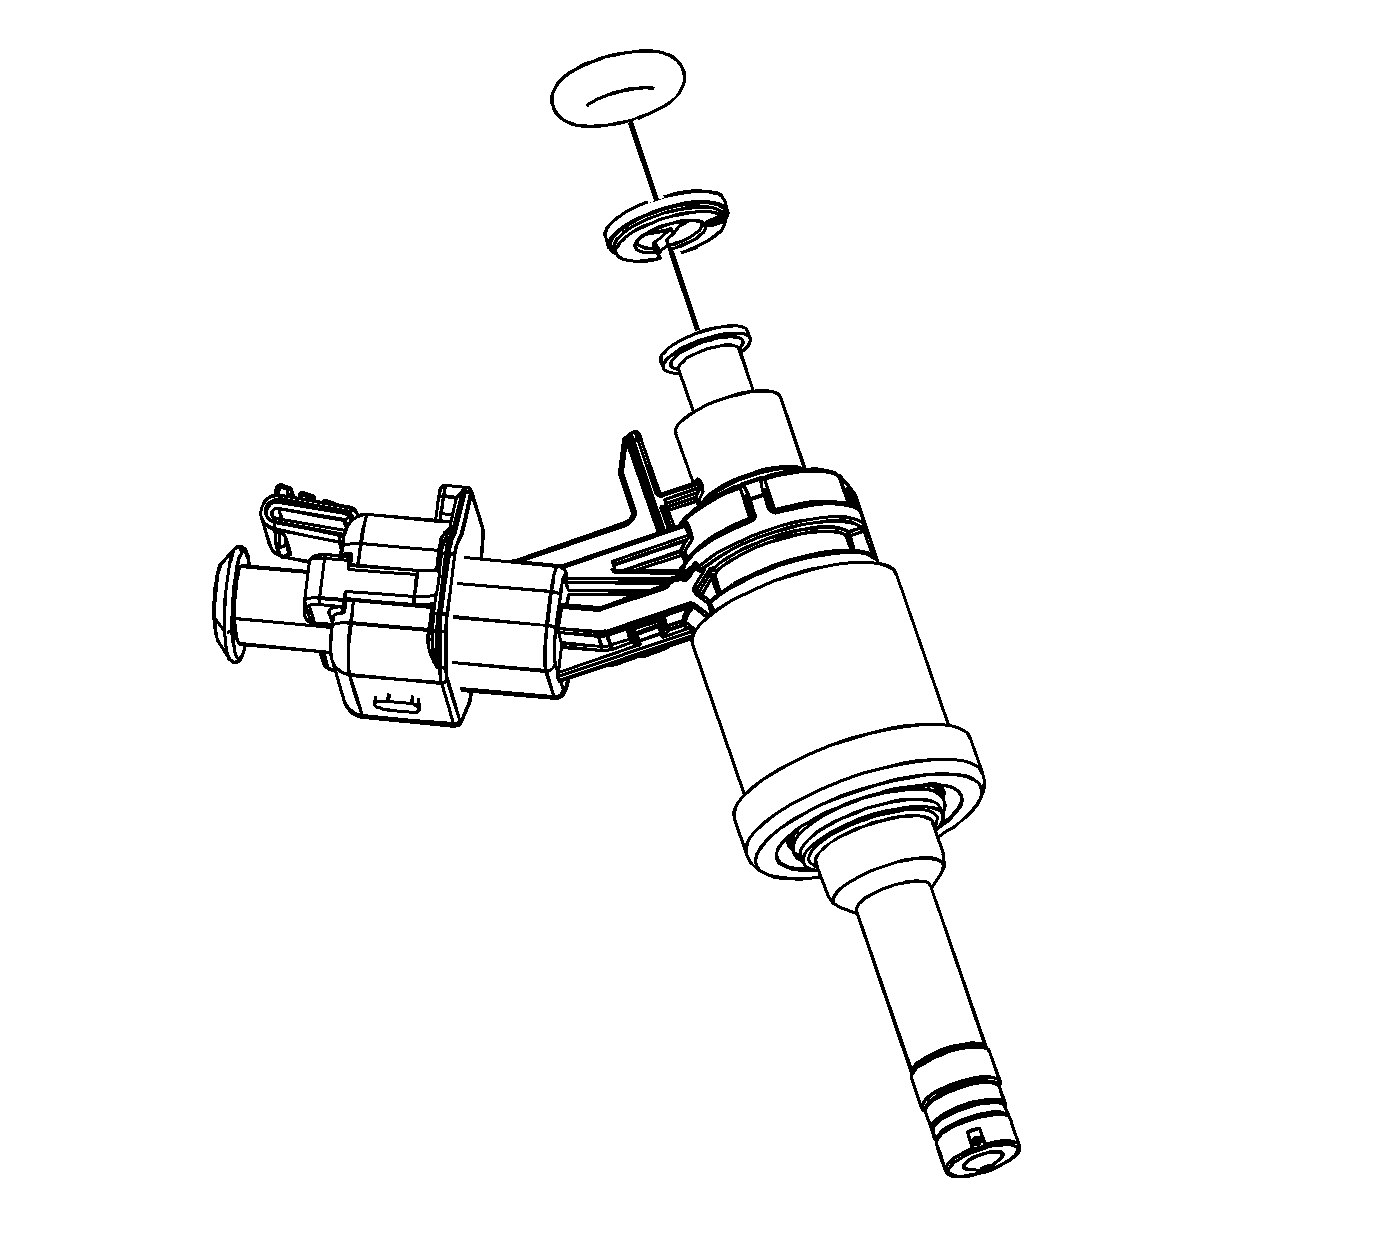
- Lubricate the NEW O-ring with 5W30 engine oil.
Note: The plastic spacer has a top and a bottom. The top, O-ring sealing area, is wider.
- Install the NEW plastic spacer and O-ring on the injector.
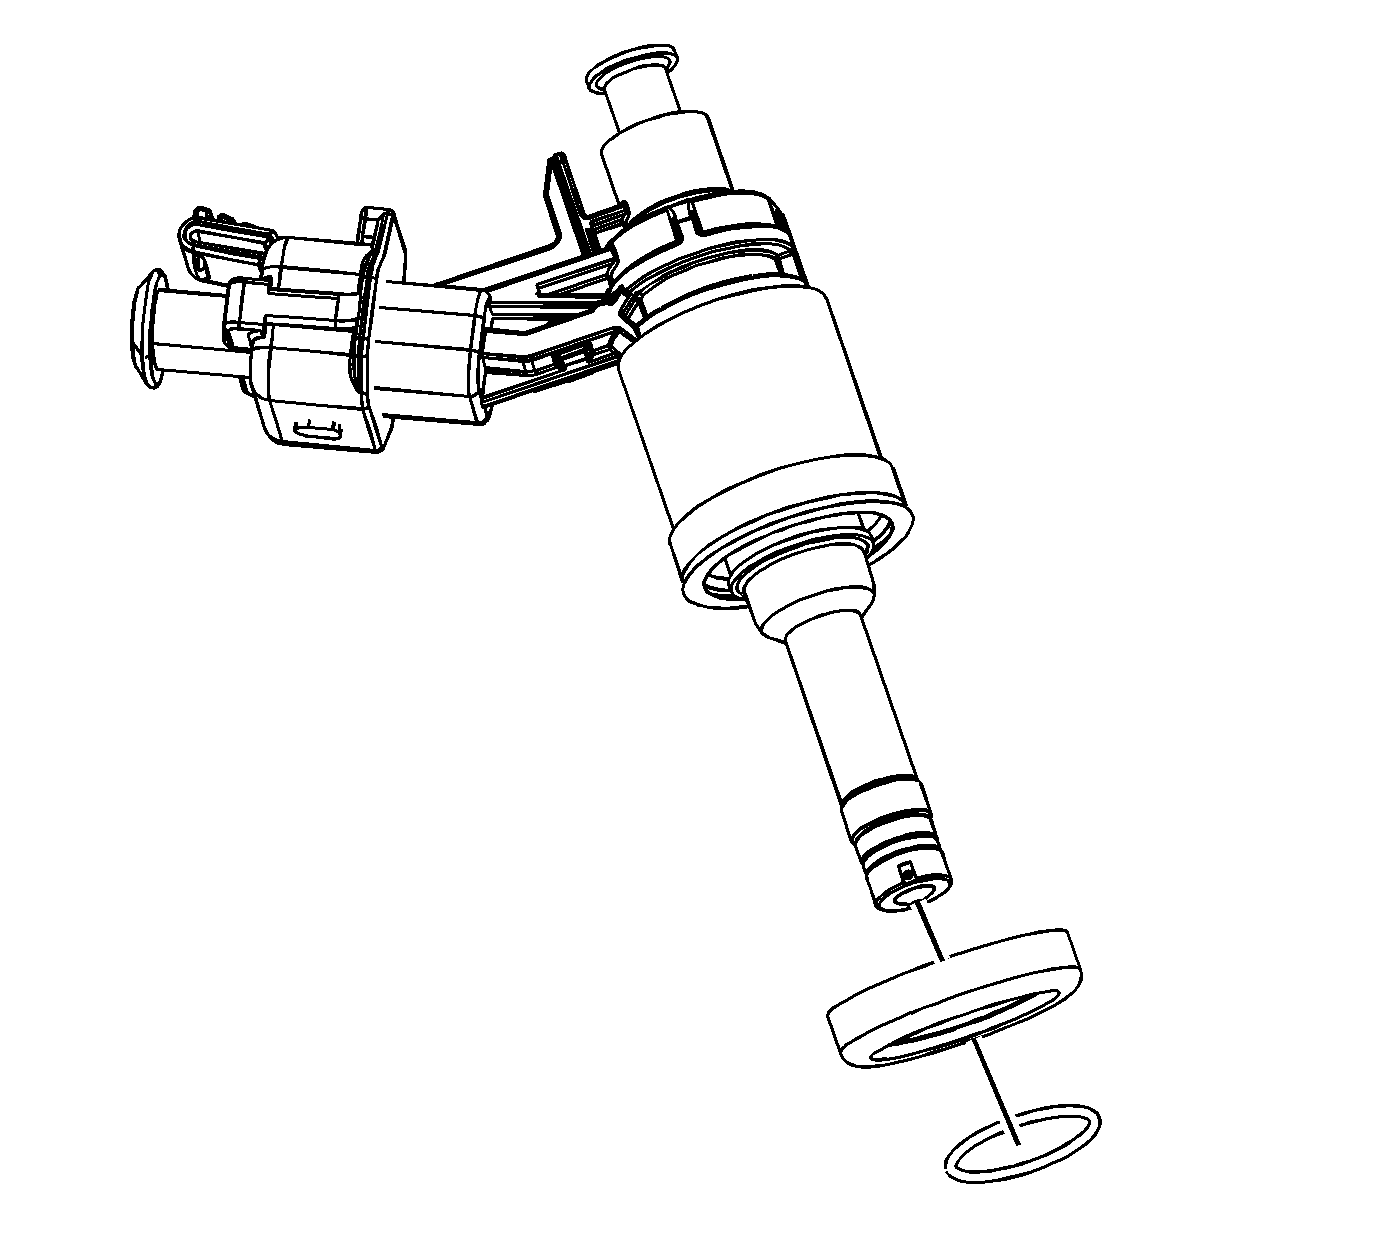
- Install the isolator cup and retainer.
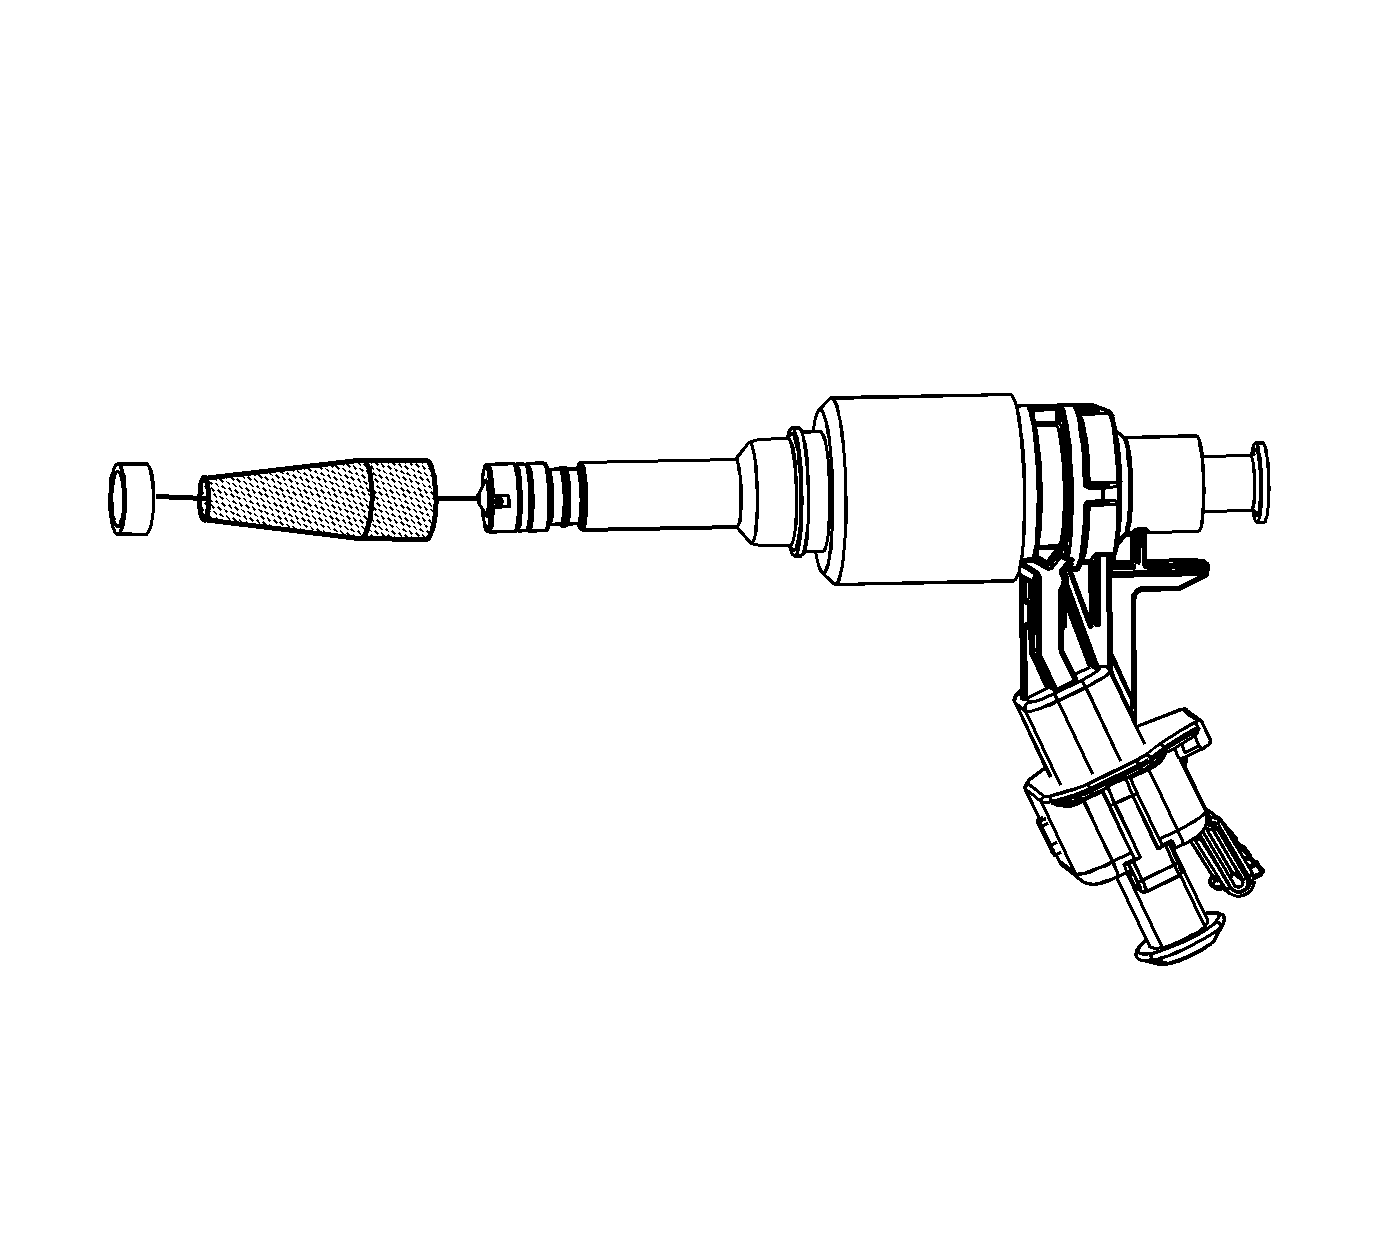
Note: Do not use any type of lubricant when installing the NEW seal.
- Install a NEW seal on the injector using the EN-48266-1. The seal must be installed/slid into the recessed area of the fuel injector.
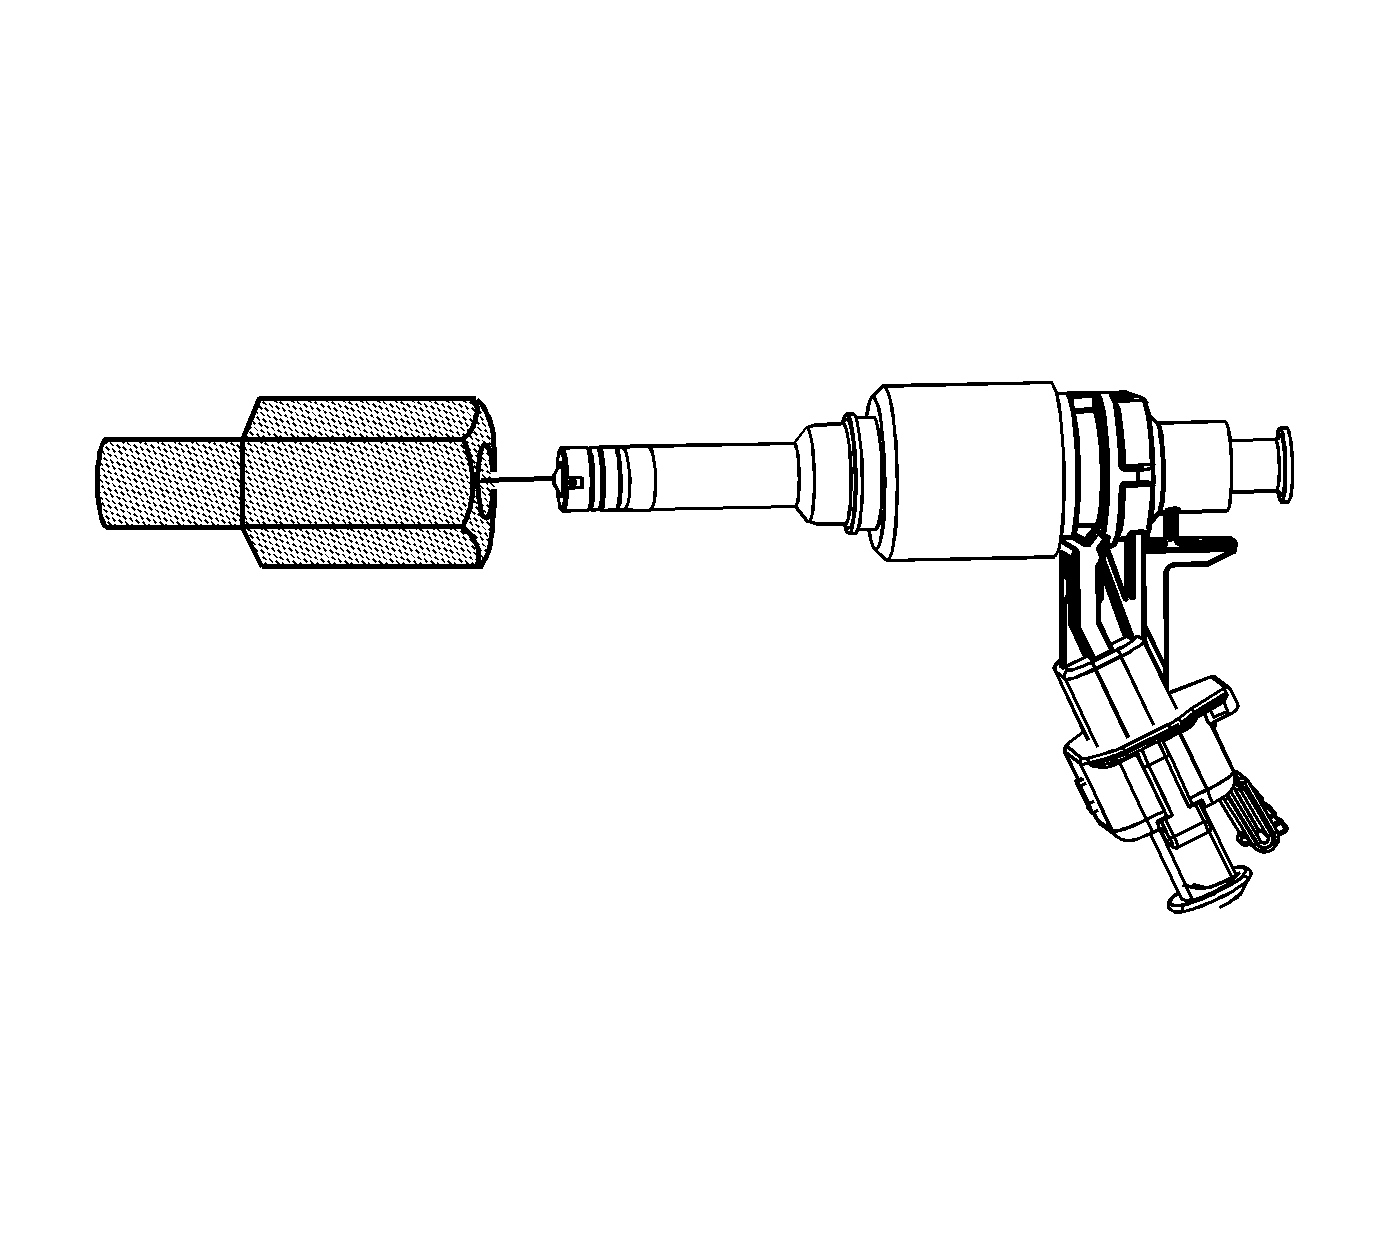
- Compress the seal with your fingers before resizing the seal using the EN-48266-2.
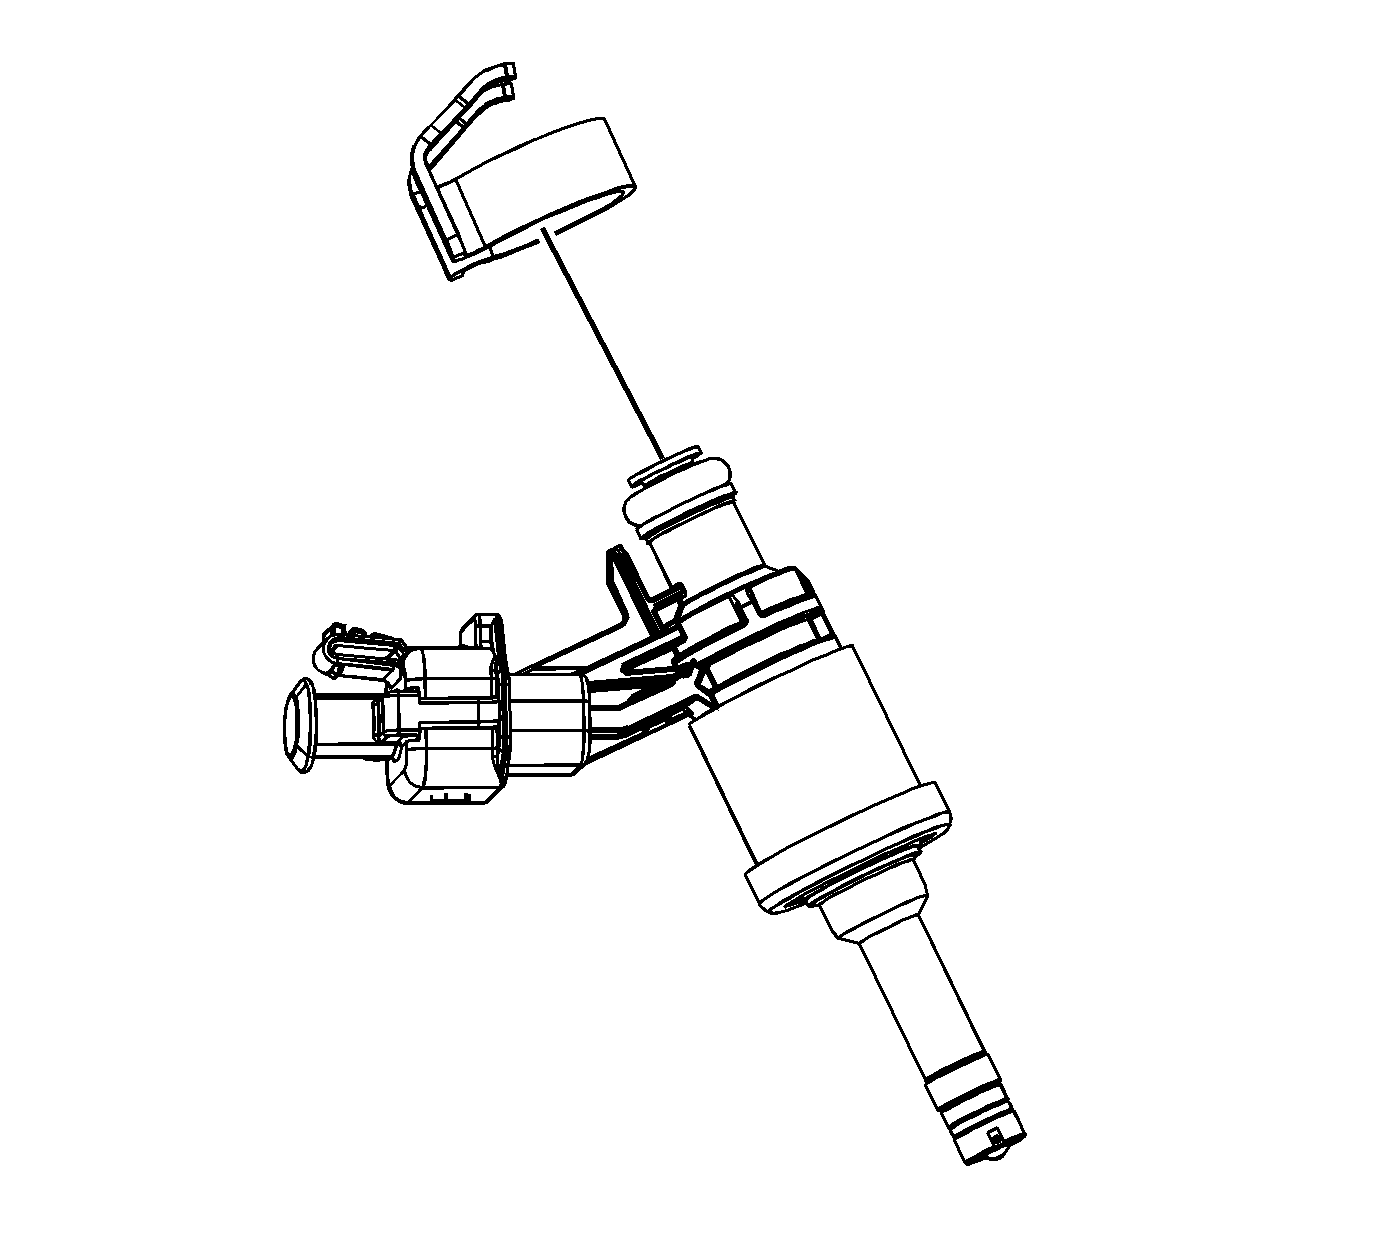
- Install a NEW fuel injector hold-down clamp.


