For 1990-2009 cars only
Tools Required
| • | J 5590 Installer and Remover |
| • | J 2619-01 Slide Hammer and Adapter |
| • | CH-48107 Bushing Remover and Installer |
Removal Procedure
- Remove the front lower control arm assembly. Refer to Lower Control Arm Replacement.
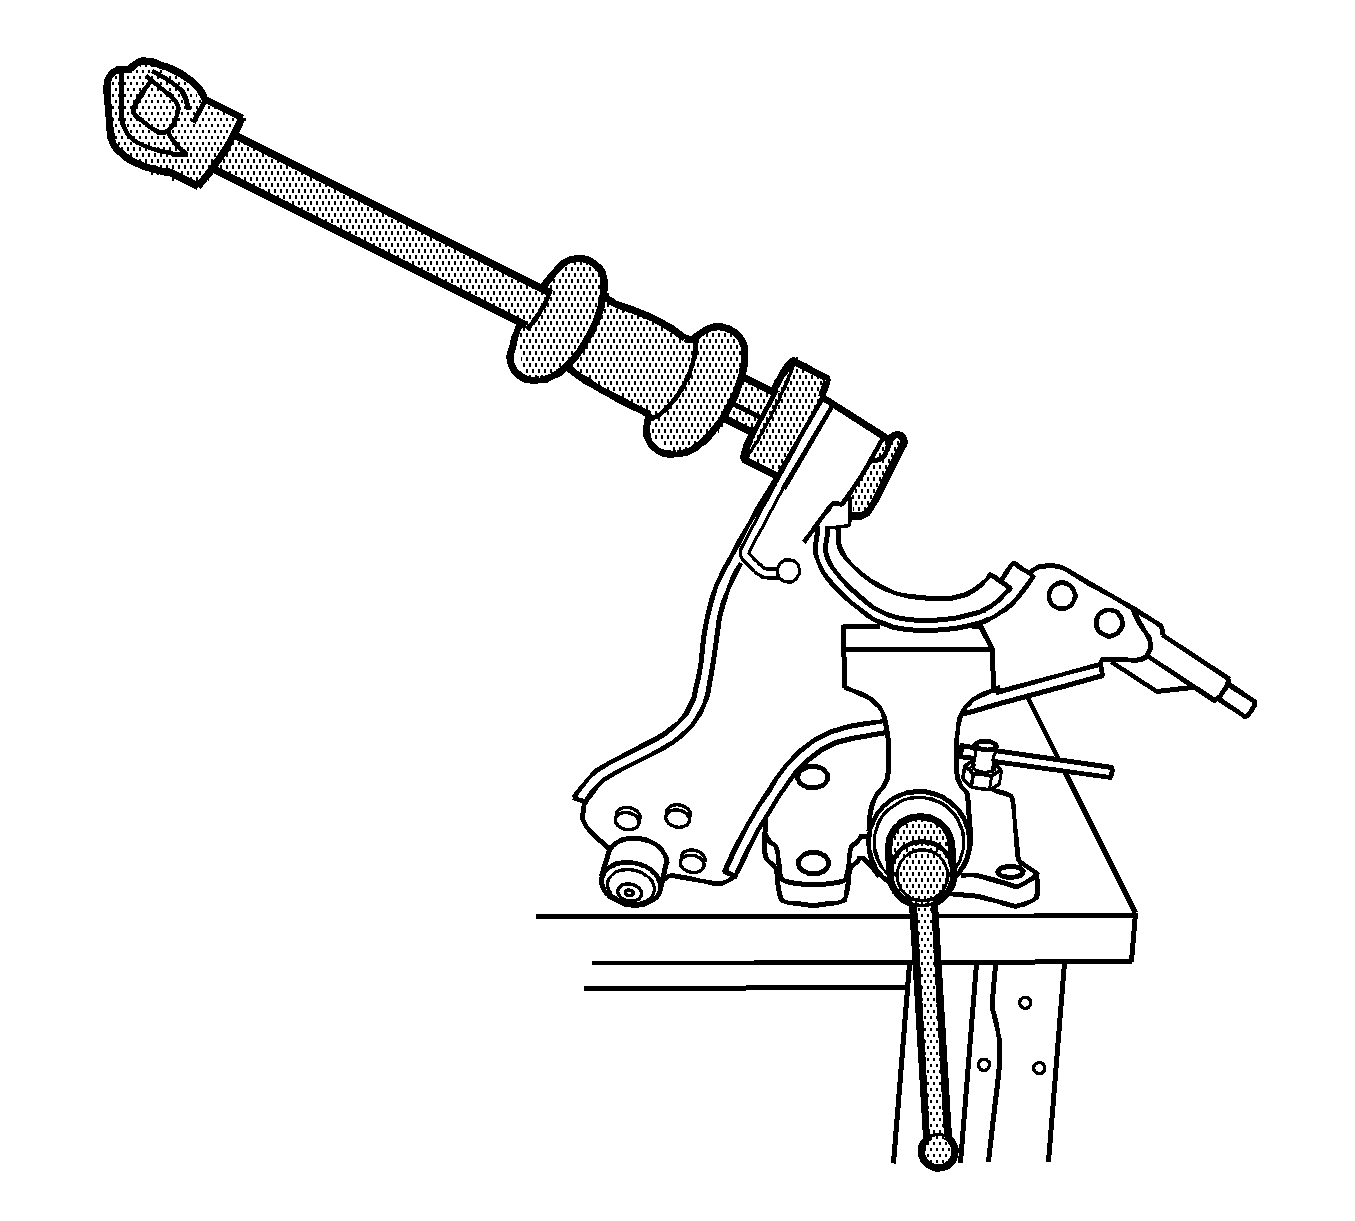
- Install the lower control arm in a soft jawed vise.
- Assemble the J 2619-01 and the CH-48107 .
- Position the J 2619-01 and the CH-48107 lower control arm bushing.
- Using the J 2619-01 and the CH-48107 , remove the front lower control arm bushing.
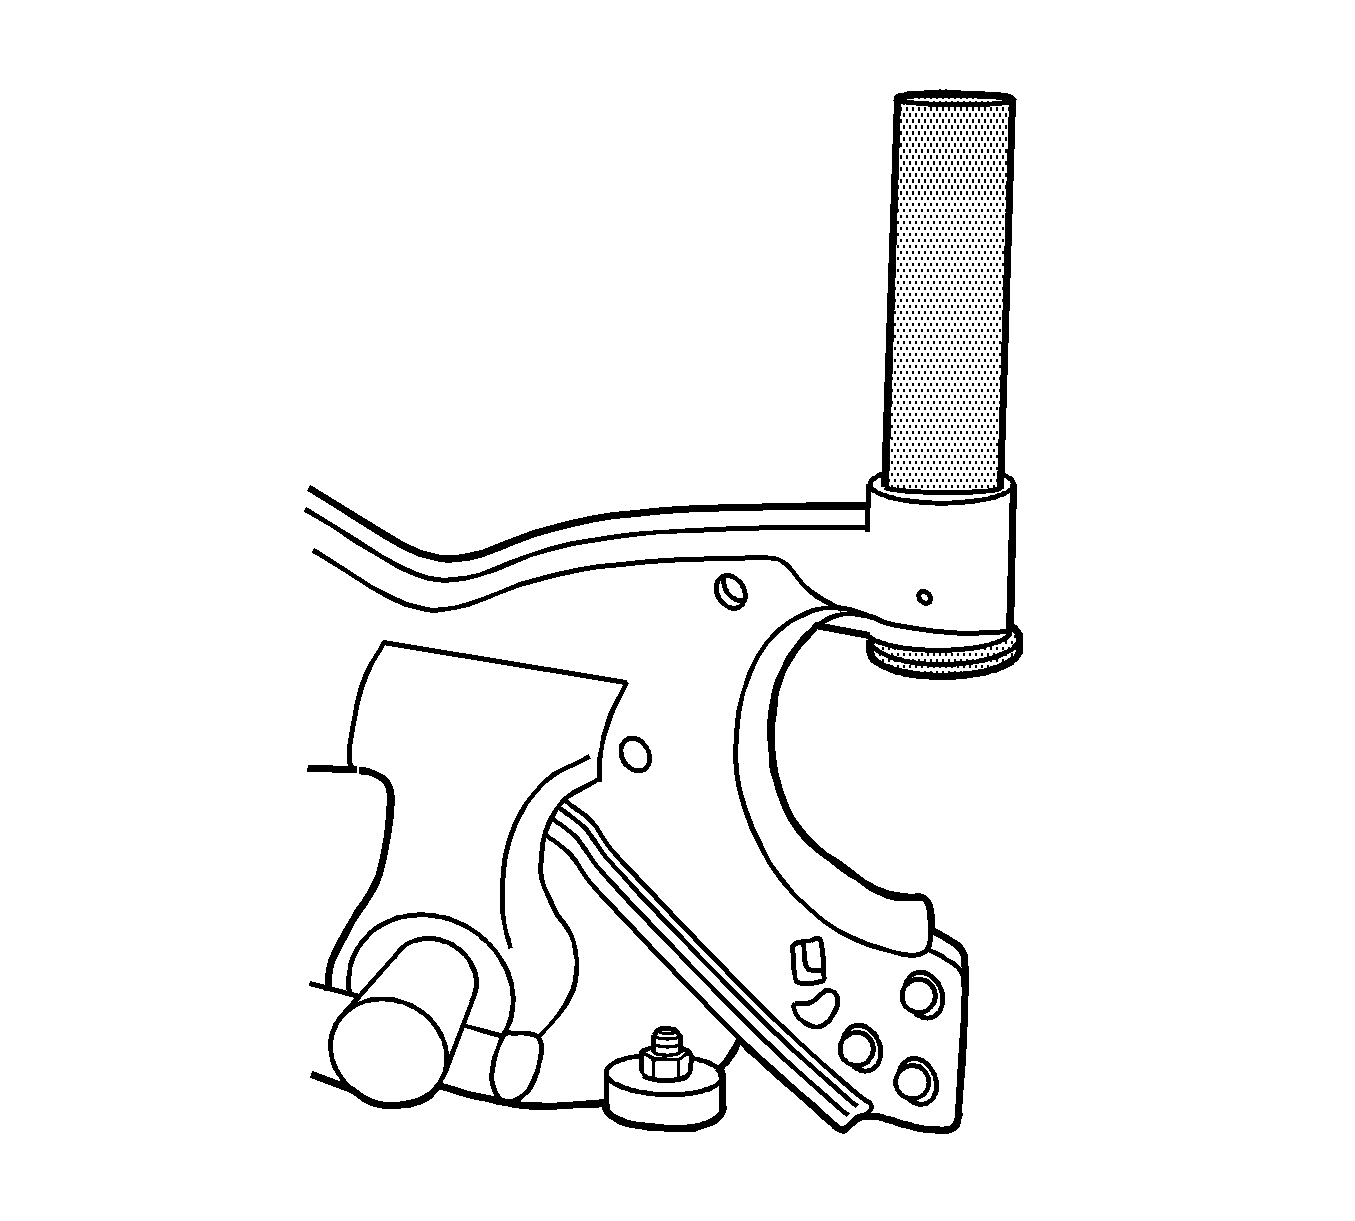
- Using the J 5590 , remove the rear lower control arm bushing.


Installation Procedure
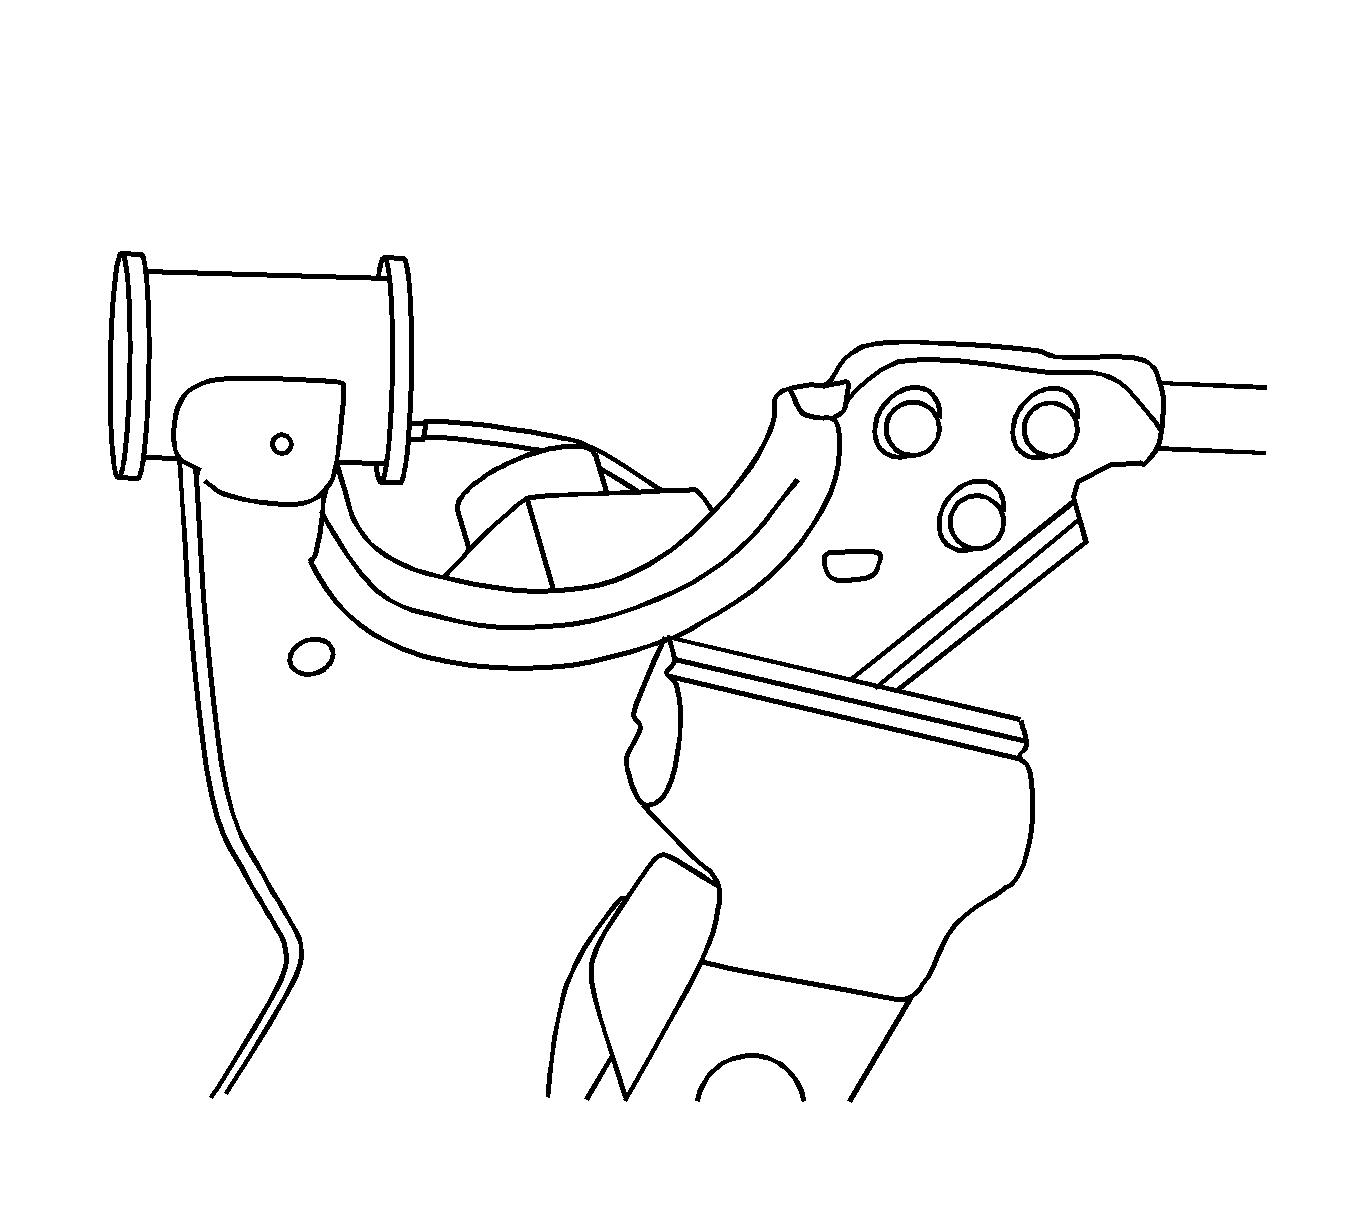
- Position the front and rear bushings so that they are equally in the control arm.
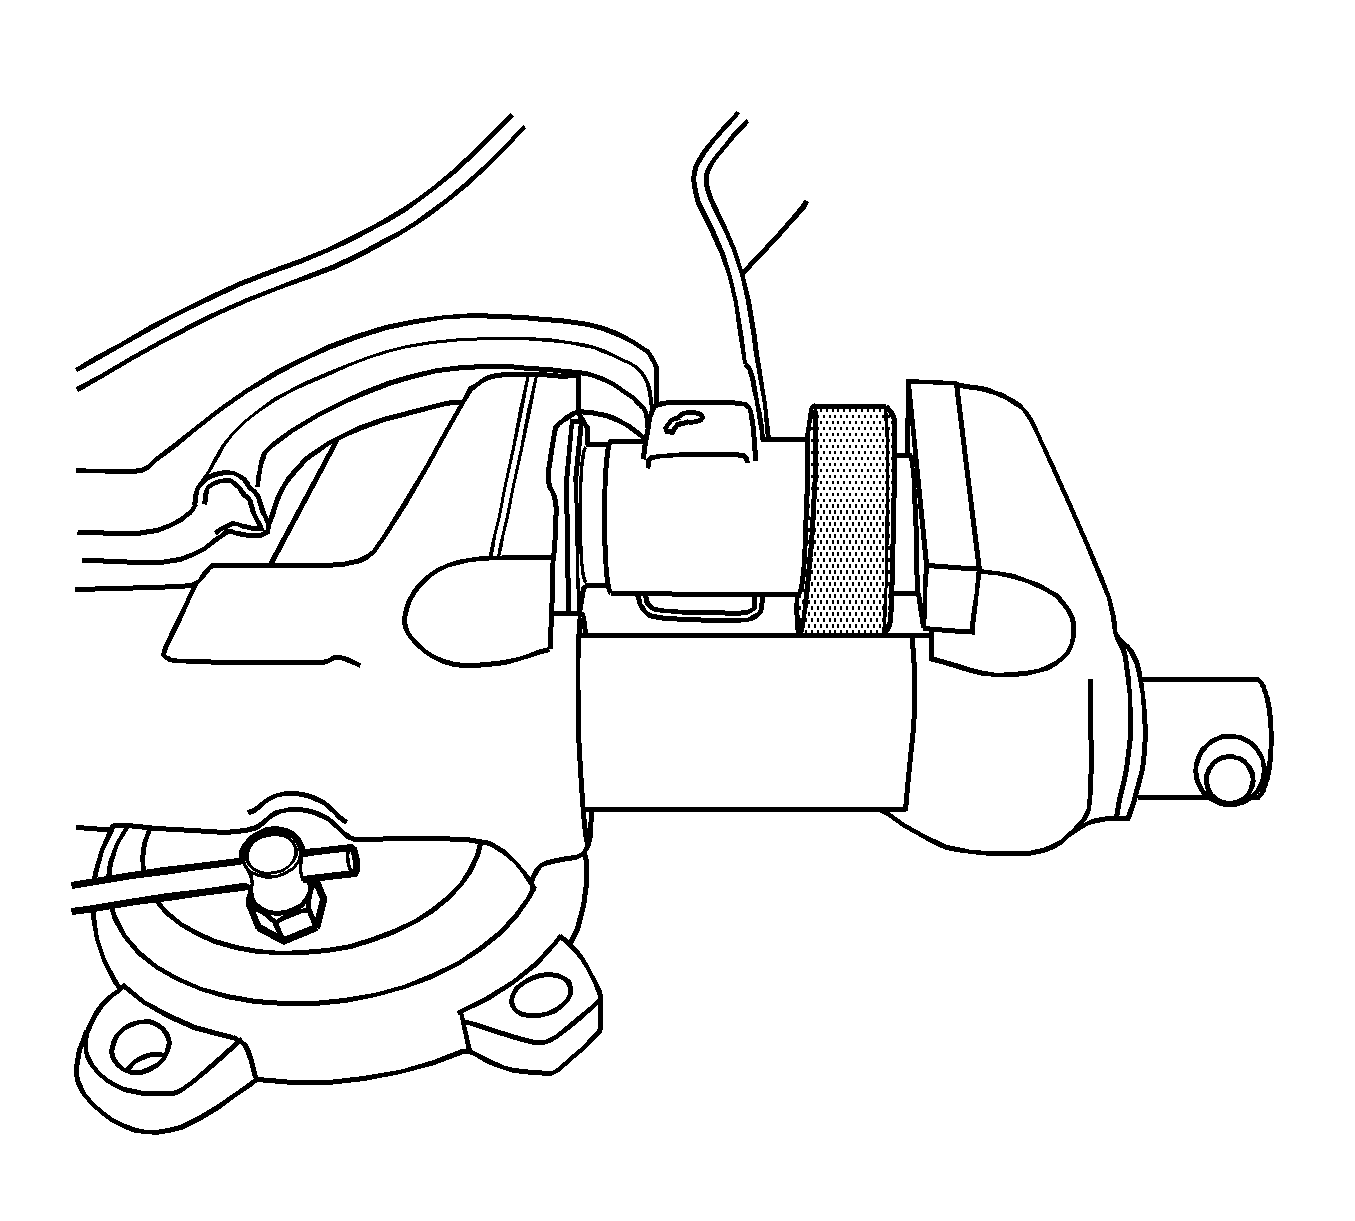
- Position the CH-48107 on the front bushing.
- Using the vise, compress the front and rear bushings until they are seated.
- Remove the lower control arm from the vise.
- Remove the CH-48107 from the front bushing.
- Install the lower control arm in the vehicle. Refer to Lower Control Arm Replacement.

