For 1990-2009 cars only
Removal Procedure
- Remove rear bumper fascia. Refer to Rear Bumper Fascia Replacement .
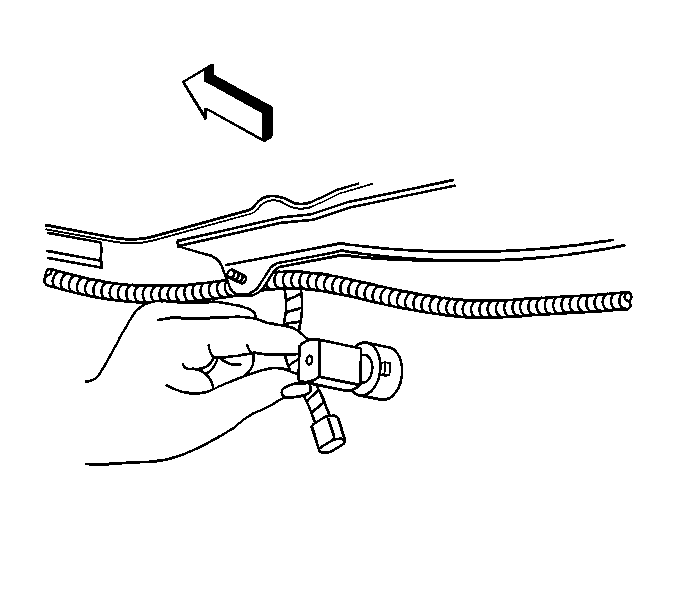
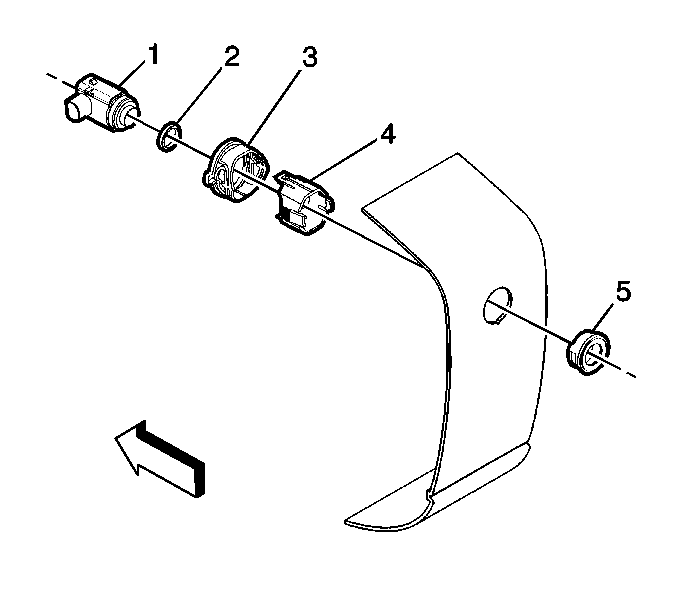
- Lift the locking tabs on the housing (4) and remove the rear object sensor (1).
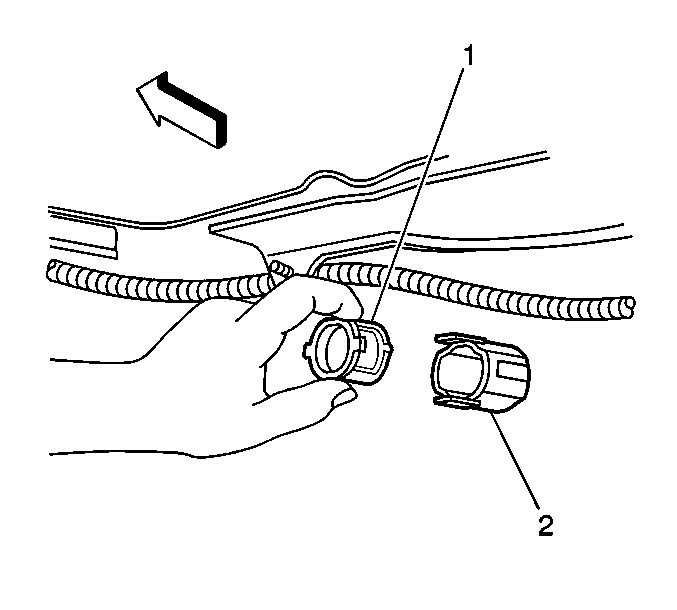
- Squeeze the spring (1) and remove it from the housing (2).
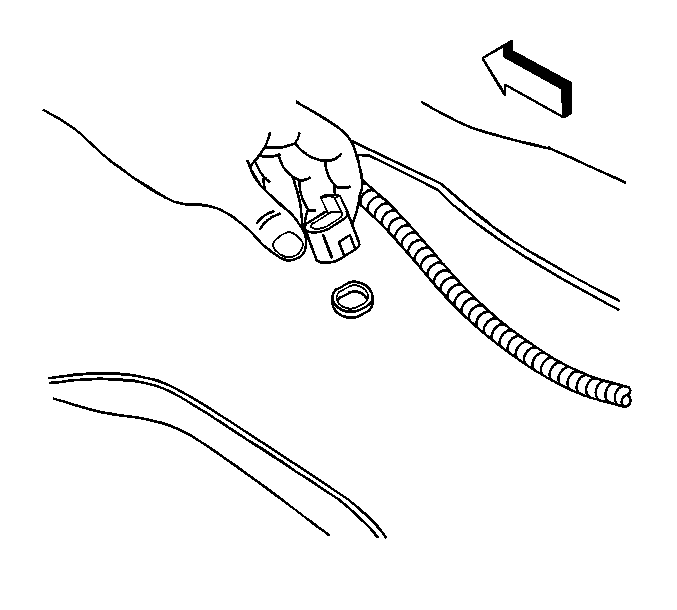
- Release the tabs on the housing and remove.
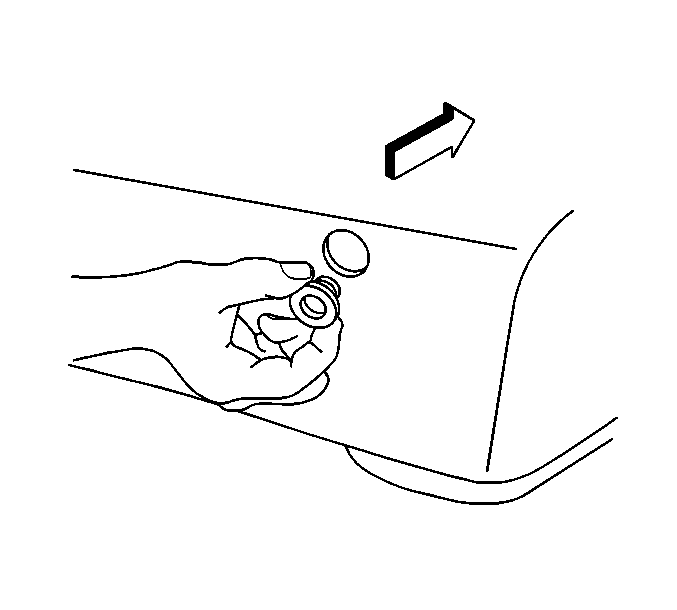
- Remove the rear object sensor bezel from the rear fascia.
Installation Procedure
- Paint the new rear object sensor. Refer to Basecoat/Clearcoat Paint Systems .
- Inspect the paint thickness to ensure it does not exceed 6 mm using a paint thickness gauge suitable for non-ferrous metals.
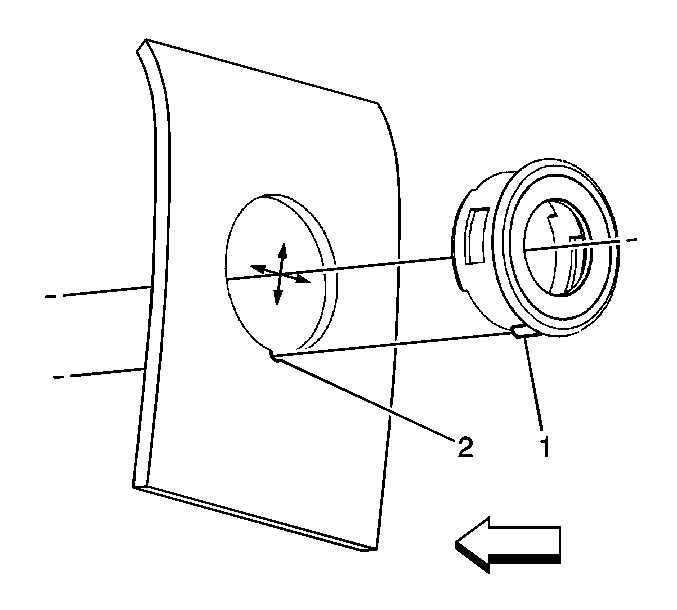
- Align the keyhole (2) with the key (1) and press the rear object sensor bezel flush to the fascia.
- Install the housing to the cutouts on the bezel through the back side of the fascia.
- Install the spring (1) to the housing (2).
- Install the decoupling ring (2) to the sensor (1).
- Insert the sensor into the housing (4) with the connector pointing toward the passenger side of the fascia. Press the sensor tabs into the cutouts on the housing (4).
- Connect the electrical connector.
- Install the rear bumper fascia. Refer to Rear Bumper Fascia Replacement .
Important: Do not refinish previously painted sensors.

Important: The spring keys must be on the top and bottom of the housing.


