For 1990-2009 cars only
Removal Procedure
- Remove the upper seat trim. Refer to Sit-N-Lift Upper Trim Replacement .
- Remove the chain cover. Refer to Sit-N-Lift Chain Cover Replacement .
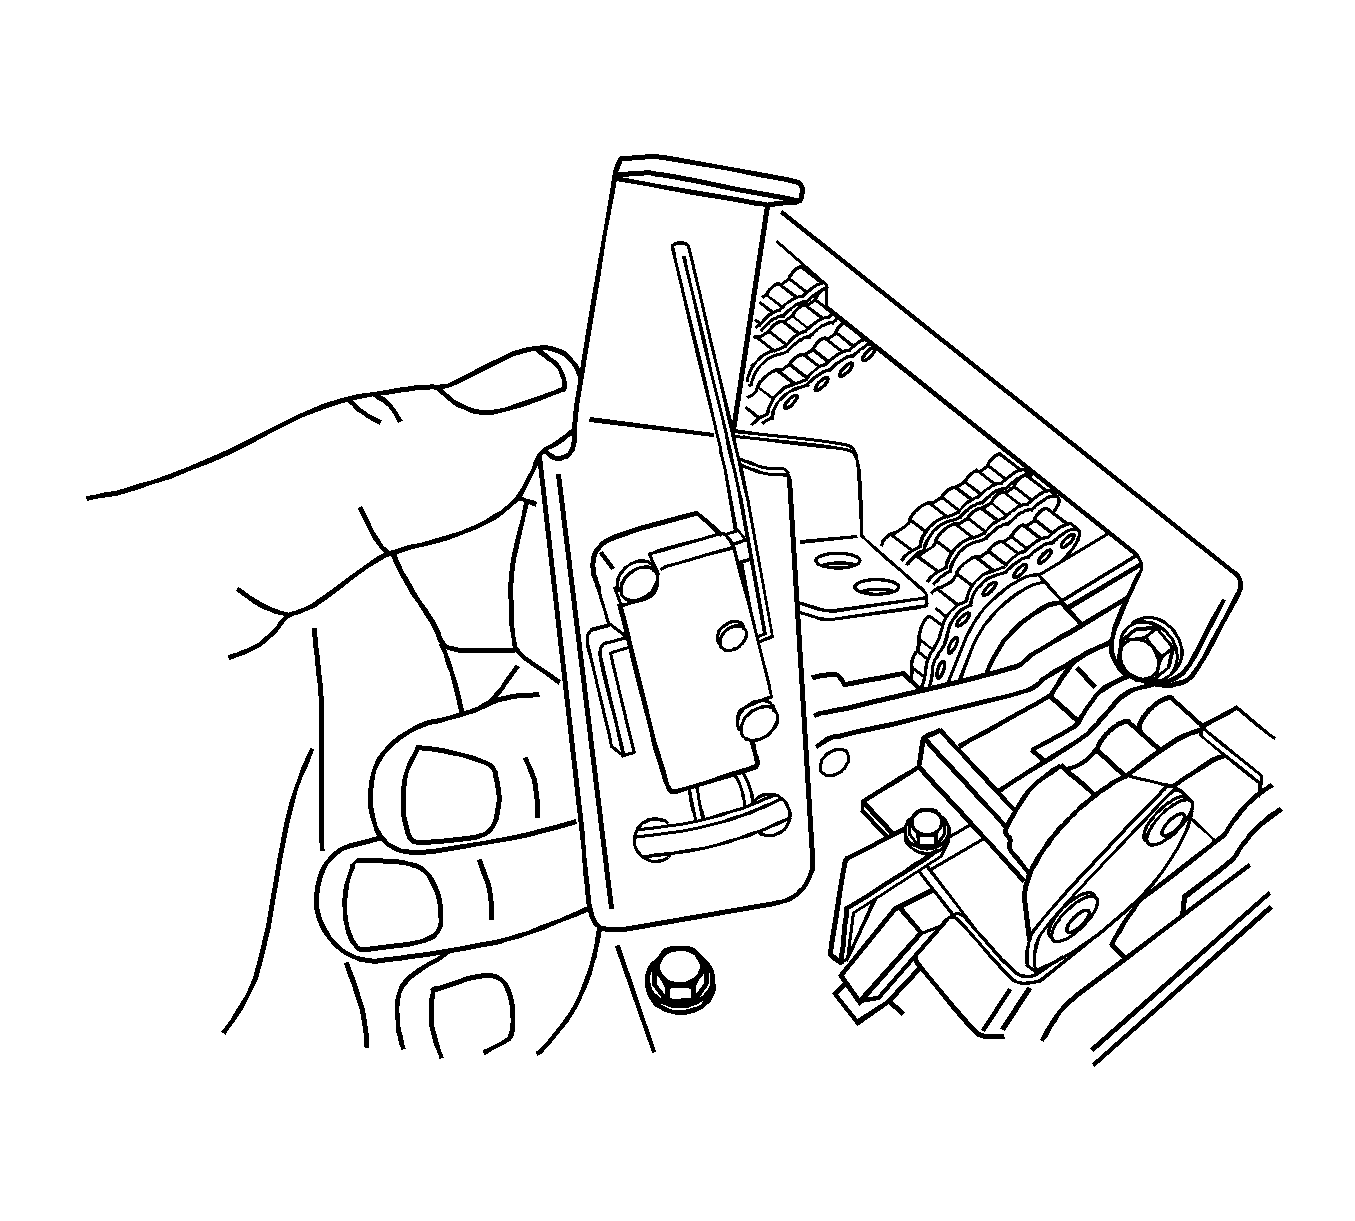
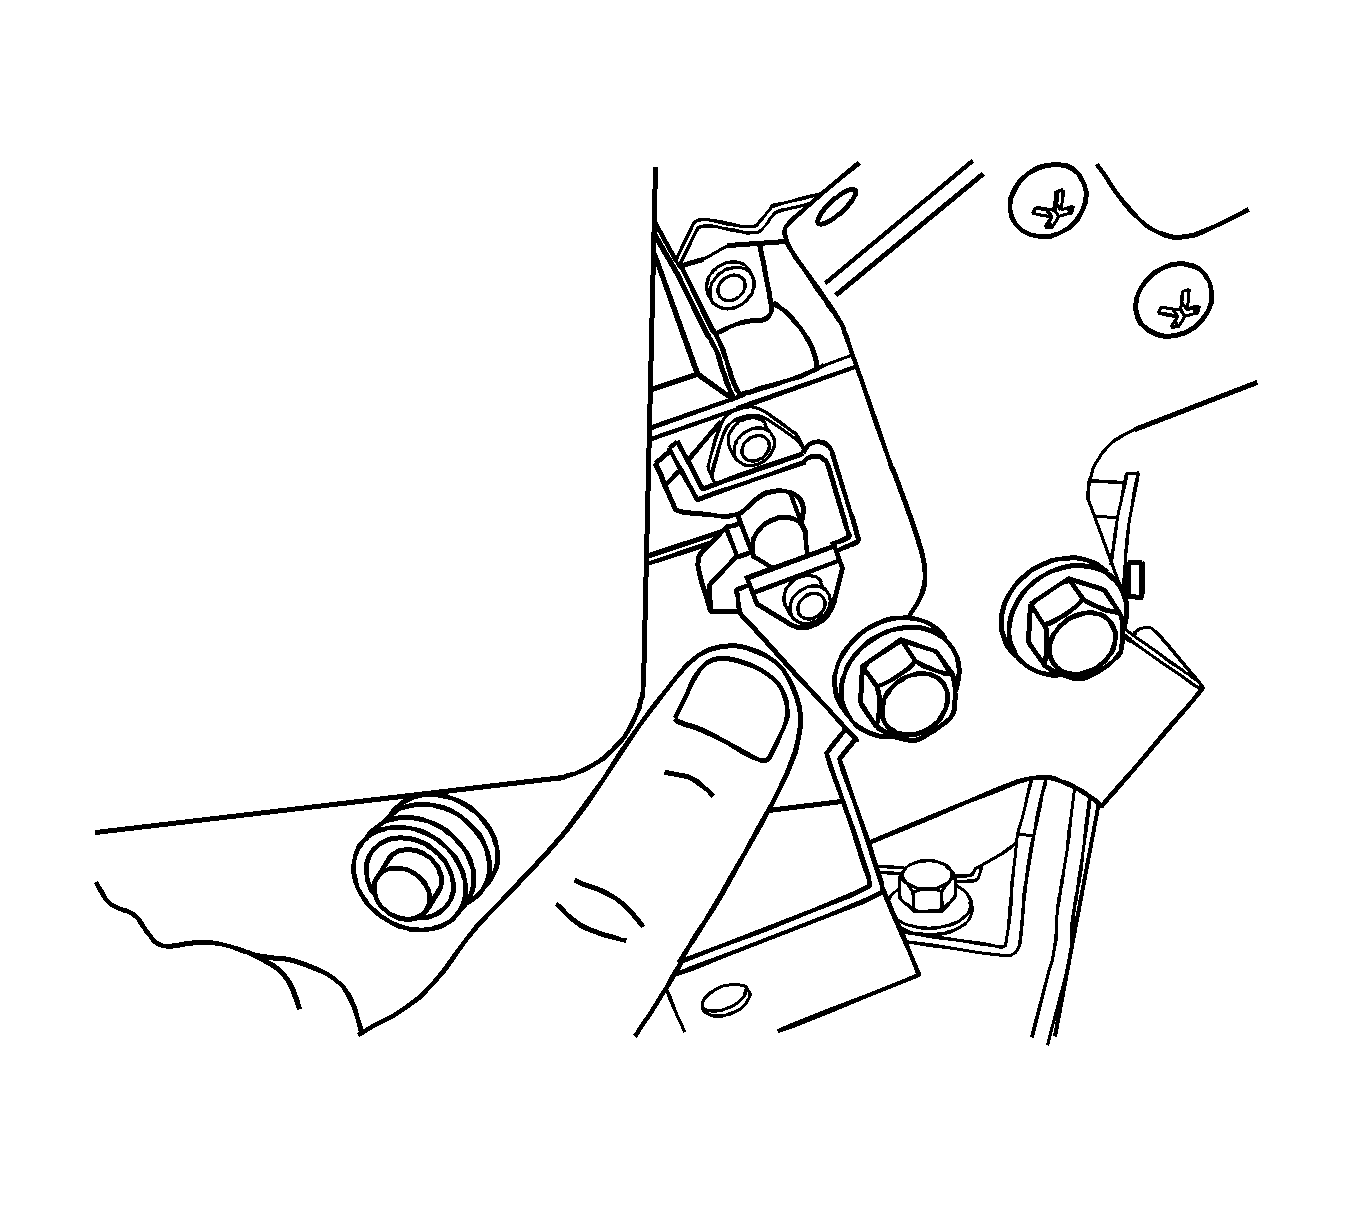
- Remove the bolts from the limit switch bracket.
- Disconnect the electrical connector.
- Remove the switch.
Installation Procedure
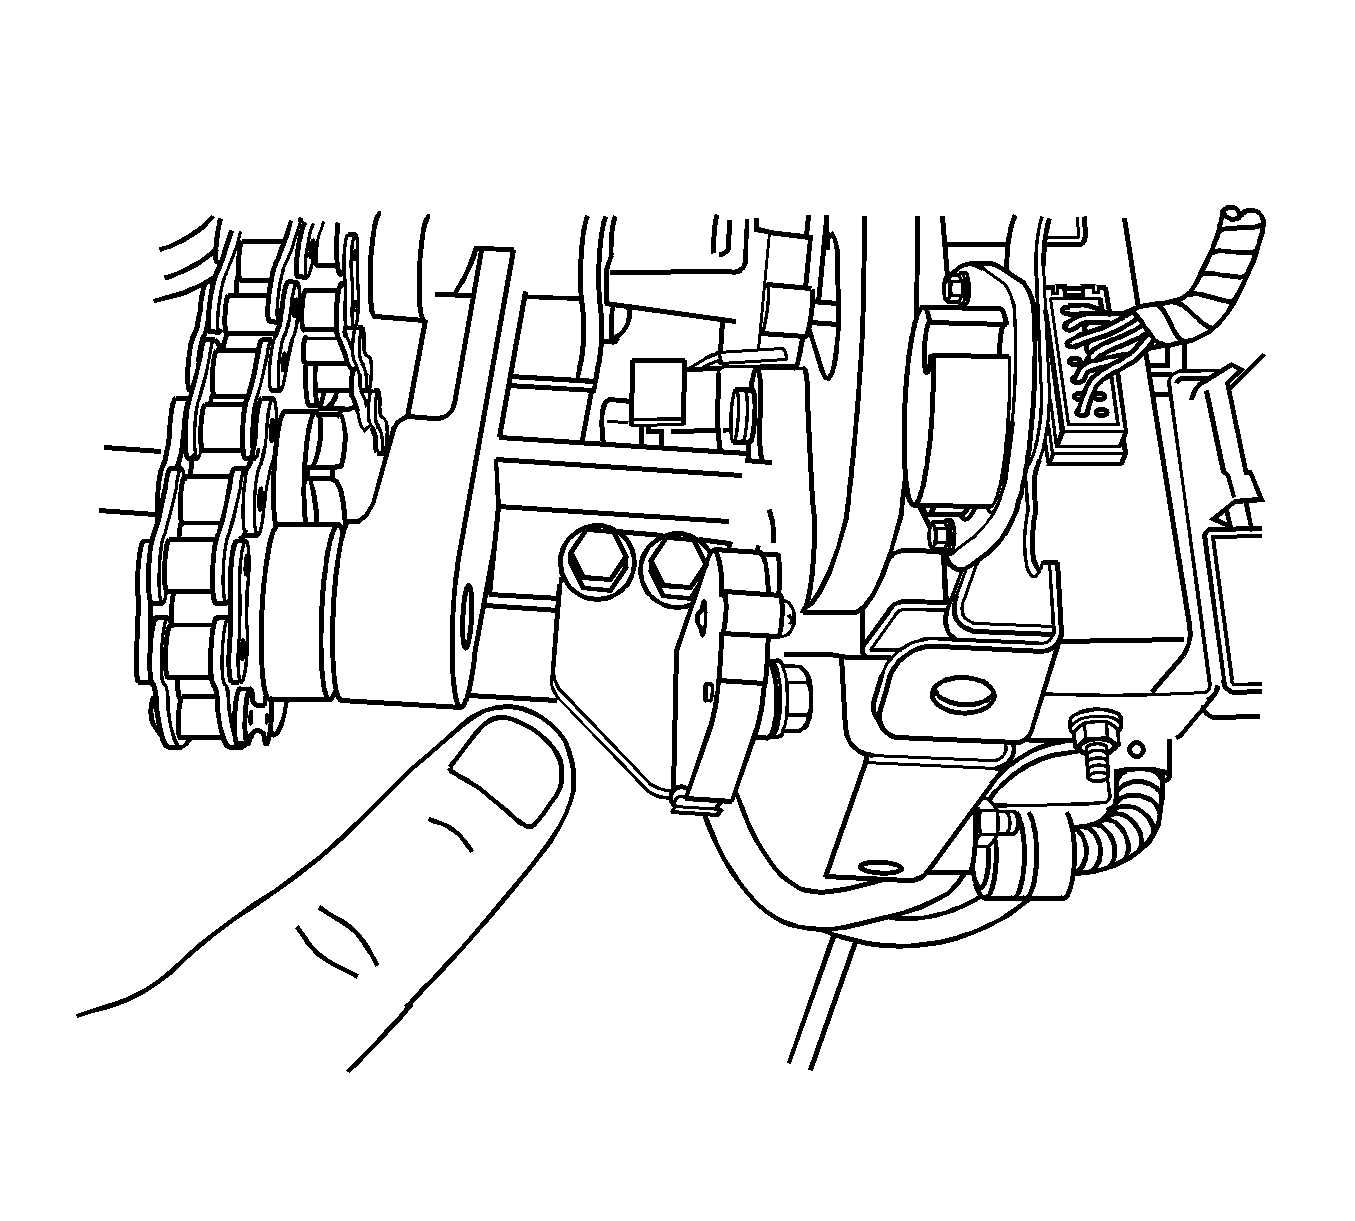
- Install an upper and lower stay bracket to the seat base. Secure the bracket with a bracket bolt.
- Install the limit switch and the bracket to the seat base.
- Install the bolts to the limit switch bracket.
- Connect the electrical connector.
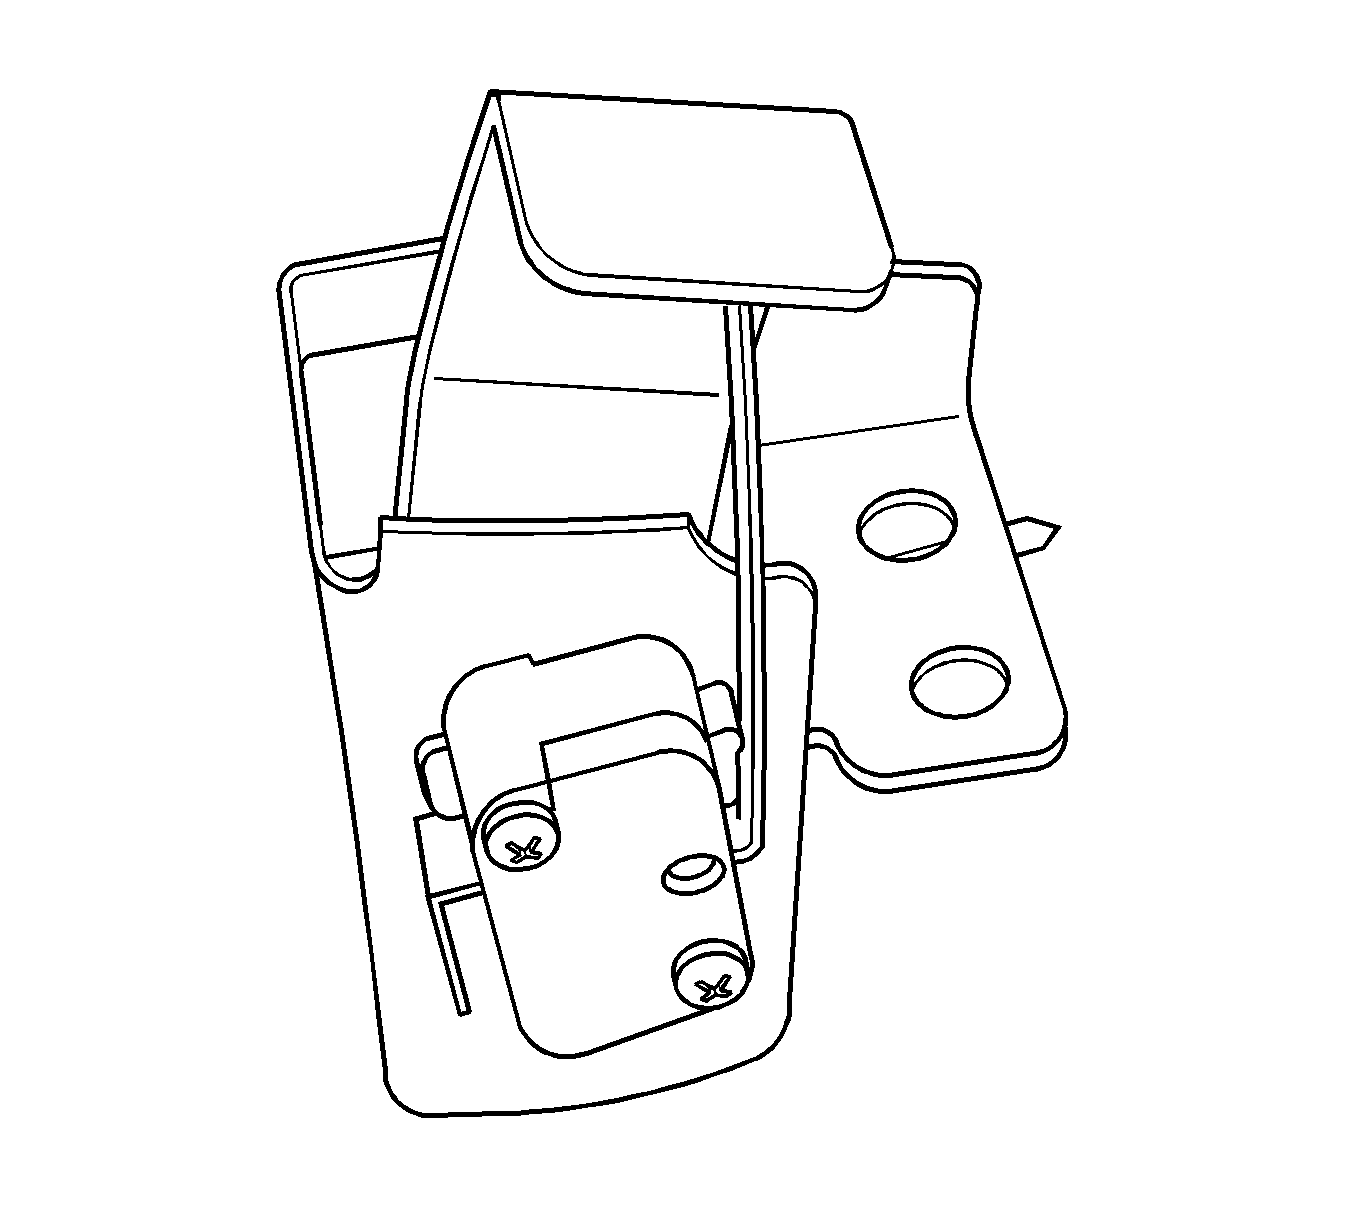
- Set the limit switch to stop the lift in the proper location. Make the adjustment at the top hole on the slotted mounting bracket.
- Tighten the mounting screws until the screws are snug, yet the switch can still be moved easily by hand.
- Operate the lift to the proper location. Slide the switch forward until the switch makes contact and clicks into place.
- Hand tighten the switch.
- Adjust the lift stop position. The lift should stop when the left post makes contact with the rubber bushing, and the right post is 2-4 mm (0.04-0.08 in) from contacting the metal hook.
- Inspect the seat for proper installation.
- Install the chain cover. Refer to Sit-N-Lift Chain Cover Replacement .
- Install the upper seat trim. Refer to Sit-N-Lift Upper Trim Replacement .
Notice: Refer to Fastener Notice in the Preface section.
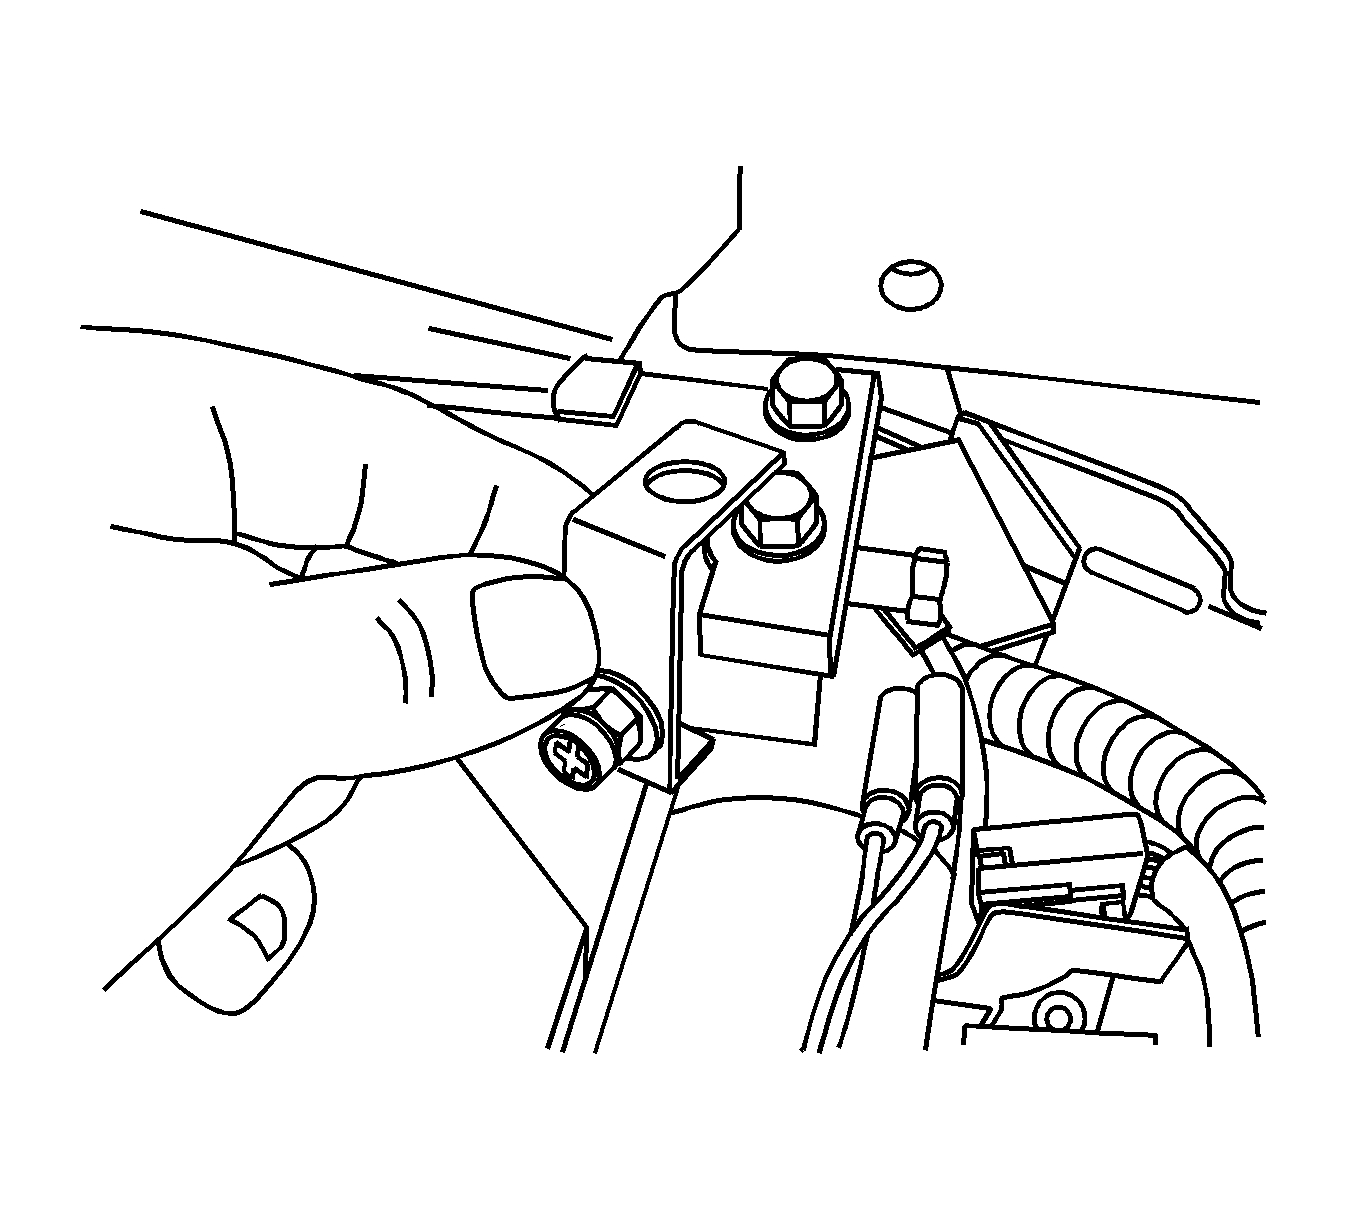
Tighten
Tighten the bolts to 50 N·m (35 lb ft).


Tighten
Tighten the bolts to 5.8 N·m (50 lb in).
Important: The switch body is delicate. Adjust and tighten the switch carefully.
