For 1990-2009 cars only
Removal Procedure
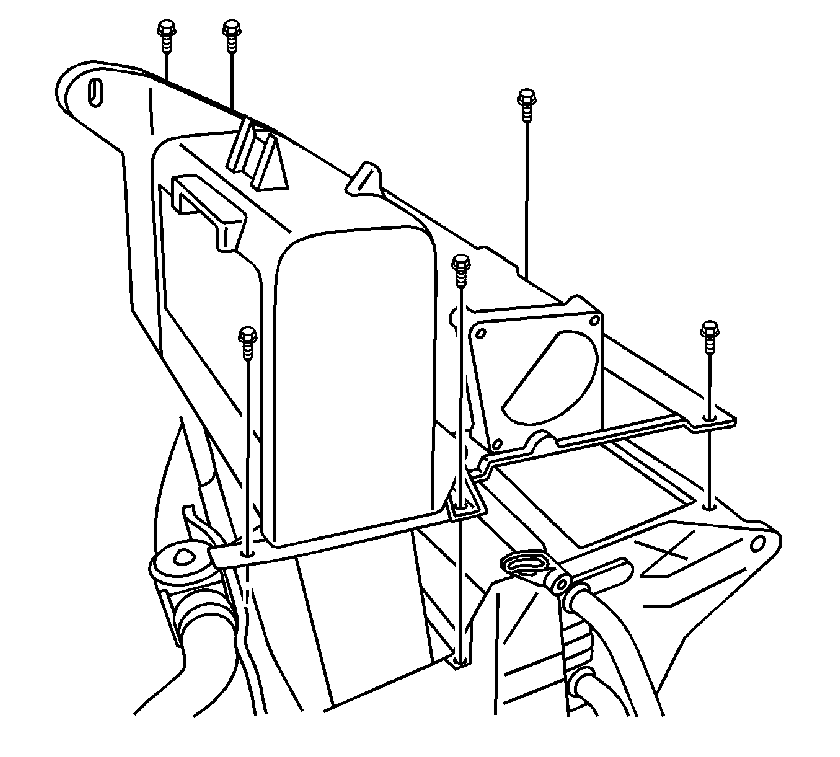
- Remove the left lower quarter trim panel. Refer to Rear Quarter Trim Panel Replacement - Left Side.
- Disconnect the auxiliary blower motor electrical connector.
- Disconnect the auxiliary blower motor resistor electrical connector.
- Remove the lower auxiliary air distribution duct bolts and retainers.
- Remove the lower auxiliary air distribution duct.
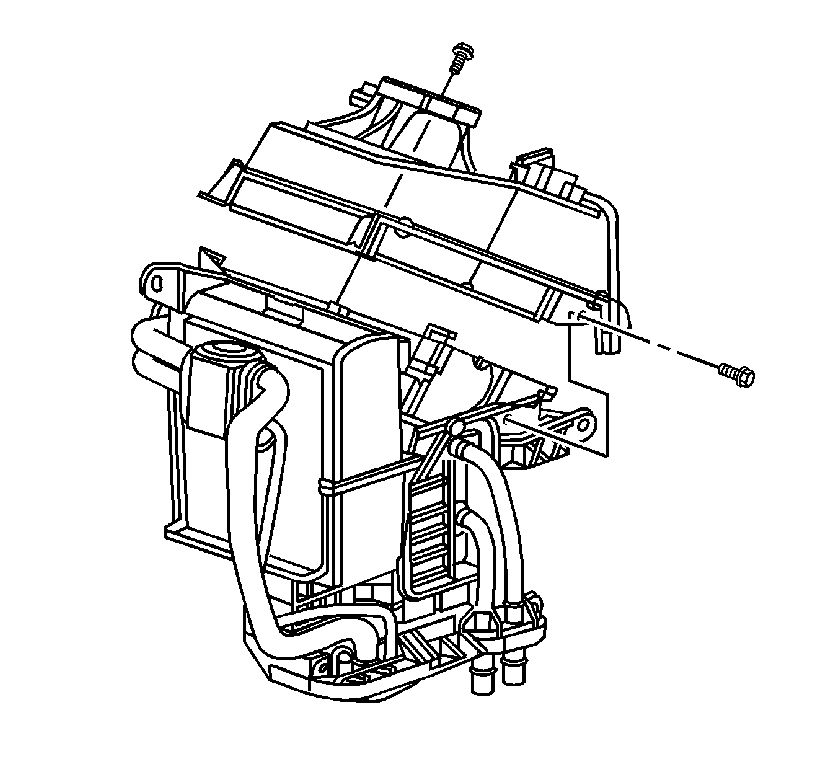
- Remove the auxiliary lower blower motor housing screws.
- Lift the auxiliary blower motor housing and remove from the HVAC module assembly.
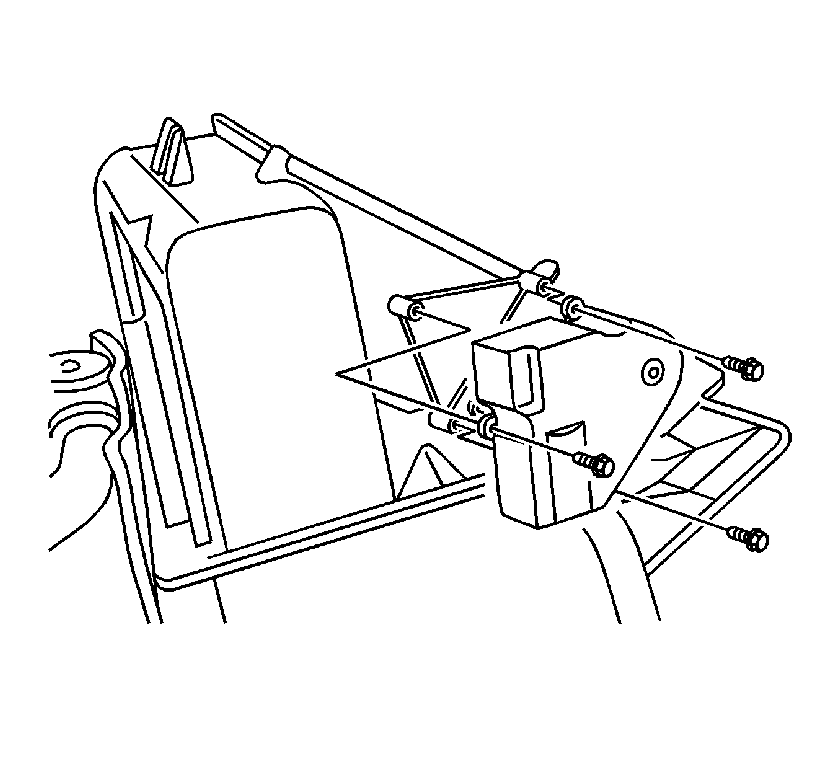
- Disconnect the auxiliary temperature door actuator electrical connector.
- Remove the auxiliary temperature door actuator screws.
- Remove the auxiliary temperature door actuator.
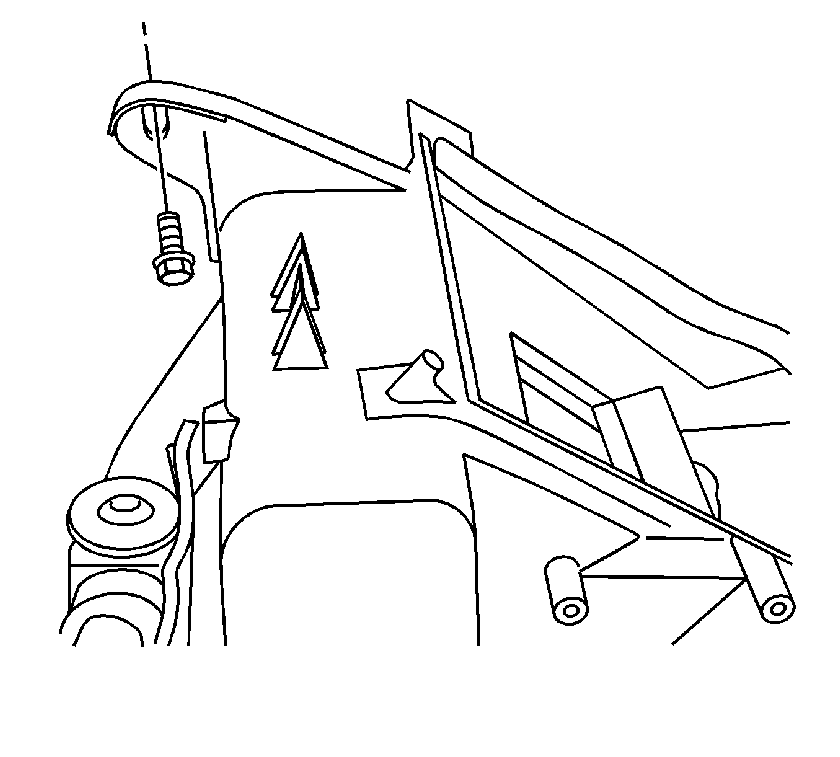
- Remove the upper auxiliary HVAC module mounting bolt.
- Remove the auxiliary evaporator core housing screws.
- Remove the auxiliary evaporator core housing.
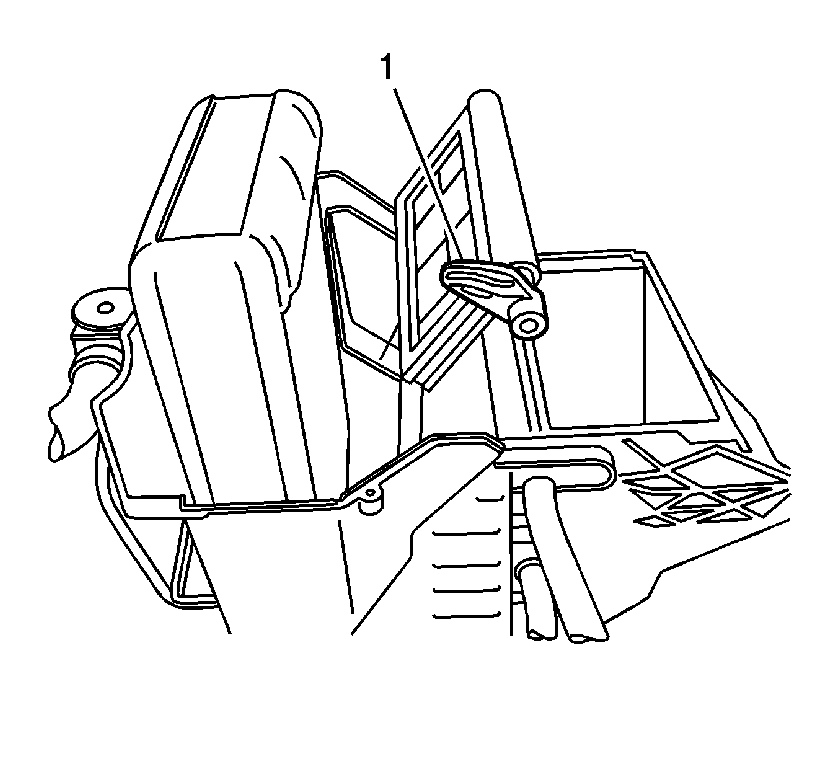
- Remove the auxiliary air temperature door from the auxiliary HVAC module.
- Remove the auxiliary air temperature door lever (1) from the auxiliary air temperature door.
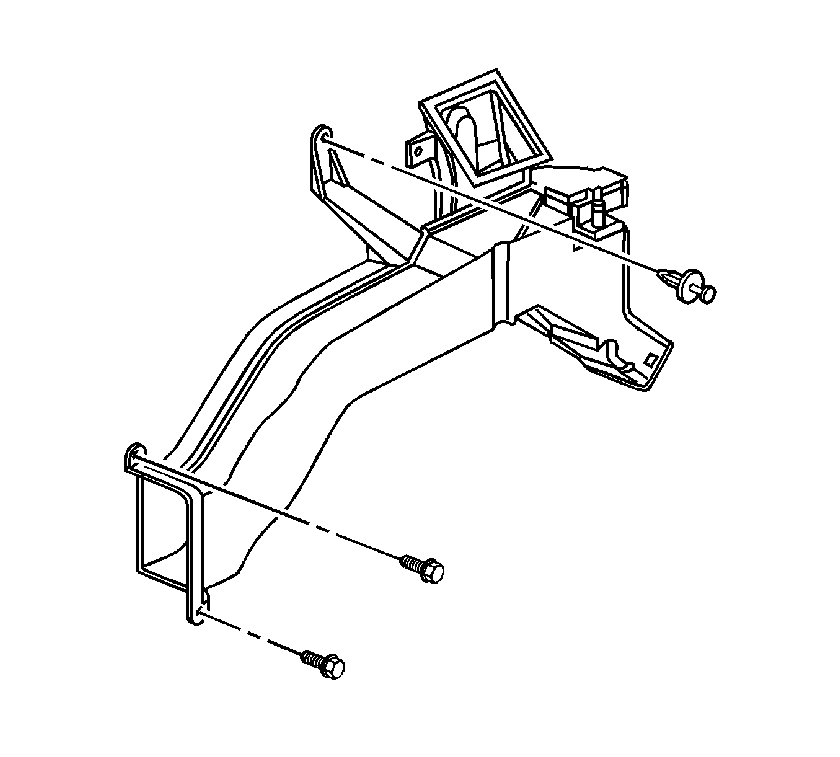
Important: The auxiliary blower motor must be removed with the blower motor housing.
Installation Procedure
- Install the auxiliary air temperature door lever (1) to the auxiliary air temperature door.
- Install the auxiliary air temperature door to the auxiliary HVAC module.
- Install the auxiliary evaporator core housing.
- Install the auxiliary evaporator core housing screws.
- Install the upper auxiliary HVAC module mounting bolt.
- Install the auxiliary temperature door actuator.
- Install the auxiliary temperature door actuator screws.
- Connect the auxiliary temperature door actuator electrical connector.
- Install the blower motor housing to the auxiliary HVAC module assembly.
- Install the auxiliary blower motor housing screws.
- Install the lower auxiliary air distribution duct.
- Install the lower auxiliary air distribution retainer.
- Install the lower auxiliary air distribution ducts bolts.
- Connect the auxiliary blower motor resistor electrical connector.
- Connect the auxiliary blower motor electrical connector.
- Install the left lower quarter trim panel. Refer to Rear Quarter Trim Panel Replacement - Left Side.


Notice: Refer to Fastener Notice in the Preface section.
Tighten
Tighten the screws to 1.6 N·m (14 lb in).

Tighten
Tighten the bolt to 10 N·m (89 lb in).

Tighten
Tighten the screws to 1.6 N·m (14 lb in).

Align the rear tabs of the blower motor housing to the HVAC module.
Tighten
Tighten the screws to 1.6 N·m (14 lb in).

Tighten
Tighten the bolts to 10 N·m (89 lb in).
