Warning: If a window is cracked but still intact, crisscross the window with masking tape in order to reduce the risk of damage or personal injury.
Note: Before cutting out a stationary window, apply a double layer of masking tape around the perimeter of the painted surfaces and inner trim.
- Open the liftgate.
- Remove the liftgate trim panel. Refer to
Liftgate Trim Panel Replacement.
- Remove the rear wiper motor. Refer to
Rear Window Wiper Motor Replacement.
- Disconnect the rear window defogger electrical connectors.
Warning: If broken glass falls into the defroster outlets, it can be blown into the passenger compartment and cause personal injury.
- Cover the following parts to protect from broken glass:
| 5.1. | The rear stowage compartment |
| 5.2. | The defroster outlets and A/C outlets |
| 5.3. | The seats and carpeting |
Warning: When working with any type of glass or sheet metal with exposed or rough edges, wear approved safety glasses and gloves in order to reduce the chance of personal injury.

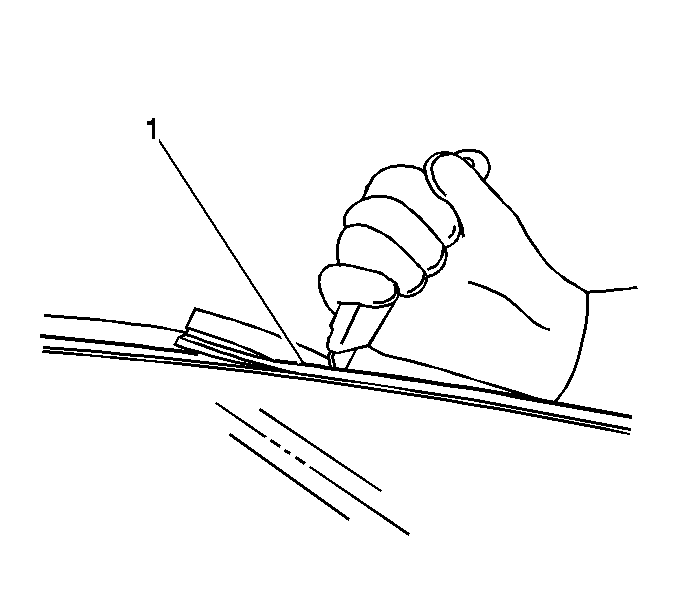
- Using a utility knife cut around the window (1).

Note: Keep the cutting edge of the tool against the window.
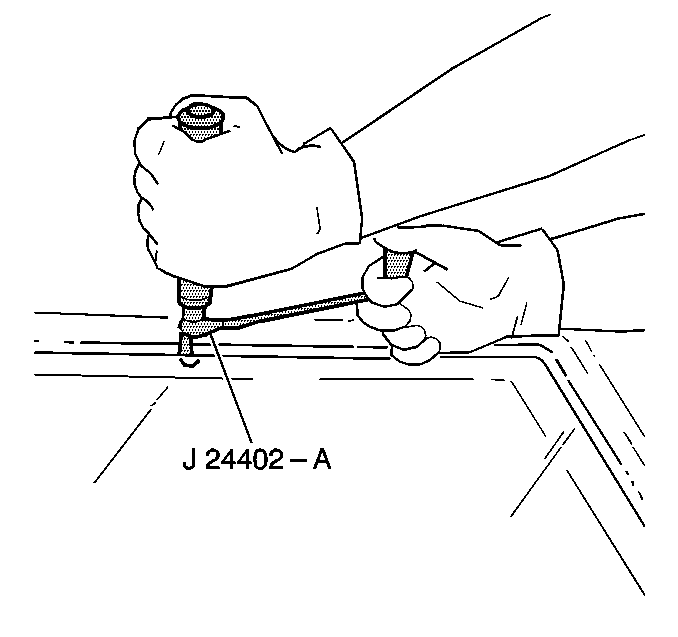
- Separate the urethane adhesive from the window.
| • | Leave a base of urethane on the pinchweld flange. |
| • | The only suitable lubrication is clear water. |
| • | Use
J-24402-A sealant remover
,
J-39032 glass removal tool
or equivalent in order to remove
the window. |

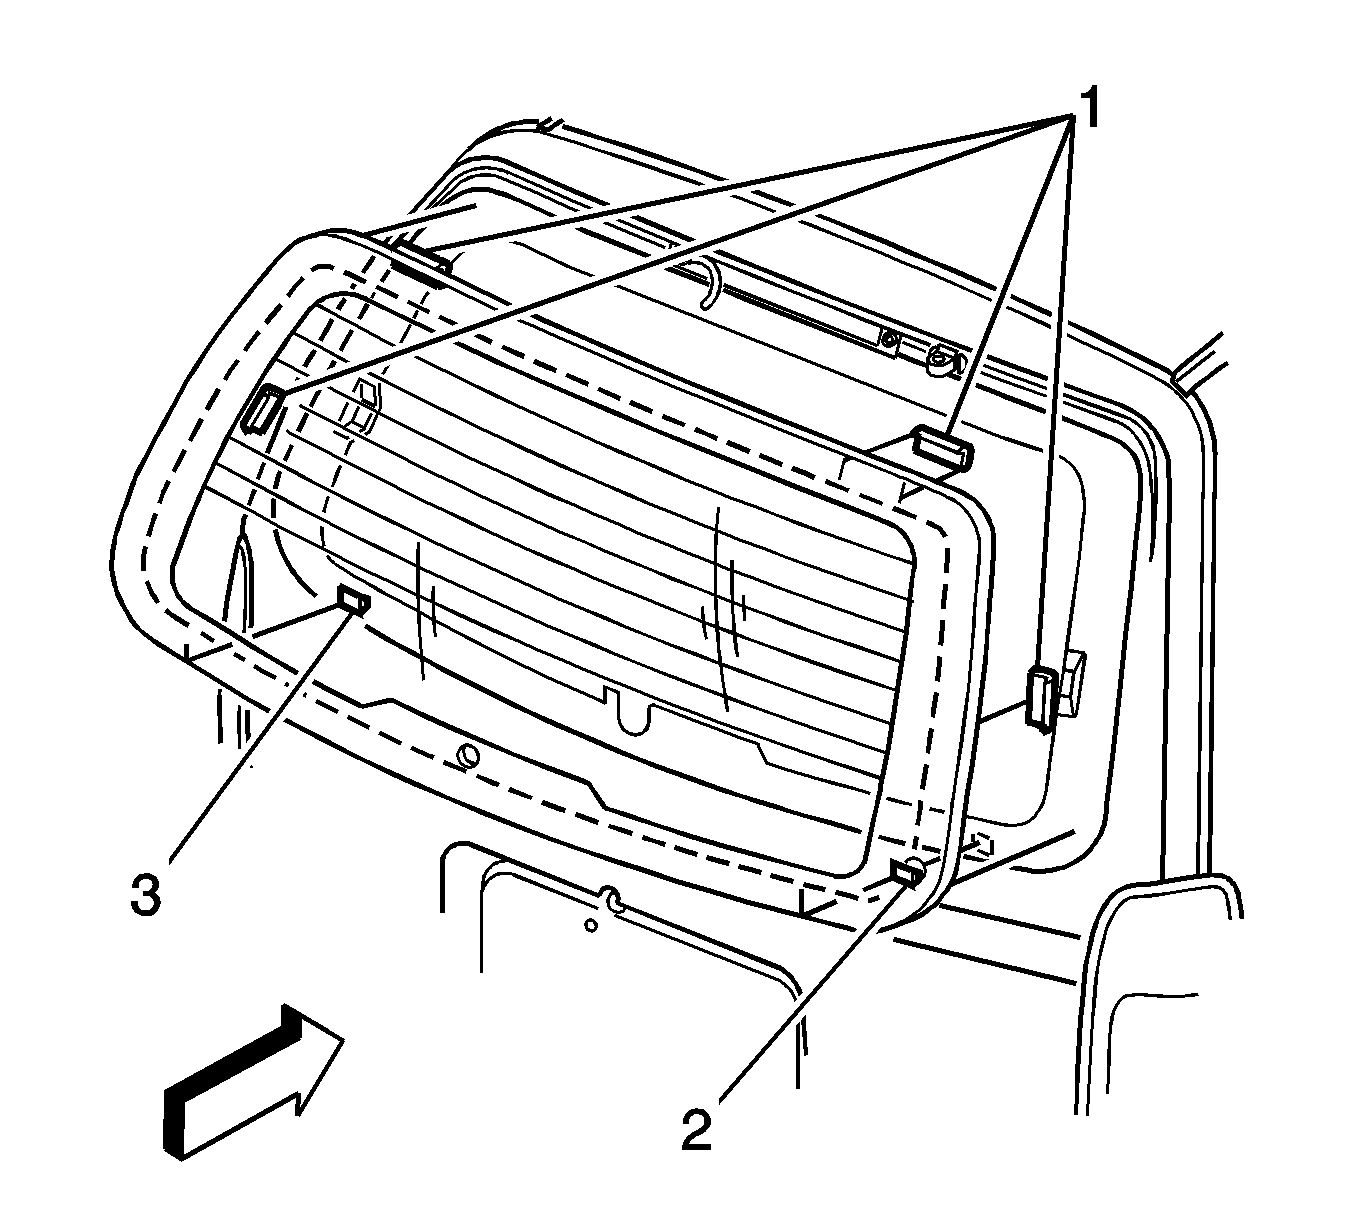
- With the aid of an assistant, use the suction cups in order to lift the liftgate window (3) from the
opening.


