For 1990-2009 cars only
Temperature Valve Actuator Replacement - Left Side Dual Zone
Removal Procedure
- Remove the driver side knee bolster. Refer to Knee Bolster, Insulator, Molding Replacement - Instrument Panel in Instrument Panel, Gages, and Console.
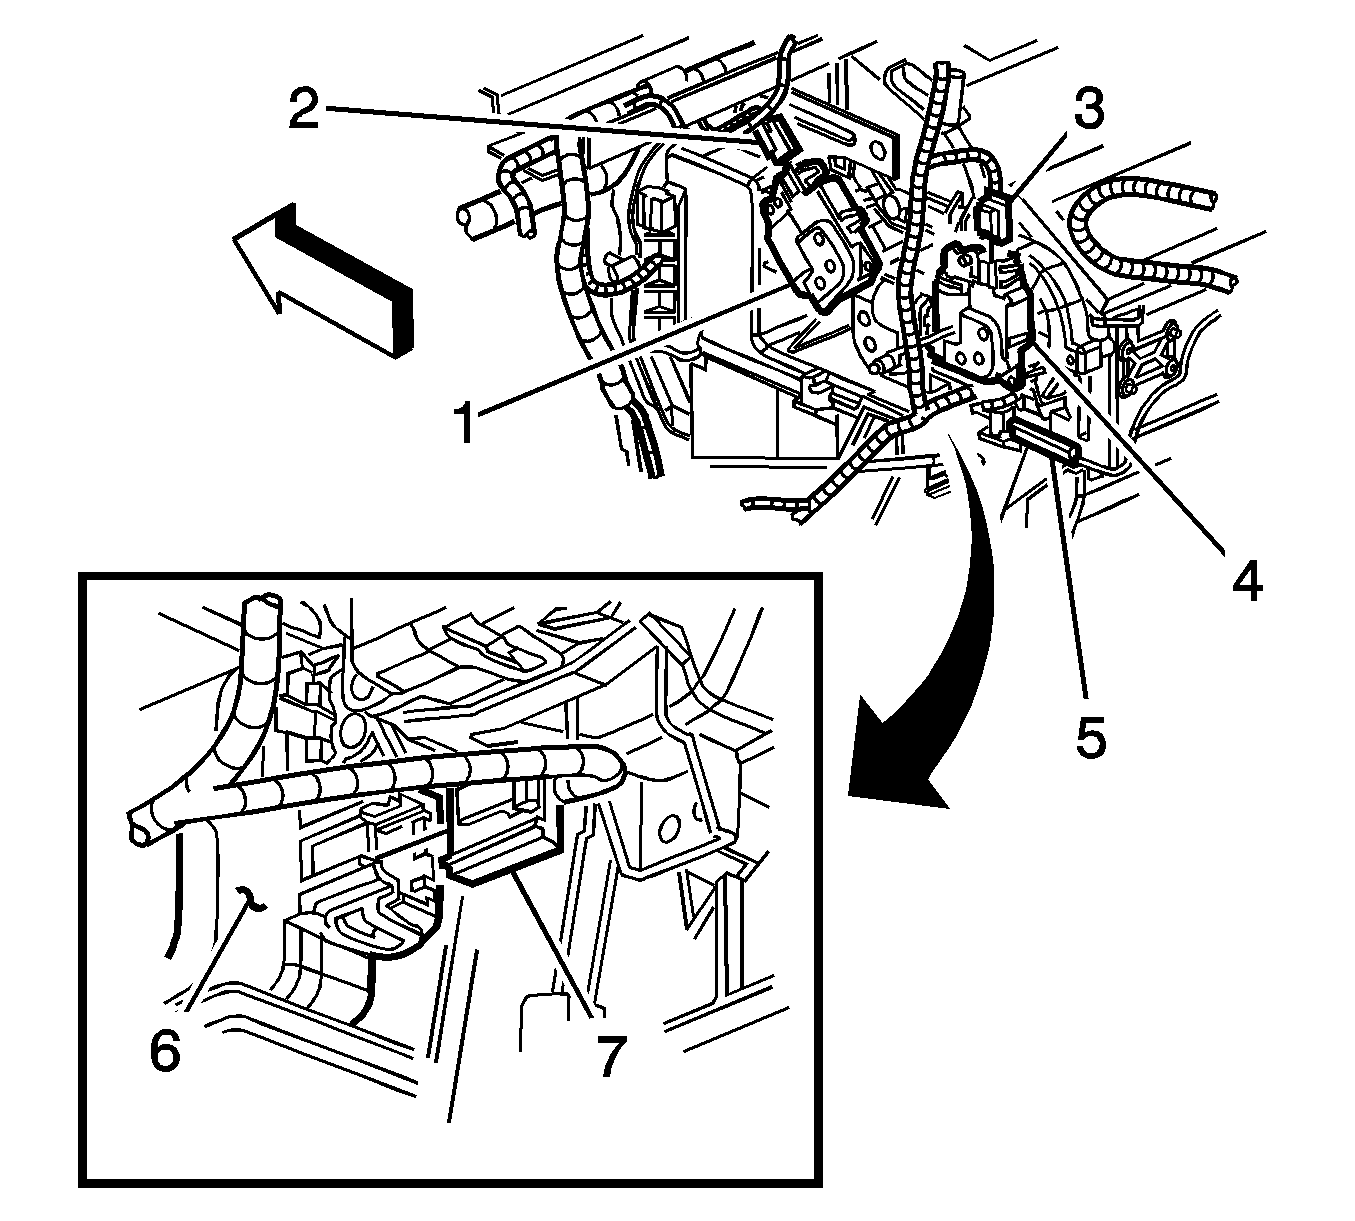
- Locate the air temperature actuator (6).
- Disconnect the left side air temperature actuator electrical connector (7).
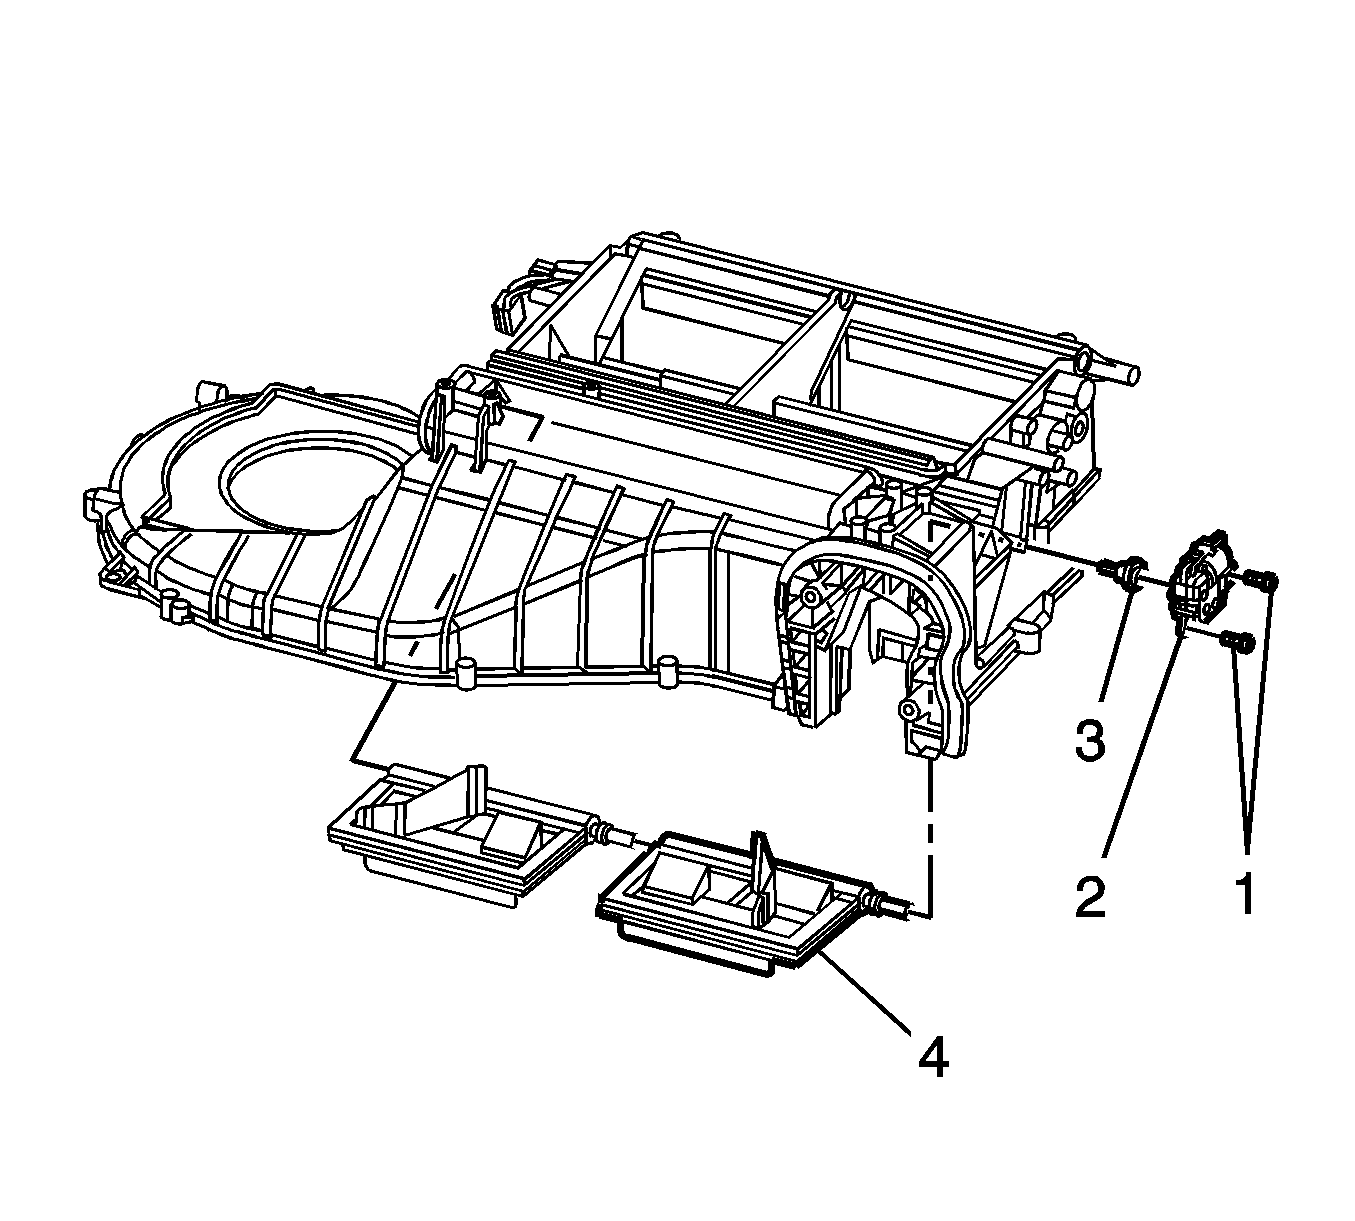
- Remove the left side air temperature actuator bolts/screws (1).
- Remove the left side air temperature actuator (2).
- Remove the left side air temperature actuator lever (3), if necessary.


Installation Procedure
- Install the air temperature actuator lever (3), if necessary.
- Install the left side air temperature actuator (2).
- Install the left side air temperature actuator bolts/screws (1).
- Connect the left side air temperature actuator electrical connector (7).
- Install the driver side knee bolster. Refer to Knee Bolster, Insulator, Molding Replacement - Instrument Panel in Instrument Panel, Gages, and Console.
- Re-calibrate the actuators. Refer to Actuator Recalibration .

Important: The actuator lever can only be inserted into the door one way.
Tighten
Tighten the bolts/screws to 1.2 N·m
(11 lb in).

