If your vehicle has captain's chairs, the chairs and seatbacks can be adjusted forward or rearward.
Adjusting the Captain's Chairs (Second Row)
The second row captain's chairs can be adjusted forward or rearward.
There are two manual adjustment bars on each seat. One is located under the front of the seat cushion. The other one is located under the rear of the seat cushion.
Lift up either bar to slide the seat forward or rearward. Release the lever. Push and pull on the seat to make sure it is locked into place.
Folding or Reclining the Seatbacks
Caution: If either seatback is not locked, it could move forward in a sudden stop or crash. That could cause injury to the person sitting there. Always push and pull on the seatbacks to be sure they are locked.

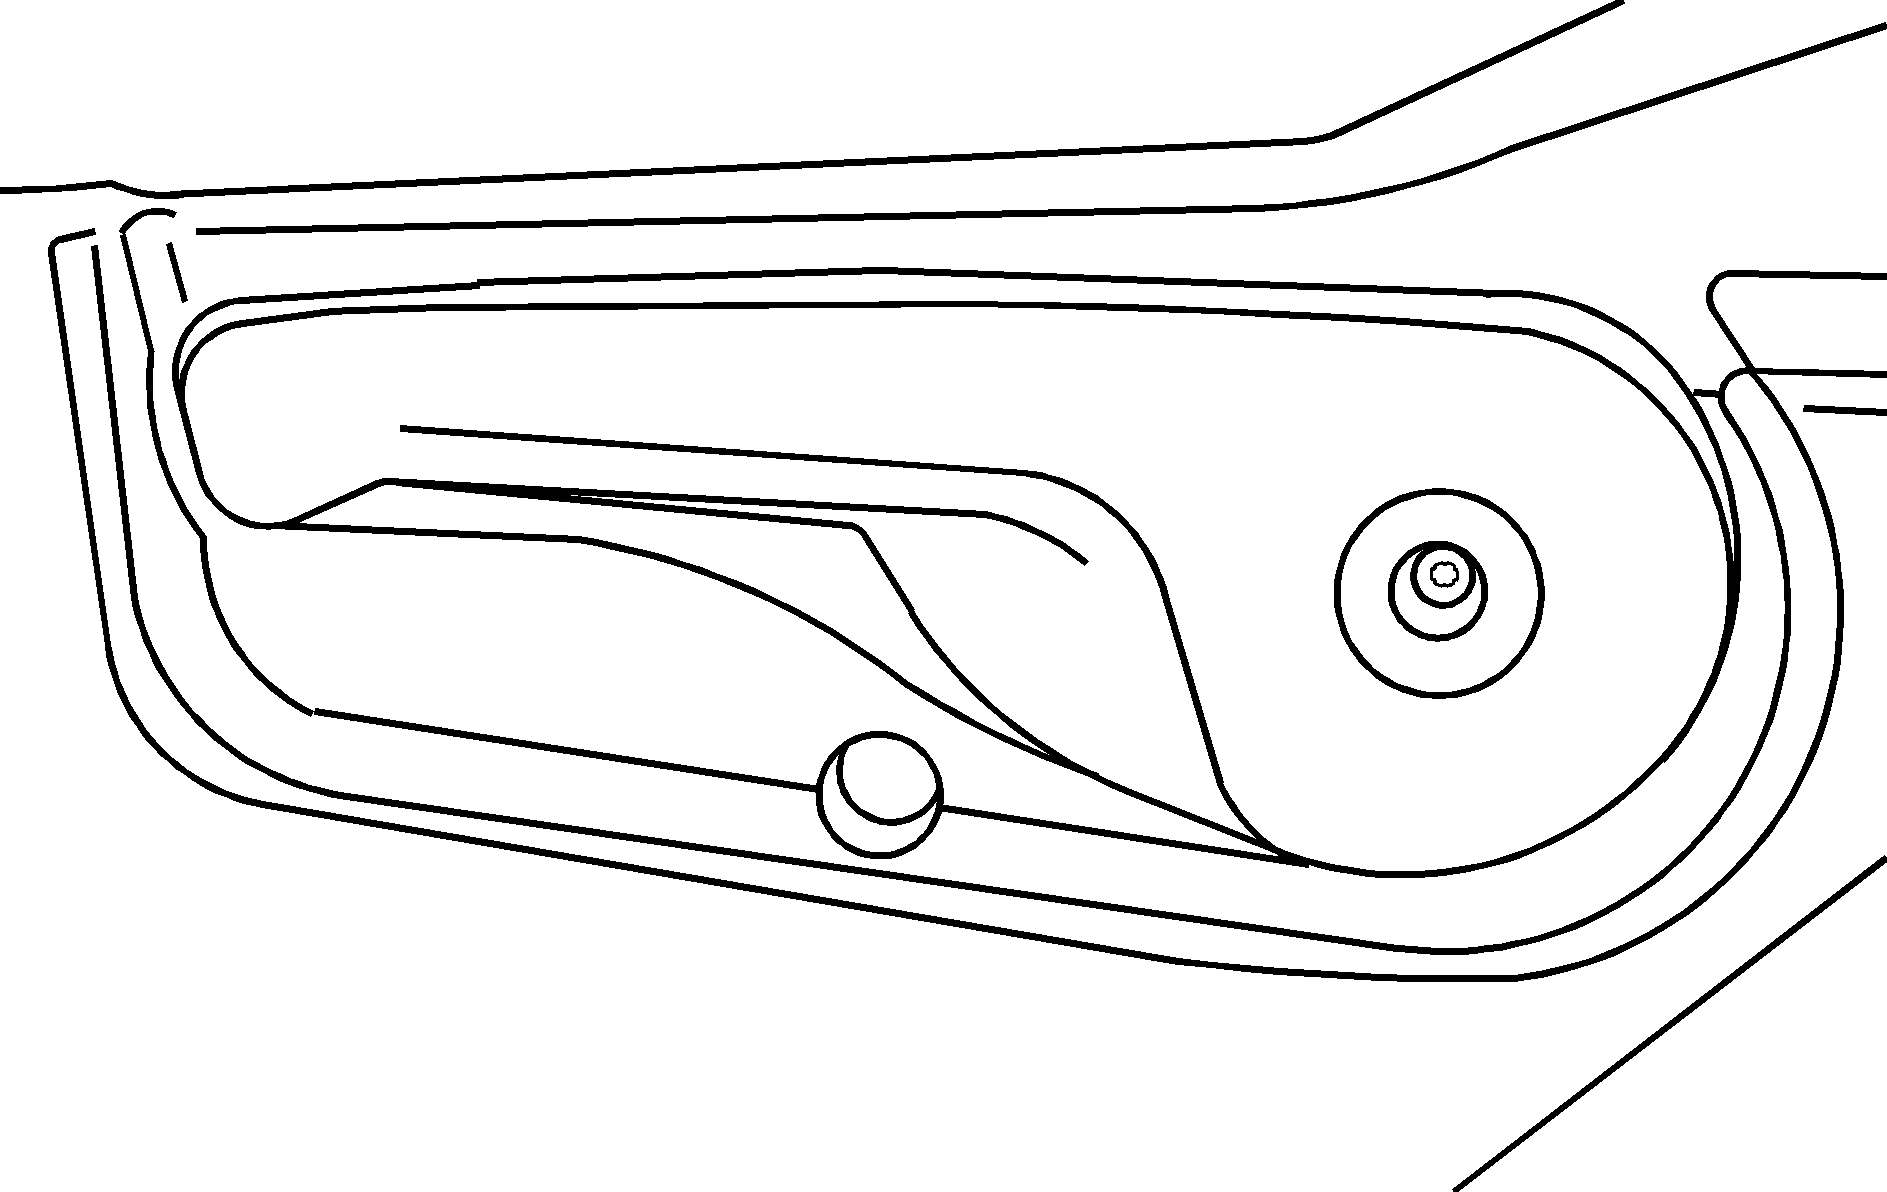
To recline the seatback, lift up on the recliner lever, located on the outboard side of the seat. Use the recliner lever to move the seatback to the desired position.
It is easier to raise or lower the seatback if you lean forward, taking the weight off the seatback.
Lift up on the recliner lever and fold the seatback forward. The seatback will lock into place when you push it back to the upright position.
The armrests can be lowered or raised for entering or exiting the vehicle.
Removing the Captain's Chairs
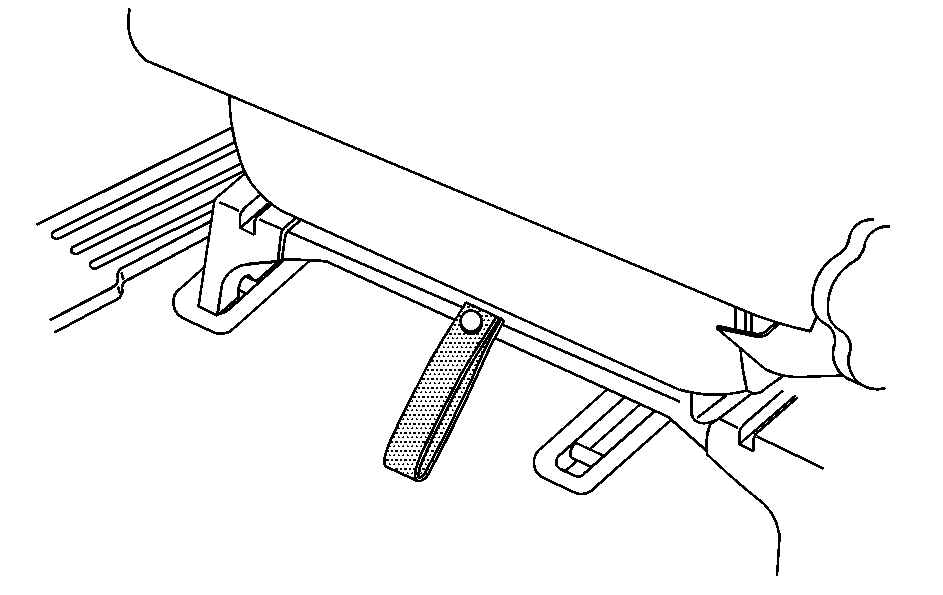
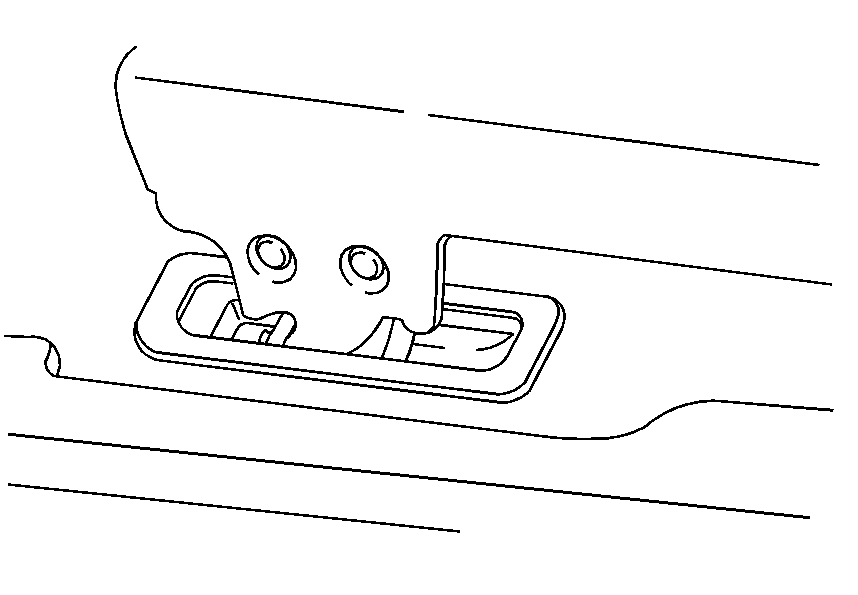
- Pull the nylon strap behind the seat to release the rear hooks from the floor pins.
- The seat can then be lifted off the front floor pins and removed from the vehicle.


Replacing the Captain's Chairs
Caution: If either seatback is not locked, it could move forward in a sudden stop or crash. That could cause injury to the person sitting there. Always push and pull on the seatbacks to be sure they are locked.
Caution: A seat that is not locked into place properly can move around in a collision or sudden stop. People in the vehicle could be injured. Be sure to lock the seat into place properly when installing it.
Caution: A safety belt that is improperly routed, not properly attached, or twisted will not provide the protection needed in a crash. The person wearing the belt could be seriously injured. After installing the seat, always check to be sure that the safety belts are properly routed and attached, and are not twisted.
Do not put the seats in so they face rearward because they will not latch that way. For the second row, if you want more storage room behind the seat, adjust the seat by sliding it forward.
Make sure the seatbacks are in the upright position, the seat belts are on the correct side of the seats and the seats are in the full rear position before beginning this procedure.
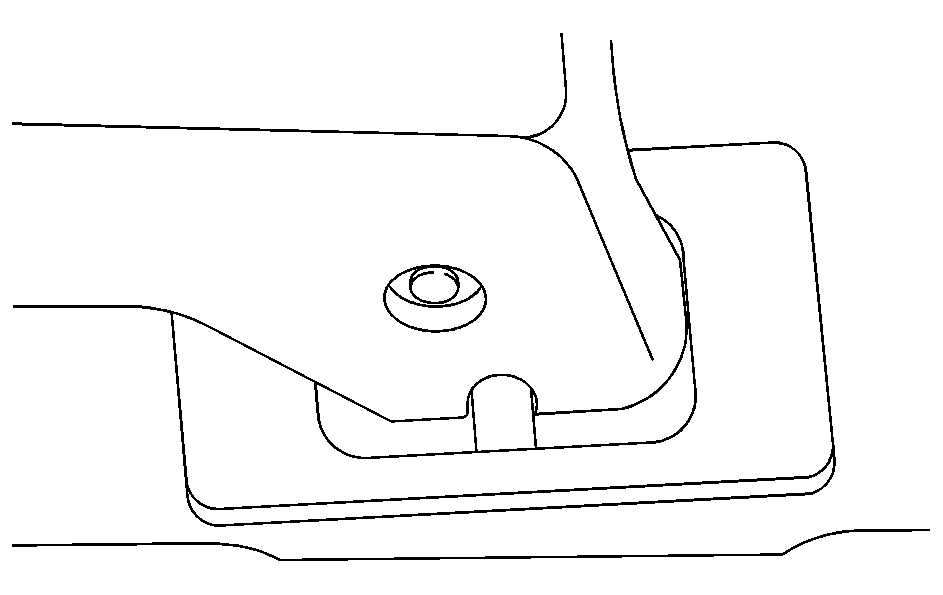
- Hook the front latches over the front floor pins.
- Push the rear of the seat down to lock the rear latches onto the rear set of floor pins.
- Push and pull on the seat to be sure it is properly attached.


