For 1990-2009 cars only
Removal Procedure
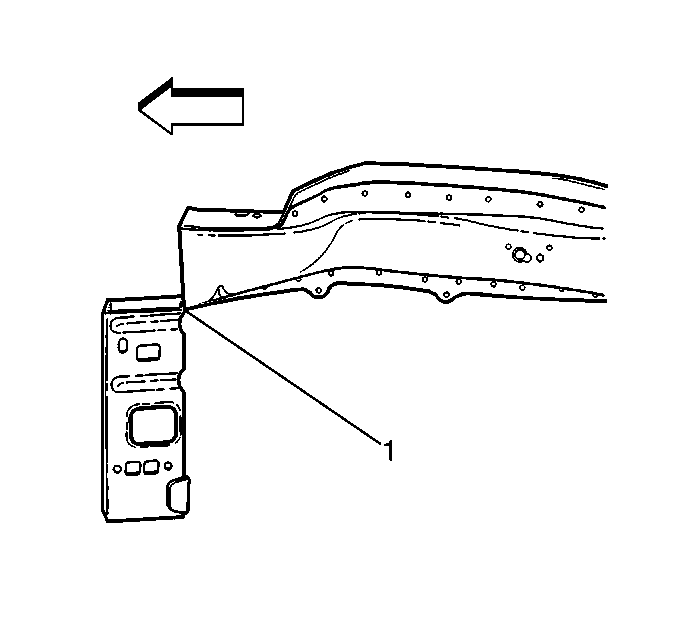
- On the top of the rail, locate the last cut-out square.
- From the front edge of the square (1), measure forward 17 mm (11/16 in) and scribe a line.
- Add 10 mm (13/32 in) and scribe a second line. The second line, 27 mm (1 3/32 in), is the cut location.
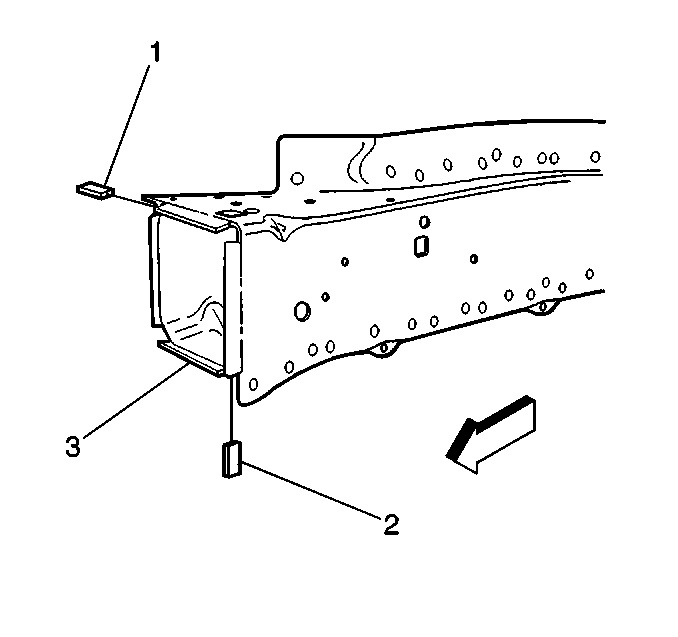
- On the inboard side of the rail, locate fixturing hole (2). Measure forward 170 mm (6 ¾ in) and scribe a line to mark location.
- Add 10 mm (13/32 in) and scribe a second line. The second line, 180 mm (7 1/8 in), is the cut location.
- On the outboard side of the rail, locate where the brake line bolts to the rail.
- At larger hole, pull tape measure tight from forward edge of the hole (1) and mark a line at 402 mm (15 ¾ in).
- Scribe a line with a straight edge to make it as square as possible to inboard and top rail markings.
- Add 10 mm (13/32 in) and scribe a second line. The second line, 412 mm (16 in), is the cut location.
- Make certain all 3 sides are aligned.
- Cut through all 3 sides of the rail.
- On the bottom of the damaged rail (1), scribe a line from outboard to inboard cut locations and cut remainder of the rail from the vehicle.
- Remove the damaged section of the rail.
Important: The additional 10 mm (13/32 in) metal measurements will be used to create a flange for welding the new service part to vehicle.


Service Part Preparation
- On the original rail, cut and remove 10 mm (13/32 in) of the outboard (1) and downward (2) turned flanges of the rail.
- Cut 10 mm (13/32 in) gaps along the corners of the original rail.
- Step the top, bottom and side tabs inward (3) to allow the service part to fit over the original rail.
- Clean and prepare mating surfaces as necessary.

Installation Procedure
- Position the service part over the original rail.
- Align and check fit with 3-dimensional measuring.
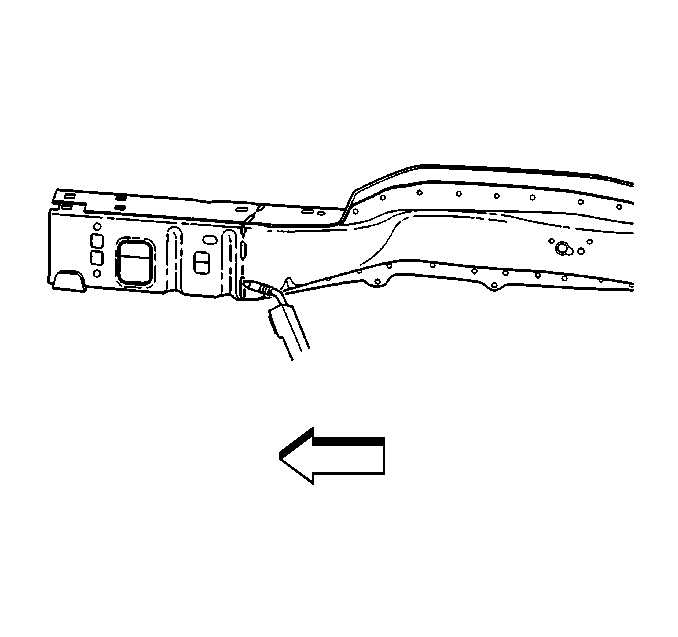
- Stitch weld along the entire sectioning joint.
- Make 25 mm (1 in) welds along the seam with 25 mm (1 in) gaps between.
- Go back and complete the stitch weld to create a solid weld joint with minimal heat distortion.
- Clean and prepare all welded surfaces.
- Prime with 2-part catalyzed primer.
- Apply sealers and anti-corrosion materials as necessary.
- Install all related panels and components.

Important: Prior to refinishing, refer to GM 4901MD-99 Refinish Manual for recommended products. Do not combine paint systems. Refer to paint manufacturers recommendations.
