Tools Required
| • | J 5239
Connecting
Rod Bolt Guide |

- Mark the piston with the
number of the cylinder from which the piston is being removed.
- Mark the connecting rod and the connecting rod cap in order to
ensure correct assembly.
Notice: If there is a pronounced ridge at the top of the piston travel, the
ridge must be removed with a ridge reamer before the piston and connecting
rod assembly are removed. Applying force may break the piston rings or damage
the piston.
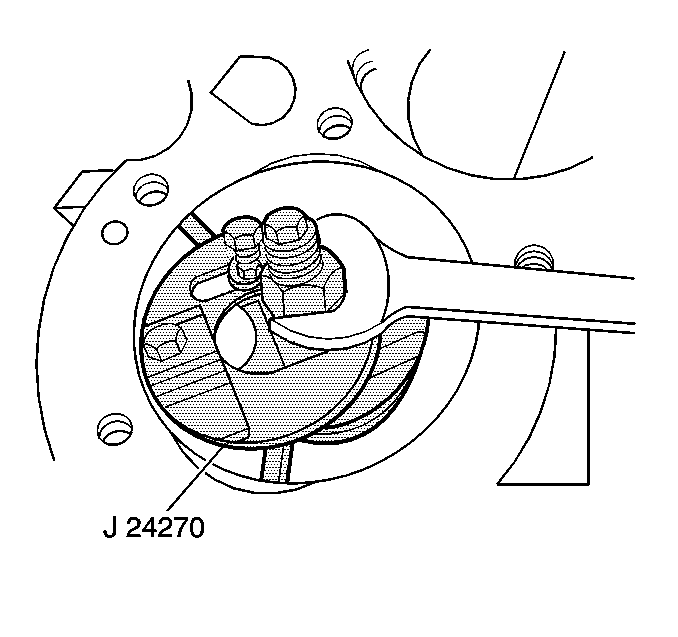
- Use the
J 24270
in order to remove the cylinder bore ring ridge.
Complete the following steps:
| 3.1. | Turn the crankshaft until the piston is at the bottom of the stroke. |
| 3.2. | Cover the piston with a cloth. |
| 3.3. | Remove the cylinder ring ridge. |
| 3.4. | Turn the crankshaft until the piston is at the top of the stroke. |
| 3.6. | Remove the metal shavings from the cylinder and piston. |

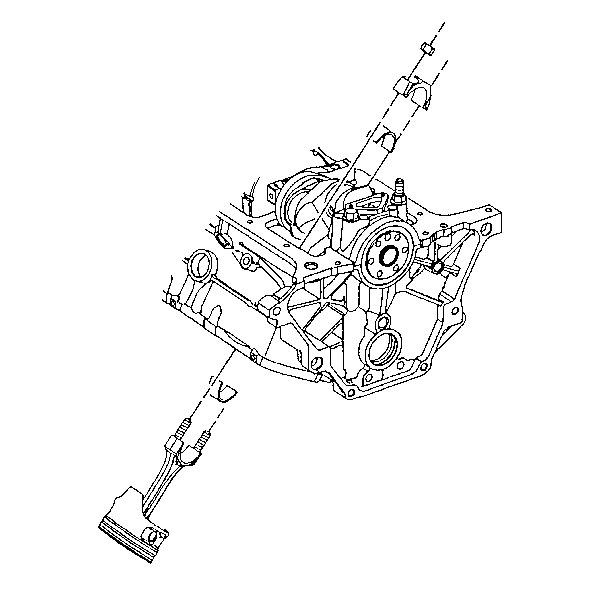
- Remove the connecting
rod nuts and cap.
- Remove the connecting rod cap and bearing half.
Notice: Install thread protector in order to avoid damage to the crankshaft
journal.
- Install
J 5239
onto the
connecting rod bolts.
- Remove the connecting rod and piston assembly.
- Push out the assembly using a suitable tool.


