For 1990-2009 cars only
Fluttering Sound From I/P Air Vent (Glue Air-Shutter Sealing Foam)

| Subject: | Fluttering Sound From I/P Air Vent (Glue Air-Shutter Sealing Foam) |
| Models: | 2002-03 Chevrolet Venture |
| 2002-03 Oldsmobile Silhouette |
| 2002-03 Pontiac Montana |
Condition
Some customers may comment on a fluttering or buffeting sound from one of the I/P air outlets when the blower is set on medium or higher speed.
Cause
The foam gasket on one of the I/P vent air shutters may dislodge from its retaining groove. When this condition happens, the gasket may flutter in the duct producing a loose, paper-type sound.
Correction
Use the following procedure to eliminate the fluttering noise.
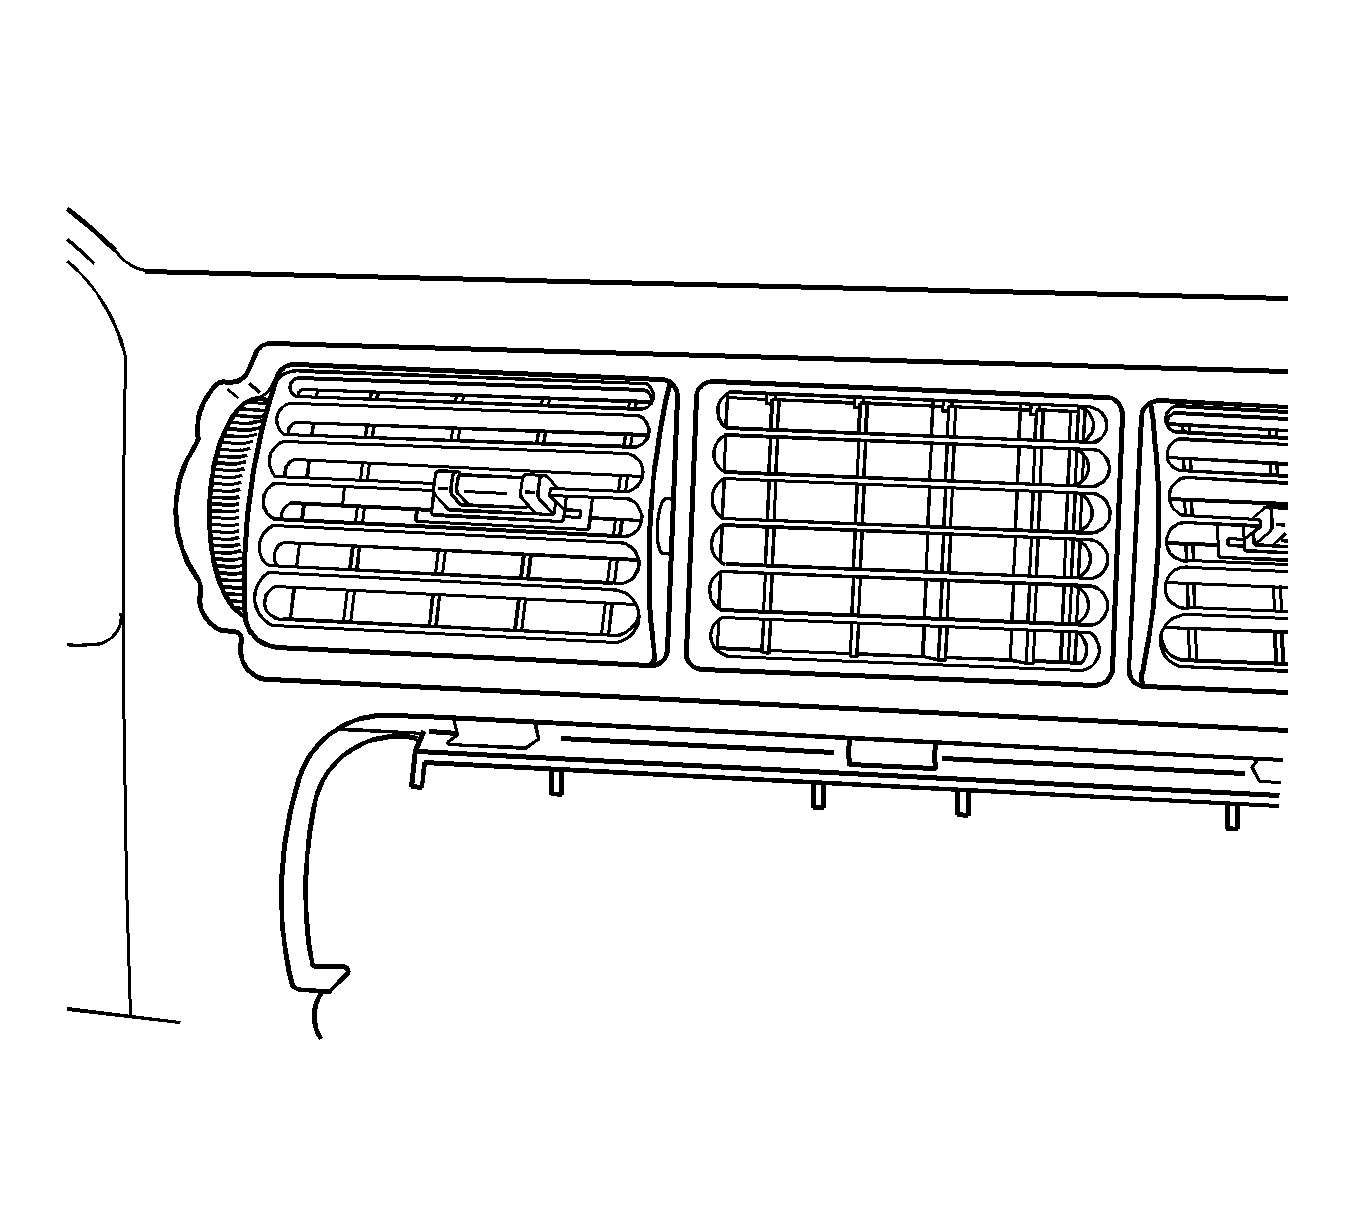
- Position the affected air discharge outlet towards the roof (up). Continue by pushing in on the top left corner of the outlet while pulling on the right bottom corner of the outlet. At some level of force, the outlet will snap off its retainers. Then rotate the vent back down past its normal lower position and remove the vent.
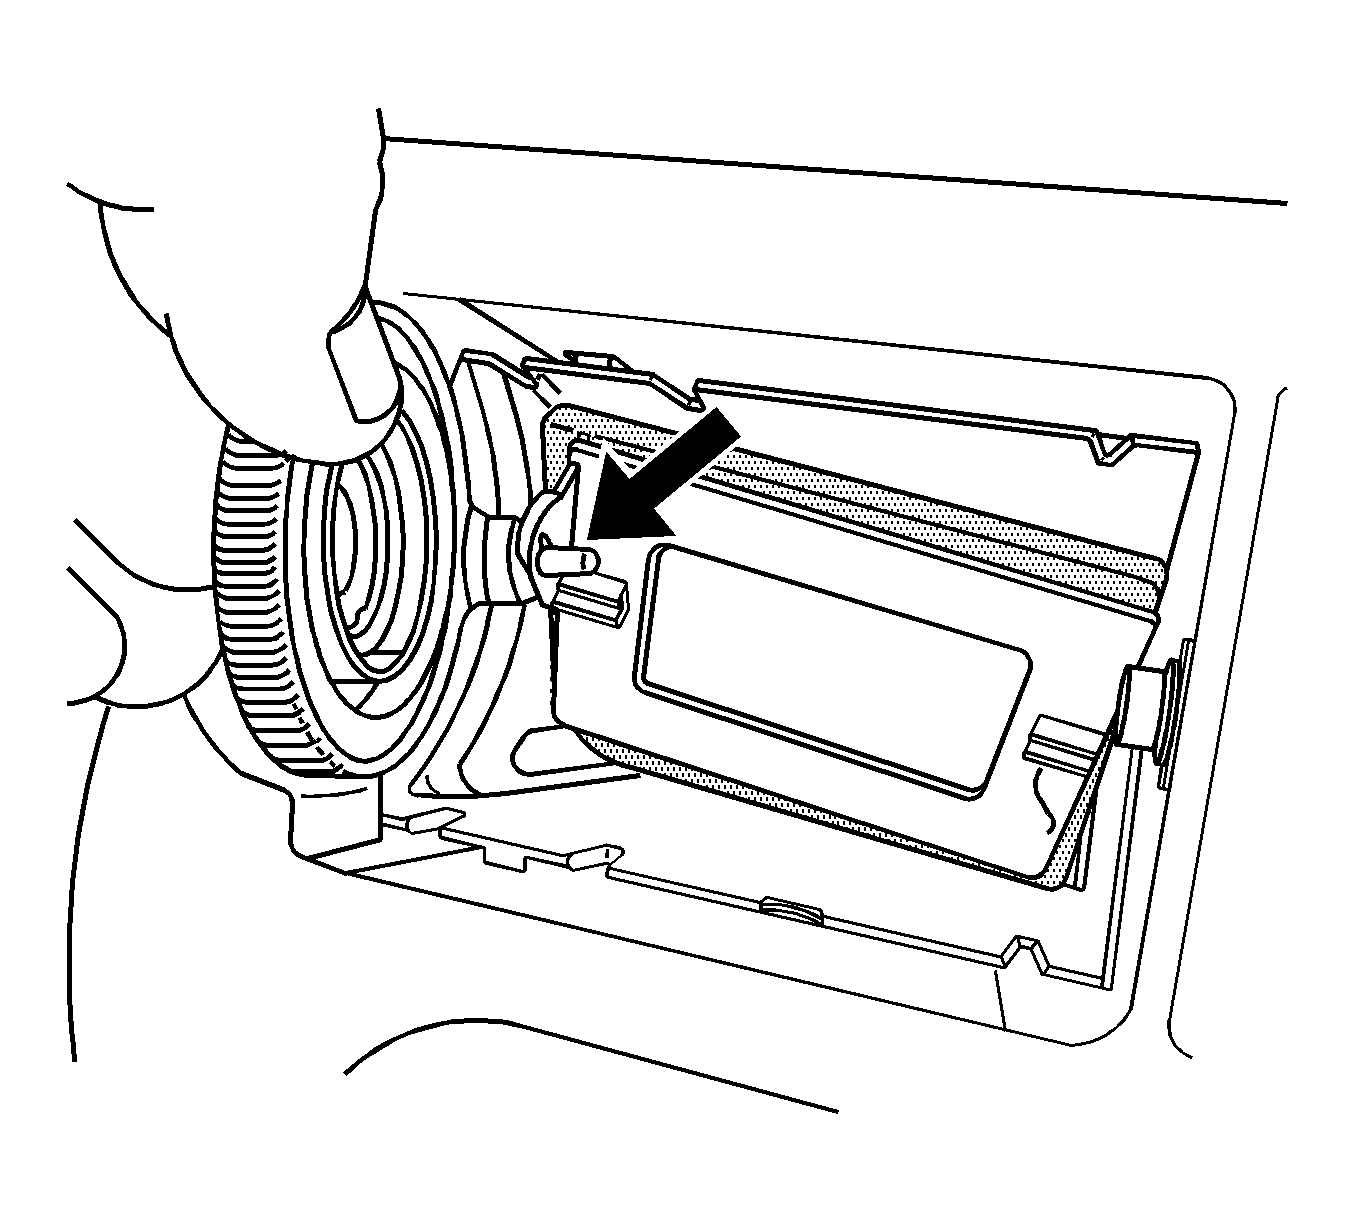
- Grasp the air-flow adjusting wheel. With a simultaneous twisting and pulling motion, release the wheel from the I/P. The air shutter is connected to the wheel by a plastic arm and pin. Once removed, the shutter will come out with a simple pulling motion.
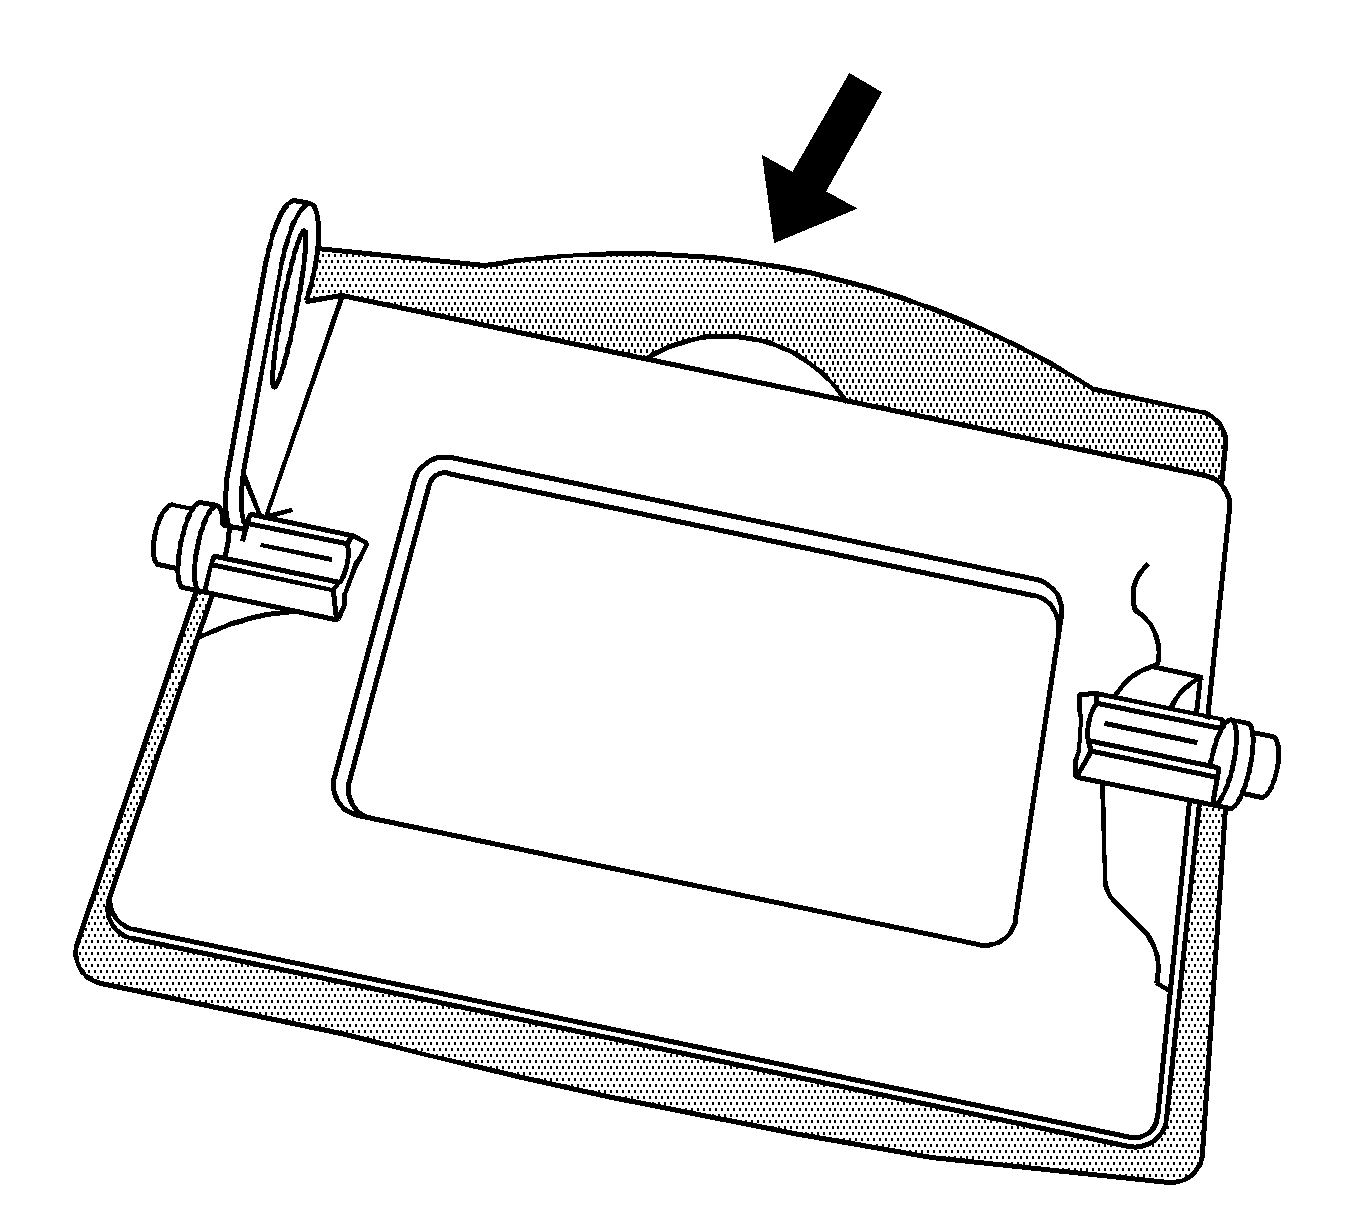
- Inspect the air shutter. The foam gasket material being dislodged, as shown at the arrow, indicates this vent is the source of the noise.
- Pull the gasket out of the retaining groove slightly and apply 3 drops of hot glue to the foam gasket (one drop at the center and one each off to the left and right of center). Repeat for the bottom edge of the gasket.
- Immediately seat the gasket back in its retaining groove and allow the glue to set.
- Snap the air shutter into place with its plastic loop pointed toward the adjusting wheel. Then position the pin of the adjusting wheel through the air shutter loop and snap into place. The center bushing of the adjuster wheel may become dislodged during this step. It will pop right back into the center of the adjuster. Repeat until installed properly.
- Position the I/P vent. Apply pressure evenly in order to install the vent until it is properly retained. Verify that the motion of the vent is correct.
- Confirm that the customer concern is repaired.


Warranty Information
For vehicles repaired under warranty, use:
Labor Operation | Description | Labor Time |
|---|---|---|
D1446 | Deflector, Air (Outlet Vent) - R | 0.3 hr |
