For 1990-2009 cars only
Bleeding Procedure
- Remove the booster reserve by applying the brakes several times with the engine off until all the reserve is depleted.
- Fill the master cylinder reservoir with brake fluid. Keep the master cylinder reservoir at least one-half full during the bleeding operation.
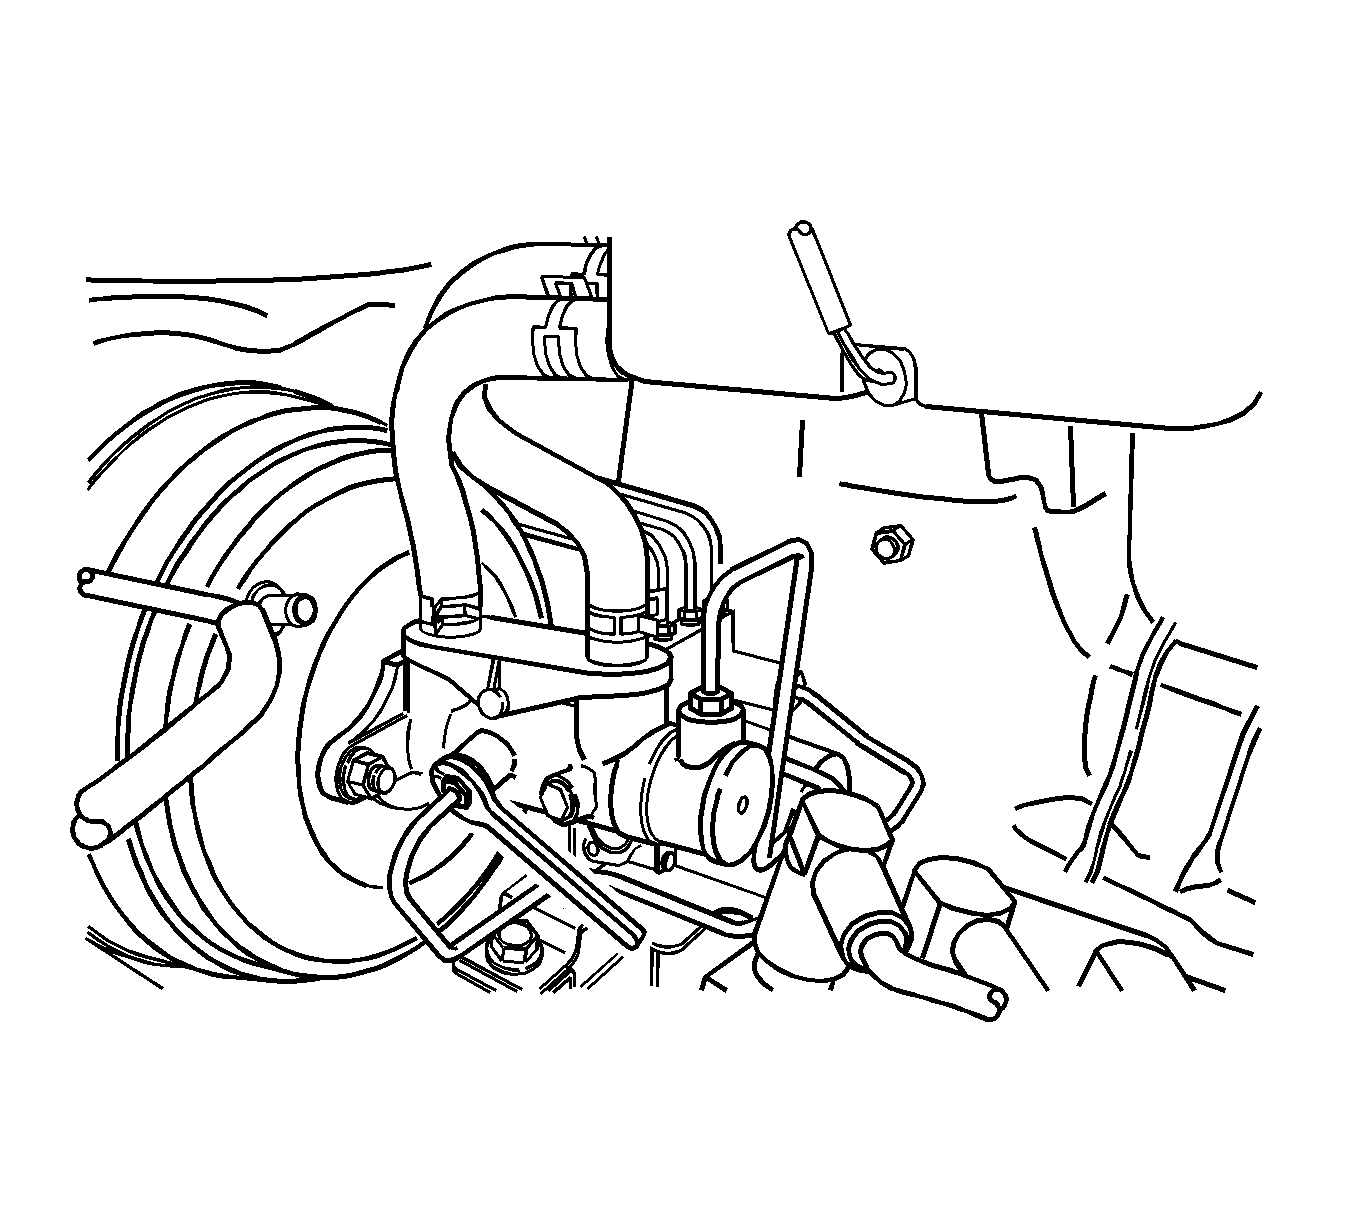
- Disconnect the brake line at the top of the master cylinder.
- Allow the brake fluid to fill the master cylinder until it begins to flow from the port.
- Connect the brake line at the top of the master cylinder.
- Slowly push and hold the brake pedal.
- Loosen the brake line at the top of the master cylinder to purge the air from the cylinder.
- Tighten the brake line, as in Step 5, and then release the brake pedal slowly. Wait 15 seconds before proceeding to the next step.
- Repeat Steps 6-8, including the 15 seconds wait, until all the air is removed from the master cylinder bore.
- Tighten the brake line fitting.
- After the air has been removed at the top connection, bleed the master cylinder at the side connection in the same manner as with the top connection.
- right rear
- left front
- left rear
- right front
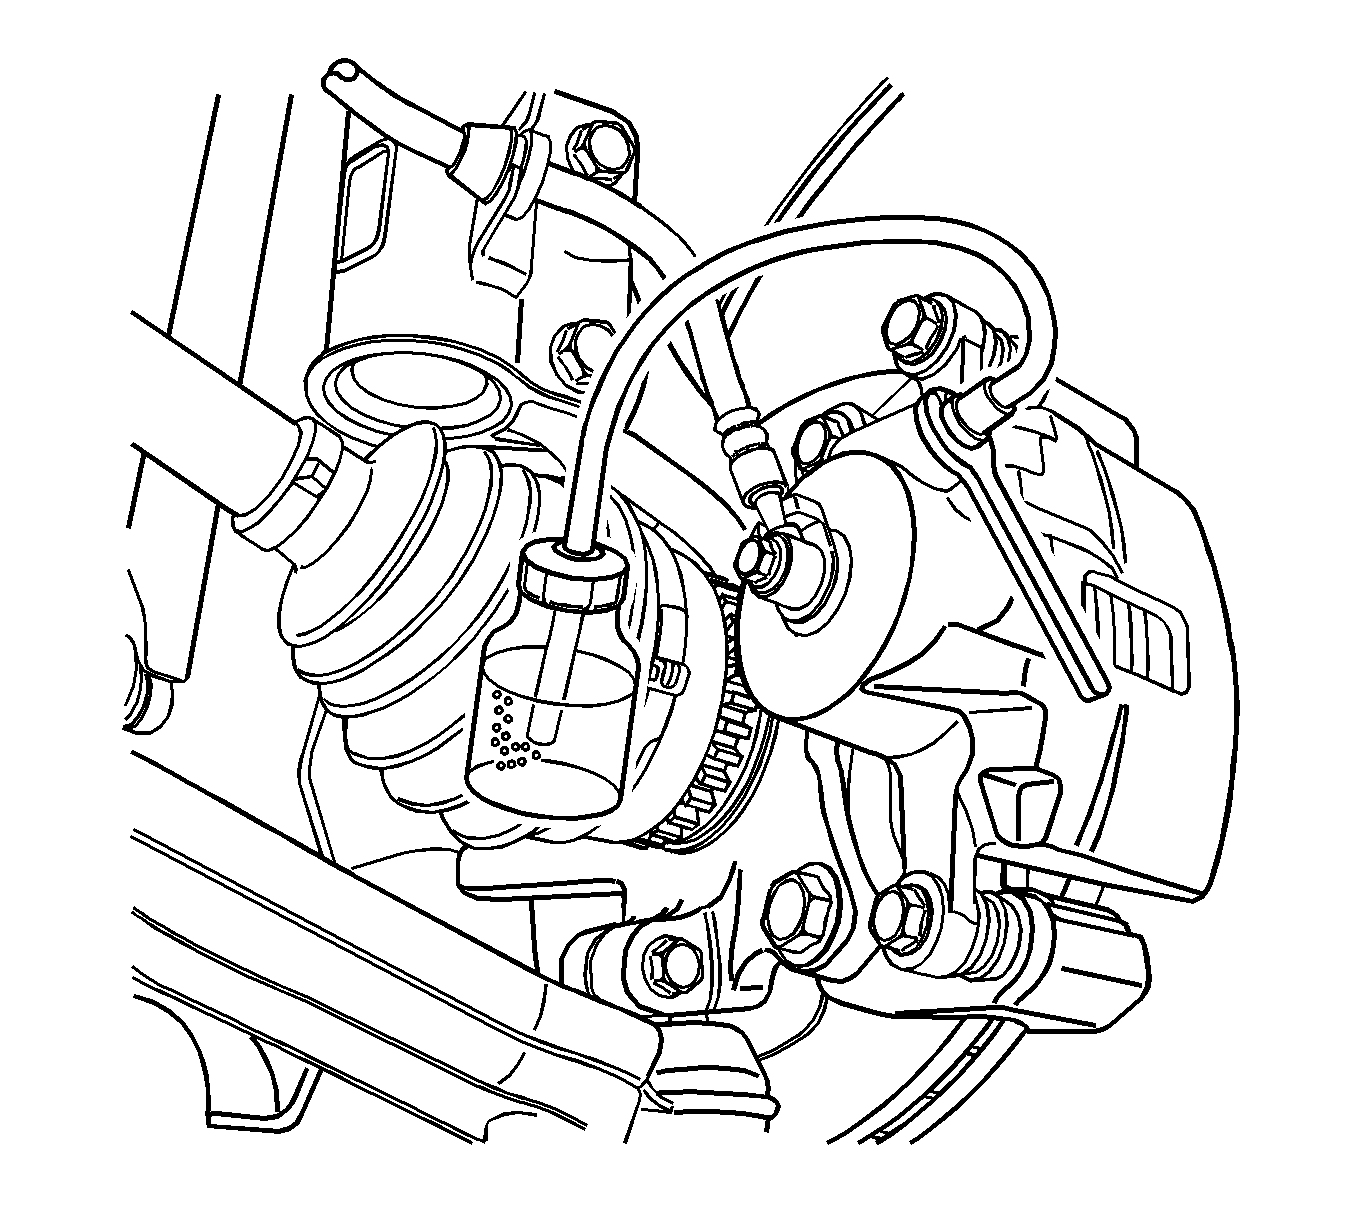
- Attach a transparent tube over the bleeder valve. Allow the tube to hang submerged in the brake fluid in a transparent container.
- Slowly push and hold the brake pedal one time. Avoid rapid pumping of the brake pedal.
- Remove the bleeder valve dust cover and loosen the bleeder screw to purge the air from the cylinder.
- Tighten the bleeder screw.
- Slowly release the brake pedal. Wait 15 seconds before proceeding with the next step.
- Repeat Steps 13-16, including the 15 seconds wait, until all the air is removed. It may be necessary to repeat the sequence 10 or more times to remove all the air.
- Locate the front bleeder caps.
- Proceed to bleed the front brakes following the appropriate sequence, beginning with step 13.
- Check the brake pedal for sponginess. Repeat the entire bleeding procedure to correct this condition.
- Replace the bleeder valve dust cover.
Notice: Refer to Adding Fluid to the Brake System Notice in the Preface section.
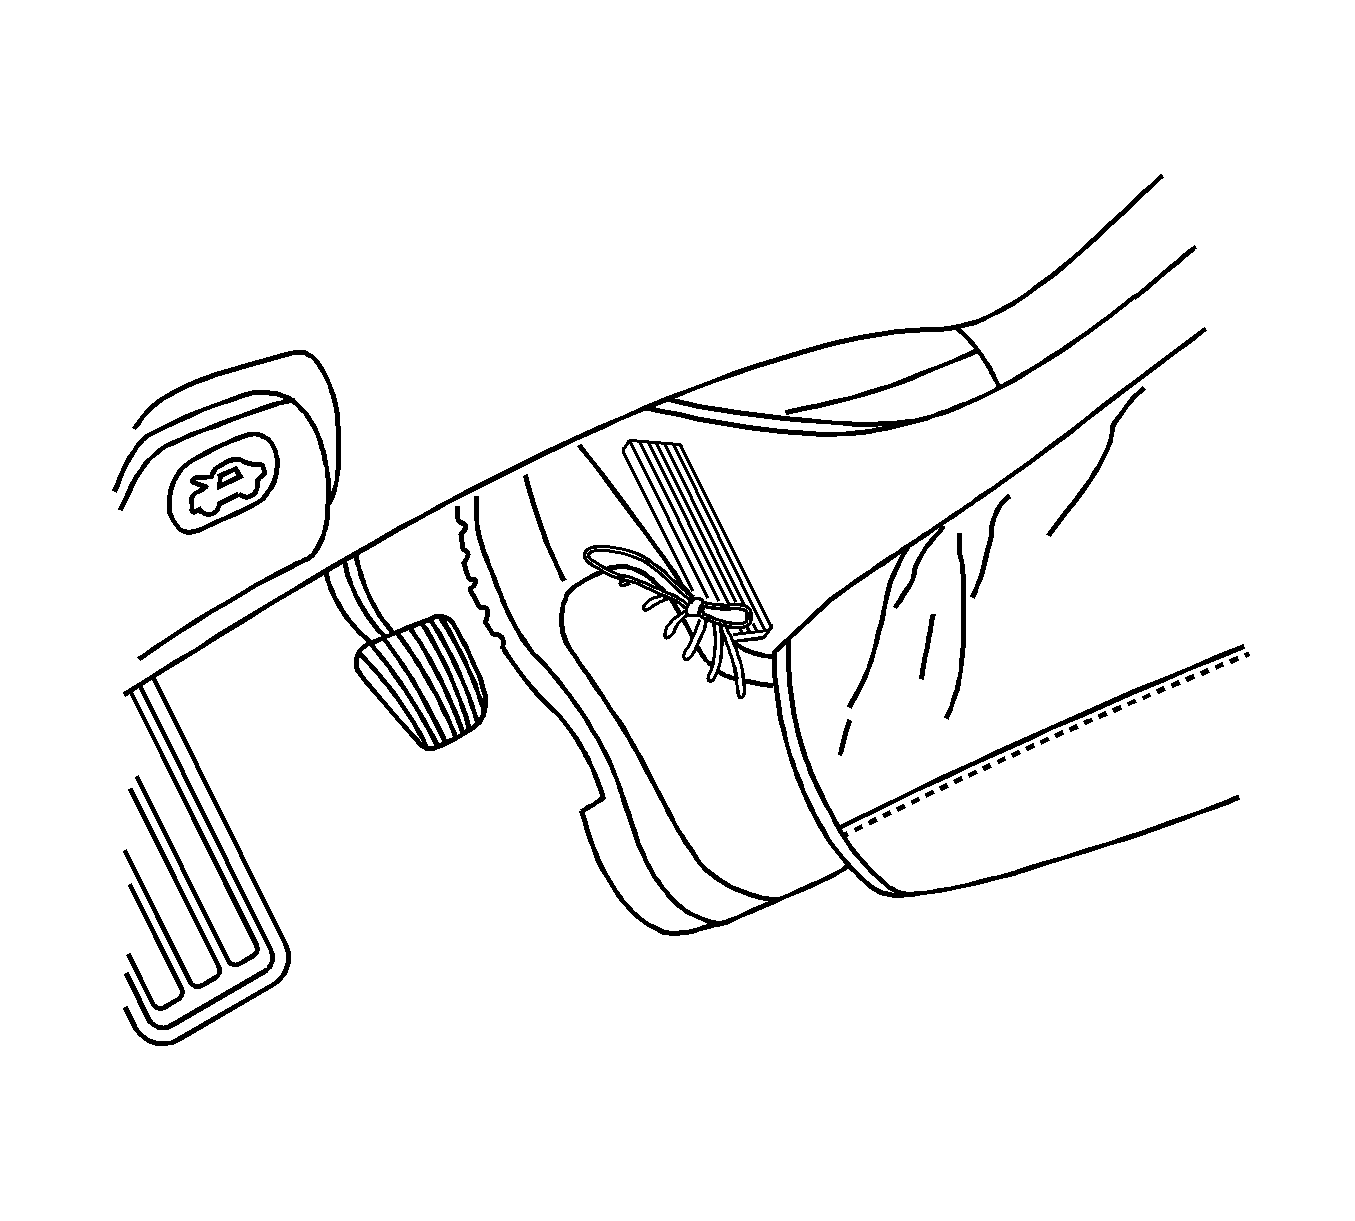
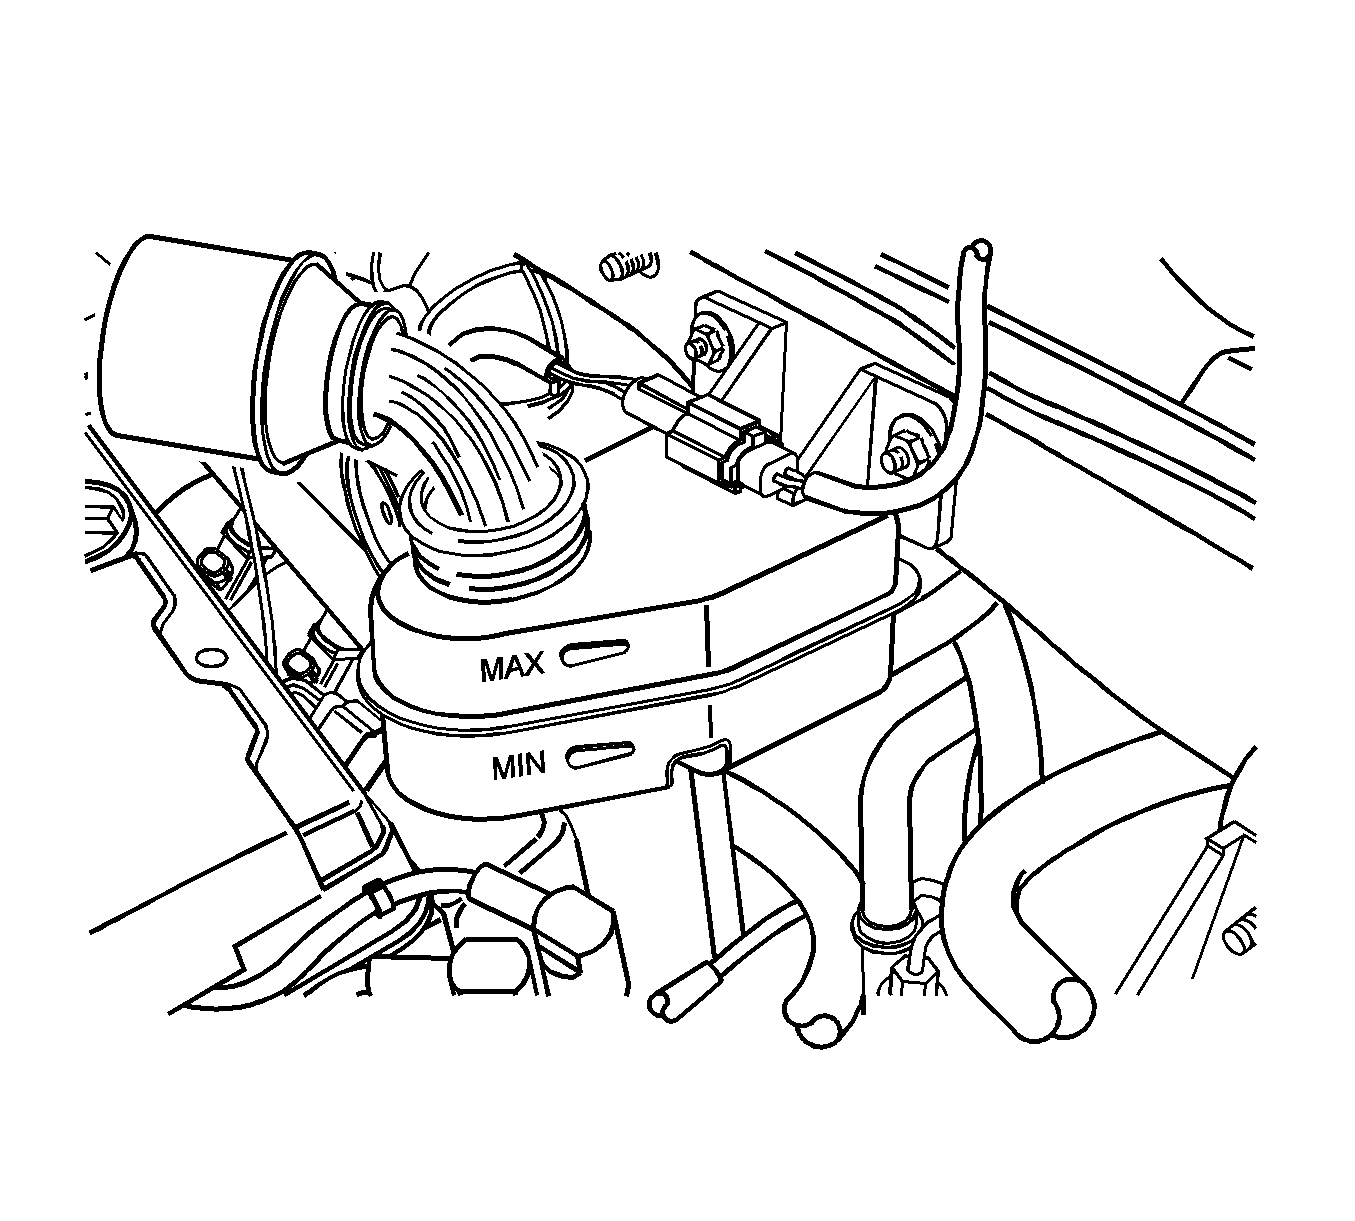
Important: If the master cylinder is known or suspected to have air in the bore, then it must be bled before any wheel cylinder or caliper is bled.
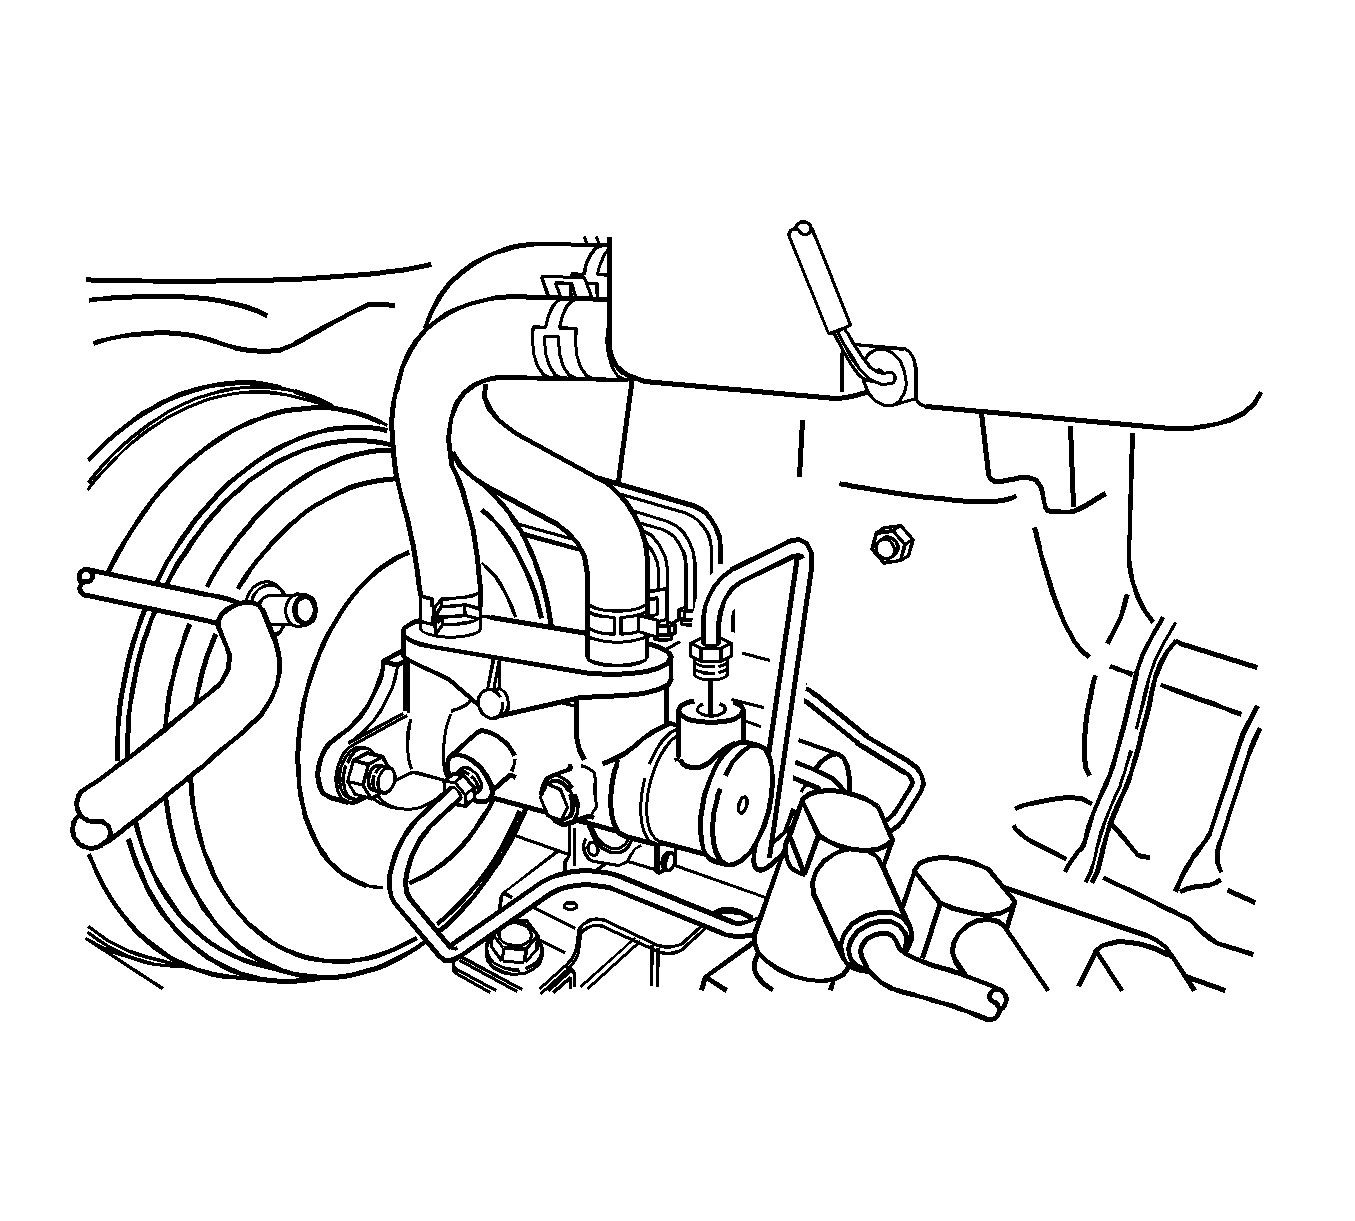

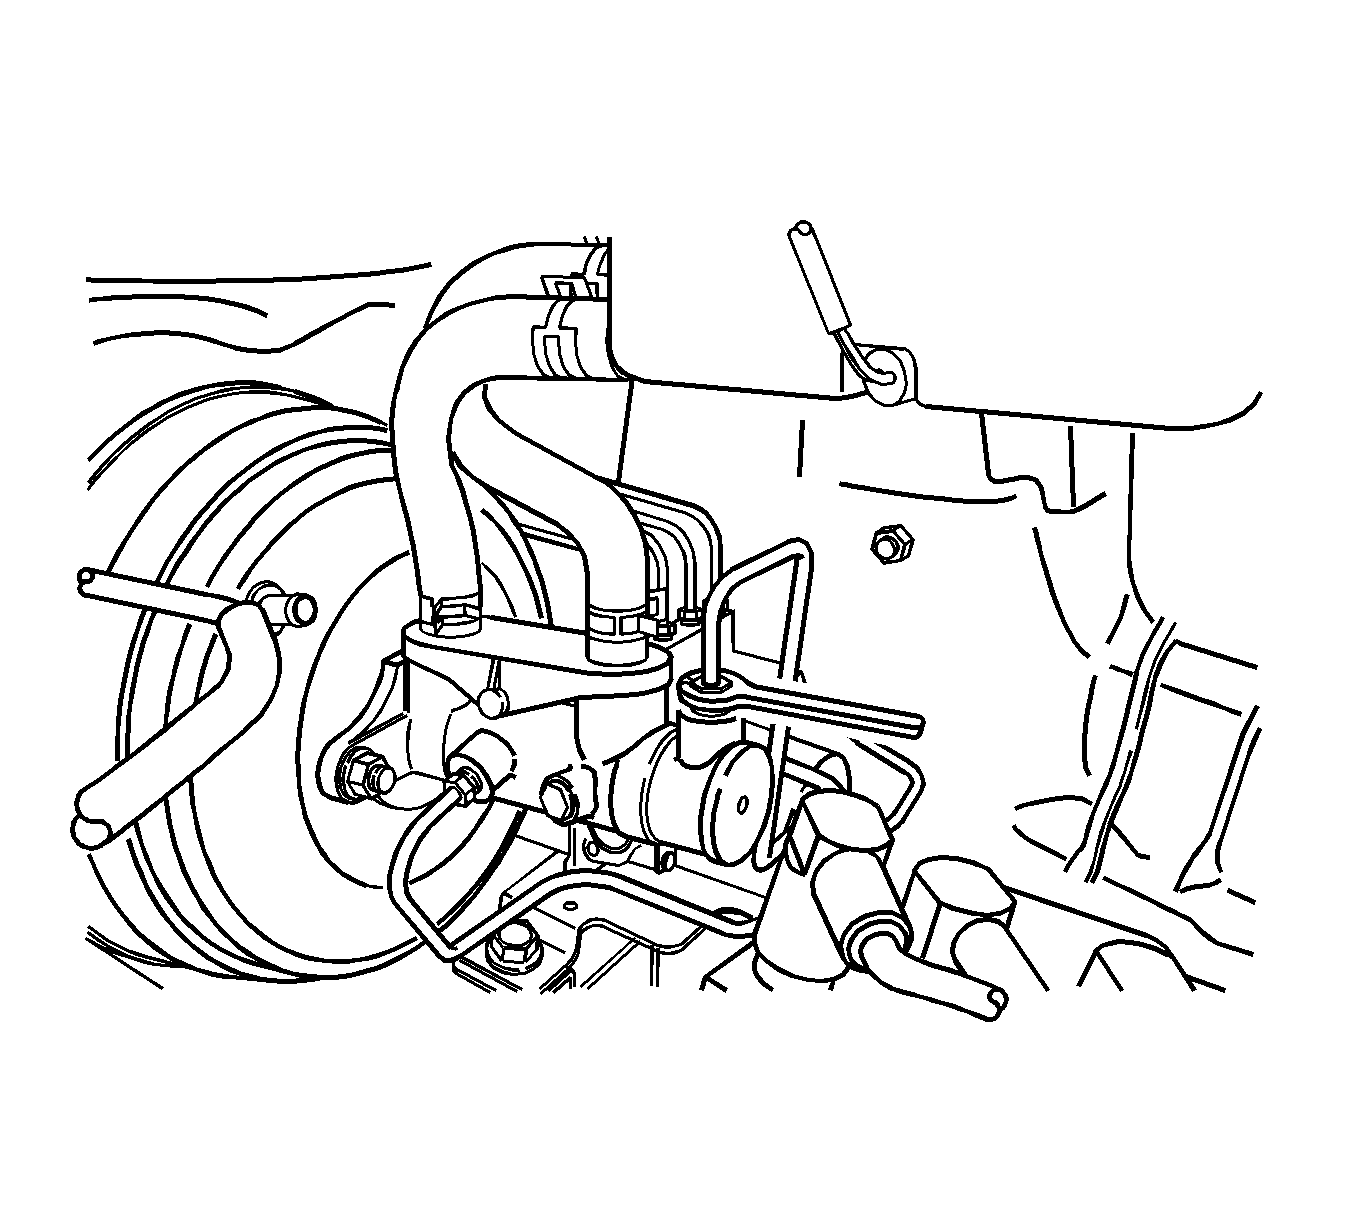
Notice: Refer to Fastener Notice in the Preface section.
Tighten
Tighten the brake line fitting to 16 N·m (12 lb ft).
Notice: Refer to Brake Fluid Damage to Electrical Connections Notice in the Preface section.
Important: For vehicles equipped with a non-antilock braking system, the bleeding sequence is as follows;
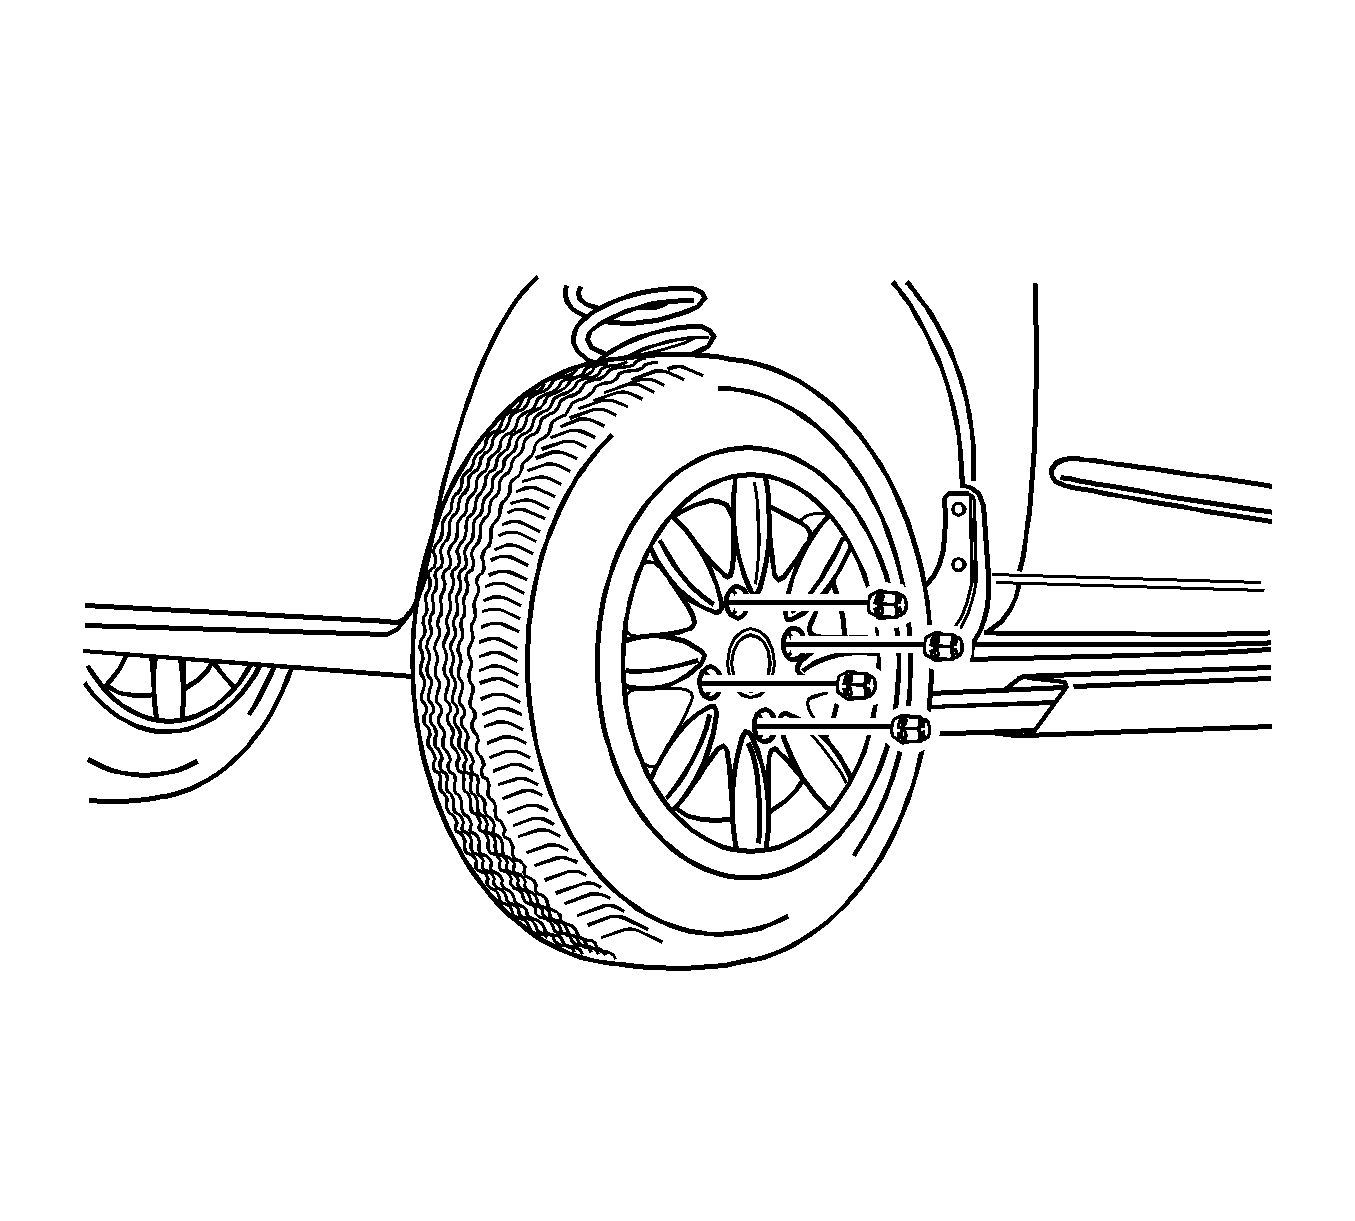
Tighten
Tighten the bleeder screw to 9 N·m (6 lb ft).
