Tools Required
| • | KM-507-C Ball Joint Separator |
| • | KM-460-B Axle Shaft Remover |
Removal Procedure
- Raise and suitably support the vehicle. Refer to Lifting and Jacking the Vehicle .
- Remove the wheels. Refer to Tire and Wheel Removal and Installation .
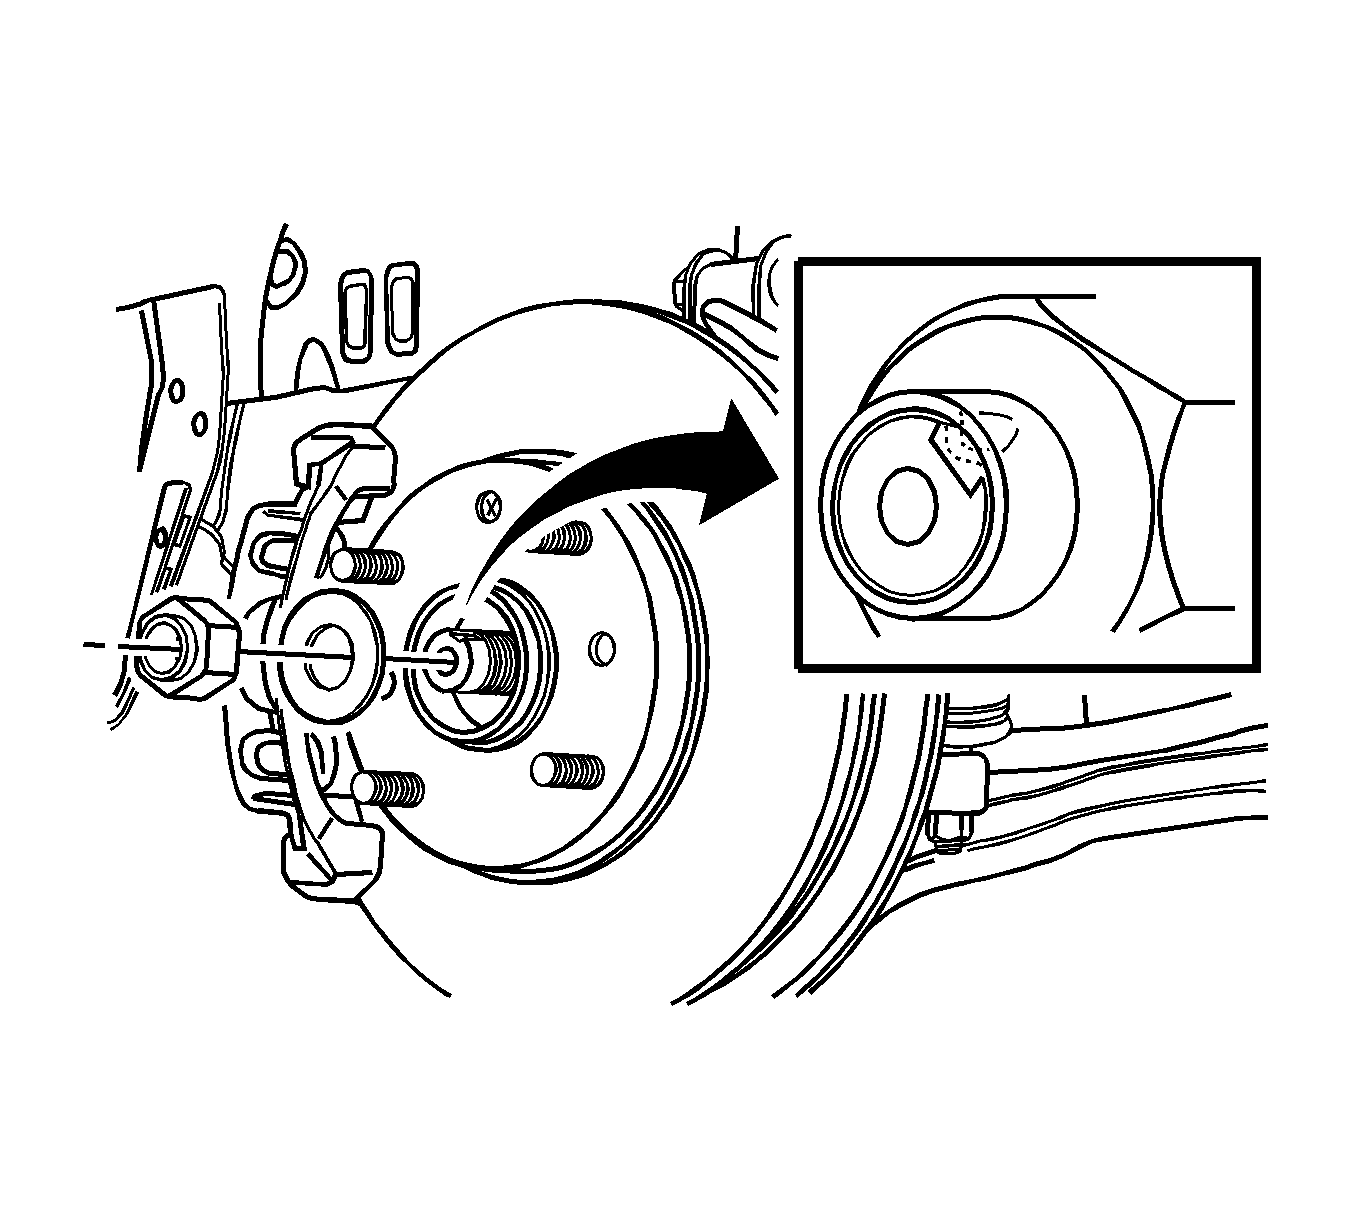
- Remove the axle shaft-caulking nut. Discard the nut.
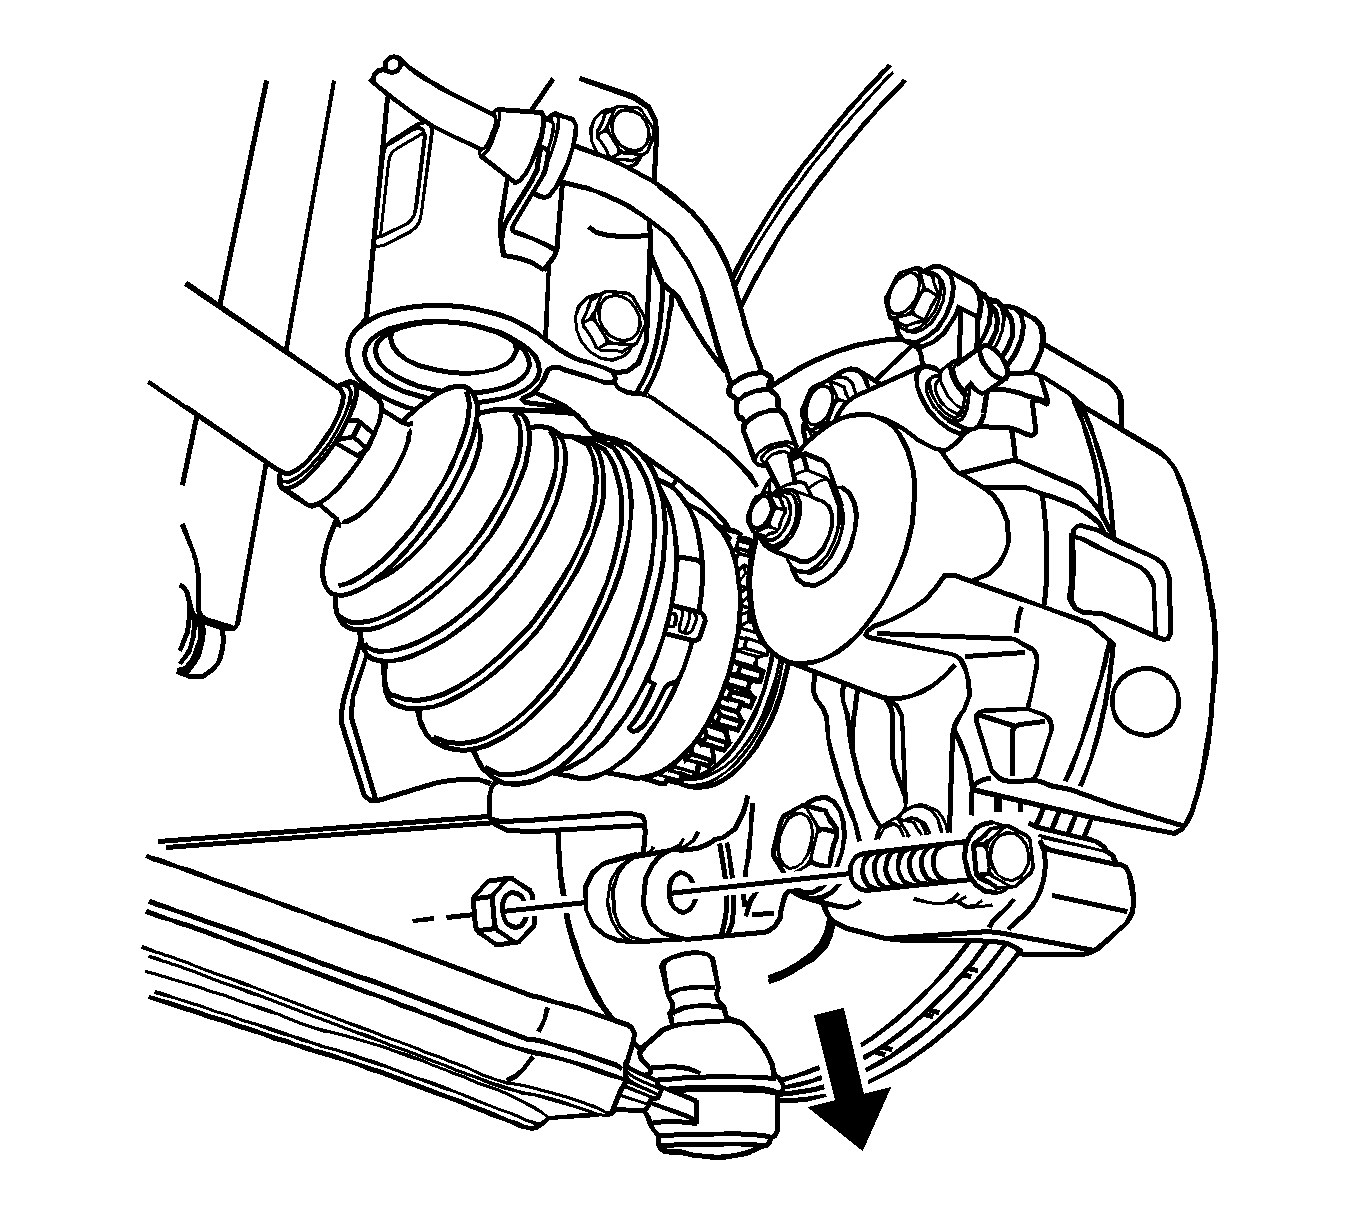
- Remove the lower ball joint nut and bolt.
- Separate the steering knuckle from the lower ball joint using the KM-507-C (1).
- Remove the tie rod nut.
- Separate the tie rod end using the KM-507-C (1).
- Push the drive axle shaft from the wheel hub.
- Remove the drive axle from the transaxle using the KM-460-B (1).
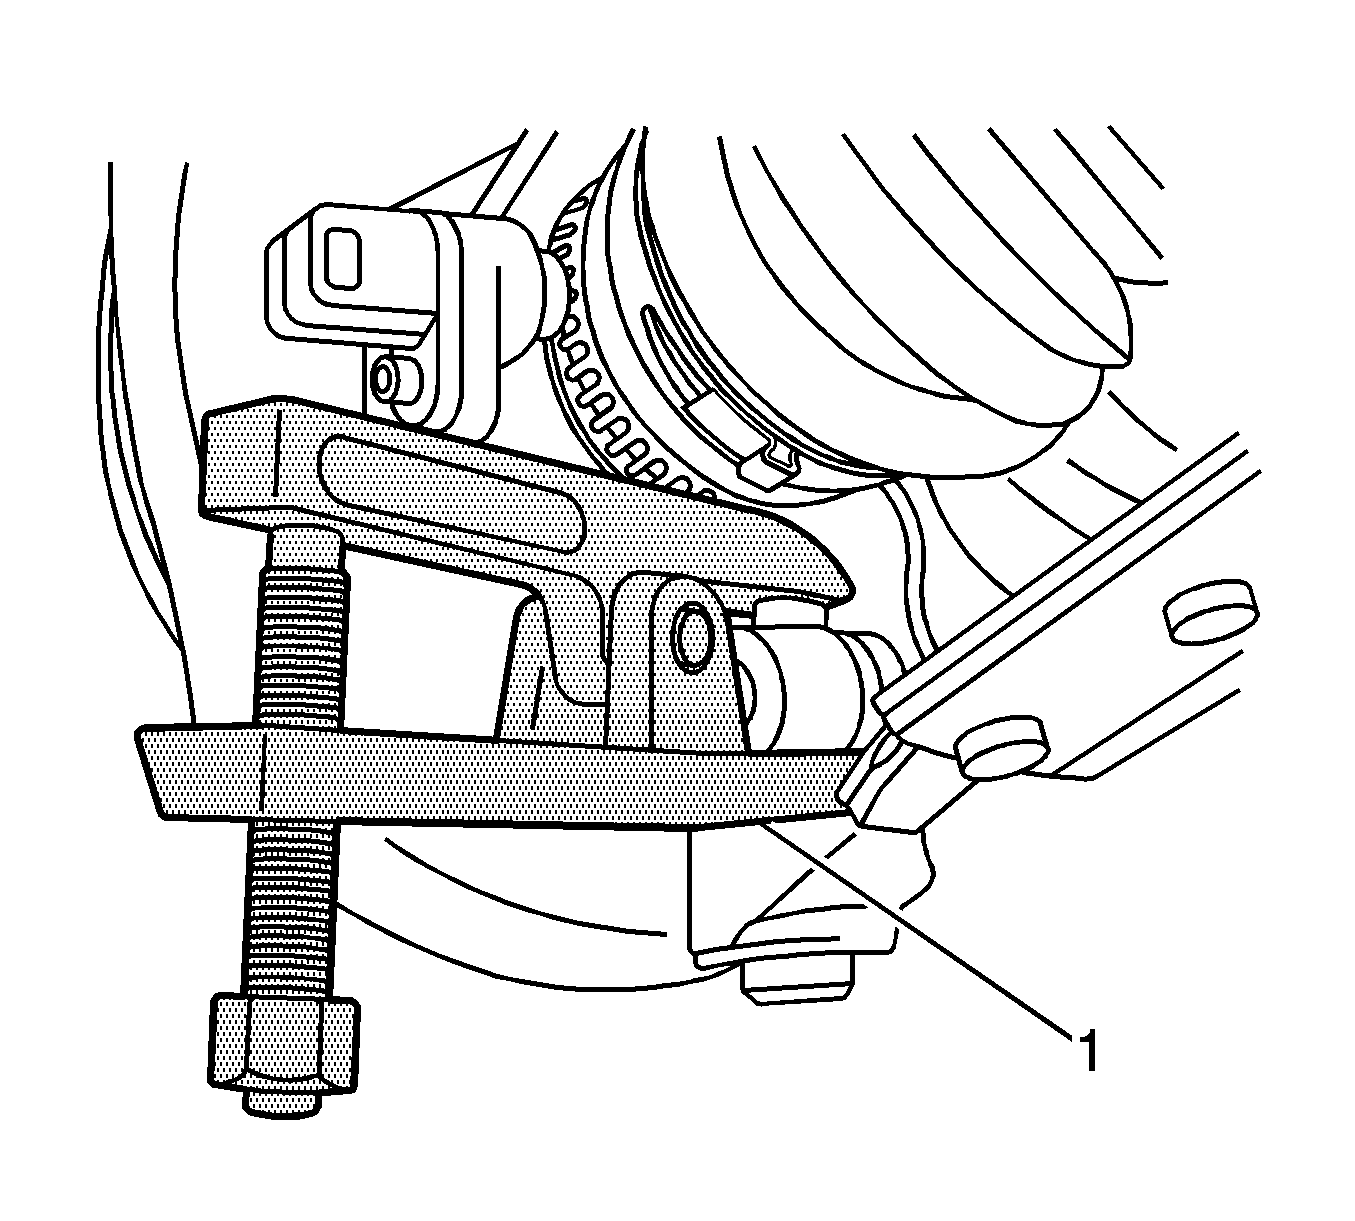
Important: Use only the recommended tool for separating the lower ball joint. Failure to use the recommended tool may cause damage to the ball joint and the seal.
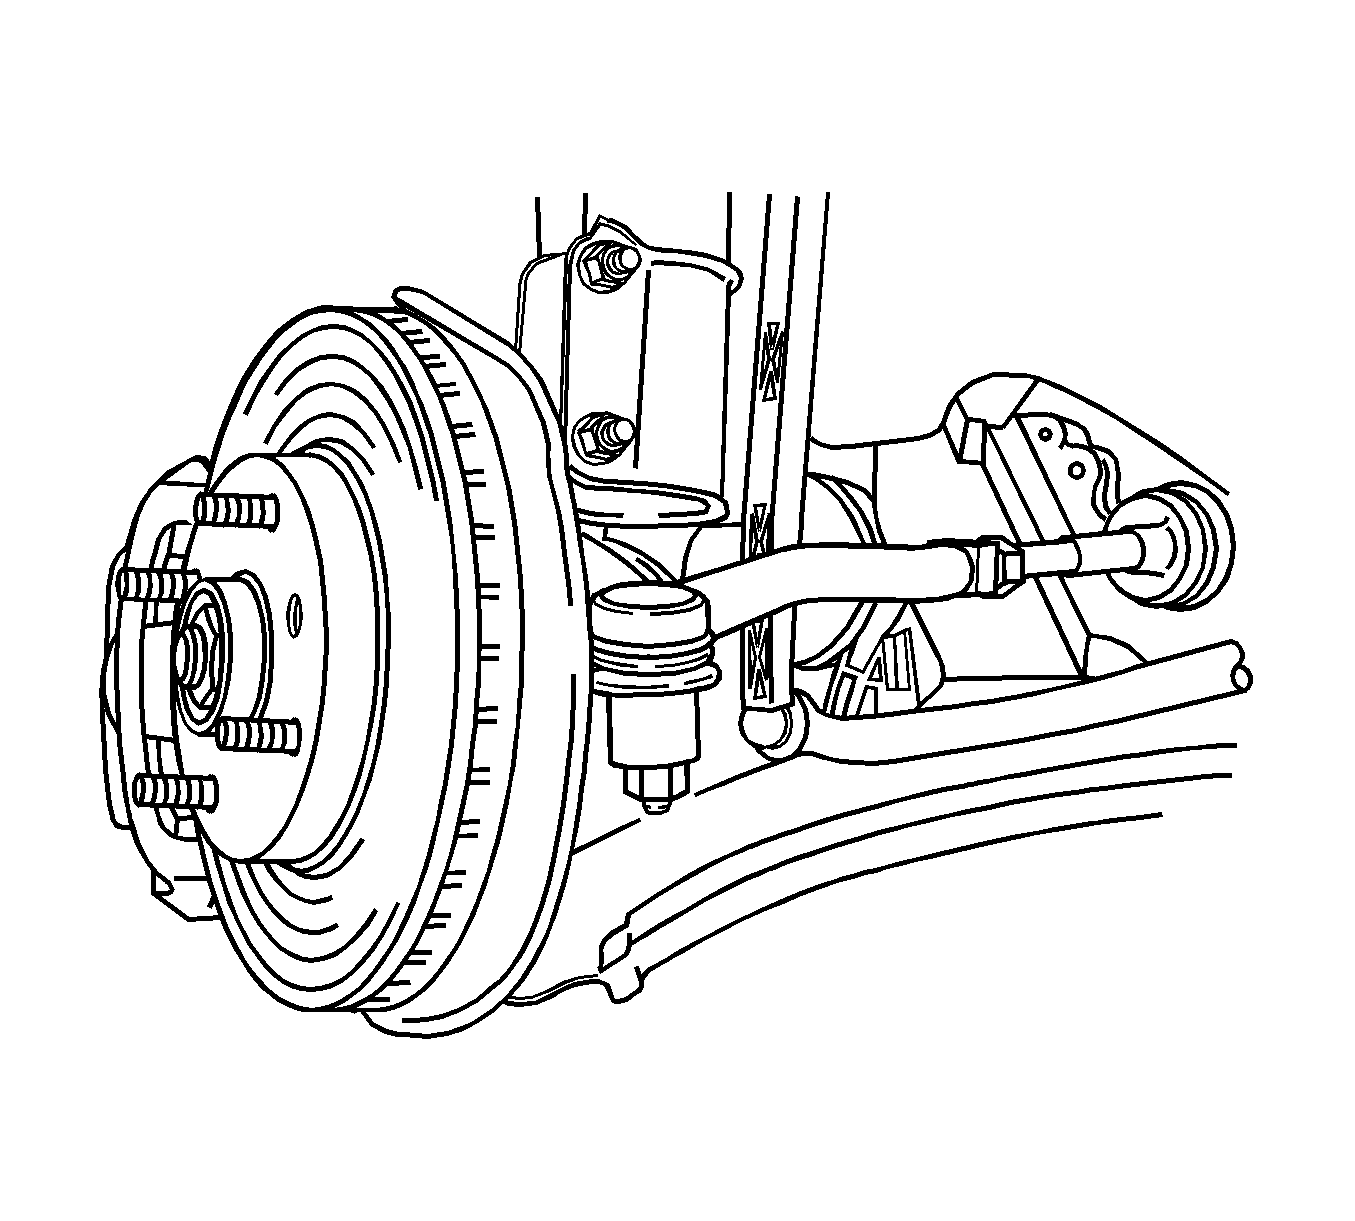
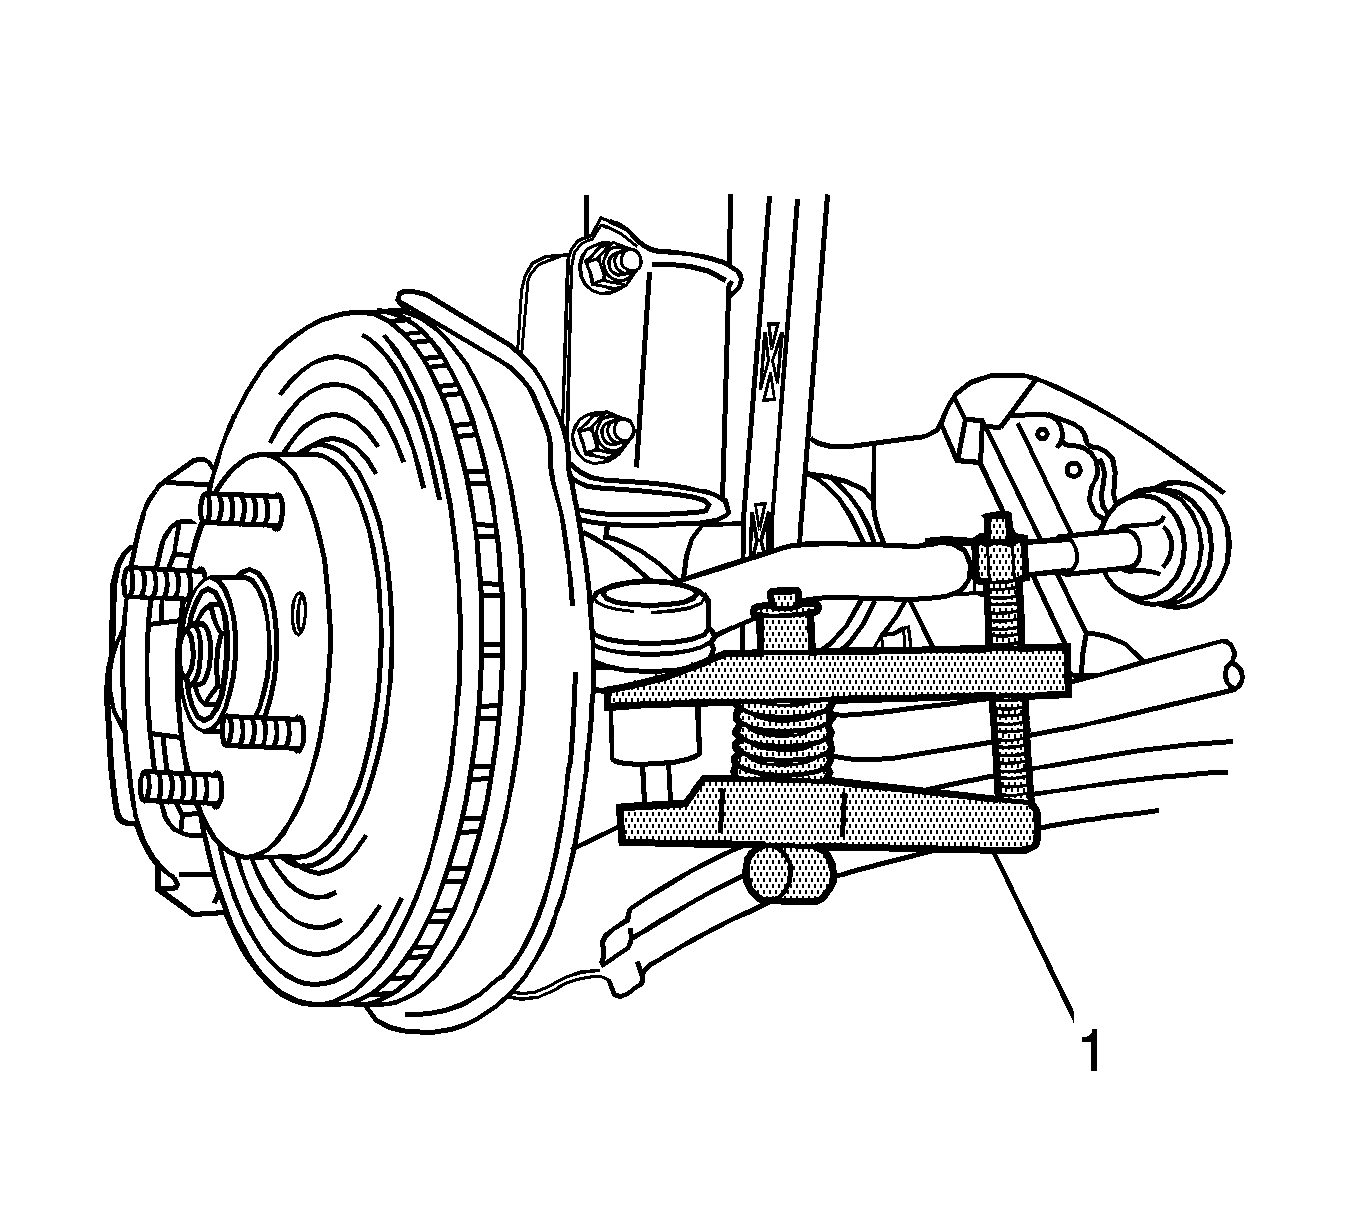
Important: Use only the recommended tool for separating the lower ball joint. Failure to use the recommended tool may cause damage to the ball joint and the seal.
Notice: Refer to Drive Axle Notice in the Preface section.
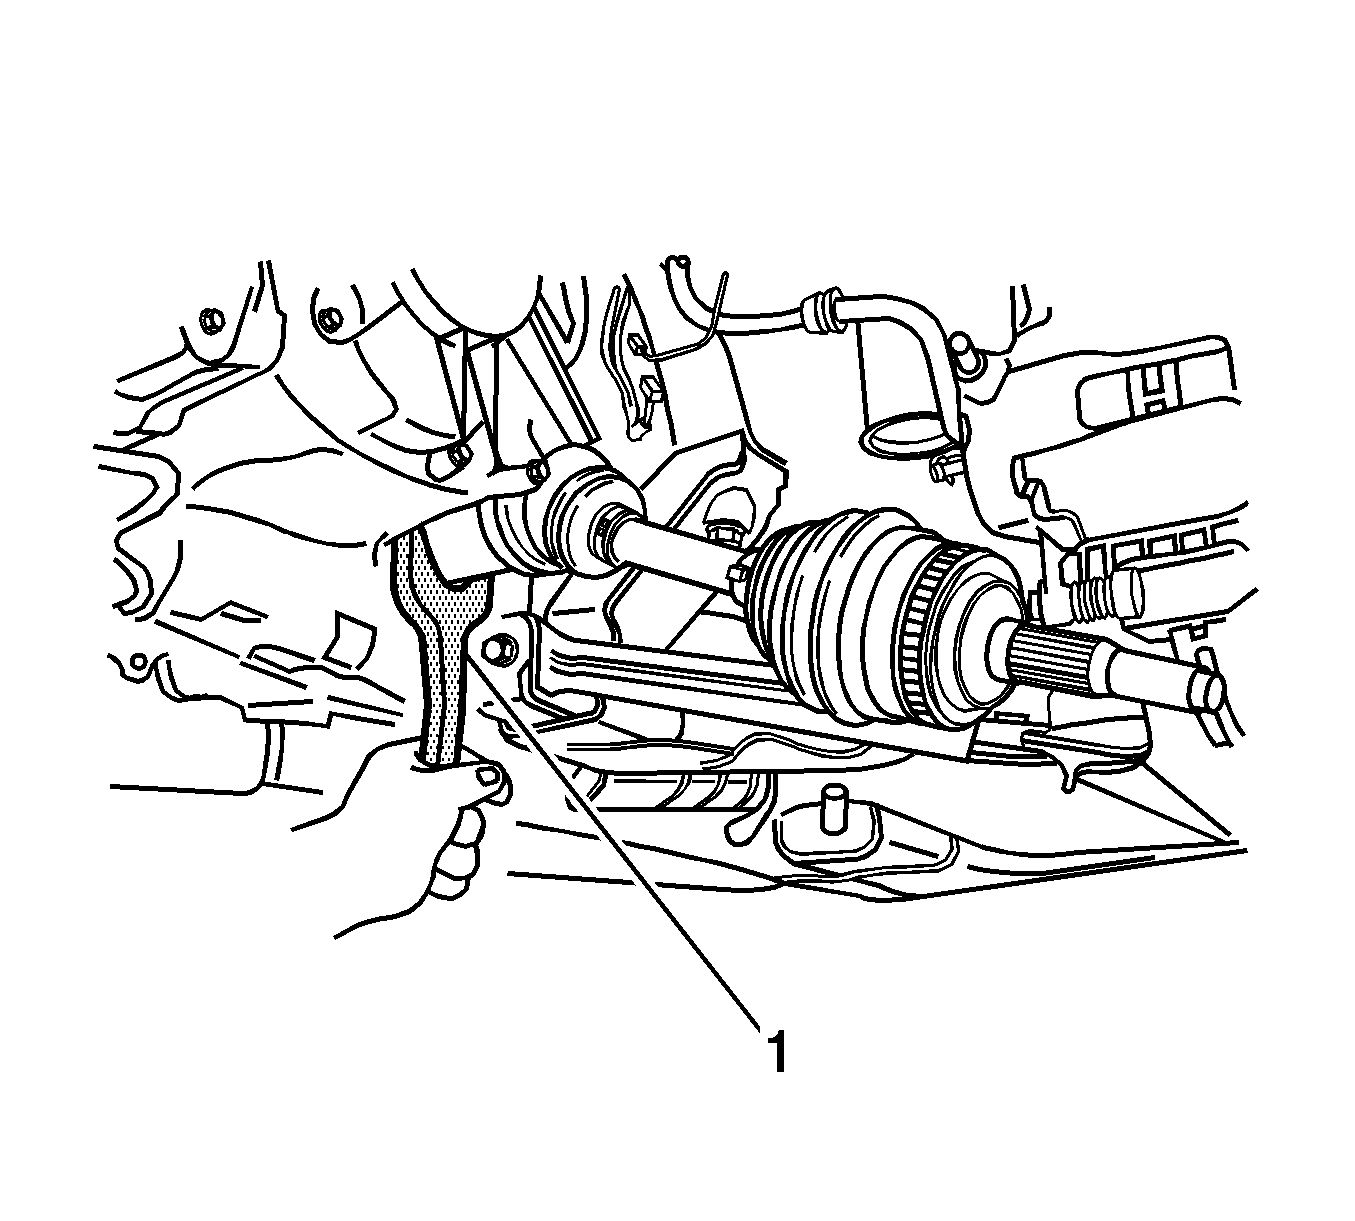
Important: Place a drain pan below the transaxle to catch the escaping fluid. Cap the transaxle drive opening after the drive axle has been removed to keep the fluid in and any contamination out.
Installation Procedure
- Using the KM-460-B (1), install the drive axle into the transaxle.
- Push the drive axle shaft onto the wheel hub.
- Install the lower ball joint to the tie rod.
- Instal the tie rod nut.
- Install the lower ball joint to the steering knuckle.
- Install the lower ball joint nut and bolt.
- Install a new axle shaft-caulking nut.
- Loosen the nut and re-tighten.
- Tighten the nut another 60 degrees.
- Refill the transaxle fluid to the proper level.
- Install the wheels. Refer to Tire and Wheel Removal and Installation .


Notice: Refer to Fastener Notice in the Preface section.

Tighten
Tighten the nut to 60 N·m (44 lb ft).


Tighten
Tighten the nut and bolt to 90 N·m (66 lb ft).

Tighten
Tighten the nut to 180 N·m (133 lb ft).
Tighten
Tighten the nut to 50 N·m (37 lb ft).
Important: Final torque has to be 220-340 N·m (162-251 lb ft).
