For 1990-2009 cars only
Tools Required
CH-47960 Digital Angle Gage
Important:
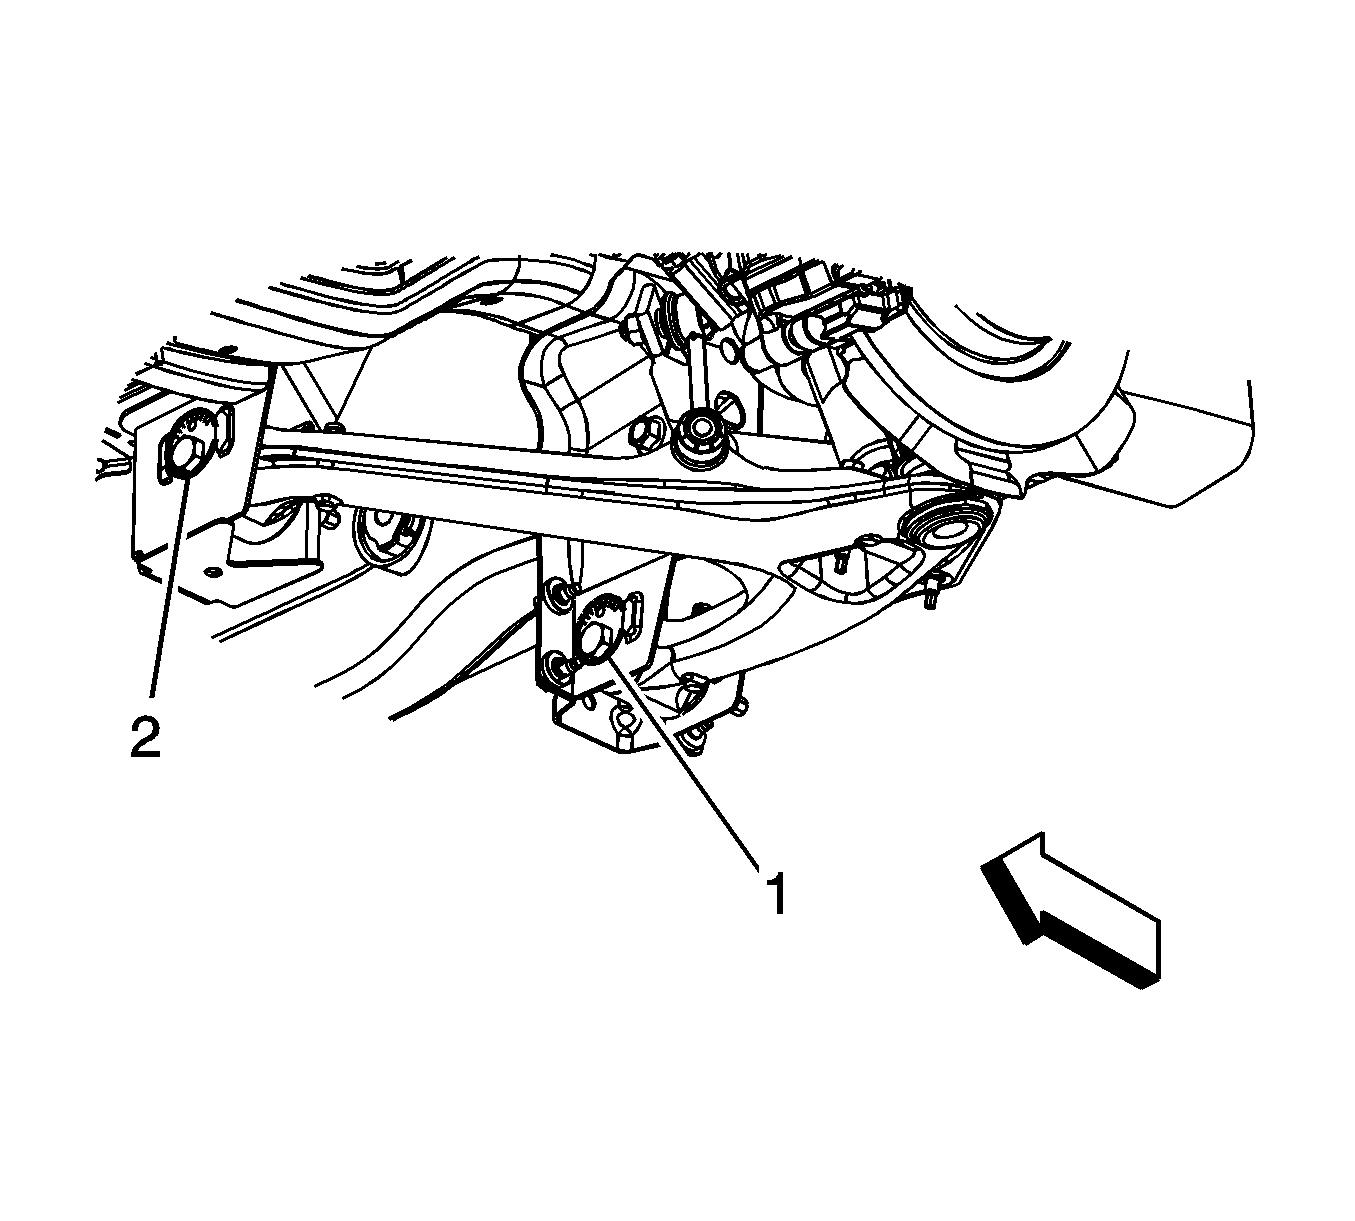
• Camber (1) • Caster (2) • Toe
- Prepare the CH-47960 for use by following this process:
- Program in the required offset of +3.70 degrees.
- Verify the locating pins are installed into the back of the sensor.
- Loosen and adjust the locator pins and install the CH-47960 to the rear knuckle gage holes.
- Loosen the lower control arm cam bolt nuts.
- Rotate the cam bolts to the required camber setting (1) . Maintain the camber settings while tightening the cam bolt nuts. Refer to Wheel Alignment Specifications.
- Rotate the cam bolts to the required caster setting (2) . Maintain the caster settings while tightening the cam bolt nuts. Refer to Wheel Alignment Specifications.
- Maintain the caster or camber setting while tightening the cam bolt nuts.
- Re-check the caster and camber settings after tightening.
- Adjust the rear toe. Refer to Rear Toe Adjustment.
| • | Turn the unit on. |
| • | Choose driver or passenger side |
| • | Zero the sensor with the following procedure: |
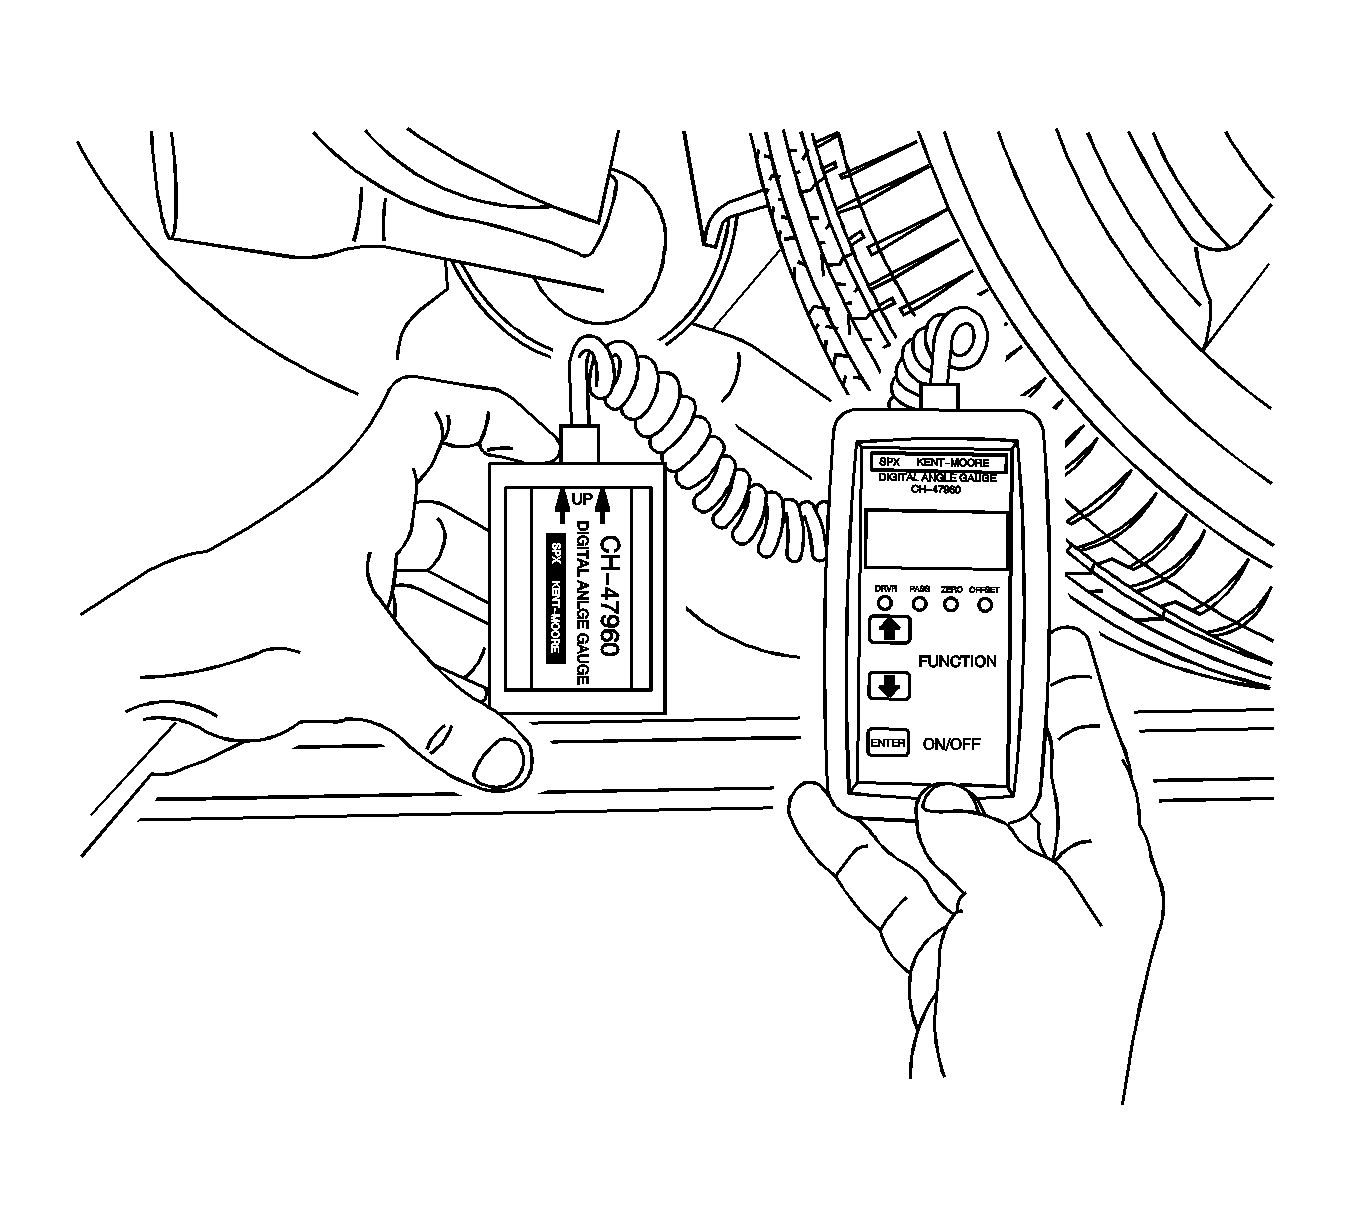
| - | Place the sensor on the alignment rack. |
| - | Choose the zero setting on the key pad and push enter. |
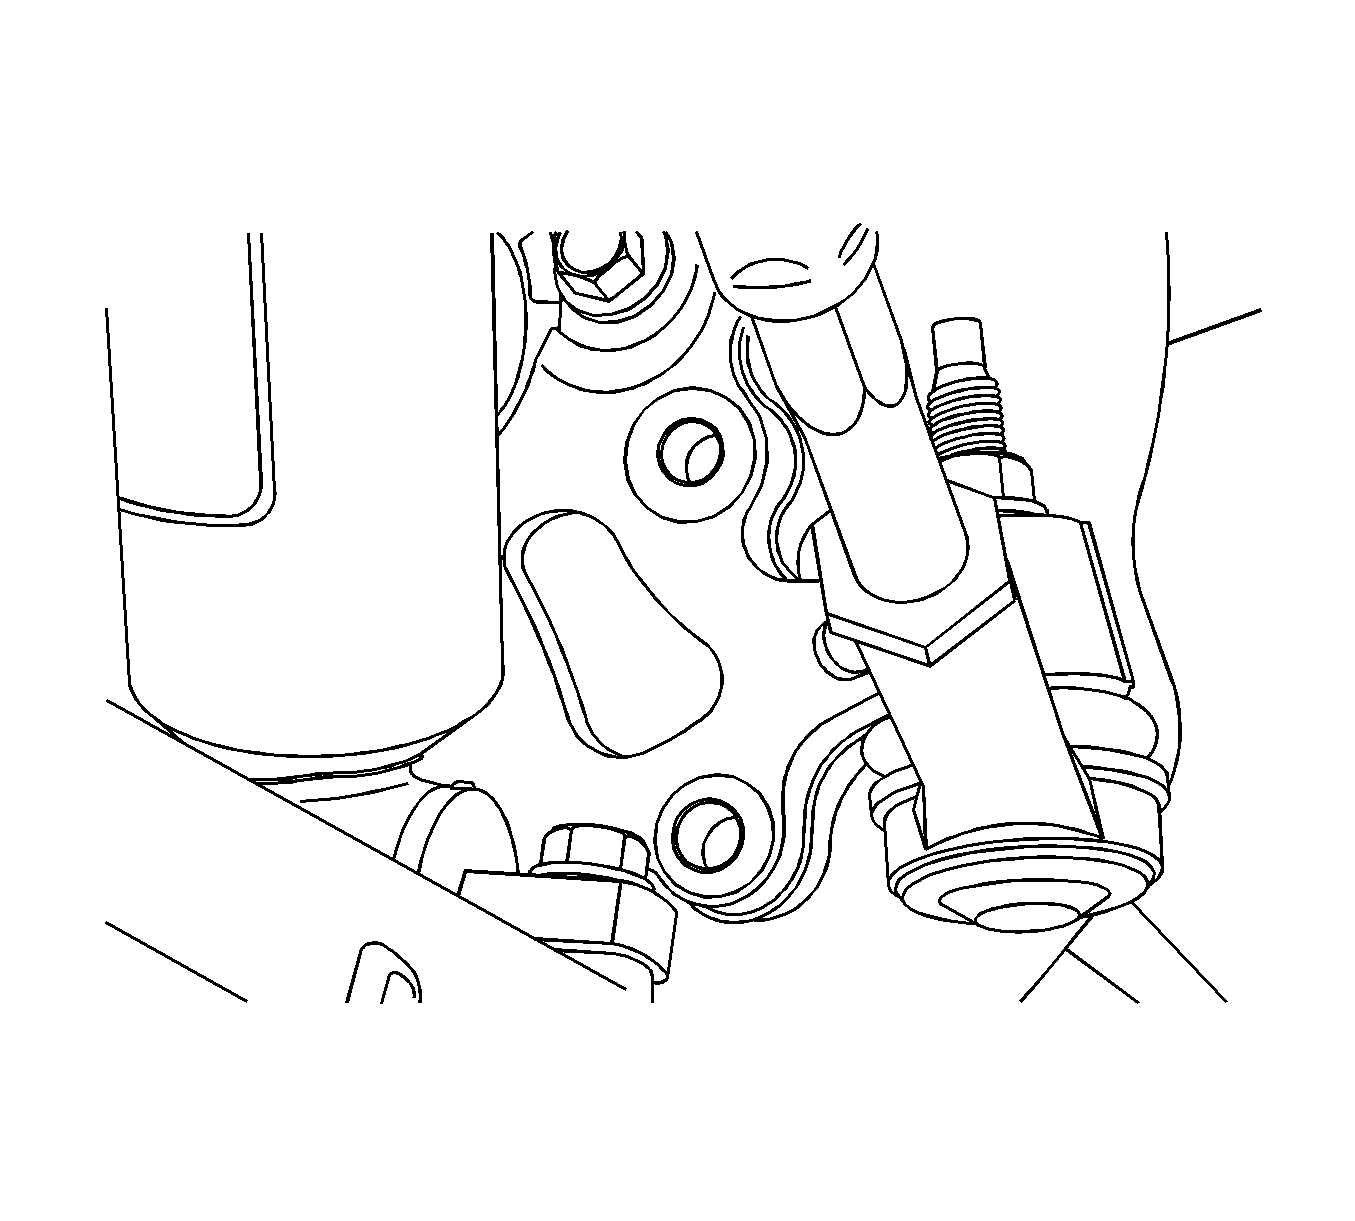
Important: Before installing the sensor to the knuckle, use a soft (nylon) bristle brush to clean debris from the gage holes. Do not use power tools or abrasives.
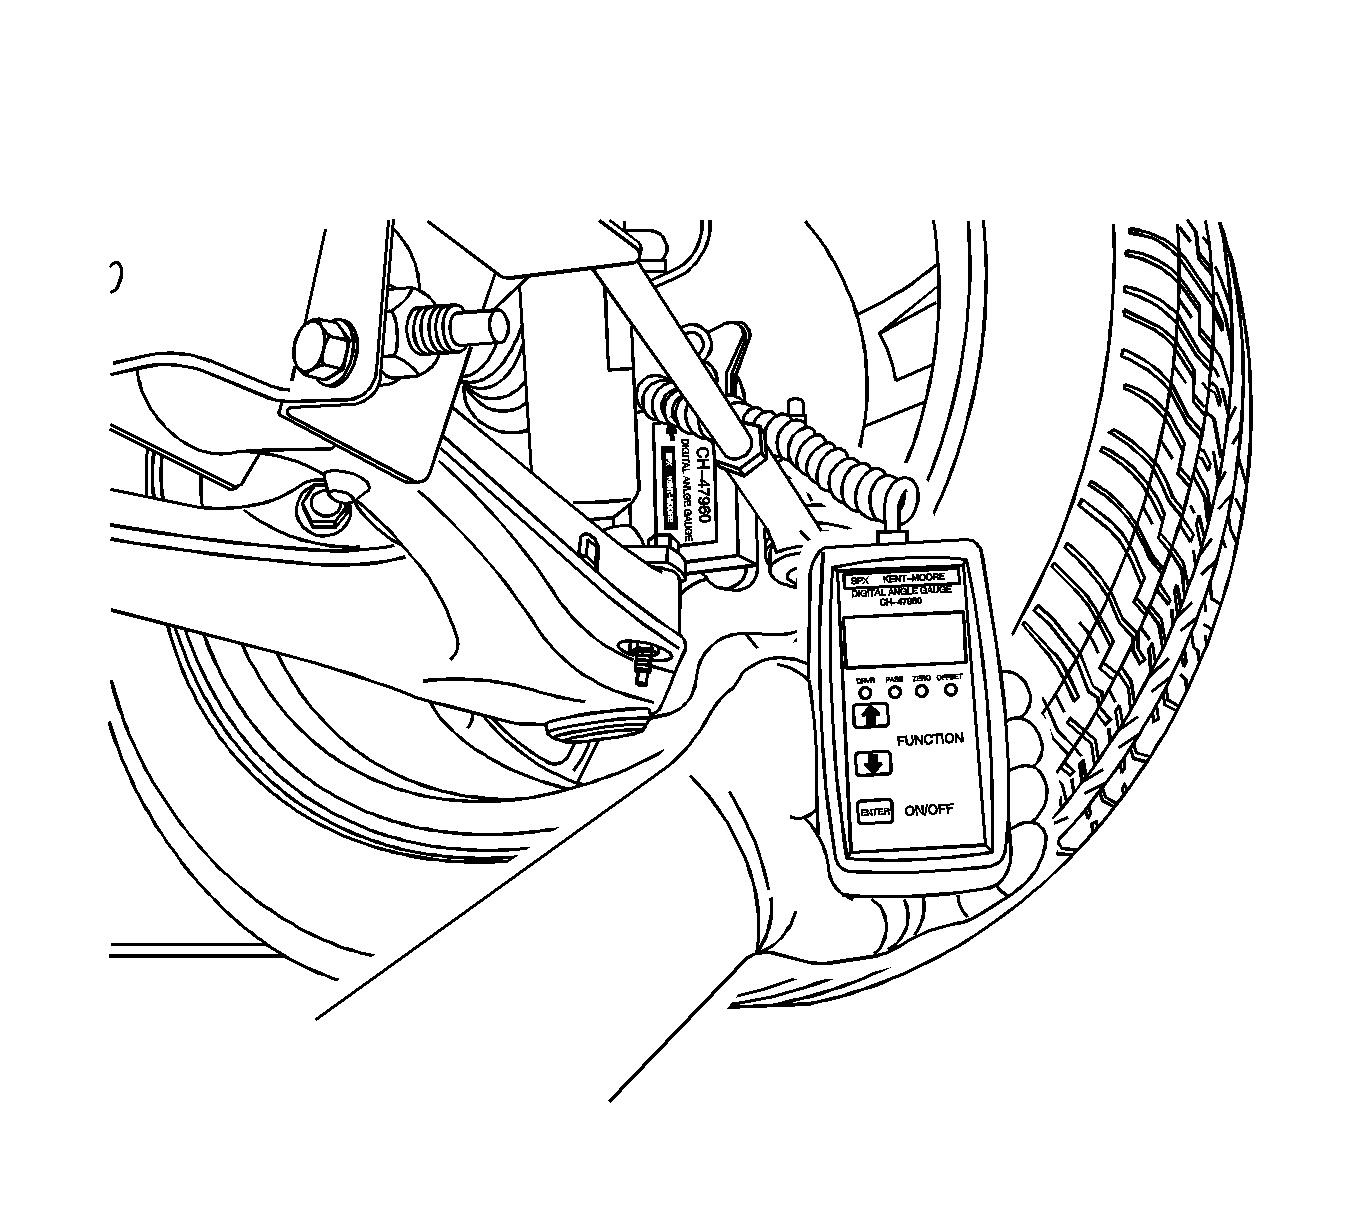
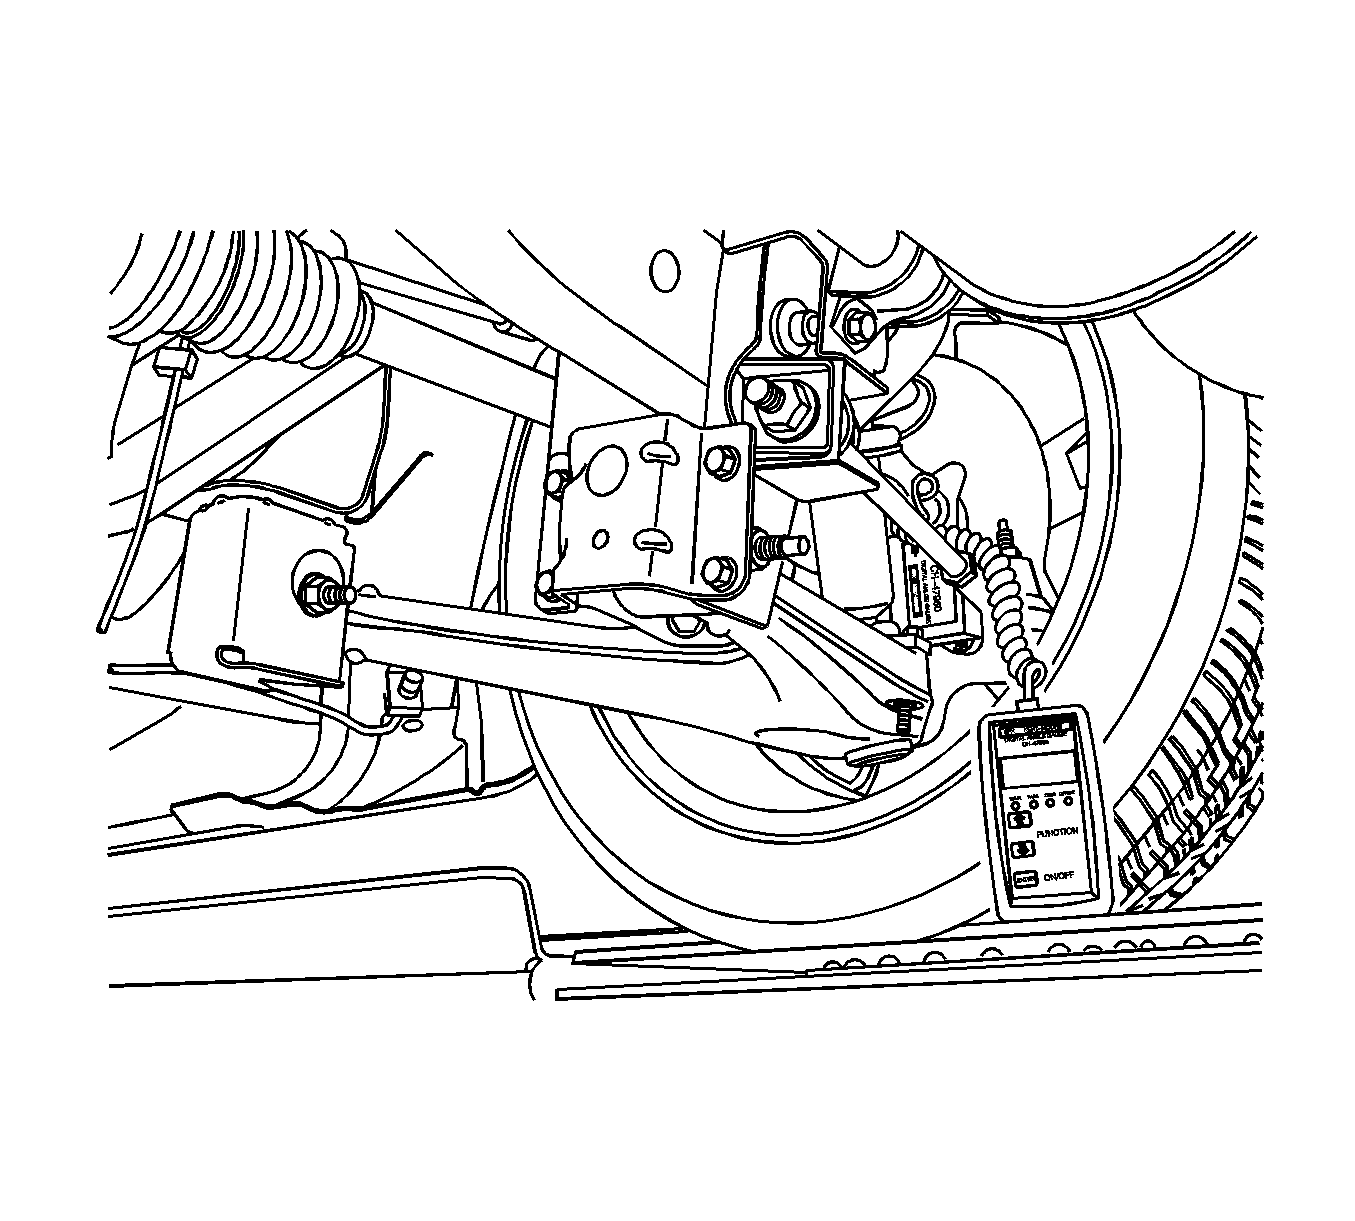
Important: The larger bushing closest to the ball joint affects camber while the smaller bushing towards the front of the vehicle affects caster.
Notice: Refer to Fastener Notice in the Preface section.
Tighten
Tighten the front control arm cam bolts to 165 N·m (122 lb ft).
