Water Dripping/Leak from Rear Dome/Reading Lamp or A Pillars (Apply Sealer/Lengthen Hose)

| Subject: | Water Dripping/Leak from Rear Dome/Reading Lamp or "A" Pillars (Apply Sealer/Lengthen Hose) |
| Models: | 2008 Buick Enclave |
| 2007-2008 GMC Acadia |
| 2007-2008 Saturn OUTLOOK |
| With 2-Panel Sunroof (Power Tilt/Sliding Front Panel, Fixed Rear Panel with Power Sunscreen) (RPO C3U) |
This bulletin is being revised to add additional repair information and Warranty Information. Please discard Corporate Bulletin Number 07-08-57-002C (Section 08 -- Body and Accessories).
Condition #1
Vehicles Built Prior to April 28, 2007
Some customers may comment on water dripping/leaking from the rear dome/reading lamp (located just rearward of the fixed glass) or from either " A" pillars when the vehicle is parked pointing downward.
Important: Before any repair is started, open the sunroof and pour water into the sunroof gutter assembly to make sure the sunroof drains are not plugged. If the drain is plugged, proceed to Condition #2.
Cause #1
The stationary glass roof drains may allow too much water for the drain system to overcome and thus overflows onto the headliner and into the vehicle.
Cause #2
Built Prior to October 1, 2007
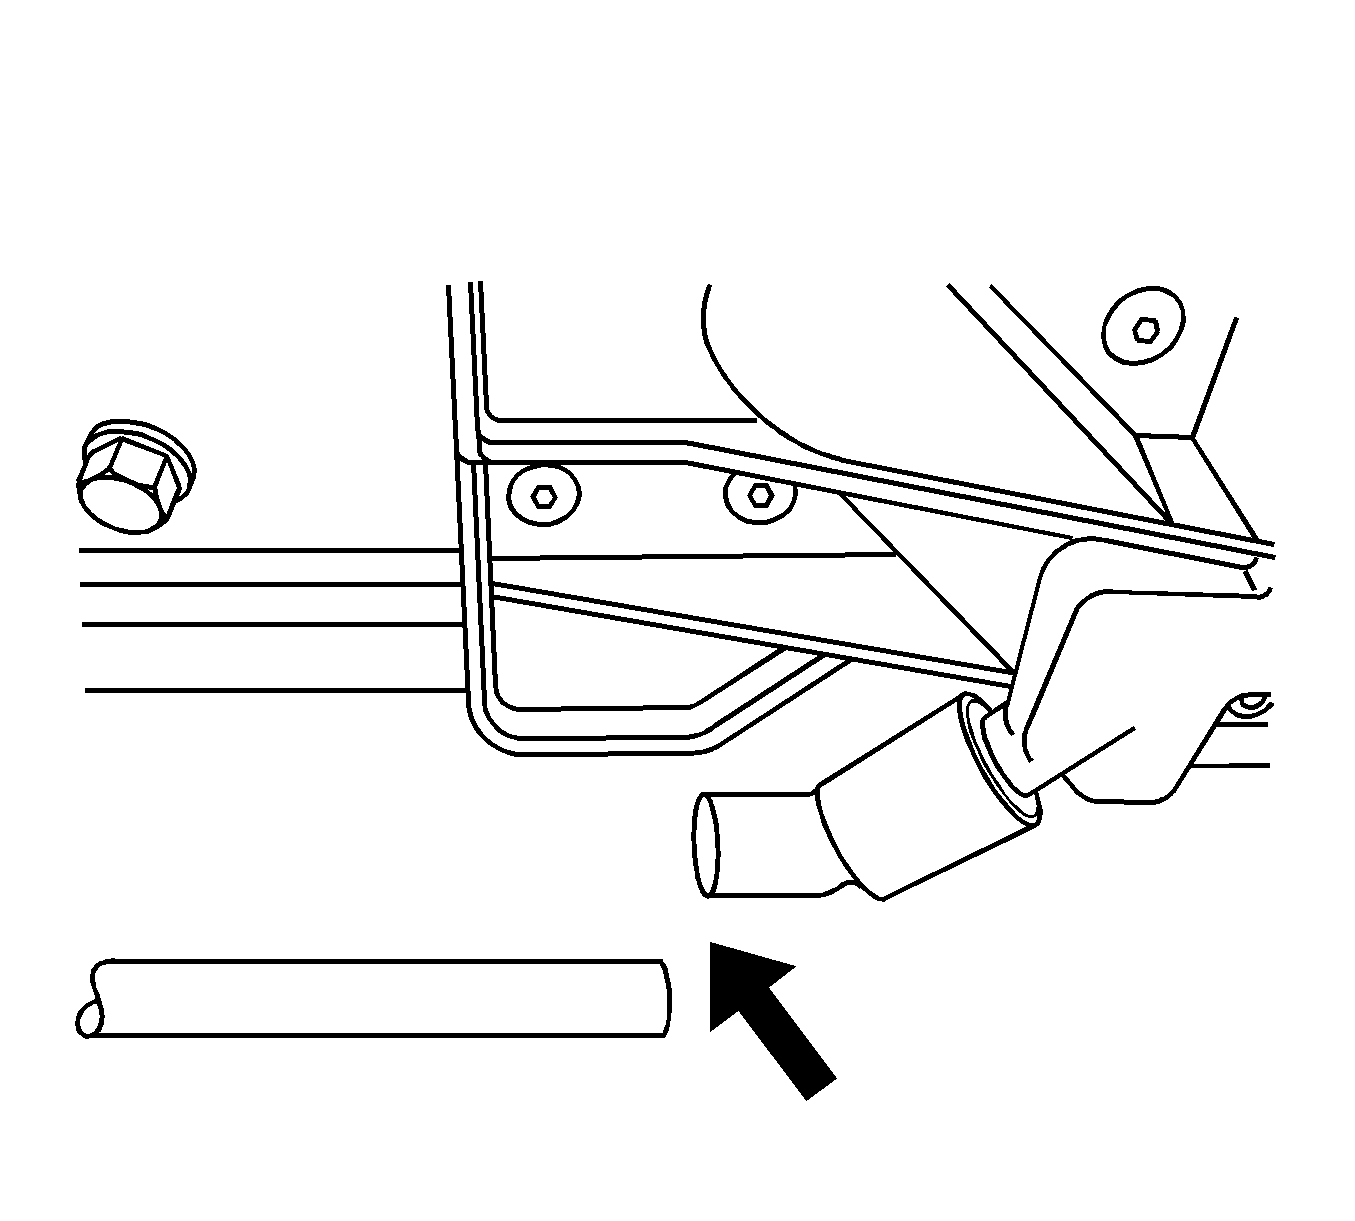
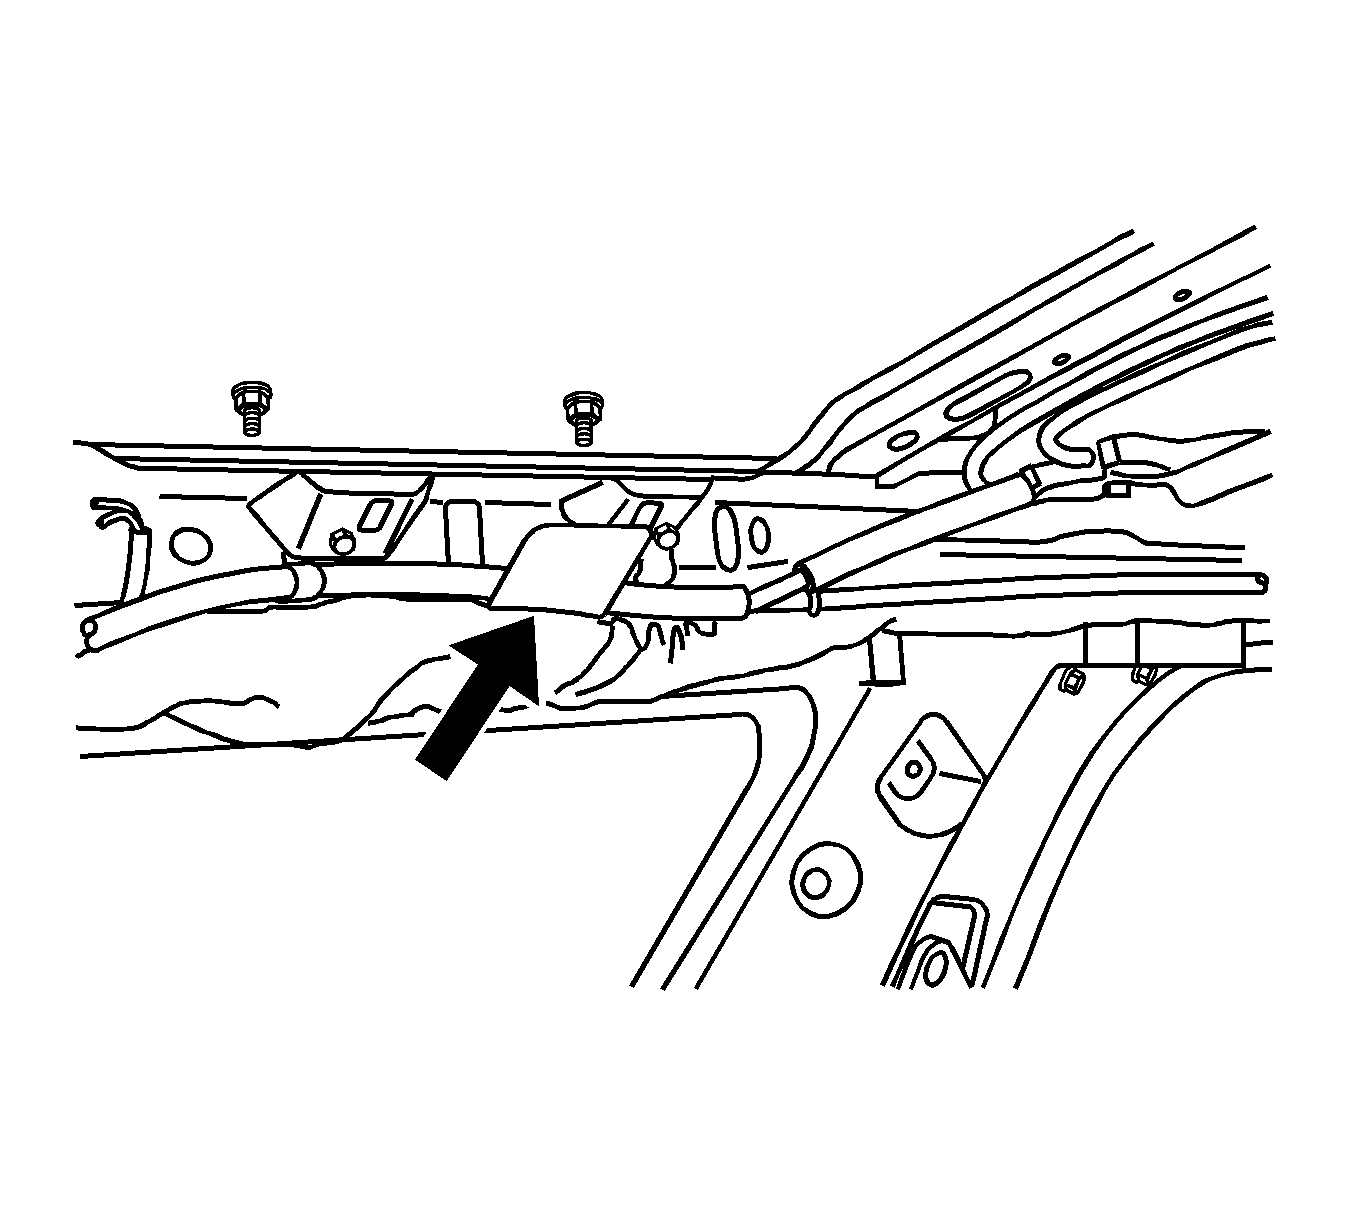
Heat from the roof may cause one of the sunroof drain tubes to shrink and come off at its attaching point on the module. Refer to the illustration above.
Correction #1
- Lower the headliner following the procedures in SI.
- Remove the sunroof module assembly following procedures in SI.
- There are four holes in the roof sheet metal that need to be sealed from inside the vehicle. Refer to the illustration above.
- Clean the four holes in the roof sheet metal and fill with a small amount of urethane sealant. Refer to the illustration above.
- Reinstall the headliner.
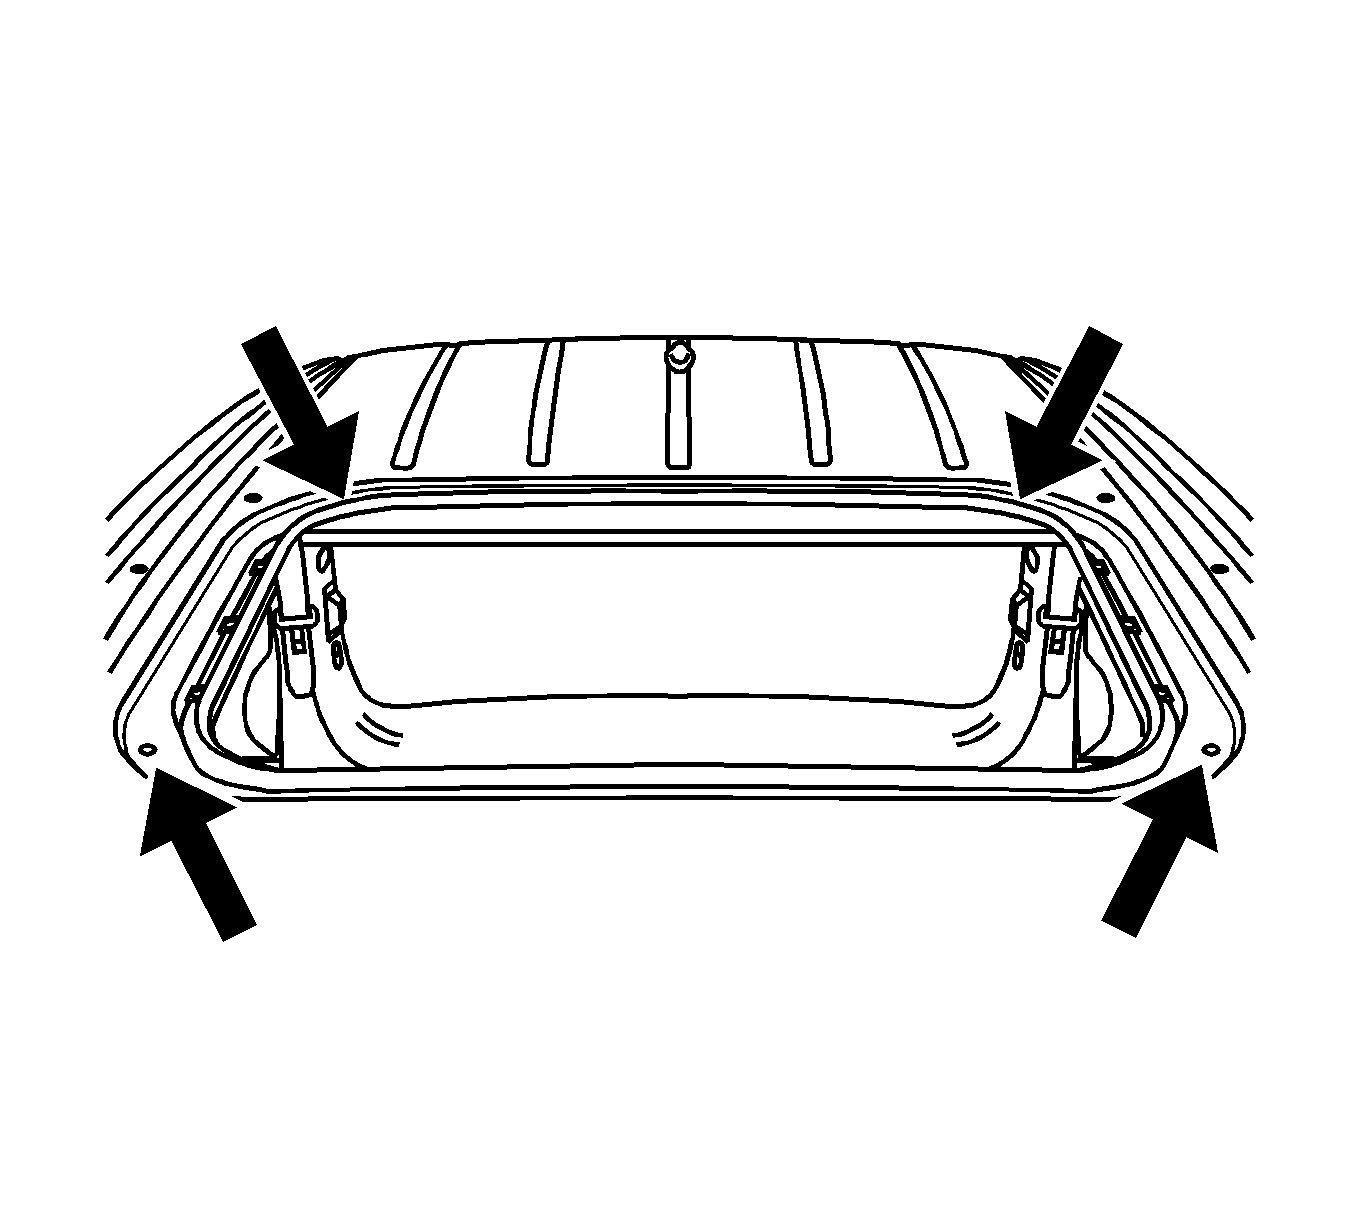
Important: The sunroof fixed rear panel glass has been removed for illustration purposes.
Correction #2
Extend the drain tube length by 10 mm (3/8 in).
- Lower the headliner following procedures in SI.
- Cut a 40 mm (1 5/8 in) long piece of hose from P/N 09438124 (11/32 hose) or equivalent .
- Using a single edge razor blade, cut 40 mm (1 1/2 in) off the end of the drain tube. Clean all the mating surfaces with denatured alcohol.
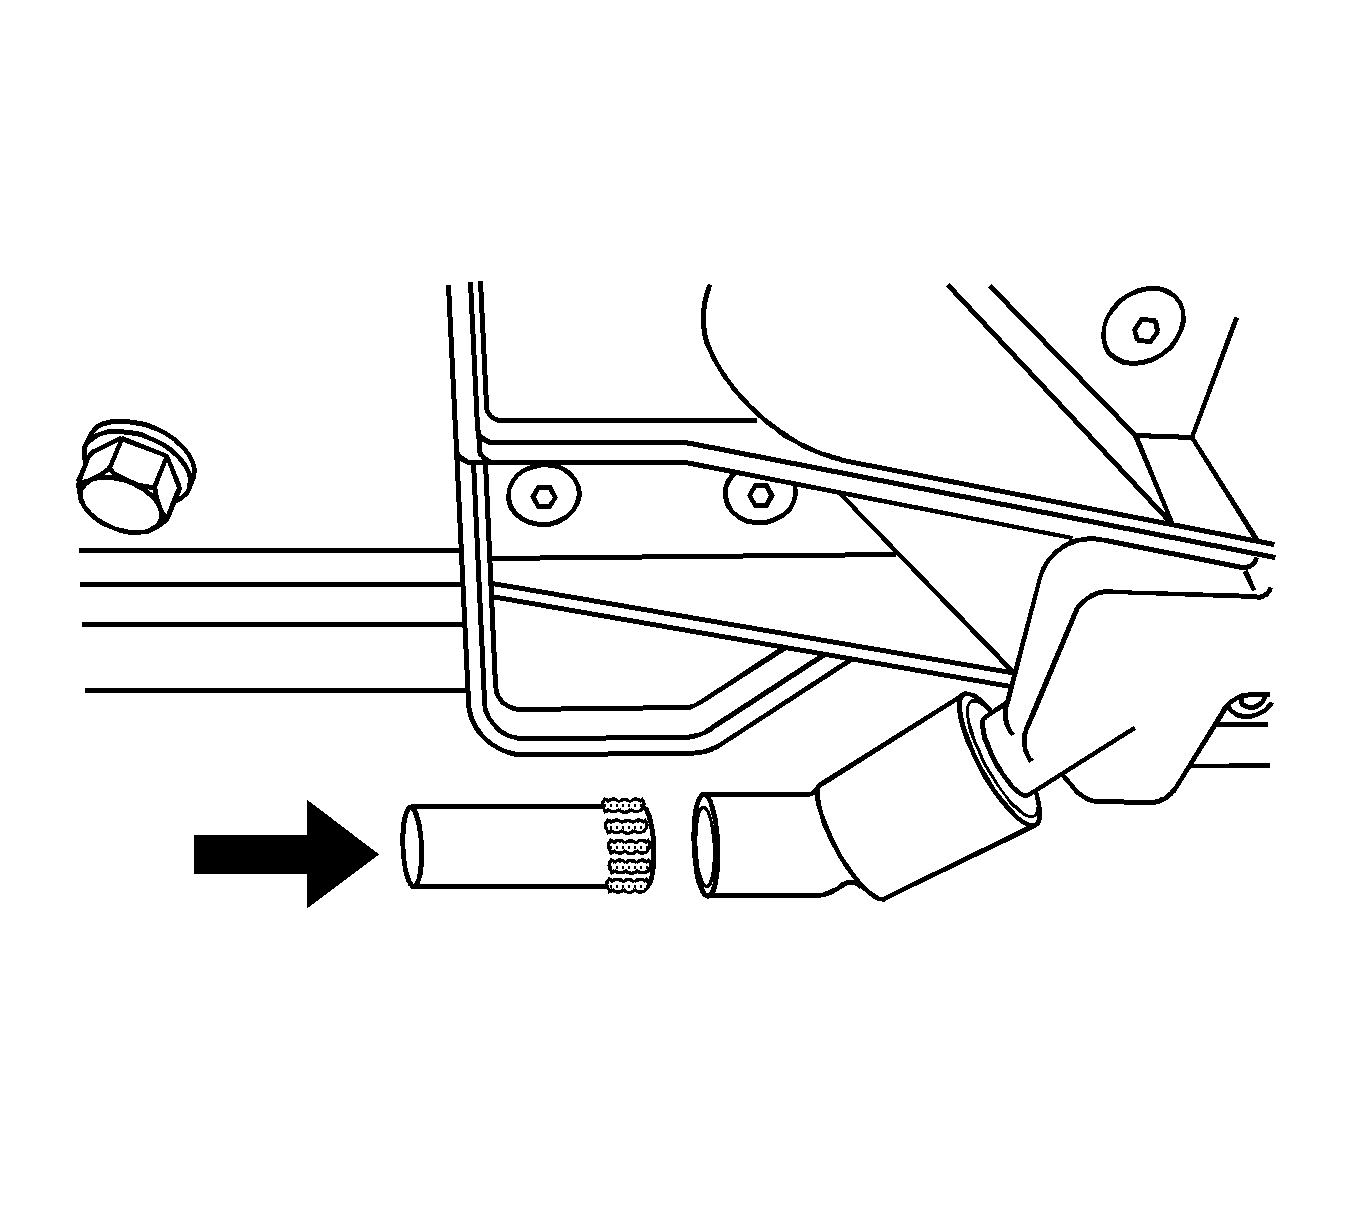
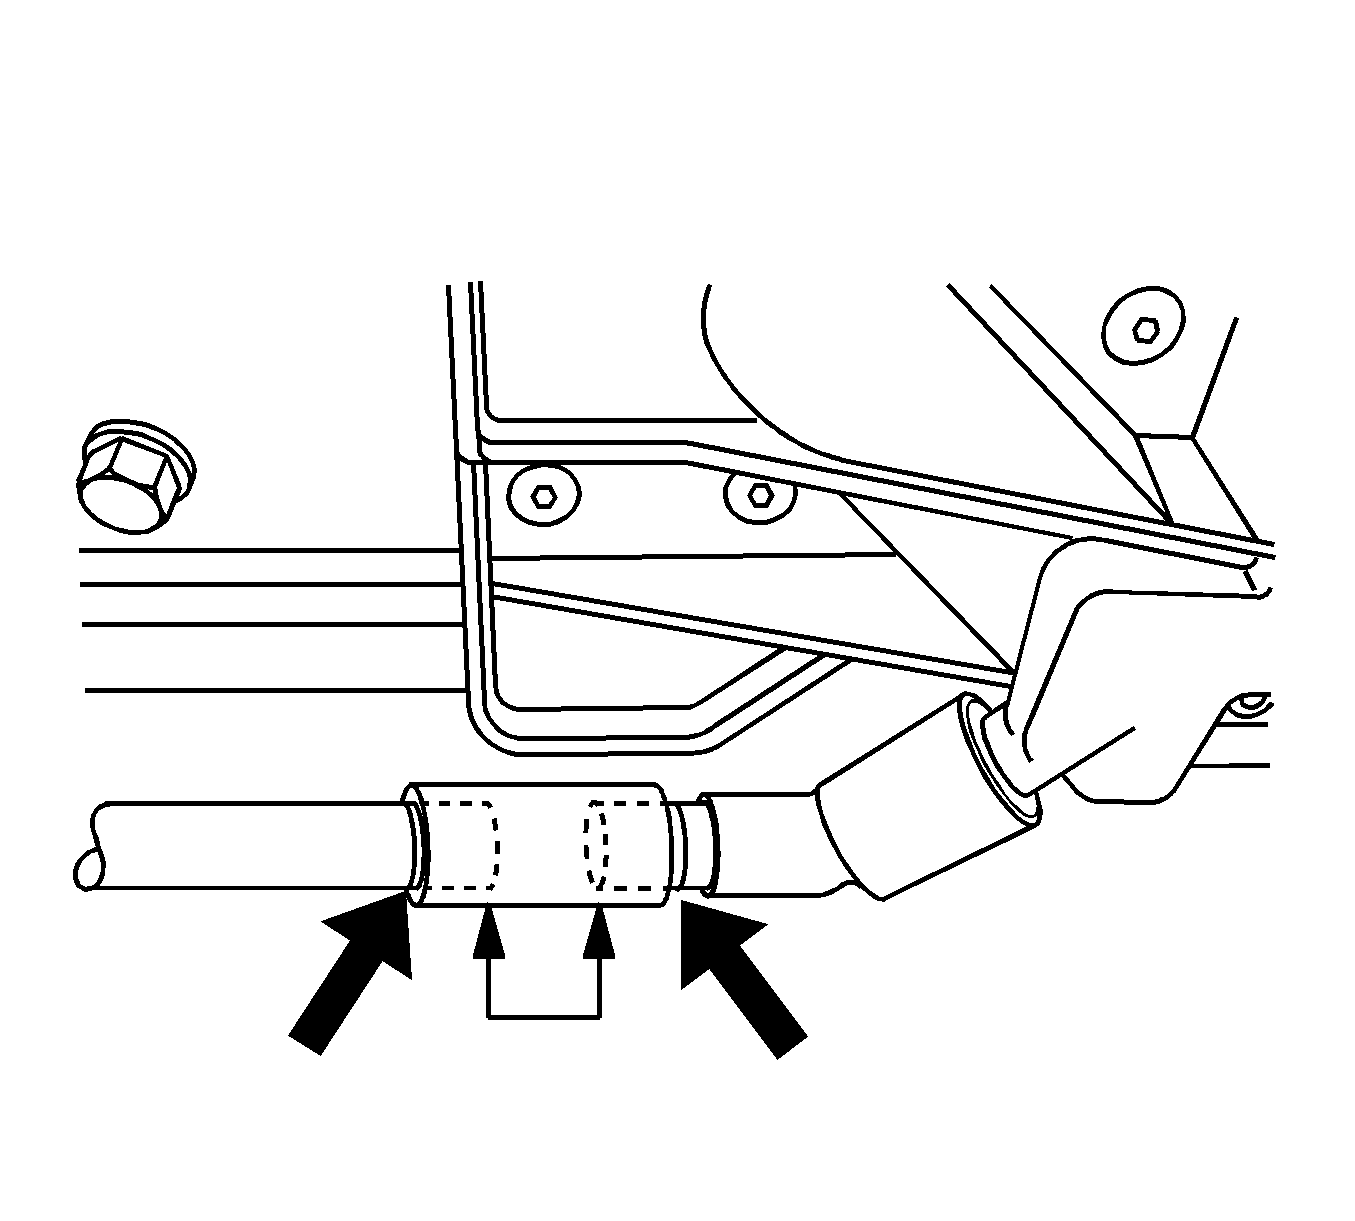
- Apply GM Weatherstrip Adhesive Gel-Black, P/N 12345097 (in Canada, P/N 10953479) or equivalent, around one end of the small tube and insert it into the 90 degree rubber coupling. Refer to the illustration above.
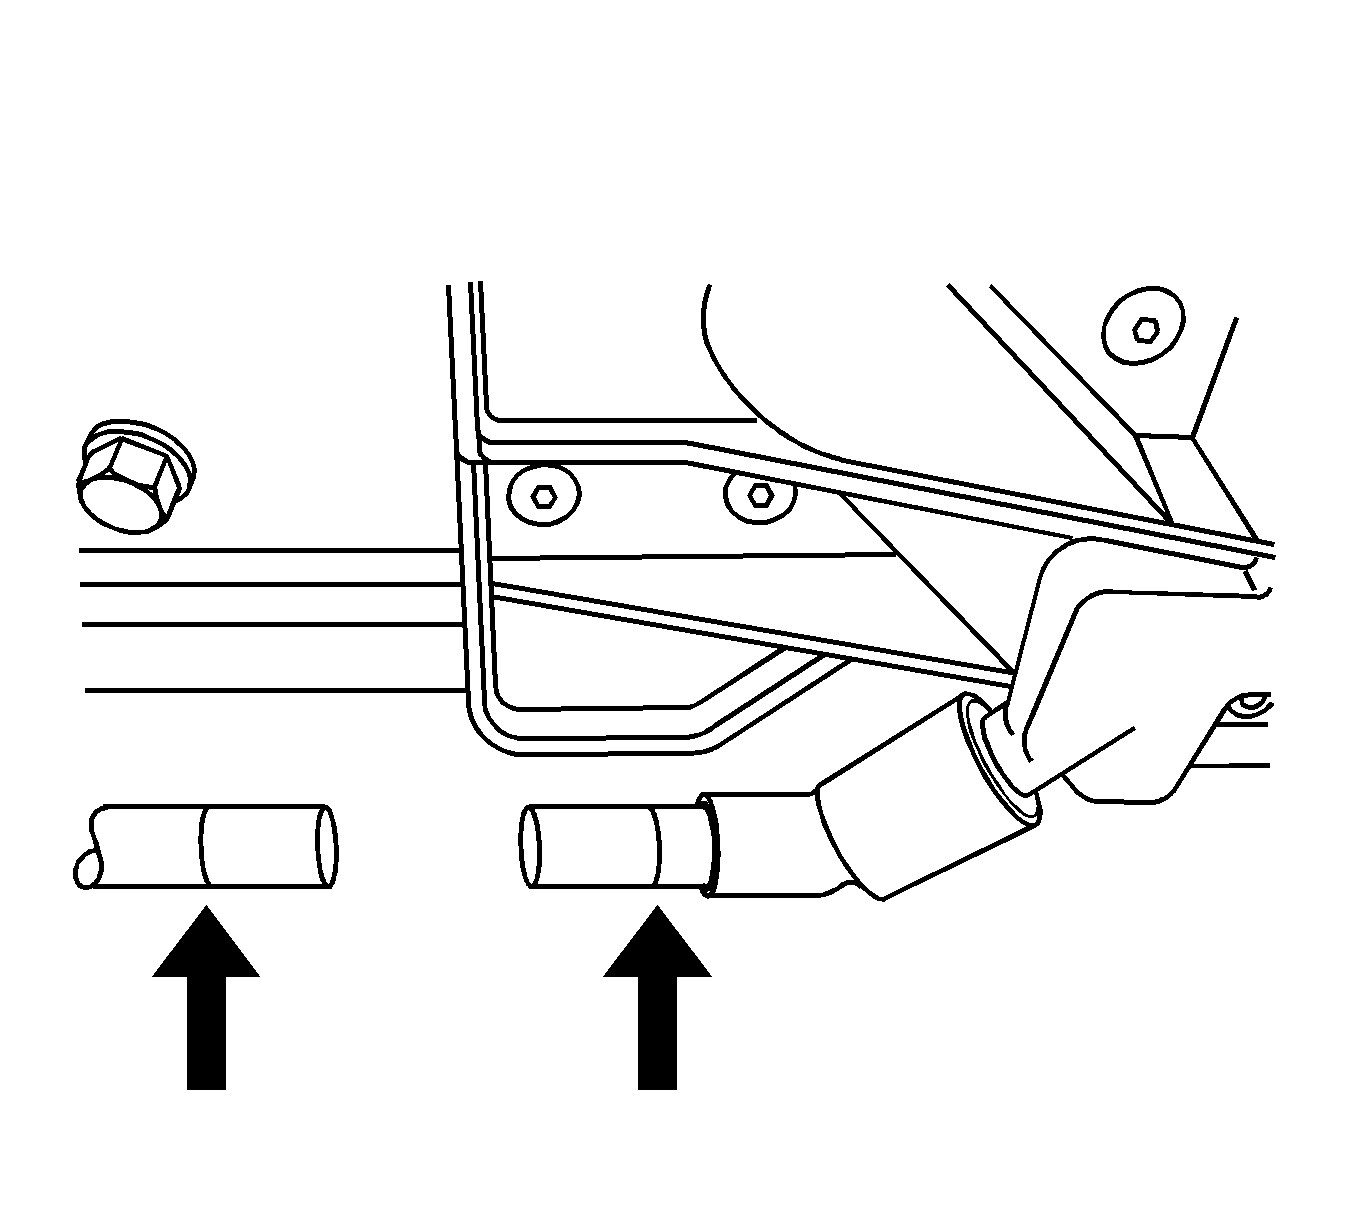
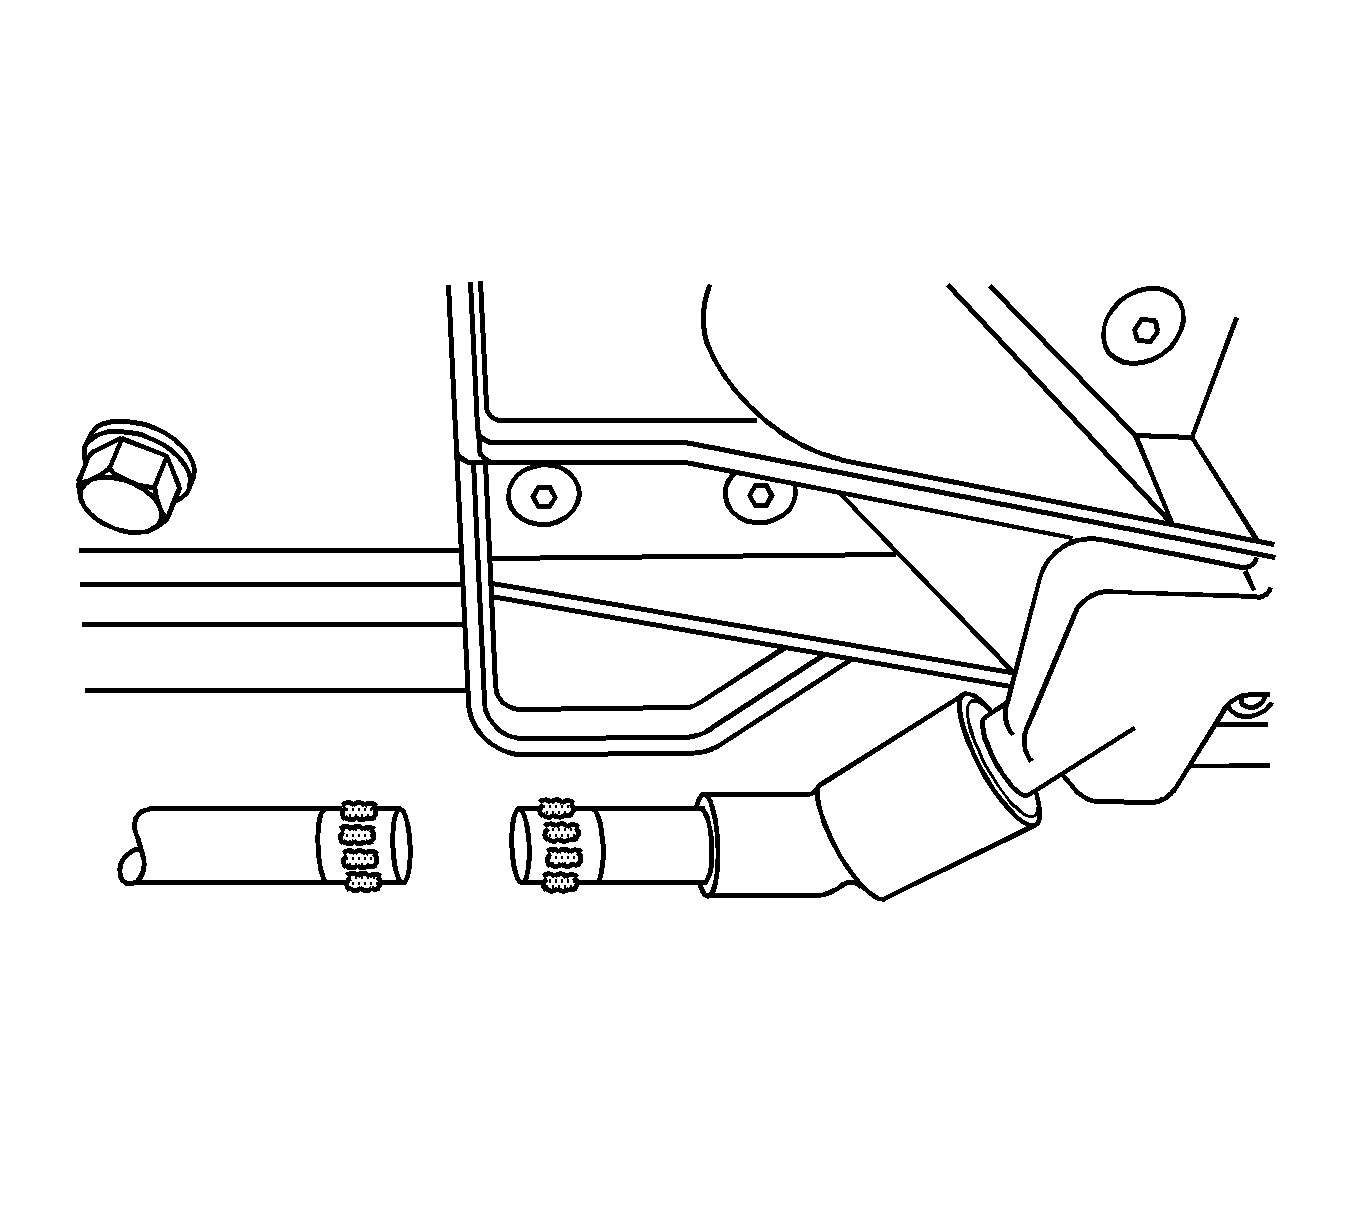
- Draw a line 15 mm (5/8 in) from the other end of the drain tube. Draw another line 15 mm (5/8 in) from the end of the drain tube. Refer to the illustration above.
- Apply GM Weatherstrip Adhesive Gel-Black, P/N 12345097 (in Canada, P/N 10953479) or equivalent, around each end of the drain tubes. Refer to the illustration above.
- Insert the drain tube into the 32 mm (1 1/4 in) long piece of hose from P/N 09438124 (11/32 Hose) or equivalent up to the line drawn in step 5. Refer to the illustration above. If done properly, this will leave a 10 mm (3/8 in) gap inside the hose, lengthening it by 10 mm (3/8 in).
- Reinstall the headliner.
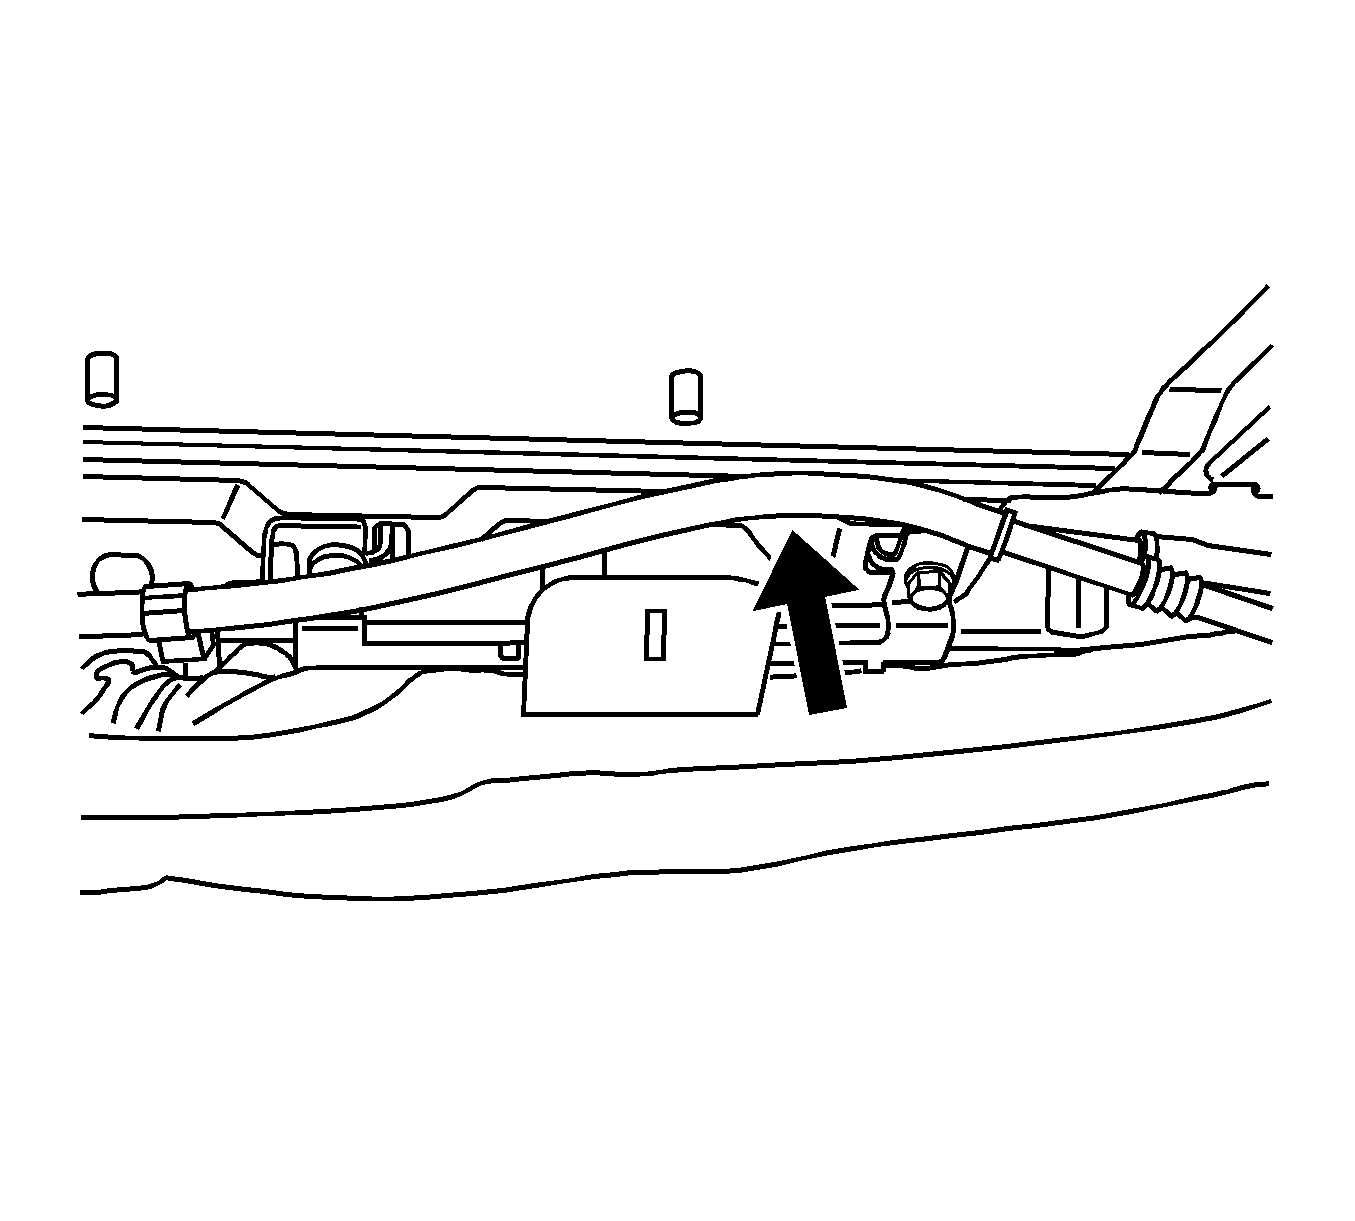
- After installing the extension, make sure that the hose is seated on top of the airbag bracket. Refer to the illustration above.
- Make sure that there are no bends pointing upward in the drain tube. Refer to the illustration above.
Condition #2
Some customers may comment on water dripping from the "A" pillar or the front floor is wet.
Cause
The end of one of the front drains may be plugged with grease from the sunroof or debris may be caught in the cross hatch at the end of the drain tubes.
Correction
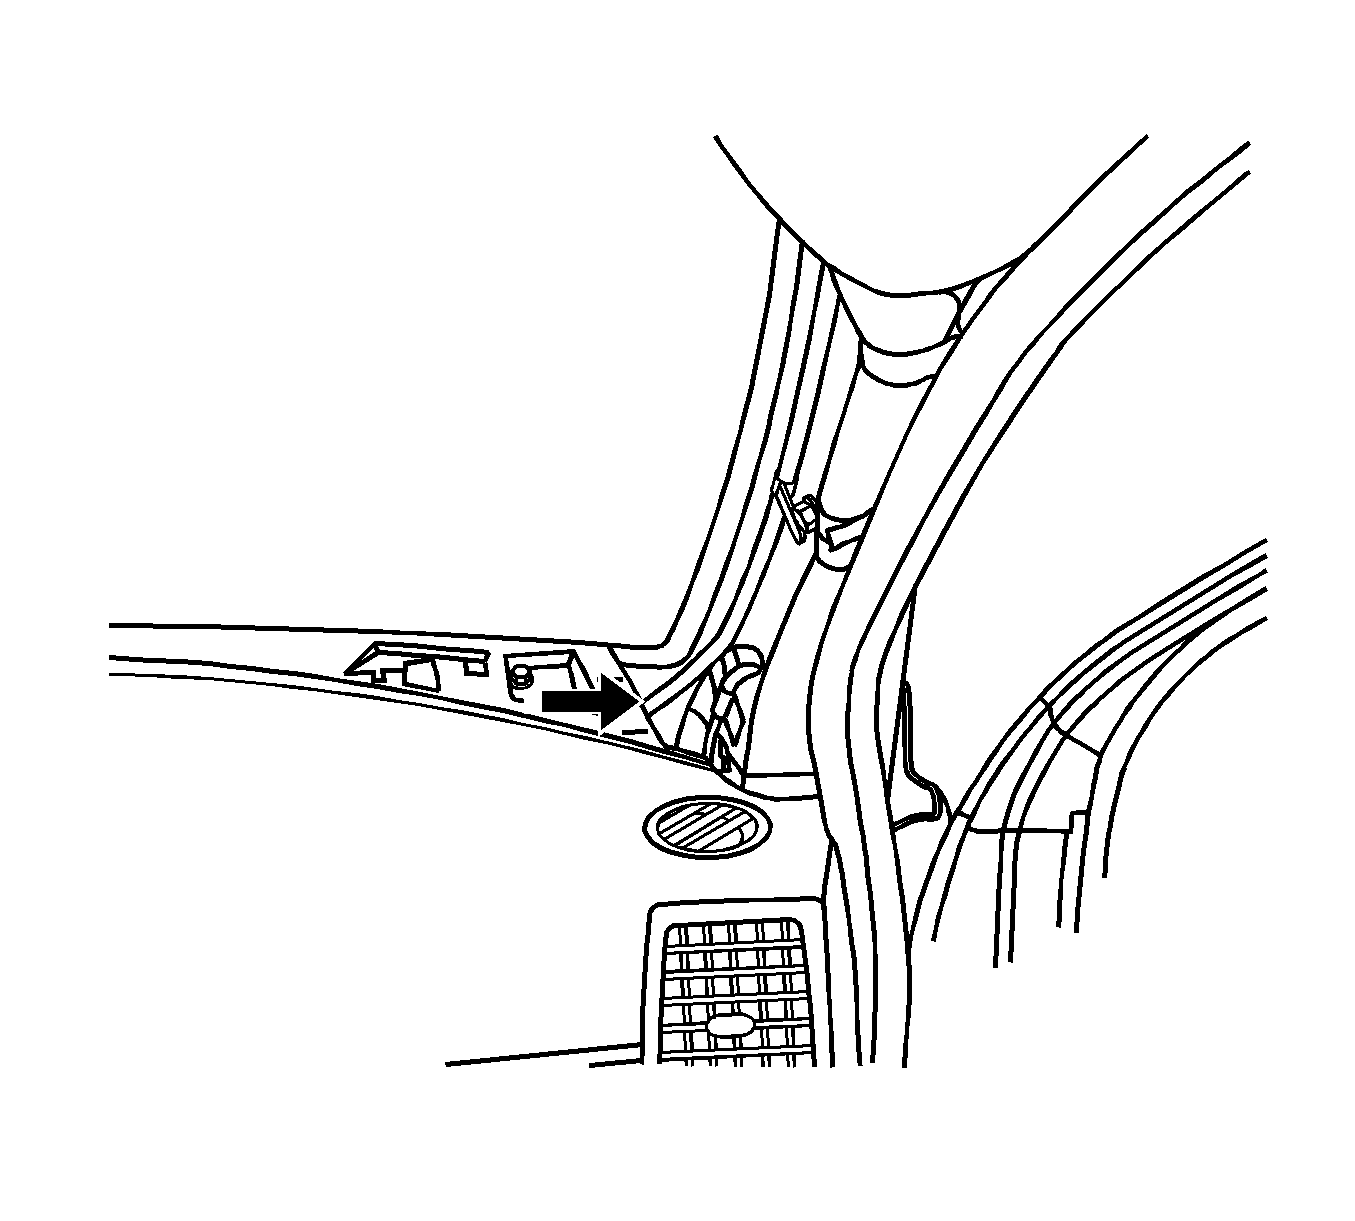
- Remove the "A" pillar trim and defroster outlet grille to gain access to the end of the drain tubes.
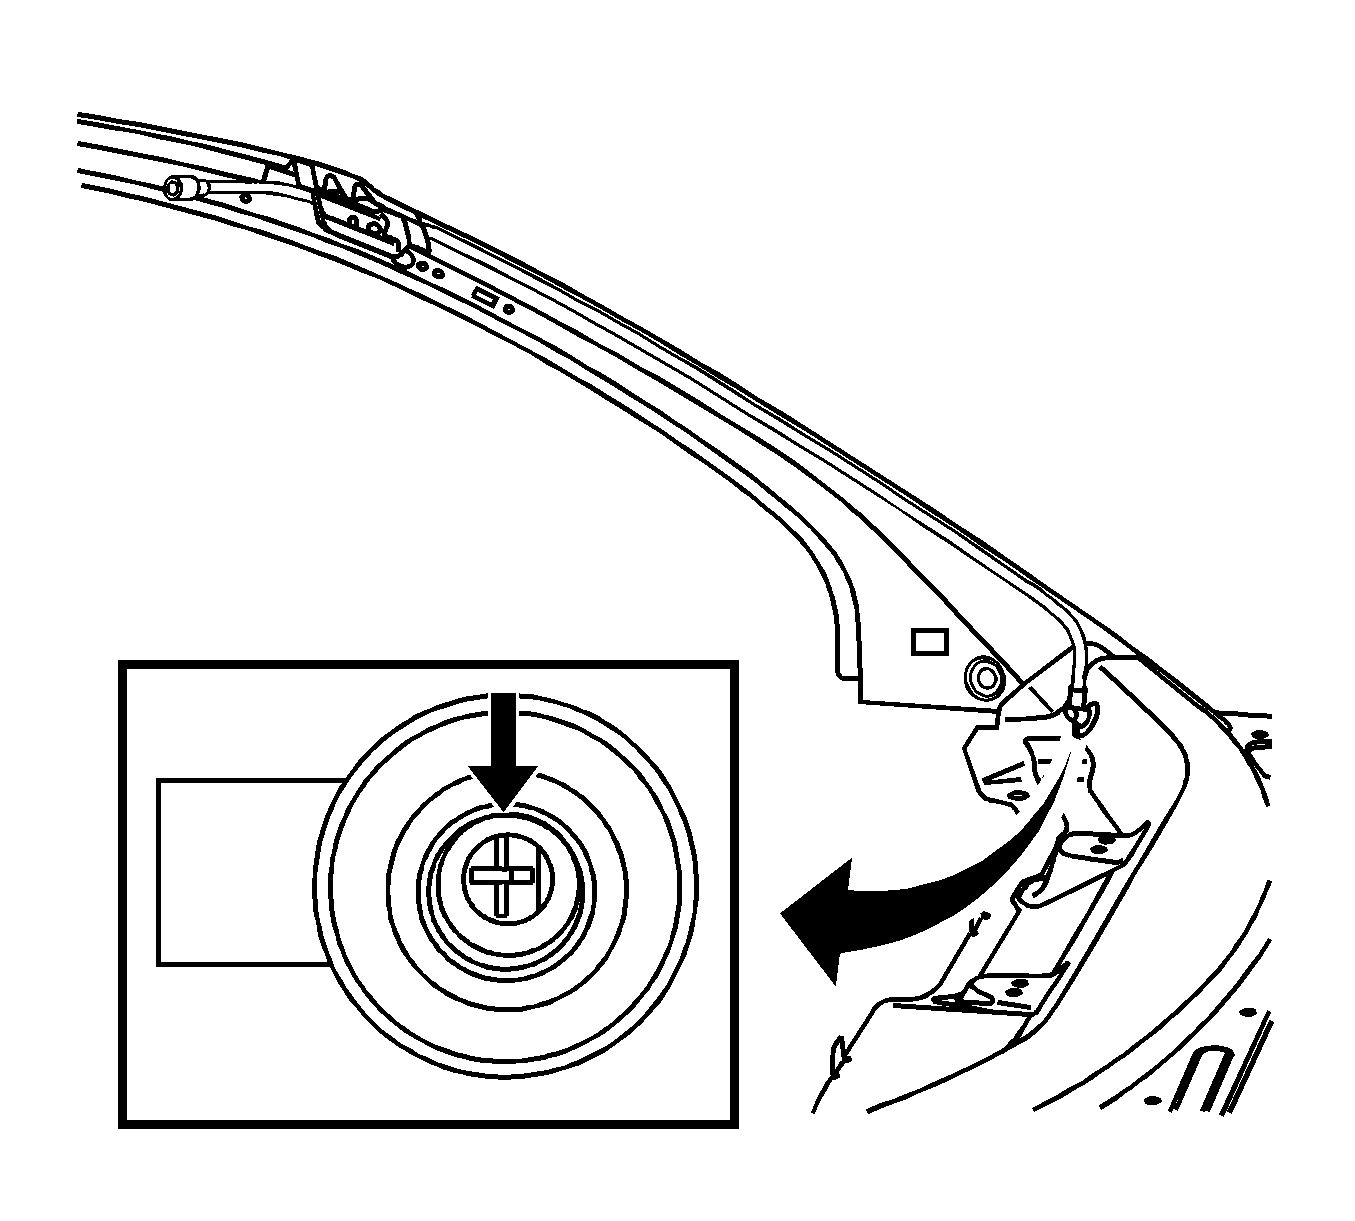
- Remove the rubber grommet at the end of the drain tube. Refer to the illustration above.
- Using a knife, carefully remove the cross hatch inside the grommet and reinstall. Another solution is to utilize a 3/8 in spot weld drill bit to remove the cross hatch. Refer to the illustration above.
Parts Information
Part Number | Description |
|---|---|
09438124 | Hose (11/32 in) |
12345097 (in Canada, 10953479) | GM Weatherstrip Adhesive Gel-Black |
12378500 | Medium Body Seam Sealing Compound |
Warranty Information
For vehicles repaired under warranty, use:
Labor Operation | Description | Labor Time |
|---|---|---|
C9835* | Lower Headliner | 2.0 hrs |
Add | Seal four drain holes under roof stationary glass | 0.8 hr |
Add | Add extensions to sunroof drain hoses | 0.3 hr |
C9820* | Removal of cross hatch inside drain tube | 0.6 hr |
*This labor operation number is for bulletin use only. This number will not be published in the Labor Time Guide. | ||
