For 1990-2009 cars only
Removal Procedure
- Partially drain the fuel tank below the level of the fuel fill hose. Refer to Fuel Tank Draining.
- Raise and support the vehicle, high enough to access the fuel fill hose through the wheelhouse liner. Refer to Lifting and Jacking the Vehicle.
- Remove the left pickup box wheelhouse liner. Refer to Pickup Box Wheelhouse Liner Replacement.
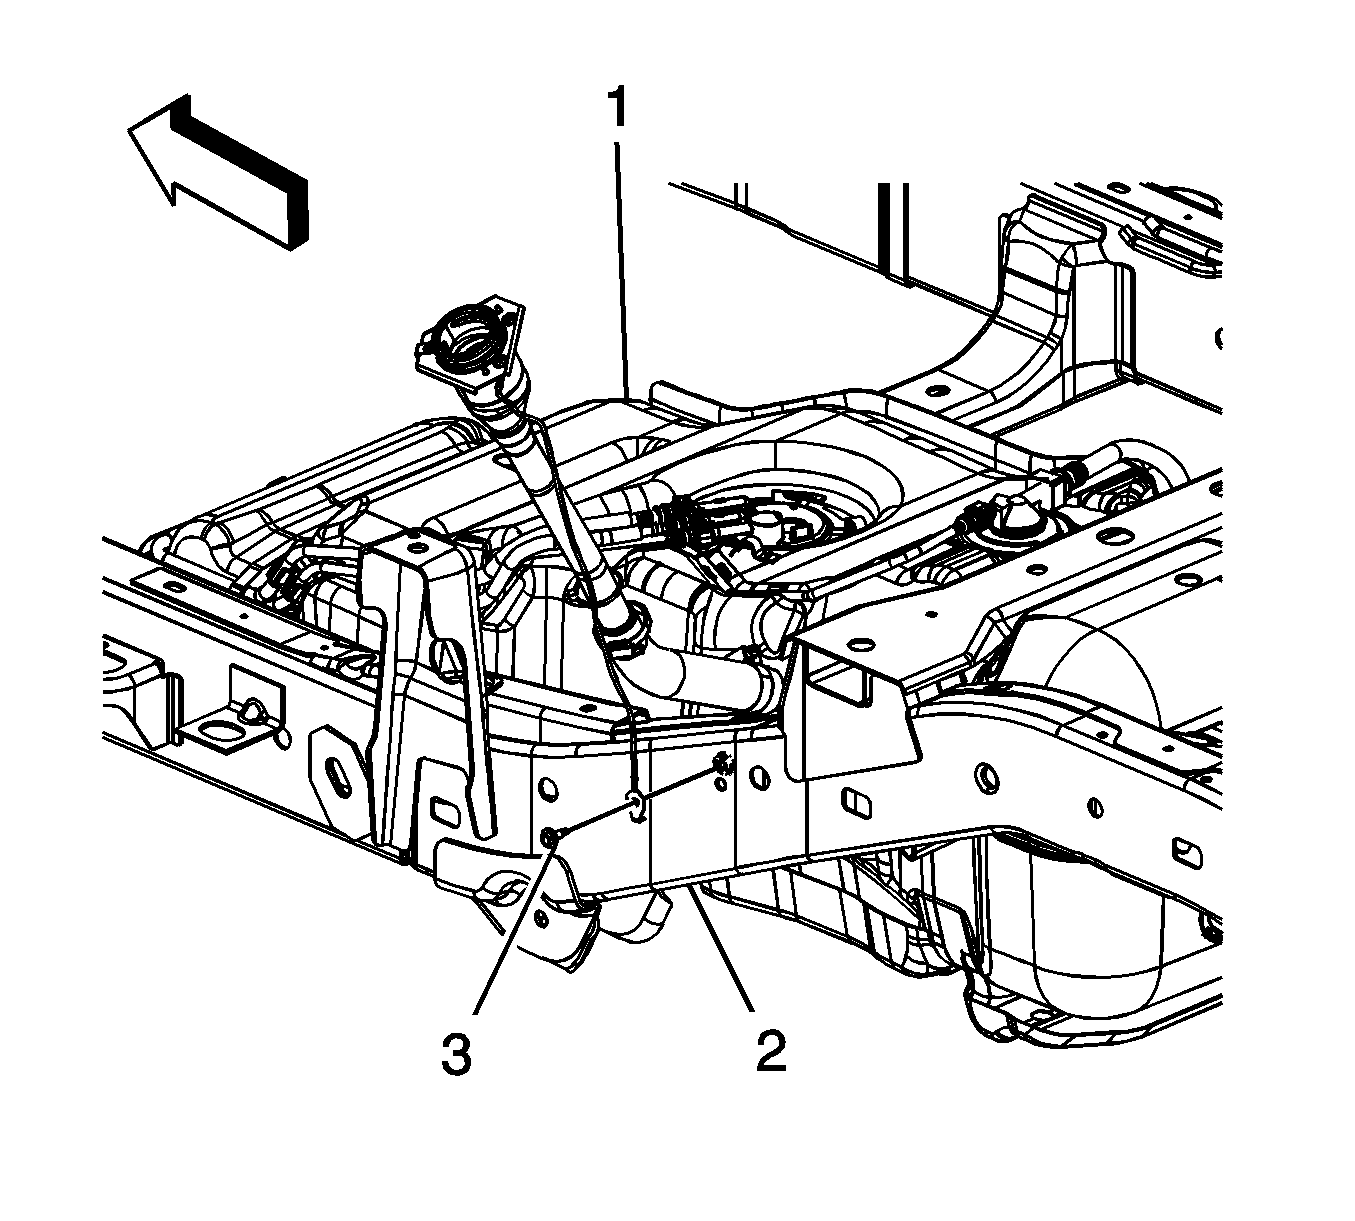
- Remove the fuel fill hose ground strap bolt.
- Remove the ground strap from the frame.
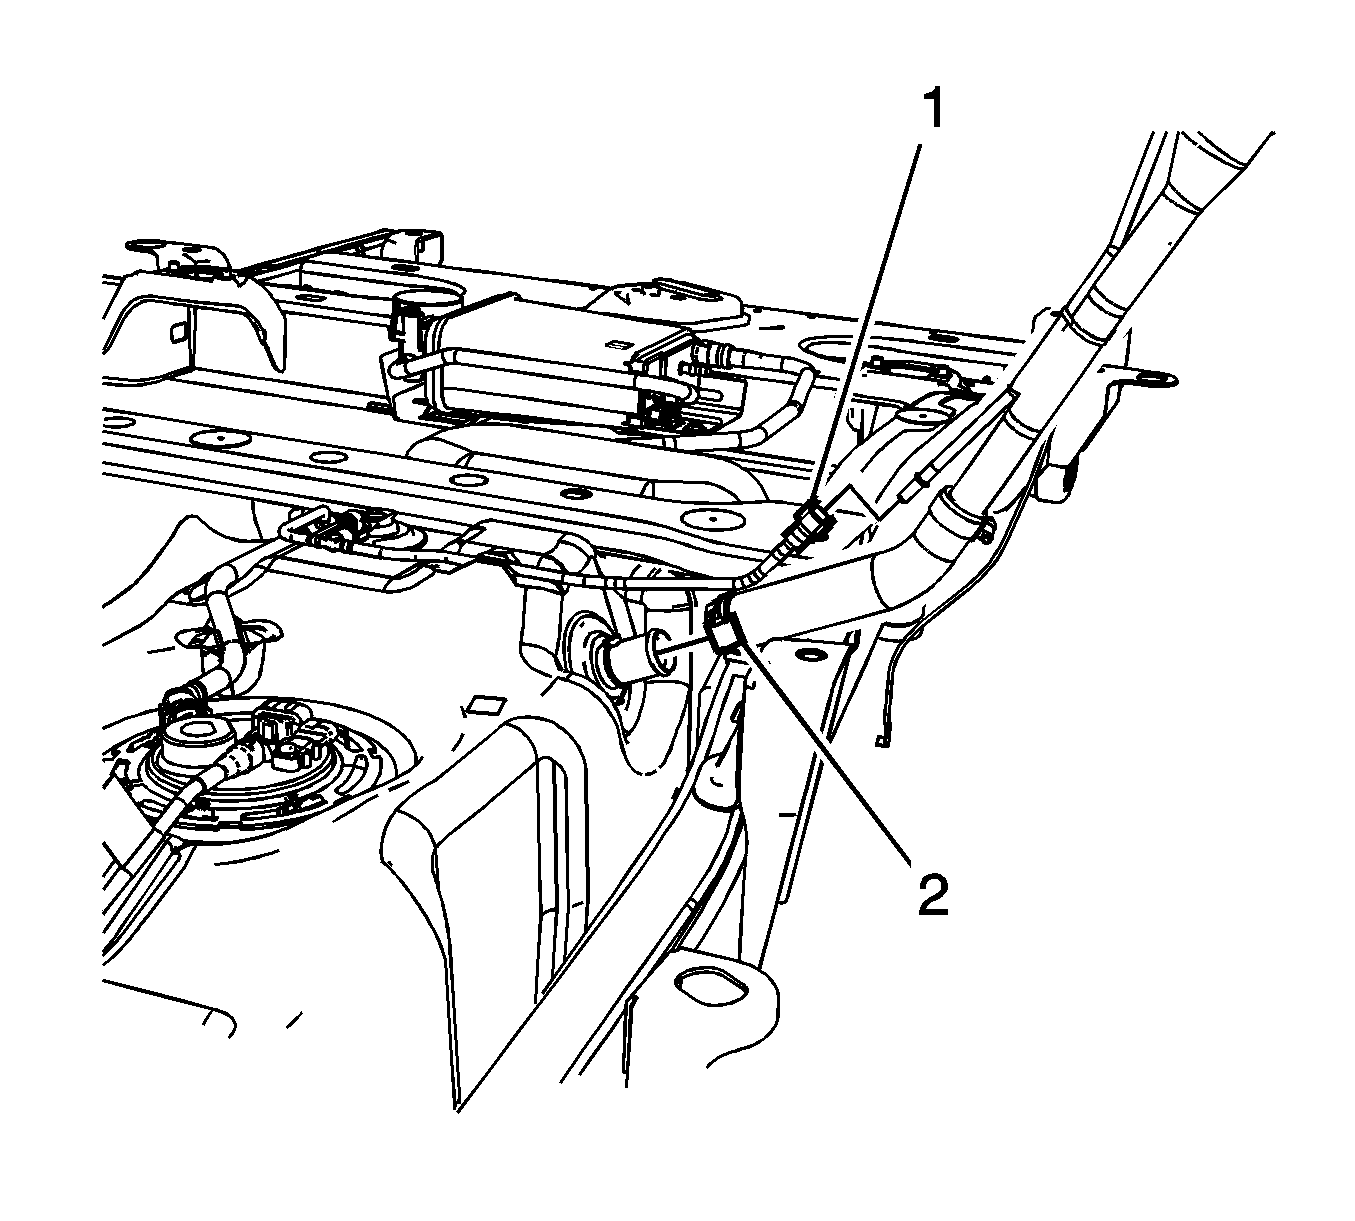
- Loosen the fuel fill hose clamp (2) at the fuel tank.
- Disconnect the fuel tank evaporative emission (EVAP) line (1) quick connect fitting from the fill tube vent line. Refer to Plastic Collar Quick Connect Fitting Service.
- Separate the fuel fill hose from the fuel tank.
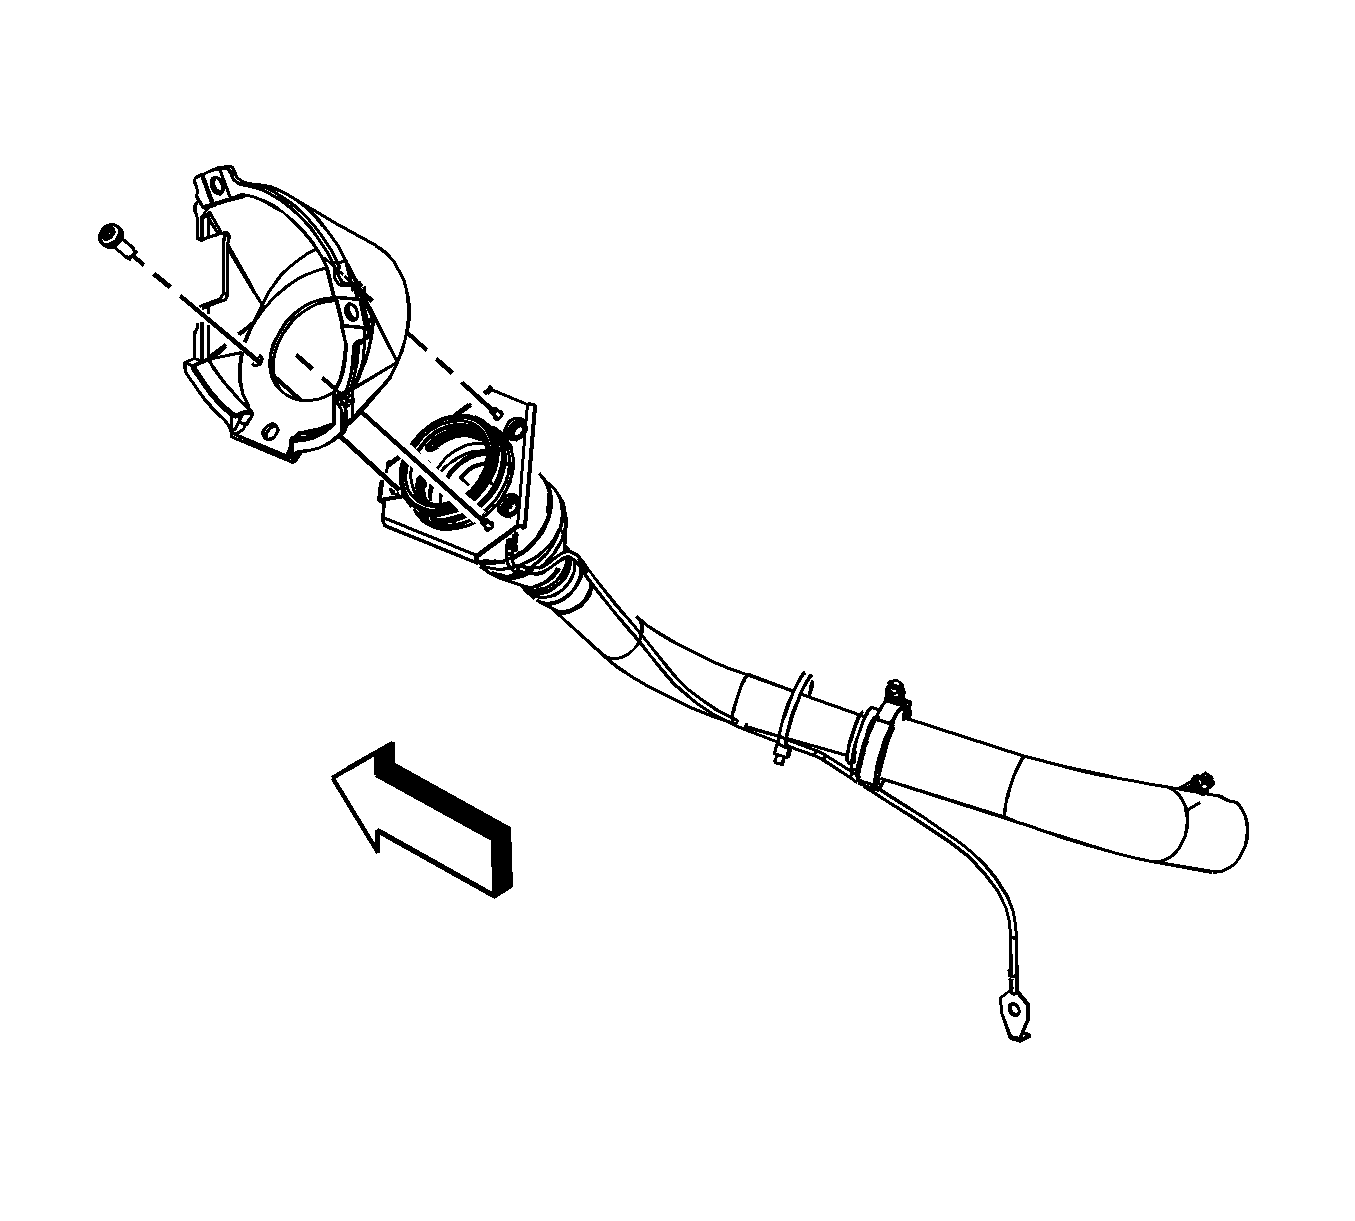
- Remove the fuel fill hose screws.
- Remove the fuel fill hose from the vehicle.
- Cap the open end of the fuel tank in order to prevent system contamination.


Installation Procedure
- Uncap the fuel tank.
- Position the fuel fill hose to the fender.
- Install the fuel fill hose screws.
- Install the fuel fill hose to the fuel tank.
- Connect the fuel tank EVAP line (1) quick connect fitting to the fill tube vent line. Refer to Plastic Collar Quick Connect Fitting Service.
- Tighten the fuel fill hose clamp (2) at the fuel tank.
- Install the ground strap to the frame. Ensure that the anti rotation tab is inserted into the hole in the frame.
- Install the fuel fill hose ground strap bolt.
- Install the left pickup box wheelhouse liner. Refer to Pickup Box Wheelhouse Liner Replacement.
- Lower the vehicle.
- Refill the fuel tank.
- Install the fuel fill cap.

Caution: Refer to Fastener Caution in the Preface section.
Tighten
Tighten the screws to 2 N·m (18 lb in).

Tighten
Tighten the clamp to 2.5 N·m (22 lb in).

Tighten
Tighten the bolt to 9 N·m (80 lb in).
