Your vehicle has the ability to operate in many different configurations (midgate up or down, rear glass up or down, tailgate up or down, power roof open or closed), allowing the cargo and passenger area to be open to the environment. To allow the vehicle to operate in these configurations, it is equipped with different features to help it resist the elements and protect cargo inside the cargo area. Some of the features that help with this are the cargo area floor drains and the cargo mat. These are designed to quickly direct water out of the cargo box.
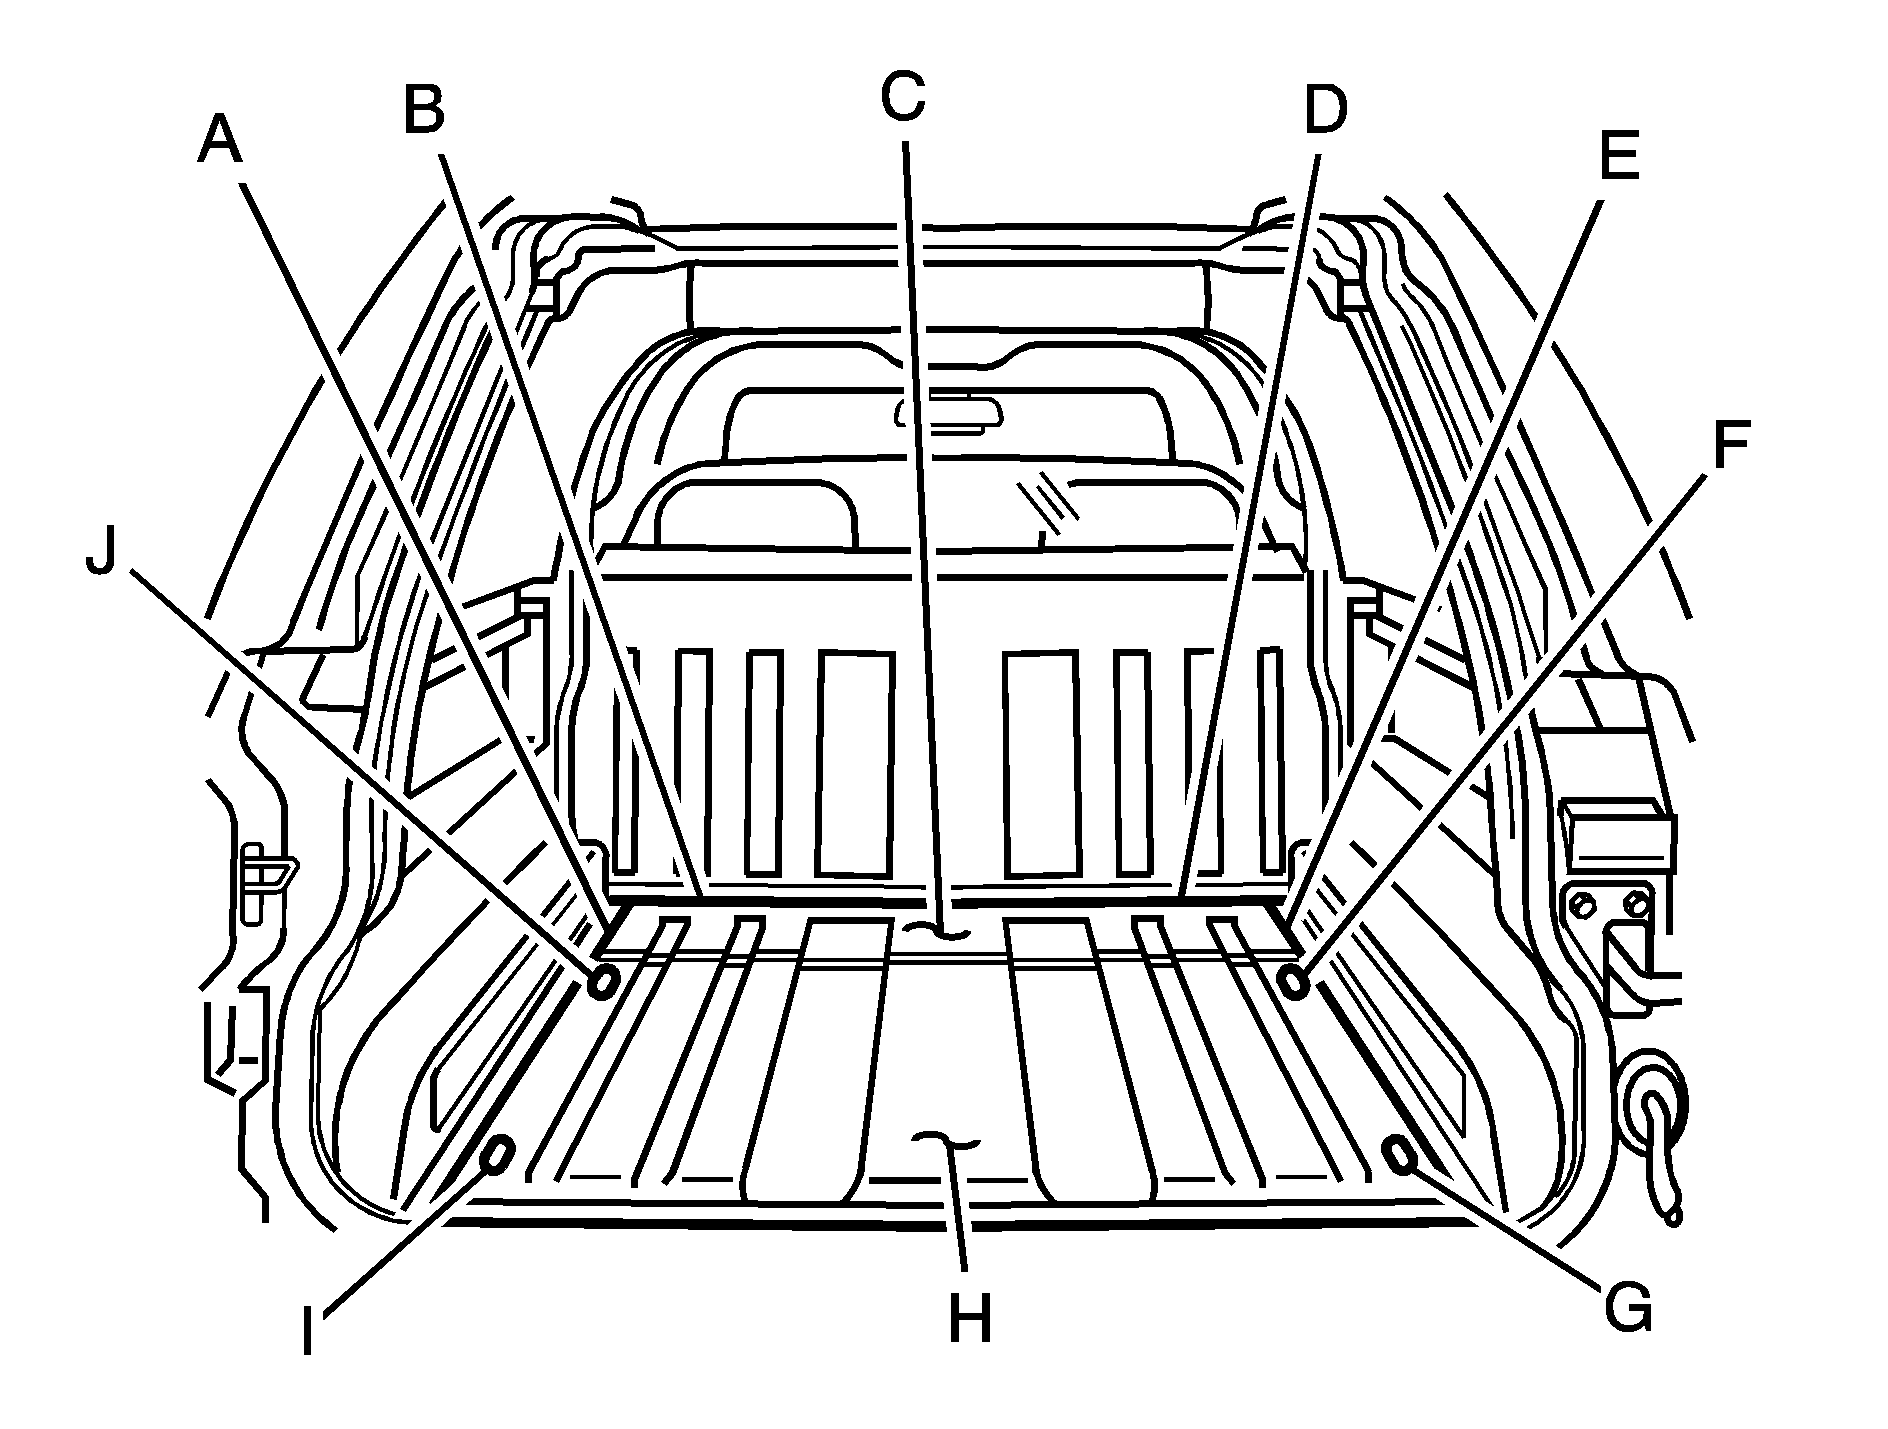
Cargo Area Floor Drains
Left Wheel House Drain
Left Midgate Drain
Midgate Sliding Hinge Panel
Right Midgate Drain
Right Wheelhouse Drain
Right Front Floor Drain
Right Rear Floor Drain
Cargo Floor Mat
Left Rear Floor Drain
Left Front Floor Drain

Your vehicle has four drains in the load floor under the cargo mat, two drains in a trough under the midgate sliding hinge panel, and two drains in front of the midgate. All drains should be cleaned periodically to allow water to exit the cargo area.
After hauling dirt, wood chips, pebbles etc. you will need to flush the cargo area floor drains with water if it becomes clogged. But first you will have to remove the drain cover by using the following steps:
Trough Drains
To reach the two drains in the trough under the midgate sliding panel use the following steps:
- Lower the midgate.
- Lift the midgate flap to access the cargo area floor drain covers.
- Remove the push pin found in the top surface of the floor drain cover.
- Lift each floor drain cover straight up.

Reverse the procedure to reinstall the drain covers.
Rear Cargo Mat
If the cargo area is extremely dirty, you can lift up the cargo floor mat or take the whole mat out and flush the drains with water.
To lift or remove the rear cargo mat, do the following:
- Remove the two push pins found in the top surface of the cargo mat.
- Push the cargo mat forward as far as it will go.
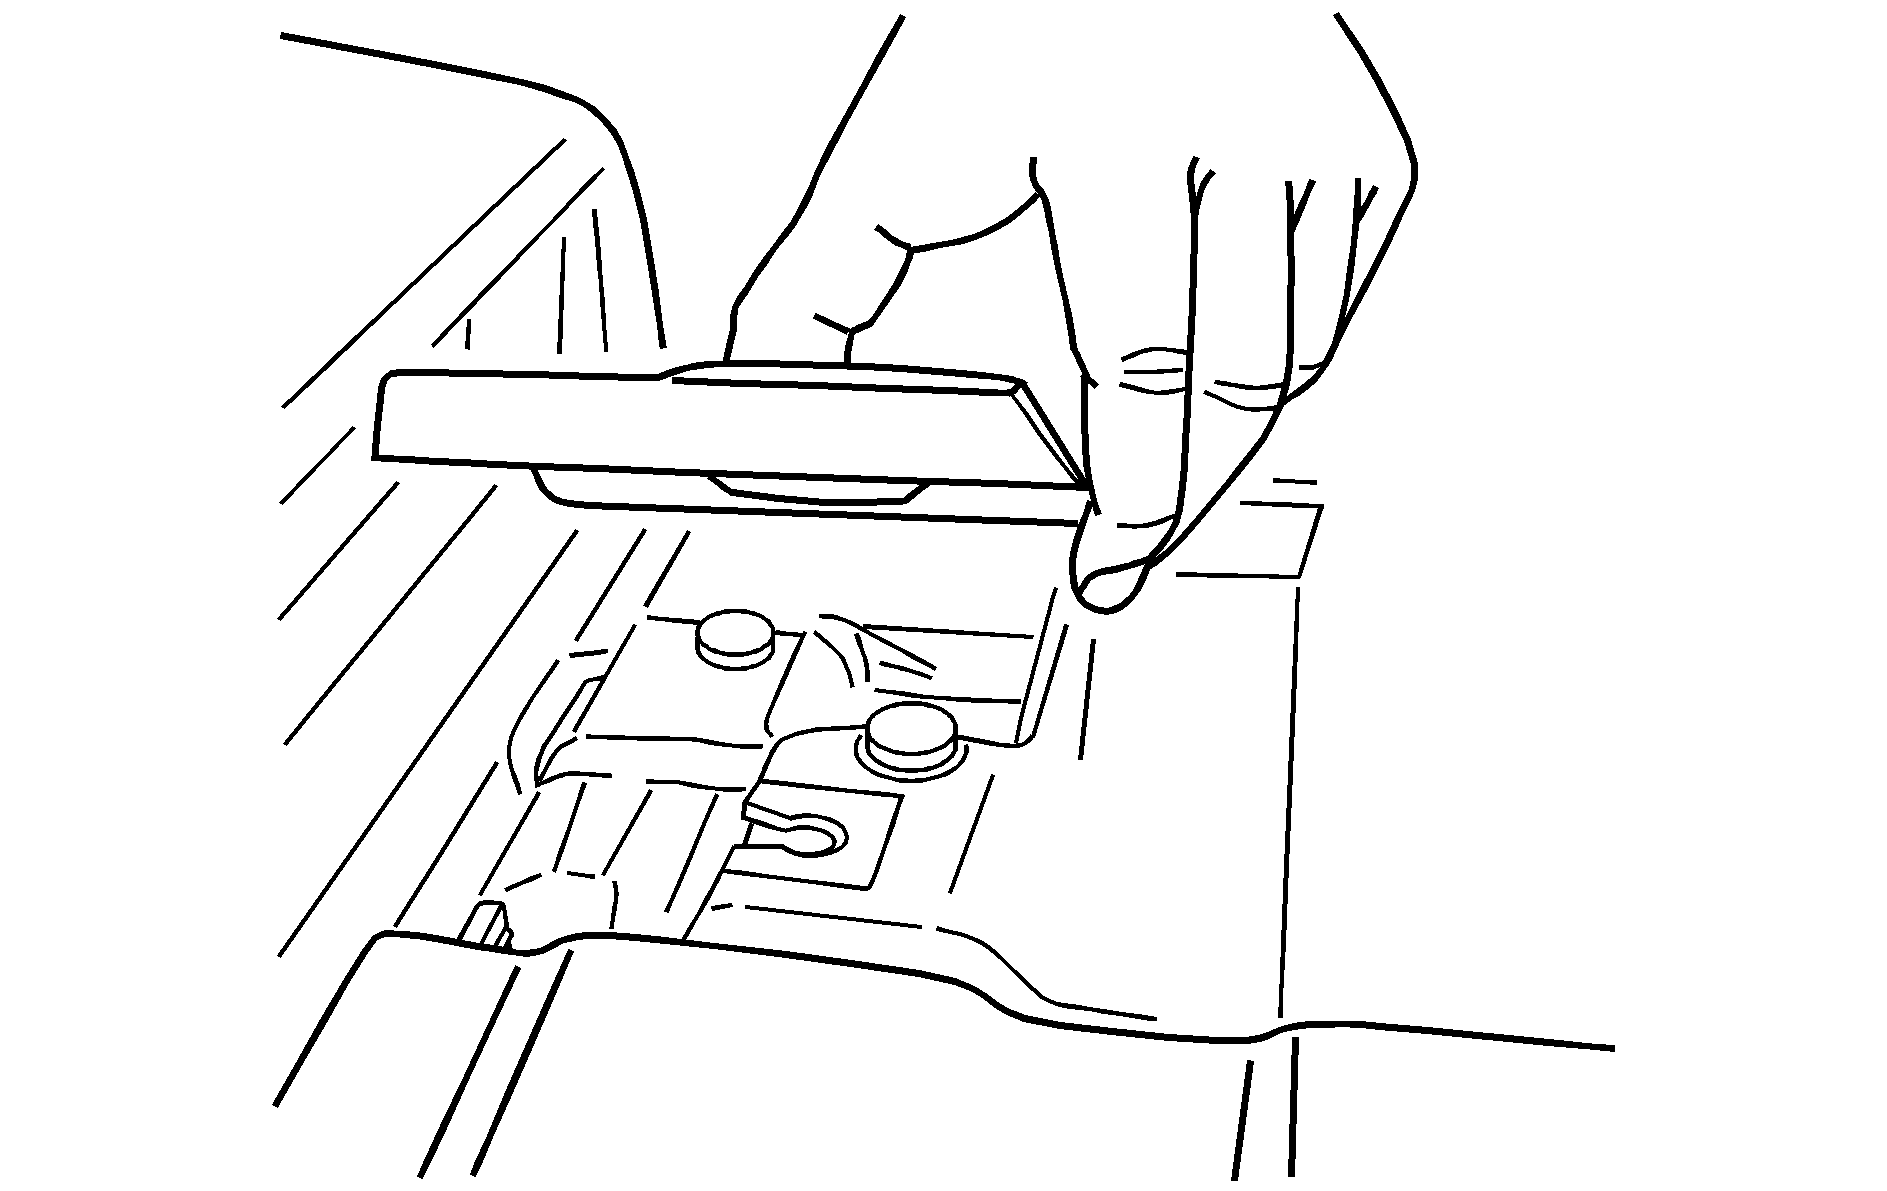
- With either a finger tip or flat tool, lift up on the tab along the rear of the cargo mat to lift the mat out of the vehicle.
- Pull on the cargo mat to remove it from the vehicle.
Install the rear cargo mat by reversing this process.
Cargo Tie Downs

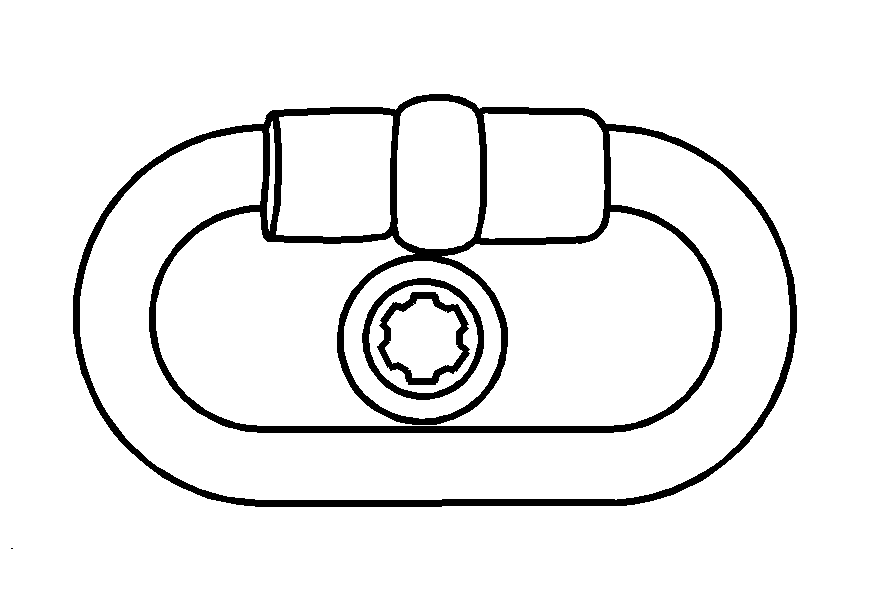
There are four moveable cargo tie downs that can be moved up to 12 different locations in the rear of your vehicle.
They are located on the sides of the vehicle between the window and the floor.
The tie-downs may be moved from their original positions by using a 10 mm socket wrench. These allow you to restrain cargo from sliding around during normal driving. The other cargo tie-down positions that are not being used are covered by plastic plugs. Unscrew these plugs by hand and then reinstall them into the vacant holes.
There are also four cargo tie-downs located outside the vehicle in the top of the metal rails that carry the moveable roof. These allow you to carry tall objects in the cargo area.
