Removal Procedure
Tools Required
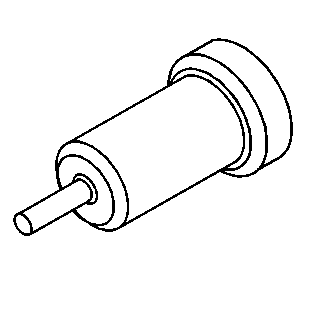
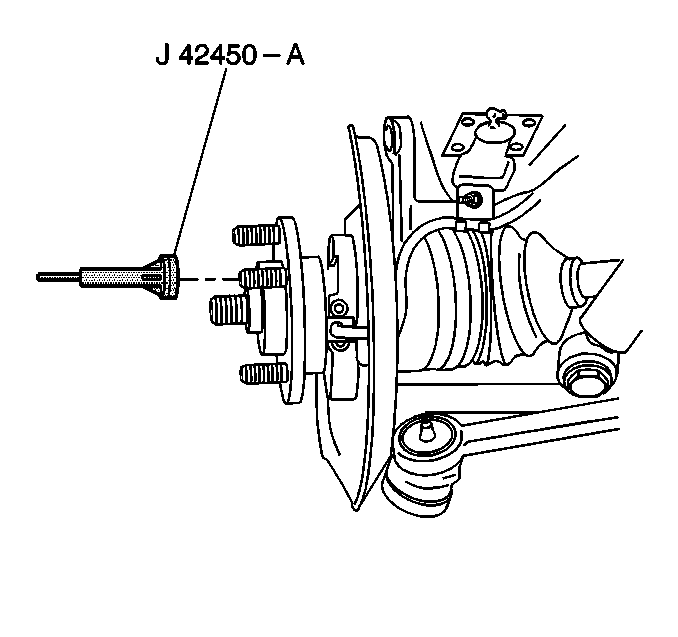
J 42450-A Wheel Hub Cleaning Kit
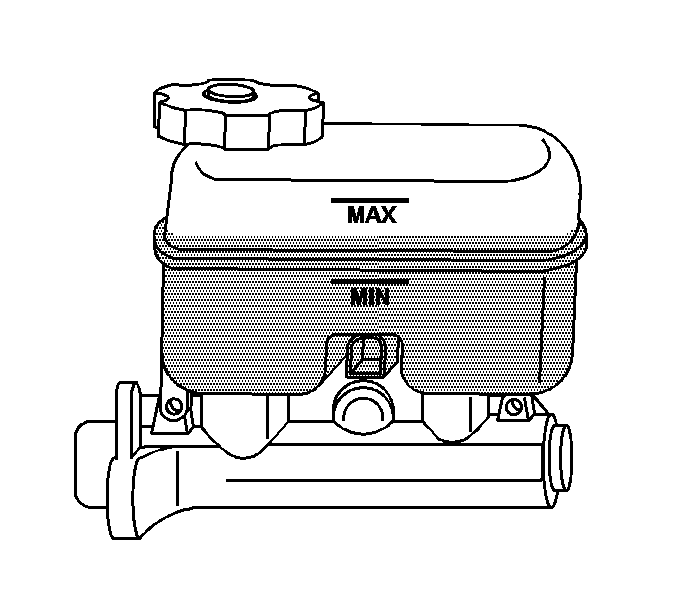
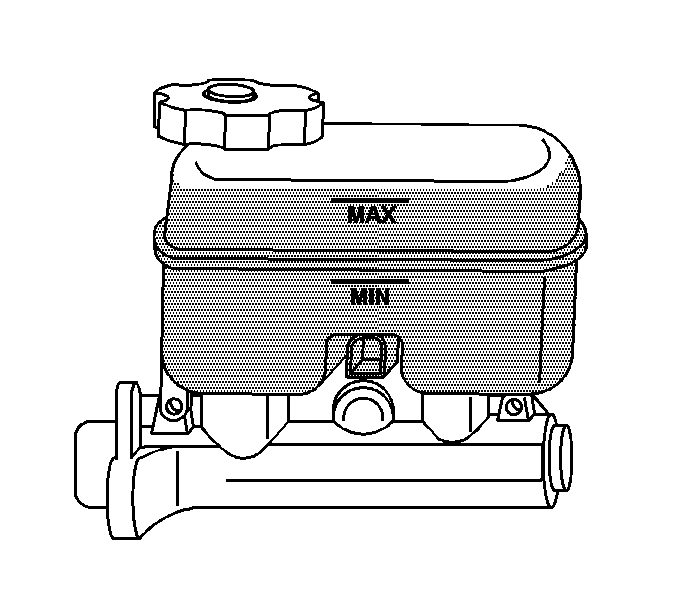
- Inspect the brake fluid level in the brake master cylinder reservoir.
- If the brake fluid is midway between the maximum-full point and the minimum allowable level, no brake fluid needs to be removed from the reservoir before proceeding.
- If the brake fluid level is higher than midway between thew maximum-full point and the minimum allowable level, using a appropriate tool, remove the brake fluid to the midway point before proceeding.
- Raise the vehicle. Refer to Lifting and Jacking the Vehicle in General Information.
- Remove the tire and wheel assembly. Refer to Tire and Wheel Removal and Installation in Tires and Wheels.
- Compress the front brake caliper piston.
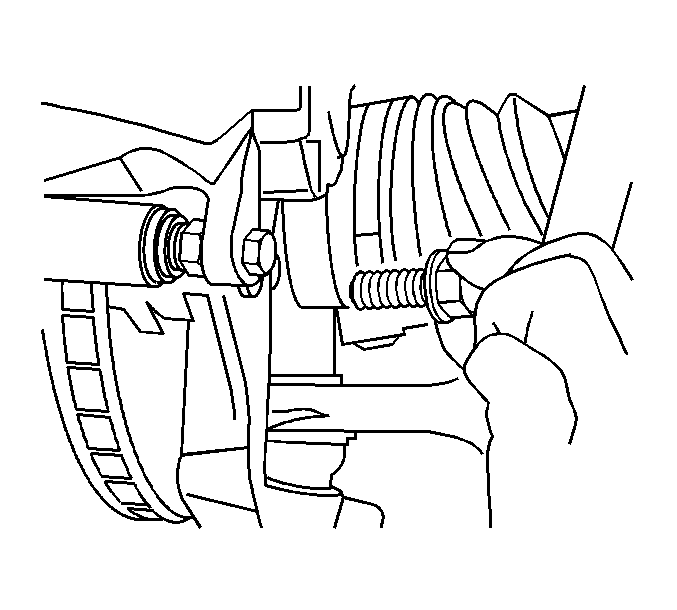
- Remove the mounting bolts from the brake caliper mounting bracket.
- Remove the brake caliper and mounting bracket assembly. Refer to Front Brake Caliper Bracket Replacement .
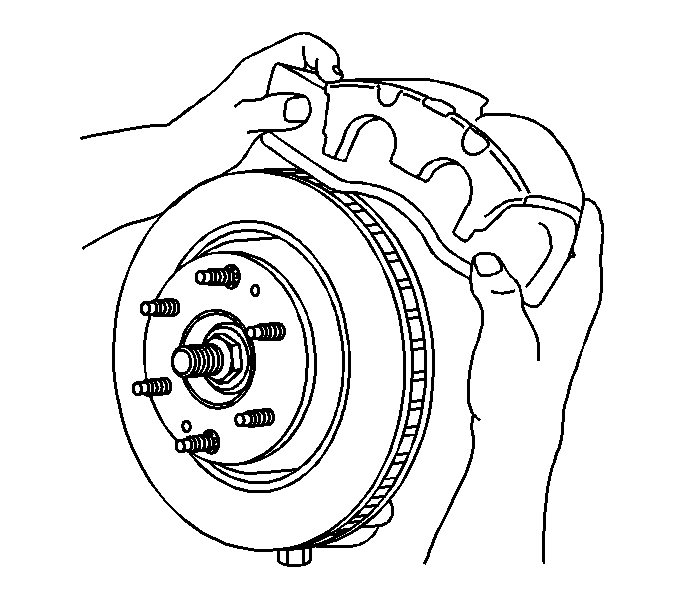
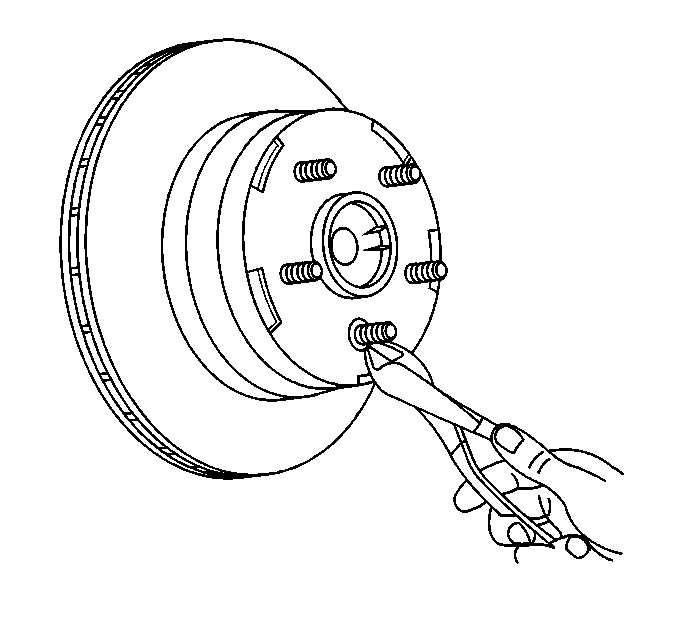
- Remove the retaining clips from the brake rotor.
- Remove the front brake rotor from the wheel hub.
- Using the J 42450-A , clean the brake rotor contact area on the front hub.
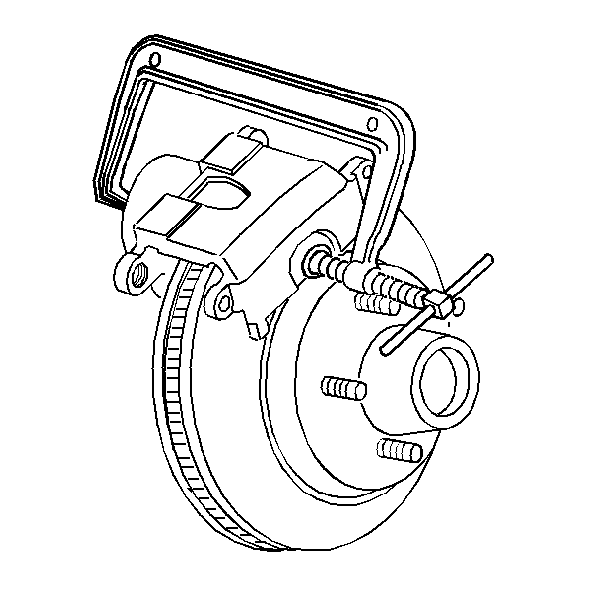
| 6.1. | Install a large C-clamp over the top of the brake caliper housing and against the back of the outboard brake pad. |
| 6.2. | Slowly tighten the C-clamp until the piston pushes into the brake caliper enough to slide the brake caliper off the rotor. |
| 6.3. | Remove the C-clamp from the brake caliper. |
Important: When performing the following service procedure, the front brake caliper assembly and the front brake caliper mounting bracket can be removed as an assembly.
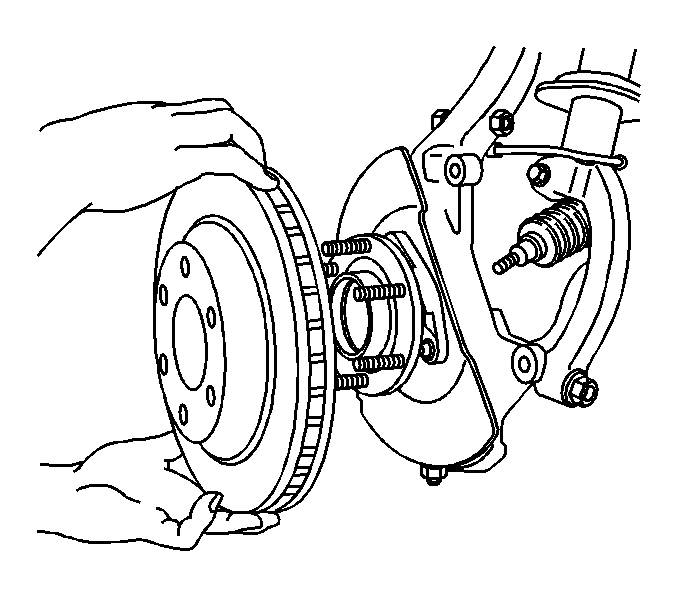
Notice: Whenever the brake rotor has been separated from the wheel bearing flange, clean any rust or foreign material from the mating surface of the rotor and flange with the J 42450 hub cleaning kit. Failure to do this may result in increased lateral runout of the rotor and brake pulsation.
Important: If the brake rotor is not going to be replaced but just removed from the front hub, mark the relationship of the brake rotor and a wheel stud.
Installation Procedure
- Install the brake rotor to the wheel hub.
- Install the brake caliper assembly to the steering knuckle.
- Install the brake caliper mounting bolt.
- Install the tire and wheel assembly. Refer to Tire and Wheel Removal and Installation in Tires and Wheels.
- Lower the vehicle. Refer to Lifting and Jacking the Vehicle in General Information.
- Fill the brake master cylinder to the proper level. Refer to Master Cylinder Reservoir Filling in Hydraulic Brakes.
- Pump the brake peral slowly and firmly in order to seat the brake pads.
- Burnish the replaced or refinished rotors. Refer to Brake Pad and Rotor Burnishing .
Important: Ensure that the relationship marks on the brake rotor and the wheel stud are aligned before installing the brake rotor.
Notice: Use the correct fastener in the correct location. Replacement fasteners must be the correct part number for that application. Fasteners requiring replacement or fasteners requiring the use of thread locking compound or sealant are identified in the service procedure. Do not use paints, lubricants, or corrosion inhibitors on fasteners or fastener joint surfaces unless specified. These coatings affect fastener torque and joint clamping force and may damage the fastener. Use the correct tightening sequence and specifications when installing fasteners in order to avoid damage to parts and systems.
Tighten
Tighten the brake caliper bracket mounting bolt to 150 N·m (110 lb ft).
Caution: Do not move the vehicle until a firm brake pedal is obtained. Failure to obtain a firm pedal before moving vehicle may result in personal injury.
