Tools Required
| • | J 24402-A
Glass Sealant Remover (Cold Knife) |
| • | J 39032
Stationary Glass Removal Tool |
| • | Urethane Adhesive Kit GM P/N 12346392 or Equivalent |
| • | Isopropyl Alcohol or Equivalent |
| • | Cartridge-type Caulking Gun |
| • | Commercial-type Utility Knife |
Important: When ordering a windshield or door windows, verify if the vehicles is equipped with or without CE1 (RAINSENSE™) or Y91 (RAINSENSE™ and luxury edition) and order accordingly. The windshield and door windows
have Quiet Tuning acoustic lamination. Due to the difference in processing, along with the difference in the curvature of the window, the optics of the window may appear wavy on a cross-car view from the outside of the vehicle. This is a normal condition and
the windshield should not be replaced for this condition. The view through the window from the driver's position is clear and not affected.
Removal Procedure
Important: Before cutting out a stationary window, apply a double layer of masking tape around the perimeter of the painted surfaces and the interior trim.
- Open the hood.
Caution: If broken glass falls into the defroster outlets, it can be blown into
the passenger compartment and cause personal injury.
- Cover and protect the following parts from broken glass:
| • | Defroster outlets and A/C outlets |
- Remove the fixed antenna mast, if equipped. Refer to
Fixed Antenna Mast Replacement
.
- Remove the windshield wiper arms. Refer to
Windshield Wiper Arm Replacement
.
- Remove the cowl air inlet grille panel. Refer to
Air Inlet Grille Panel Replacement
.
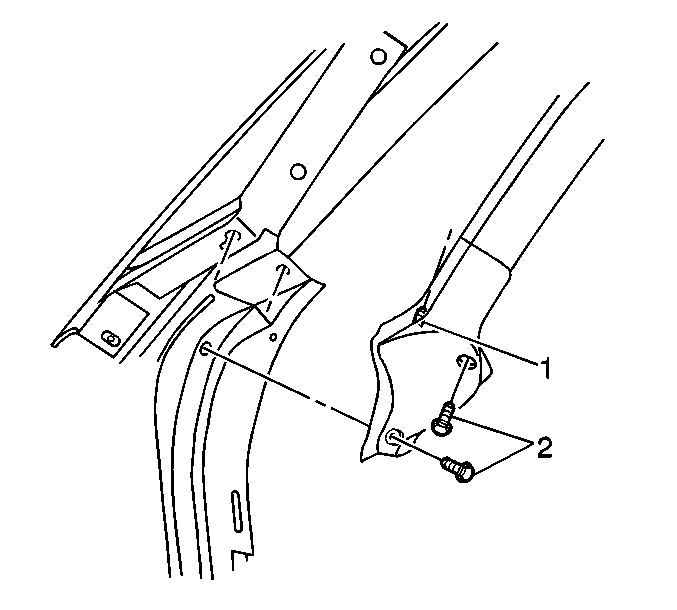
- Remove the push-pins (2) from the front door sealing weatherstrips (1) located at the base of the pillar.
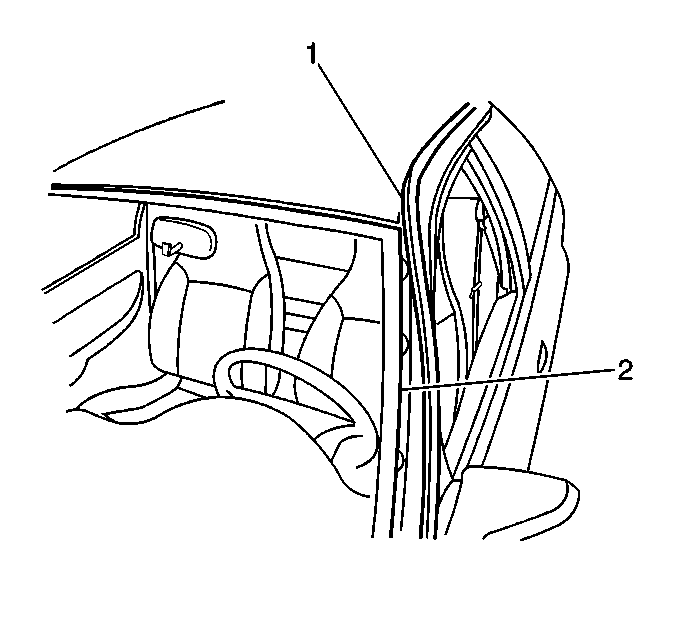
- Reposition the front door sealing weatherstrips (1) in order to access the side reveal molding screws.
It is not necessary to remove
the front door sealing weatherstrip completely from the vehicle.
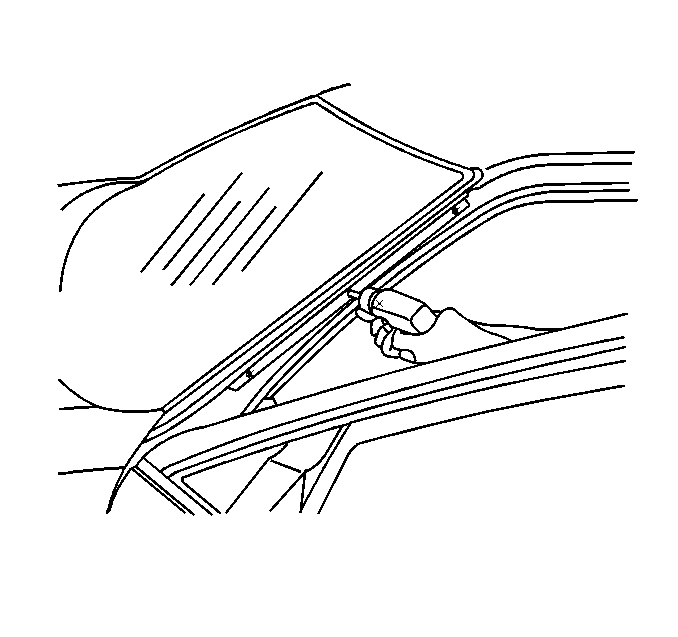
- Remove the side reveal moldings screws.
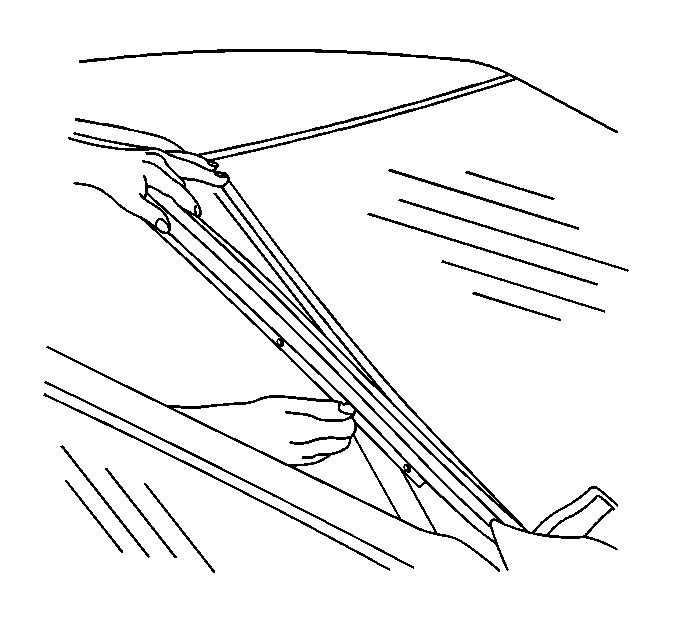
- Remove the side of the reveal moldings.
- Remove the rearview mirror. Refer to
Inside Rearview Mirror Replacement
.
Caution: Refer to Glass and Sheet Metal Handling Caution in the Preface section.
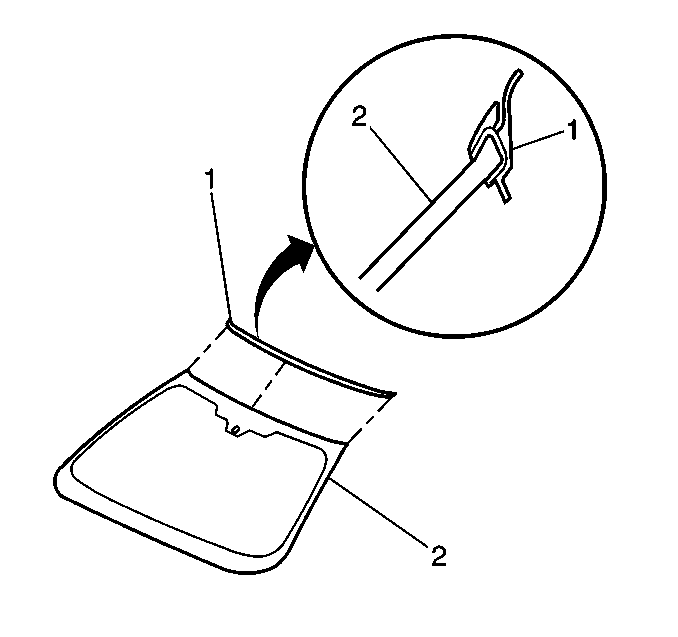
Important: The upper windshield reveal molding (1) fills the cavities between the body and windshield.
- If the reveal molding is stretched or damaged it cannot be reused. It must be replaced.
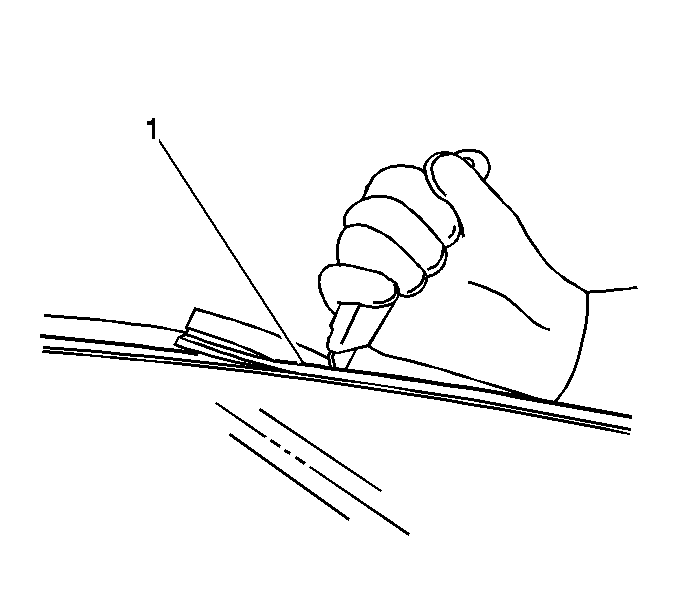
- Remove the upper windshield reveal molding (1).
Grasp the lower corner of the windshield reveal molding by hand and slowly pull the reveal
molding away from the windshield.
- If the upper windshield reveal molding will not release, use a utility knife in order to cut around the windshield to remove the windshield reveal molding.
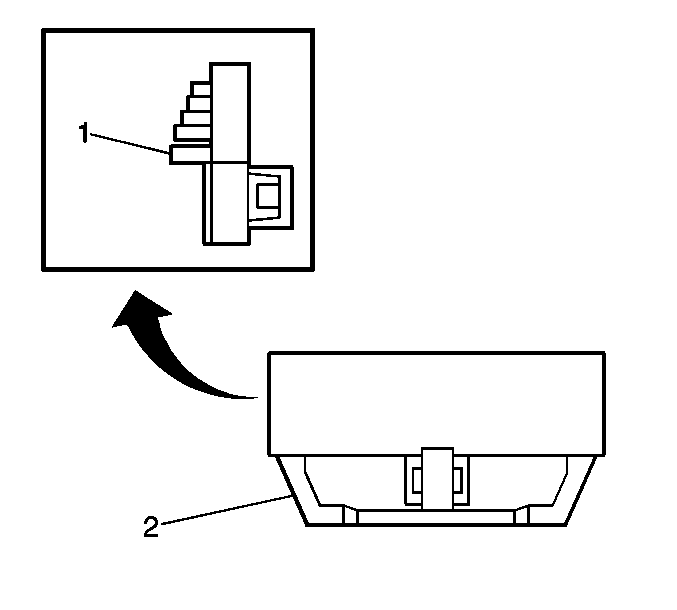
Important: The windshield lower supports (1) have molded in locks with an adhesive strip (2) on the back side. If the windshield lower stops have been removed, they must be replaced.
- Remove the windshield lower supports (1) by using a flat-bladed tool, lightly prying upward in the middle until it releases, if damaged.
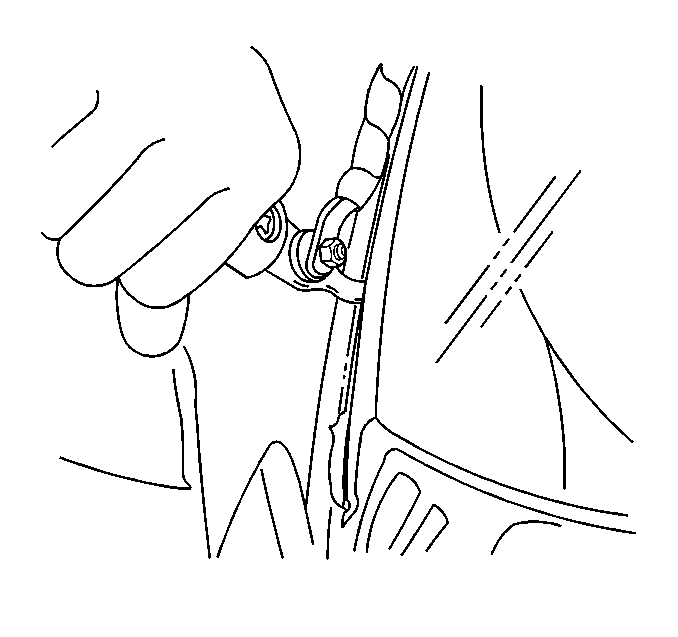
Important: Keep the cutting edge of the tool against the window.
- This will allow the urethane adhesive to be separated from the window.
| • | Leave a base of urethane on the pinch-weld flange. |
| • | The only suitable lubrication is clear water. |
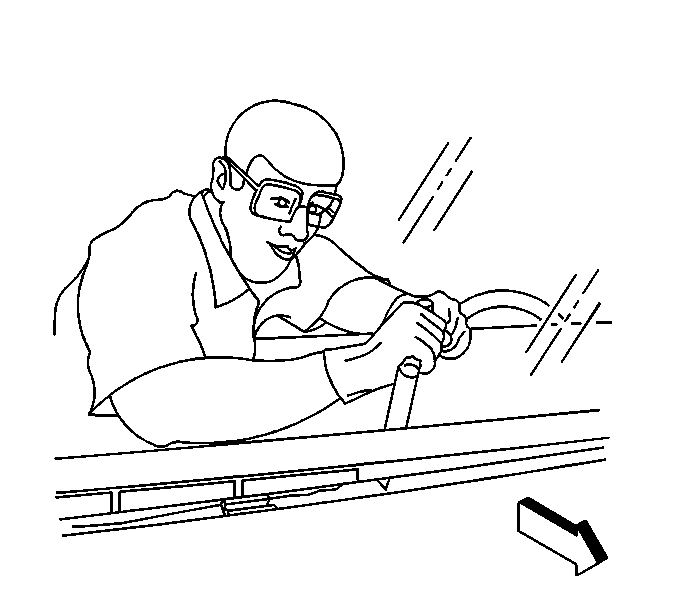
- Remove the bottom of the windshield from the urethane adhesive using a long utility knife or similar tool. Keep the cutting edge of the utility knife against
the glass. Do this from inside the vehicle.
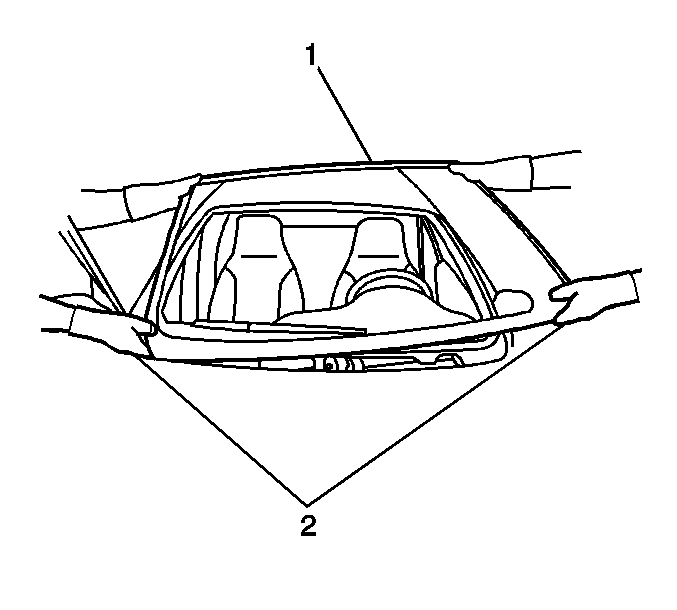
- With the aid of an assistant, remove the windshield (1) from the vehicle.
Installation Procedure
- Install a stationary window into the opening. Refer to
Adhesive Installation of Stationary Windows
.

- Install the windshield side reveal moldings.
Notice: Refer to Fastener Notice in the Preface section.

- Install the windshield side reveal moldings screws.
Tighten
Tighten the windshield side reveal moldings screws to 2 N·m (18 lb in).

- Reposition the front door sealing weatherstrips (1) to the pinch-weld flange.

- Install the push-pin retainers (2) to the front door sealing weatherstrips located at the base of the windshield pillar.
- Install the cowl air inlet grille panel. Refer to
Air Inlet Grille Panel Replacement
.
- Install the windshield wiper arms. Refer to
Windshield Wiper Arm Replacement
.
- Install the antenna mast if equipped. Refer to
Fixed Antenna Mast Replacement
.
- Install the rearview mirror. Refer to
Inside Rearview Mirror Replacement
.
- Close the hood.
- Remove the double layer of masking tape around the perimeter of the painted surfaces and the interior trim.


