For 1990-2009 cars only
Removal Procedure
- Raise and support the vehicle. Refer to Lifting and Jacking the Vehicle in General Information.
- Remove the transmission oil pan and filter. Refer to Automatic Transmission Fluid and Filter Replacement .
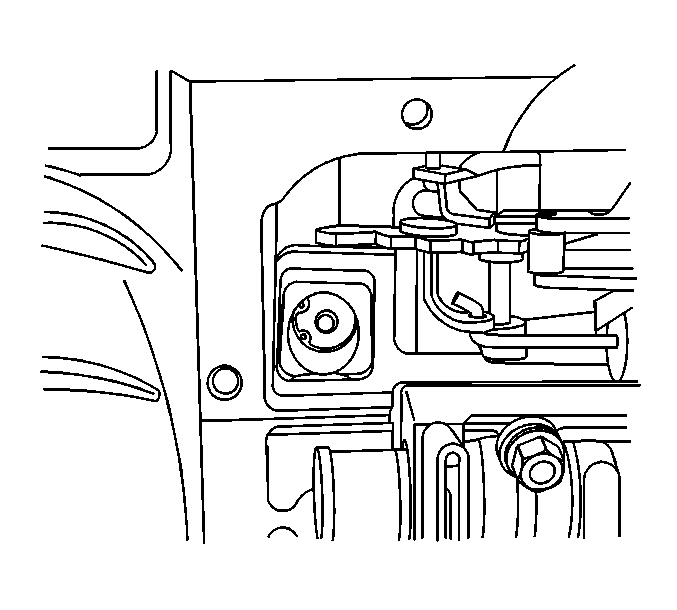
- Compress the reverse boost valve sleeve into the bore of the oil pump to release tension on the reverse boost valve retaining ring.
- Remove the reverse boost valve retaining ring, then slowly release tension on the reverse boost valve sleeve.
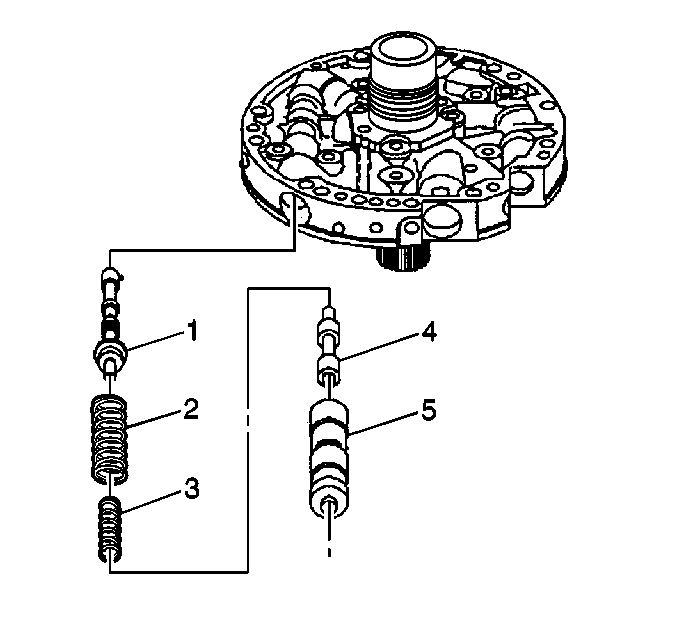
- Remove the reverse boost valve sleeve (5) and the reverse boost valve (4).
- Remove the pressure regulator isolator spring (3) and the pressure regulator valve spring (2).
- Remove the pressure regulator valve (1).


Installation Procedure
- Install the pressure regulator valve (1).
- Install the pressure regulator isolator spring (3) and the pressure regulator valve spring (2).
- Install the reverse boost valve (4) in the reverse boost valve sleeve (5).
- Install the reverse boost valve (4) and sleeve (5) in the oil pump cover.
- Compress the reverse boost valve sleeve into the bore of the oil pump to expose the retaining ring slot.
- Install the reverse boost valve retaining ring, then slowly release tension on the reverse boost valve sleeve.
- Install the transmission oil filter and pan. Refer to Automatic Transmission Fluid and Filter Replacement .
- Lower the vehicle.
- Fill the transmission to the proper level with DEXRON® VI transmission fluid. Refer to Transmission Fluid Check .
- To clear the shift adapts, it is necessary to disconnect power to the PCM for 35 minutes. Refer to the Powertrain Control Module Replacement procedure in Engine Controls - 4.2L.


Important: It is recommended that transmission adaptive pressure (TAP) information be reset.
Resetting the TAP values will erase all learned values in all cells. As a result, the powertrain control module (PCM) will need to relearn TAP values. Transmission performance may be affected as new TAP values are learned.