For 1990-2009 cars only
Removal Procedure
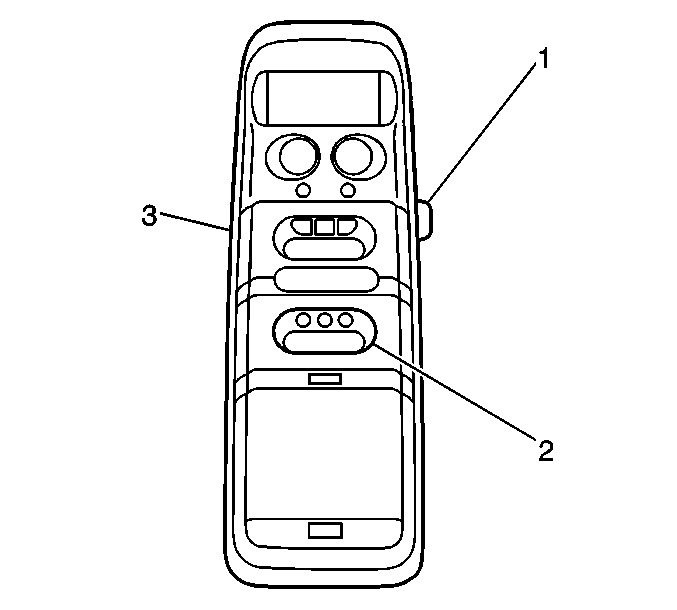
- Remove the overhead console (3). Refer to Roof Console Replacement in Interior Trim.
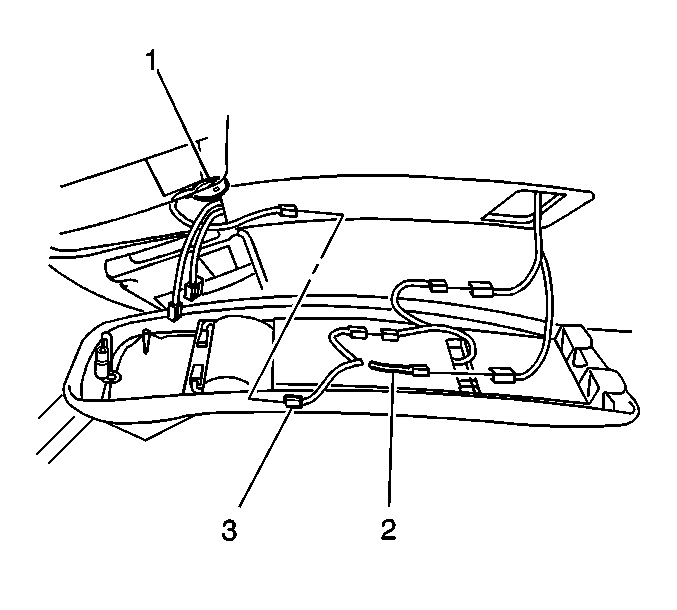
- Disconnect the OnStar® connector to the 3-way and 4-way connectors (2).
- Disconnect the microphone (1) connector from the jumper harness (3).
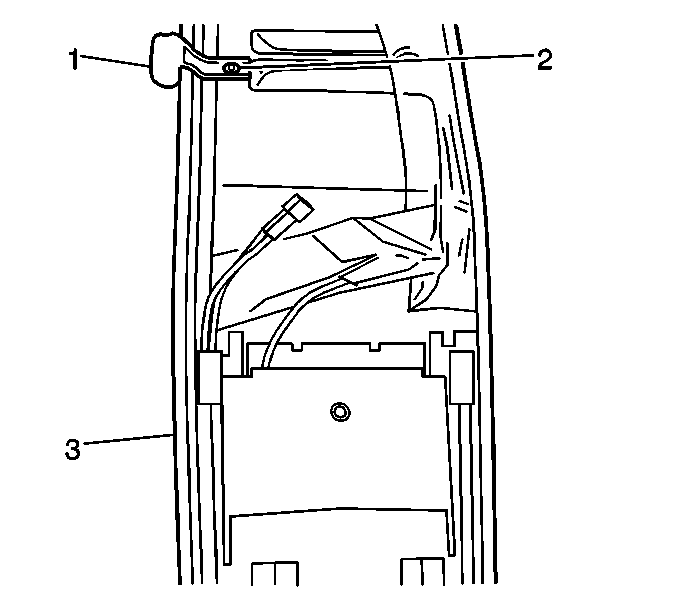
- Drill out the rivet (2) using a 1.25 in drill bit securing the microphone bracket (1) to the overhead console (3).
- Disconnect the microphone 2-way connector from the mating 2-way connector on the 3-button jumper harness.


Installation Procedure
- Mount the microphone (1) to the overhead console (3) at the left rear corner of the overhead console.
- Pop rivet (2) the microphone bracket (1) to the overhead console (3).
- Connect the microphone 2 way connector (3) to the mating 2 way connector on the 3 button jumper harness (2).
- Connect the microphone (1) to the jumper harness included with the 3 button assembly.
- Connect the OnStar® 3 button connector to the prewired 3-way and 4-way connectors.
- Reinstall the overhead console (3). Refer to Roof Console Replacement in Interior Trim.


