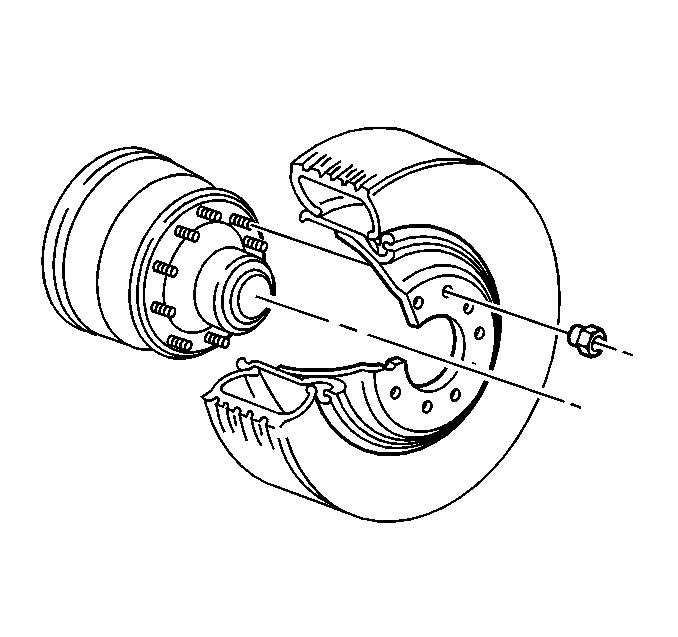
Wheel Removal Disc Type - Single Front/Rear
- Raise the vehicle until the tire clears the floor. Support the vehicle.
- Remove the wheel nuts.
- Remove the wheel from the hub.
Caution: To avoid eye injury, use approved safety lenses, goggles, or face shield to prevent eye injury when deflating tires.
Important: When removing and demounting any tire and wheel assembly, deflate the tire by removing the valve core. Perform this procedure before removing the tire assembly from the vehicle.
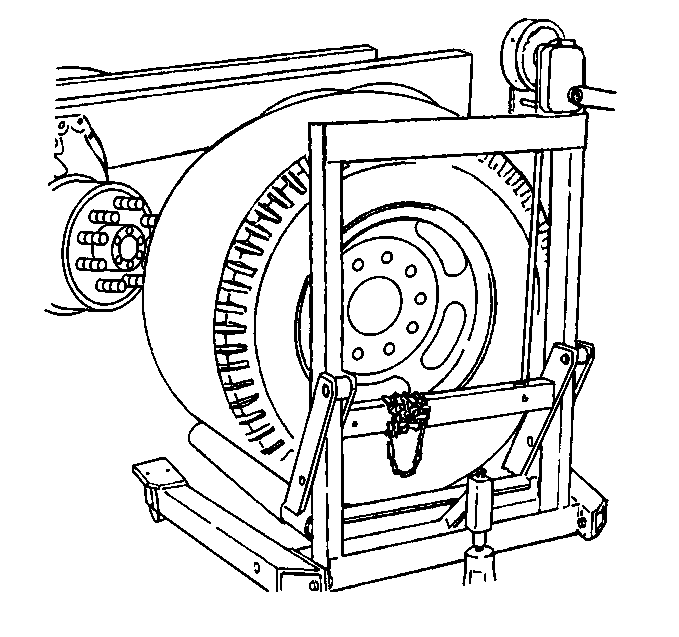
Wheel Removal Disc Type - Dual/Rear
- Break the wheel nuts loose.
- Raise the vehicle until the tire clears the floor. Support the vehicle.
- Remove the wheel nuts.
- Remove the wheel from the hub.
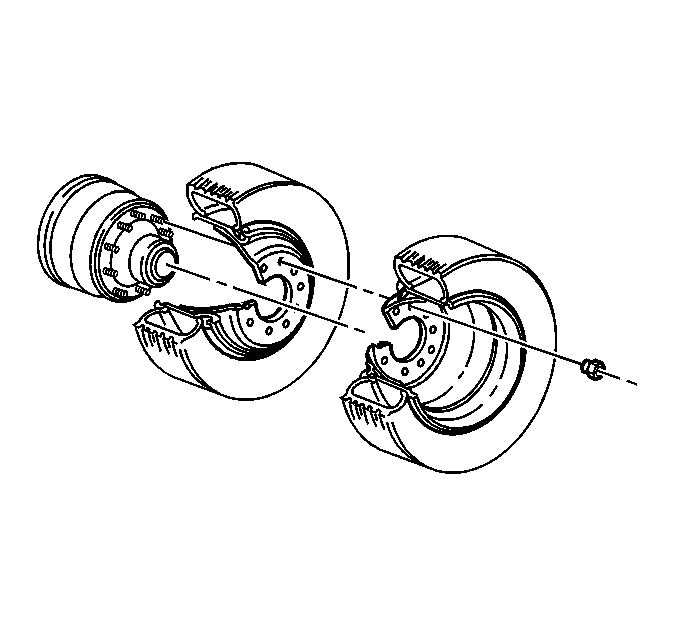
- If applicable, remove the stud nuts from the inner wheel.
- If applicable, remove the inner wheel from the hub.
Caution: To avoid eye injury, use approved safety lenses, goggles, or face shield to prevent eye injury when deflating tires.
Notice: Wheel hub flanges, wheel studs, and stud nuts should be free of rust, lubricants, dirt, and finish color paint on all contact surfaces to ensure proper torque retention.
Important: When removing and demounting any tire and wheel assembly, deflate the tire by removing the valve core. Perform this procedure before removing the tire assembly from the vehicle.
Notice: Perform the following steps before beginning any vehicle lifting or
jacking procedure:
• Remove or secure all of the vehicle's contents in order to avoid
any shifting or any movement that may occur during the vehicle lifting or
jacking procedure. • The lifting equipment or the jacking equipment weight rating must
meet or exceed the weight of the vehicle and any vehicle contents. • The lifting equipment or the jacking equipment must meet the operational
standards of the lifting equipment or jacking equipment's manufacturer. • Perform the vehicle lifting or jacking procedure on a clean, hard,
dry, level surface. • Perform the vehicle lifting or jacking procedure only at the identified
lift points. DO NOT allow the lifting equipment or jacking equipment to contact
any other vehicle components.
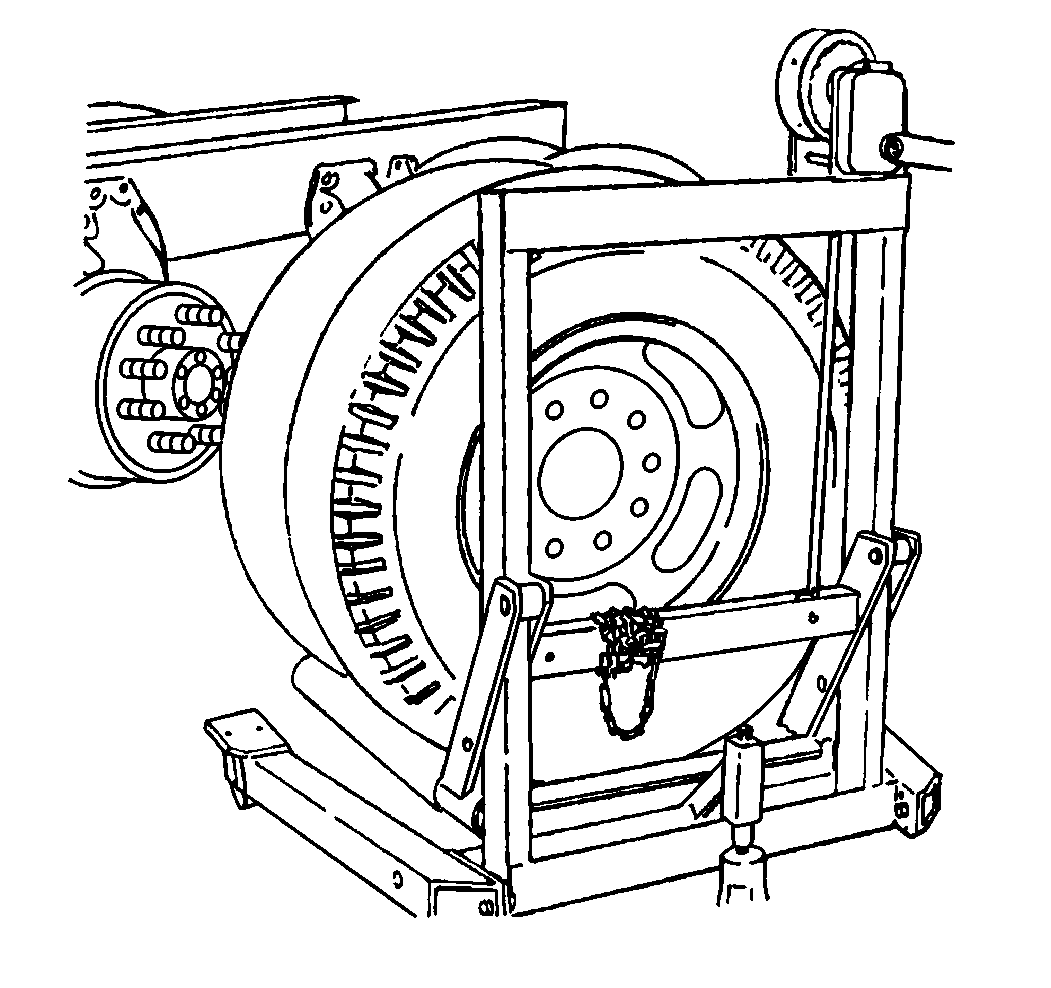
Wheel Removal Cast Type - Single Front/Rear
- Loosen the wheel nuts until the nuts are flush with the ends of the studs.
- Raise the vehicle and support the vehicle. Refer to Lifting and Jacking the Vehicle in General Information.
- Remove the wheel nuts and the clamps.
- Remove the tire and rim assembly.
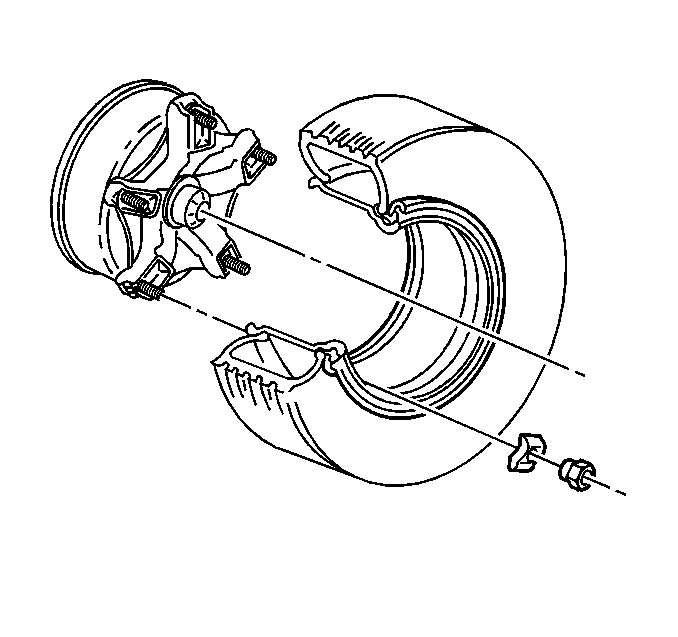
Caution: To avoid eye injury, use approved safety lenses, goggles, or face shield to prevent eye injury when deflating tires.
Important: When removing canceling and demounting any tire and wheel assembly, deflate the tire by removing the valve stem. Perform this procedure before removing the tire assembly from the vehicle.
Wheel Removal Cast Type - Dual/Rear
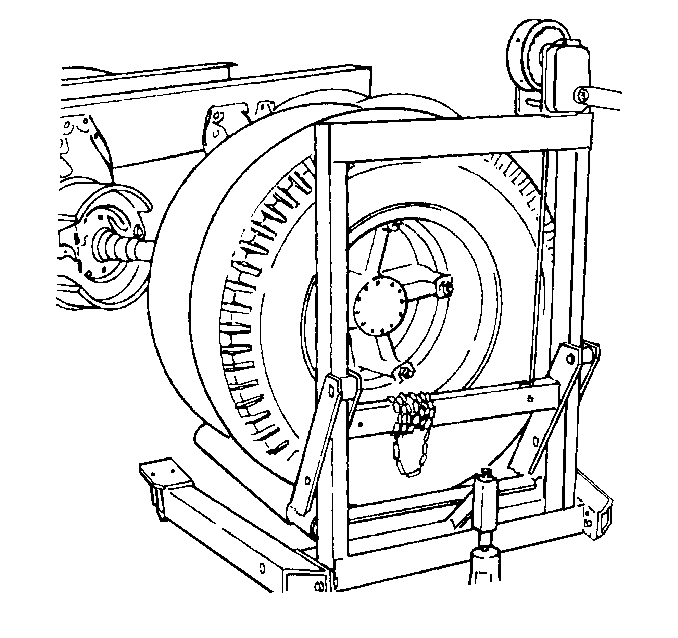
- Raise the vehicle and support the vehicle. Refer to Lifting and Jacking the Vehicle in General Information.
- Loosen the wheel nuts until the nuts are flush with the ends of the studs.
- Remove the stud nuts.
- Remove the rim clamps.
- Inspect the rim spacer for an out-of-round condition or for damage.
- Inspect the rim for the following conditions:
- If damage is evident, replace the rim. Refer to Tire Mounting and Dismounting .
Caution: When removing dual tires and rims from cast-type wheels, loosen all the nuts approximately flush with the end of the studs. Do not remove the nuts until the clamps and rim are loose. The clamps may fly off the studs causing personal injury.


Notice: Do not heat wheels in an attempt to soften them for straightening or repair damage from striking curbs, etc. Do not weld wheels. The alloy used in these wheels is heat-treated and uncontrolled heating from welding affects the properties of the material.
| • | Cracks |
| • | Bends |
| • | Breaks |
