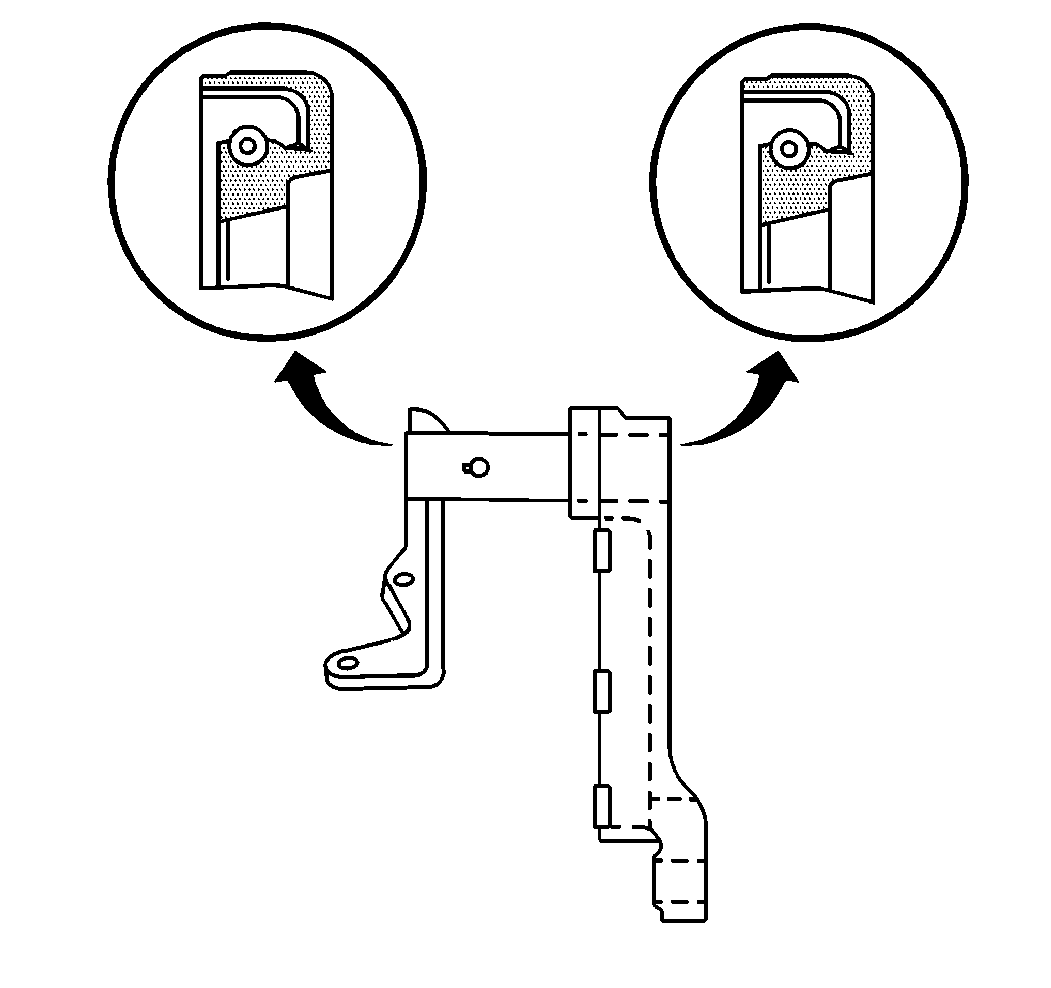
Removal Procedure
When relining the brakes, lubricate and check the camshaft for wear.
The brake chamber/camshaft support bracket has two bushings, two camshaft seals and a lubrication fitting. The space between the bushings serves as the lubricant reservoir. Apply the lubricant sparingly at the specified intervals. Refer to Maintenance Schedule - Short Trip/City and Maintenance Schedule - Long Trip/Highway in General Information.
- Remove the brake linings. Refer to Brake Shoe Replacement .
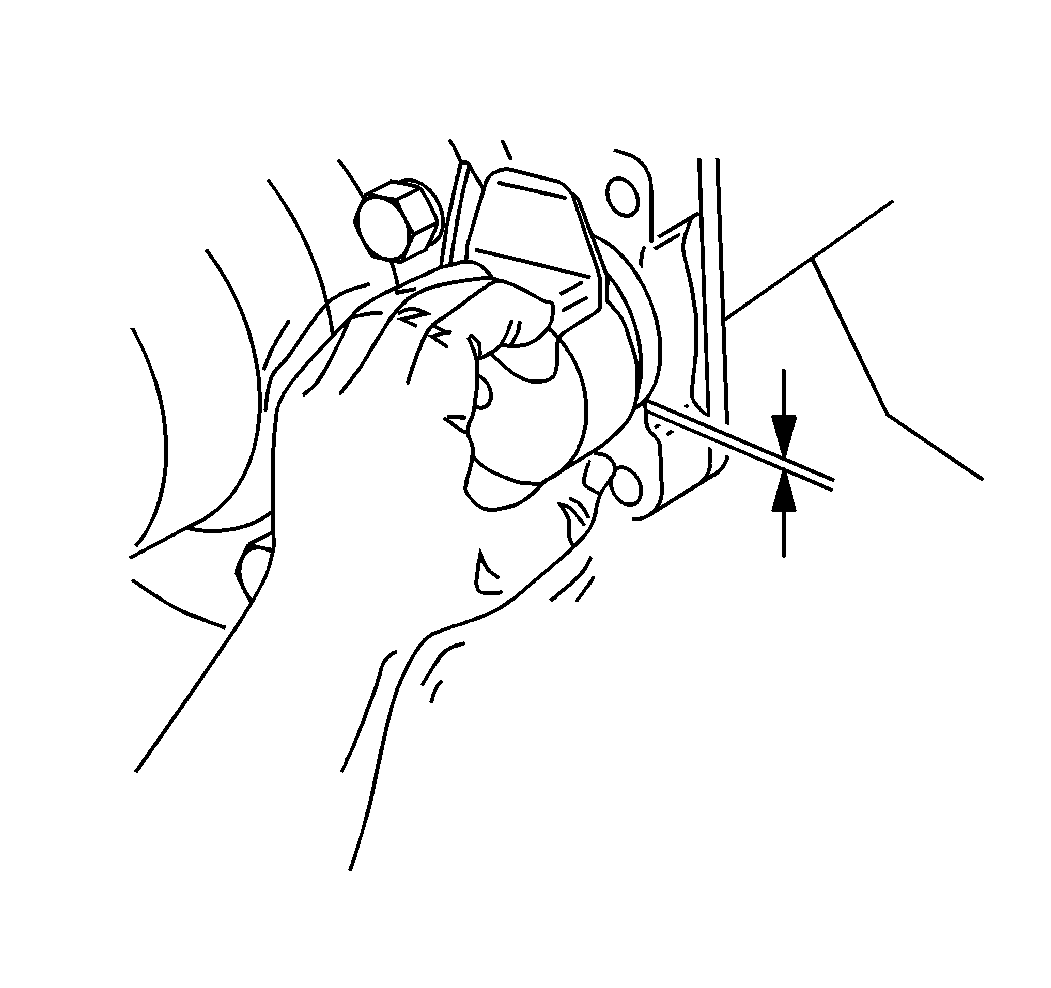
- Check the up-and-down and the side-to-side end play of the camshaft to determine if the camshaft bushings need replacement. Replace the camshaft bushings if the total movement is more than 0.76 mm (0.030 in).
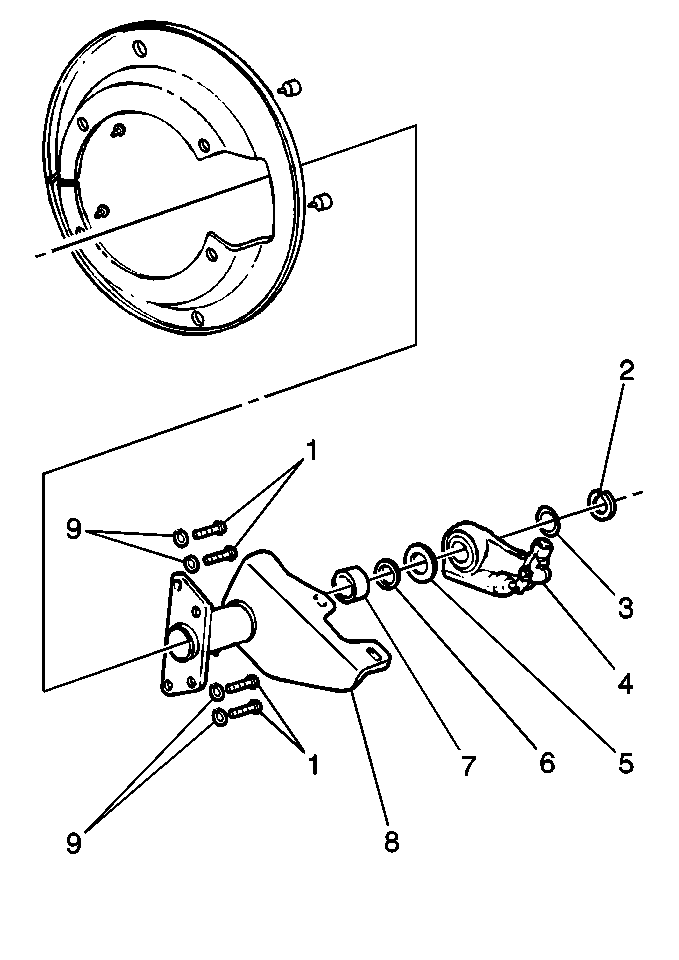
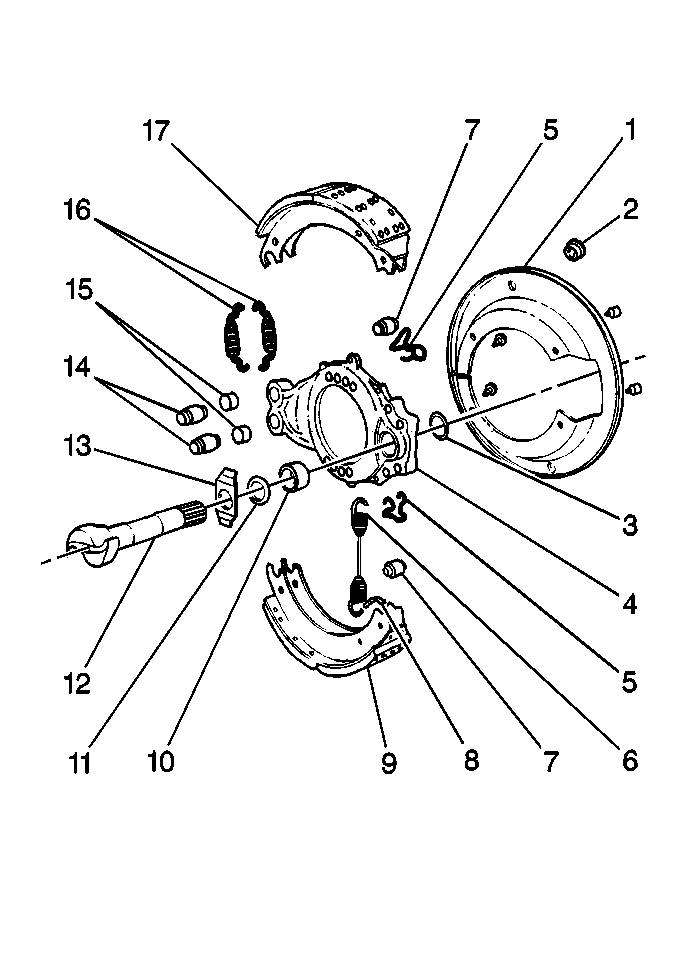
- Remove the air brake automatic slack adjuster (4). Refer to Air Brake Automatic Slack Adjuster Replacement .
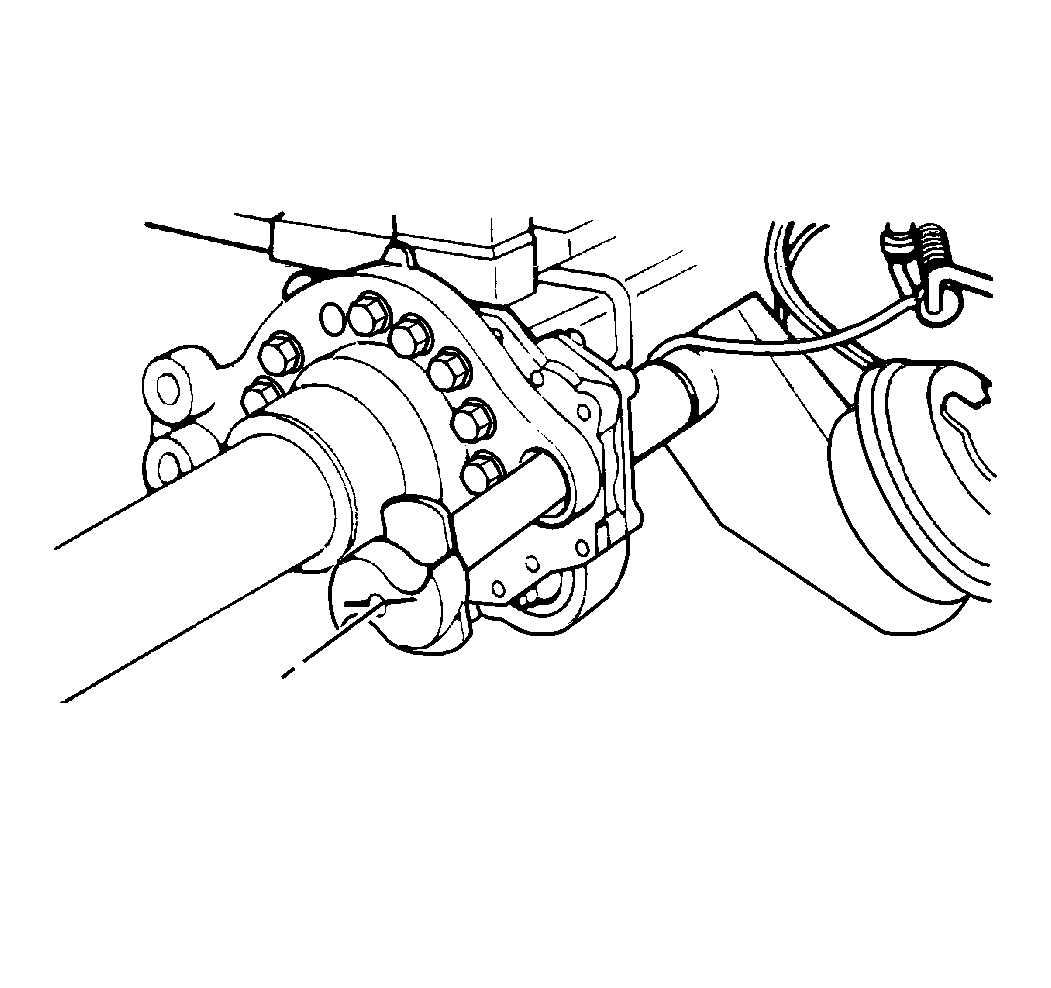
- Pull the camshaft out from the brake chamber/camshaft support bracket.
- Remove the camshaft.
- Remove the camshaft seals (11).
- Remove the camshaft bushings if needed (7).
- Clean the old grease from the camshaft (12).
- Clean the old grease from the chamber/camshaft support bracket (8).
- Inspect the camshaft bearing surface areas for wear and corrosion. Replace the camshaft (12) if the camshaft bearing surfaces show signs of wear or roughness.
- Inspect the cam head for wear or flat spots on the roller surfaces. Replace the camshaft (12) if any obvious wear or flat spots exist.
- Inspect the camshaft splines for damage or wear. Replace the camshaft (12) if the camshaft splines are damaged .
- Inspect the camshaft bushings (7) for deterioration. Replace the camshaft bushings (7) if needed.


Installation Procedure
- Install the camshaft bushings if needed.
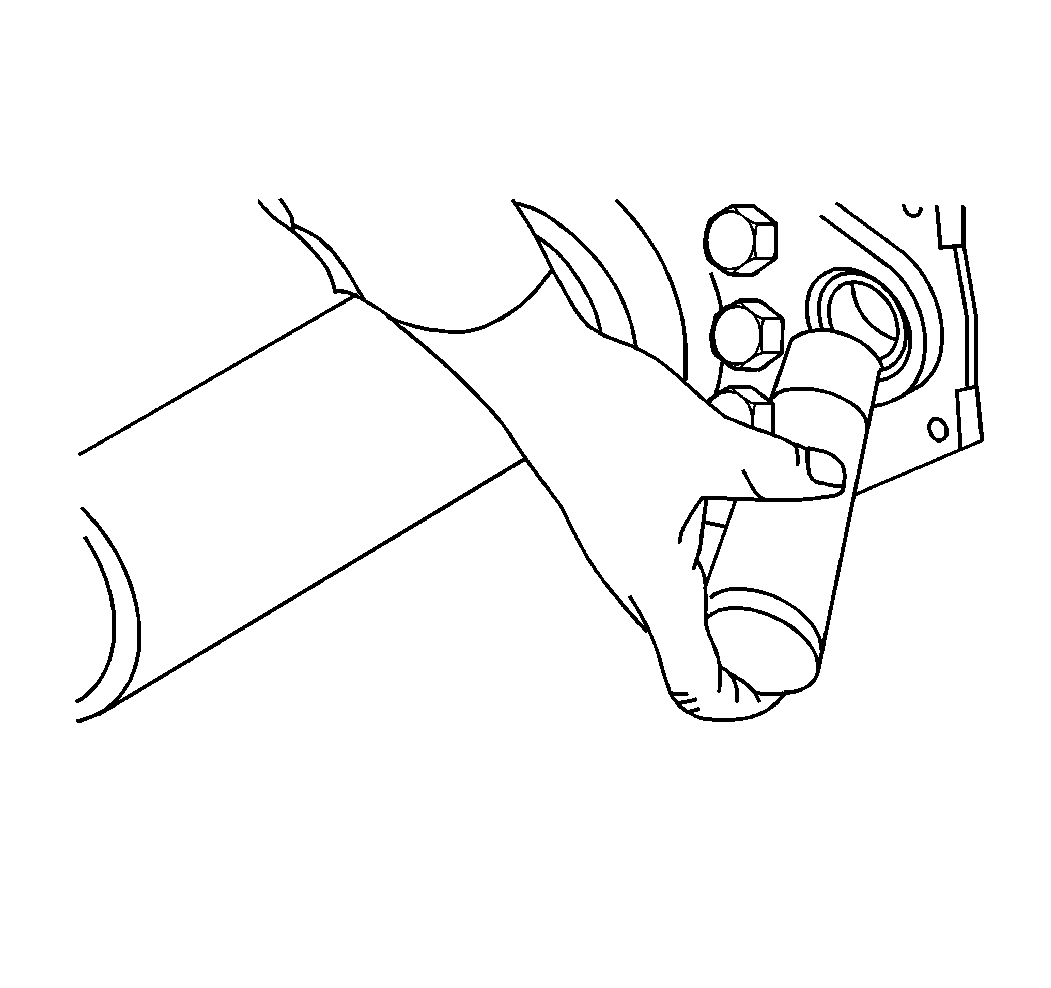
- Drive the camshaft bushings in the brake chamber/camshaft support bracket with a seal driver.
- Install the new camshaft seals with the camshaft seal lips toward the air brake automatic slack adjuster.
- Apply a coat of grease to the camshaft bushings.
- Install the camshaft.
- Install the air brake automatic slack adjuster.
- Install the brake linings. Refer to Brake Shoe Replacement .
Notice: Use the correct fastener in the correct location. Replacement fasteners must be the correct part number for that application. Fasteners requiring replacement or fasteners requiring the use of thread locking compound or sealant are identified in the service procedure. Do not use paints, lubricants, or corrosion inhibitors on fasteners or fastener joint surfaces unless specified. These coatings affect fastener torque and joint clamping force and may damage the fastener. Use the correct tightening sequence and specifications when installing fasteners in order to avoid damage to parts and systems.
