Disassembly Procedure
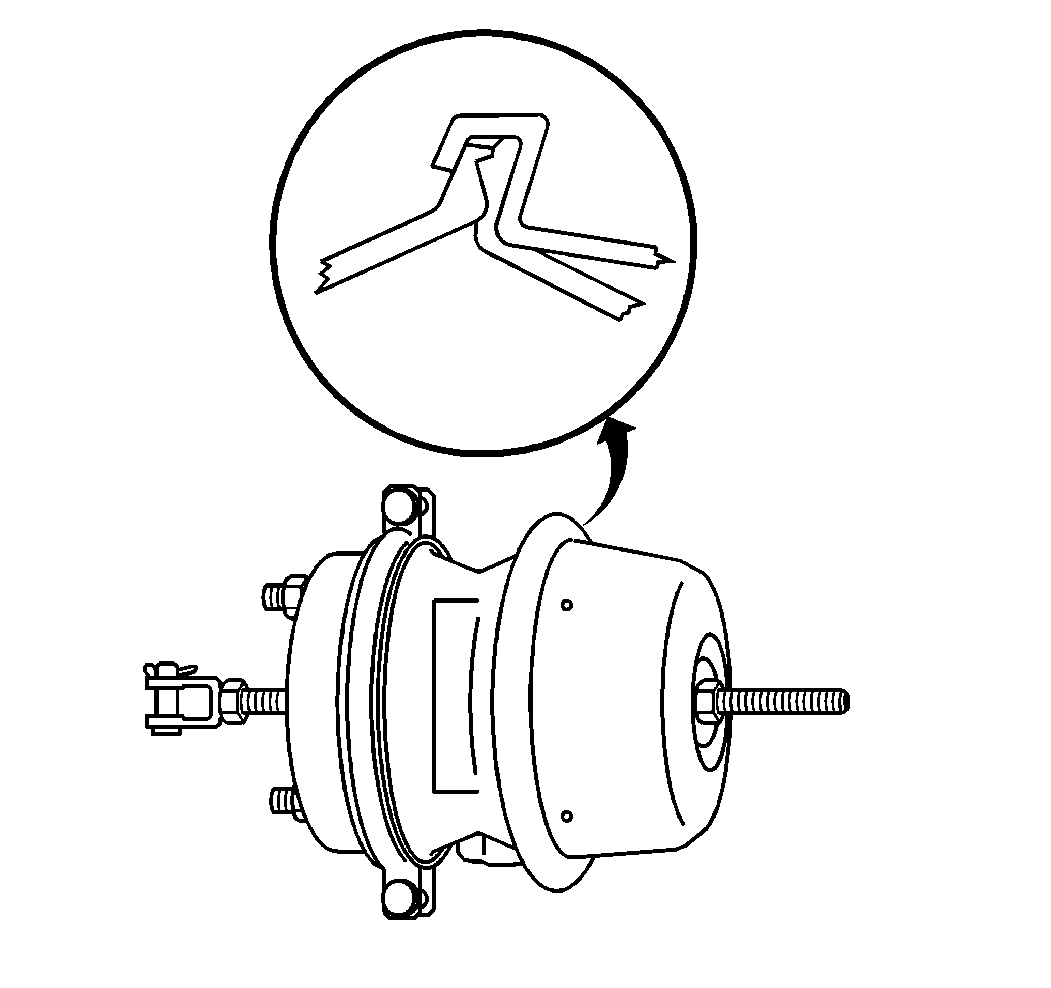
- The spring brake chamber identification information is located on the adapter housing. The emergency side of the spring brake chamber uses a crimped safety seal and is not serviceable.
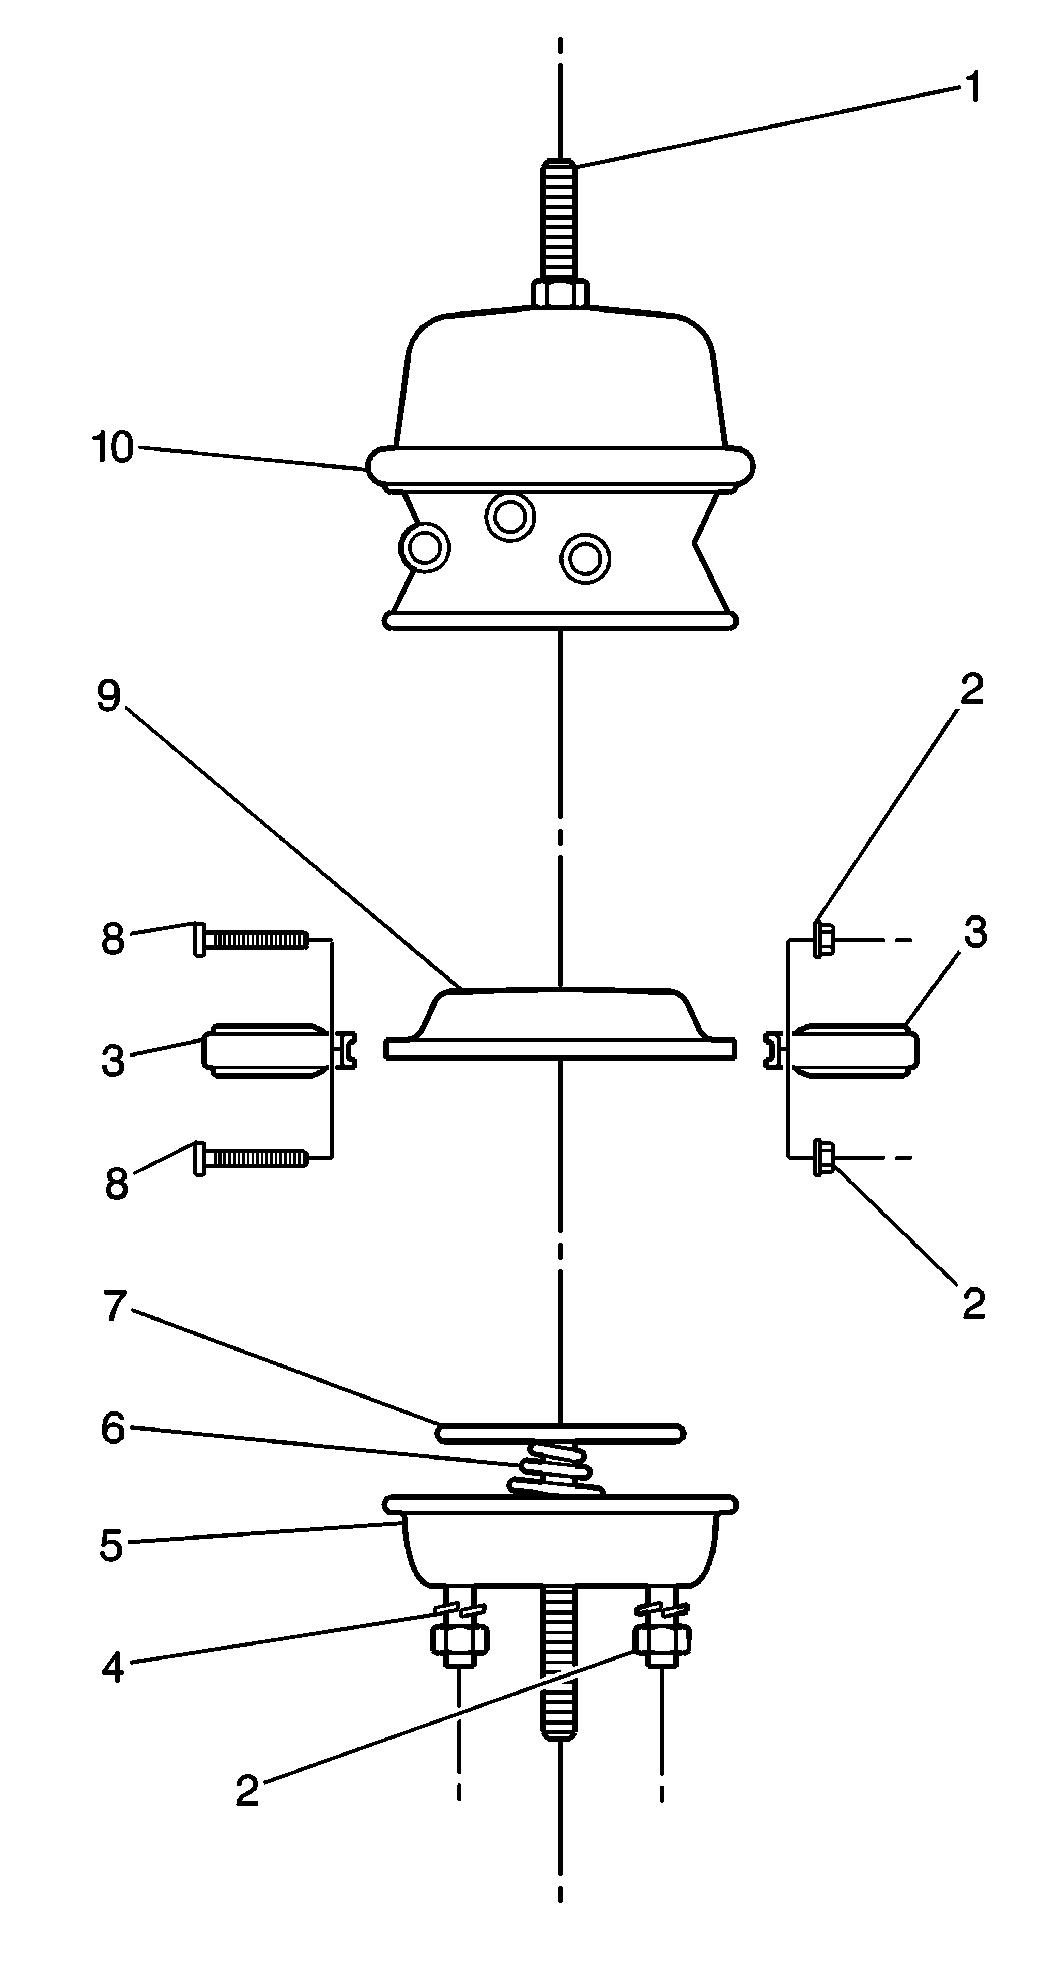
- Mark the adapter (10) and the service housing (5) in relation to the clamp ring assembly (3).
- Remove the air brake chamber clevis and the nut (2).
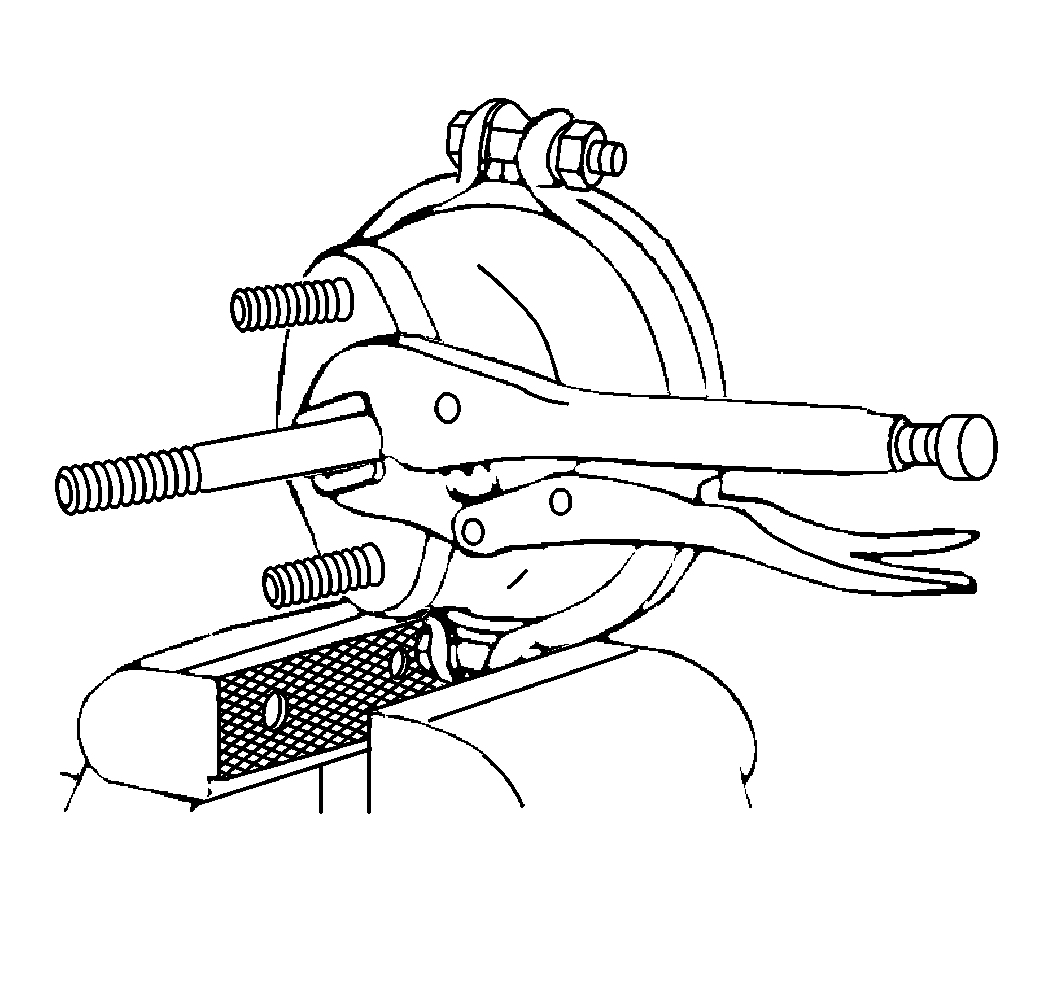
- Pull out the pushrod and use locking-type pliers to clamp the pushrod.
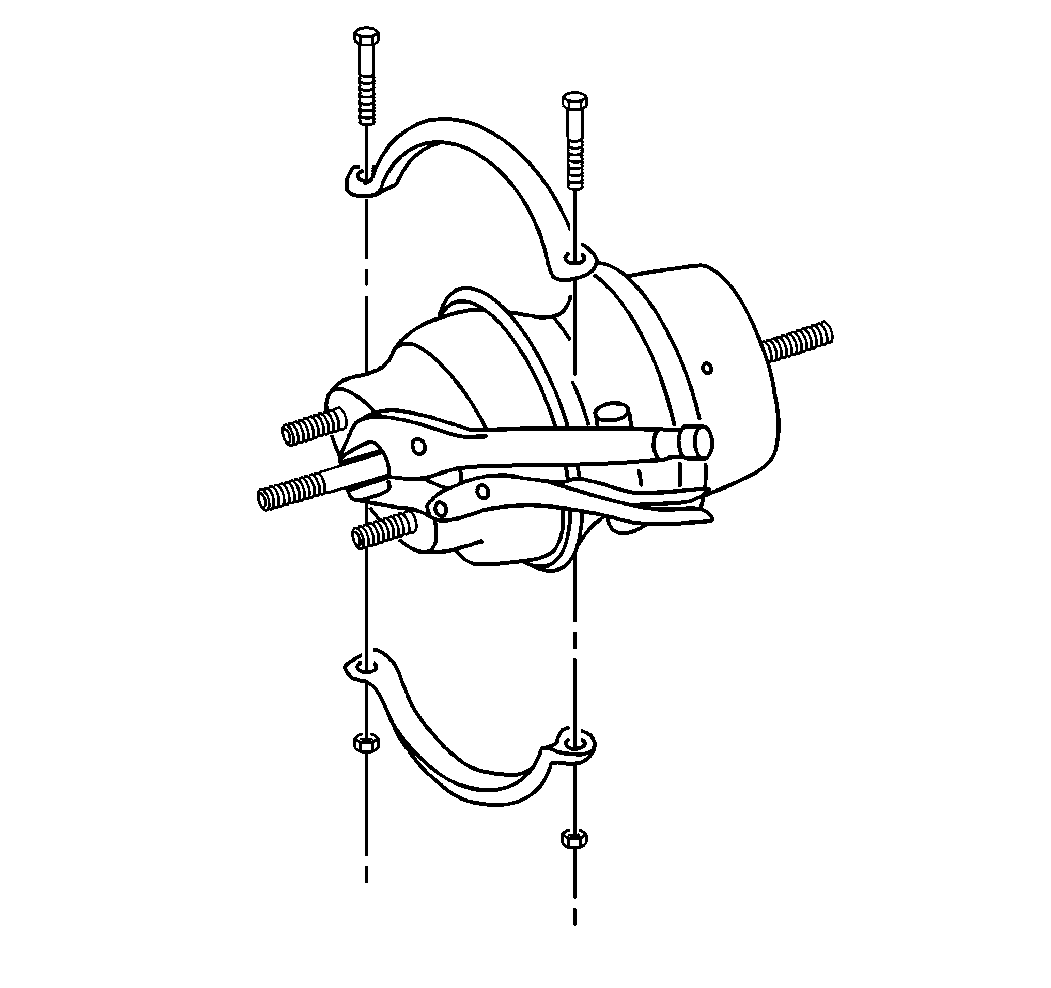
- Remove the nuts and the bolts.
- Remove the clamp ring assembly.
- Remove the service housing (5) from the adapter (6).
- Release the locking-type pliers from the pushrod.
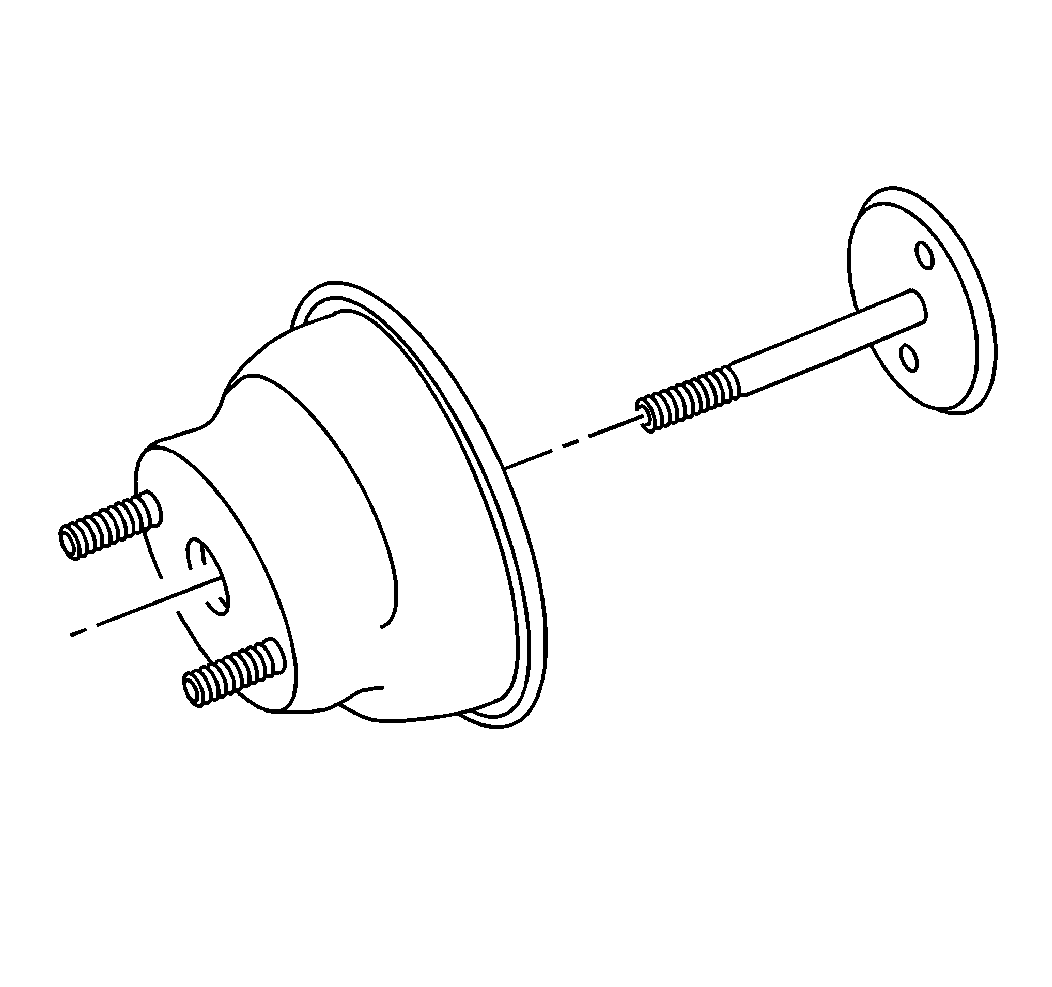
- Remove the pushrod.
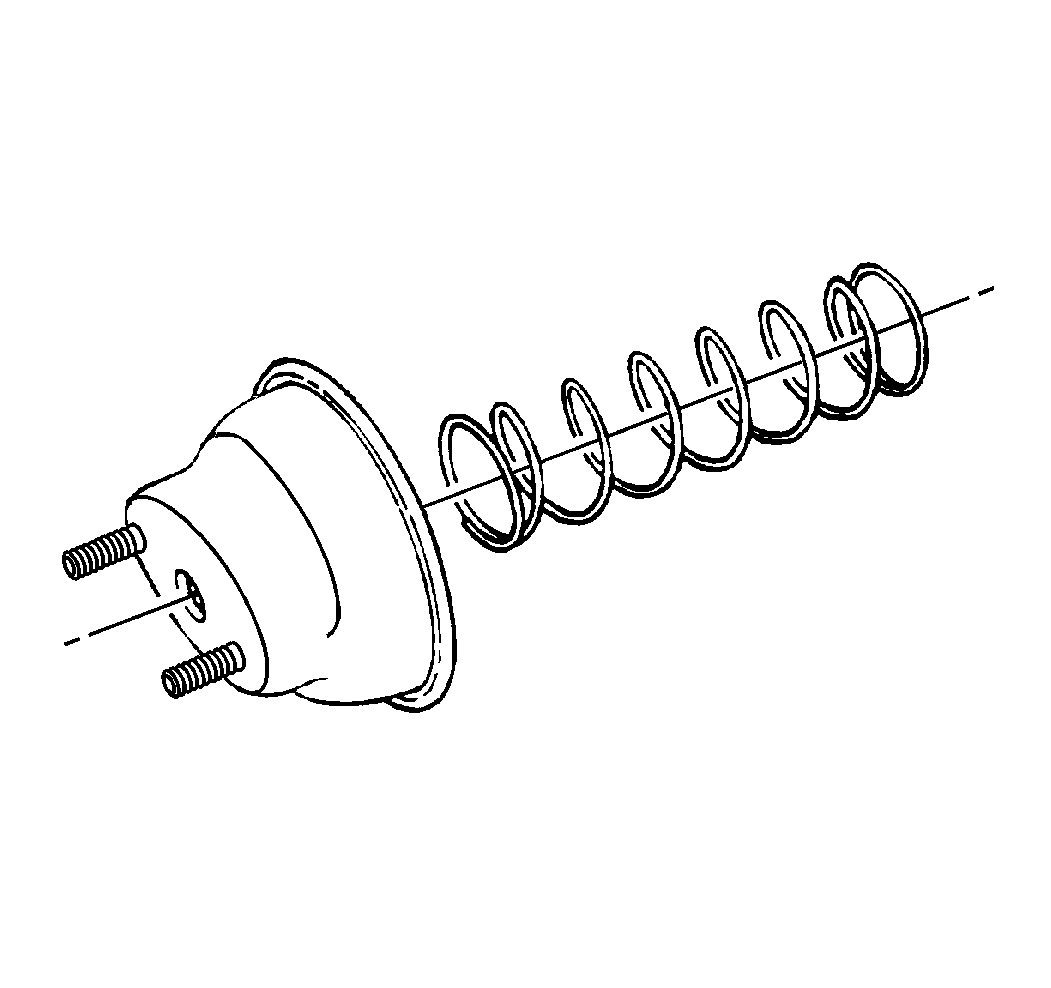
- Remove the return spring.
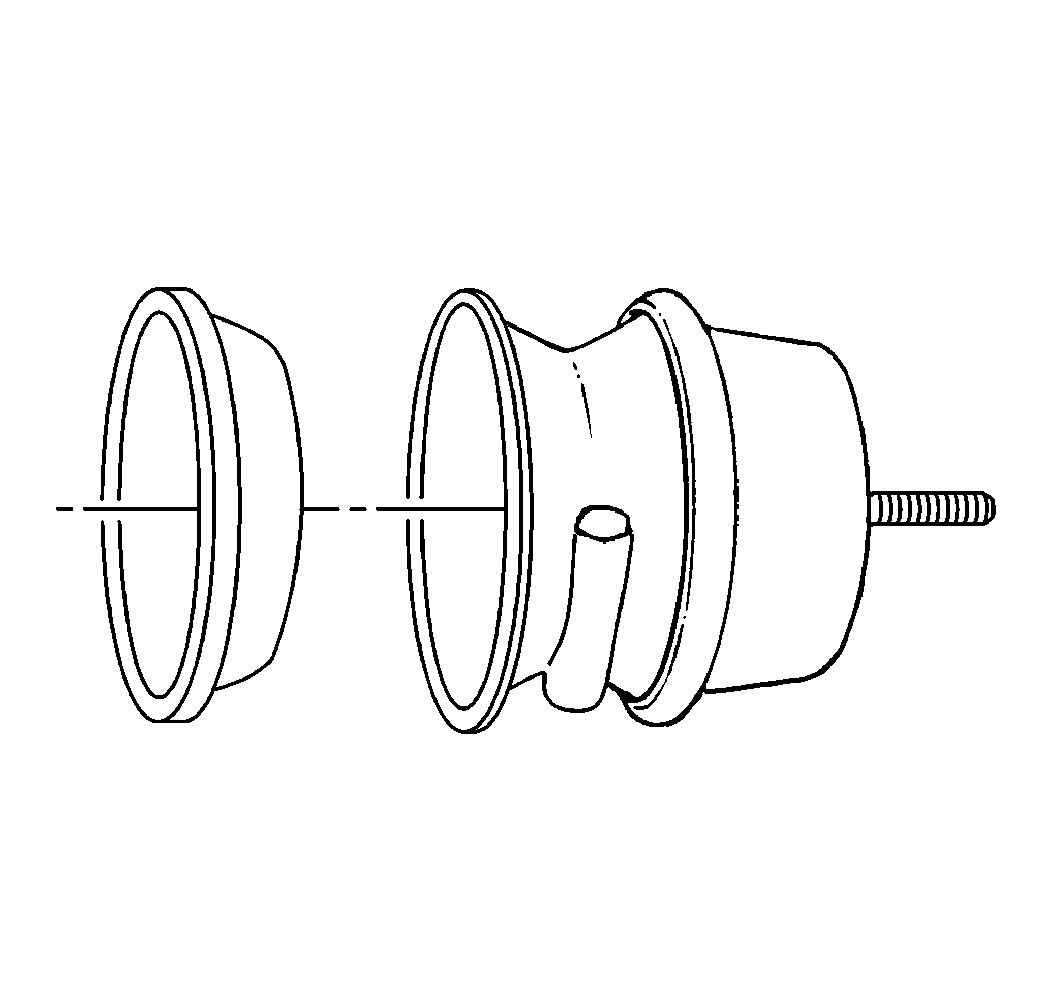
- Remove the diaphragm from the adapter.
- Inspect the inside of the service housing (5) for corrosion.
- Inspect the adapter (10) wall and the lip.
- Inspect the return spring (6).
- Inspect the pushrod (7).
- Inspect the clamp ring assembly (3).



Important: Replace all worn and/or damaged parts.
Replace the service housing (5) if corrosion is found.
Assembly Procedure
- Install the return spring into the service housing.
- Install the pushrod into the service housing.
- Install the diaphragm into the adapter.
- Install the service housing (5) onto the adapter (10).
- Install the clamp ring assembly.
- Install the bolts and the nuts.
- Inspect the clamp assembly for the proper seating around the adapter and the service housing lip.
- Release the locking-type pliers.
- Loosely fit the nut and the spring brake chamber clevis to the pushrod.
- Install the nut (2) and the air brake chamber clevis to the pushrod (7).
Important: Compress the return spring and clamp the pushrod in place with locking-type pliers.


Important: Align the marks made during disassembly.
Notice: Use the correct fastener in the correct location. Replacement fasteners must be the correct part number for that application. Fasteners requiring replacement or fasteners requiring the use of thread locking compound or sealant are identified in the service procedure. Do not use paints, lubricants, or corrosion inhibitors on fasteners or fastener joint surfaces unless specified. These coatings affect fastener torque and joint clamping force and may damage the fastener. Use the correct tightening sequence and specifications when installing fasteners in order to avoid damage to parts and systems.
Tighten
Tighten the nuts to 34 N·m (25 lb ft).


