Removal Procedure
- Raise the vehicle. Refer to Lifting and Jacking the Vehicle In General Information.
- Place a suitable container under the engine in order to drain the oil.
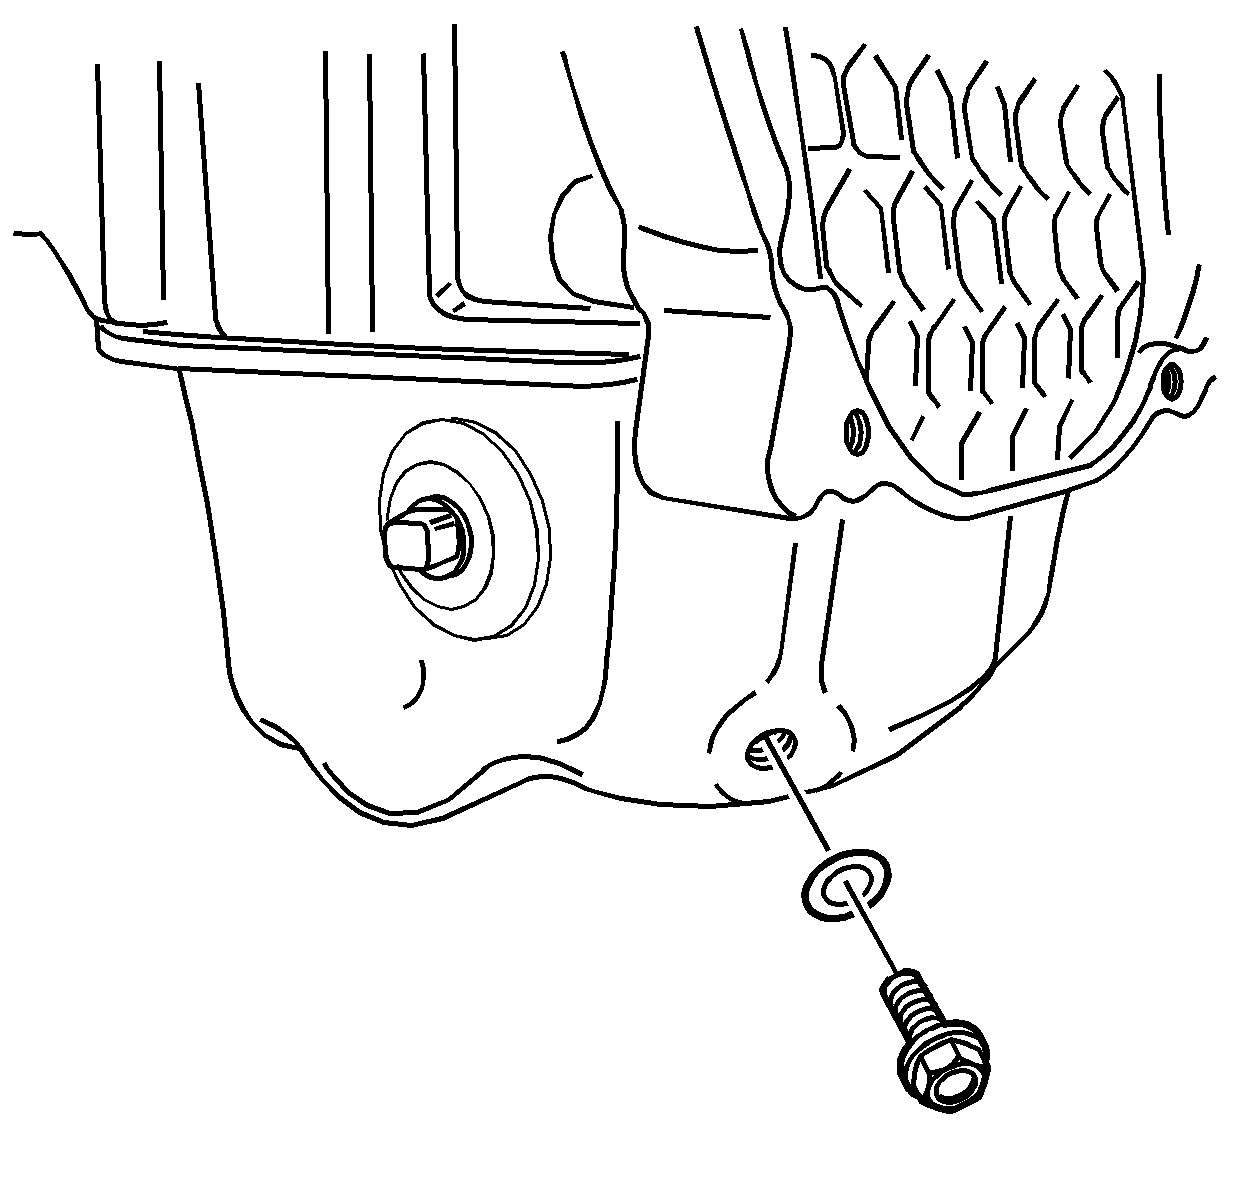
- Remove the oil drain plug.
- Drain the engine oil.
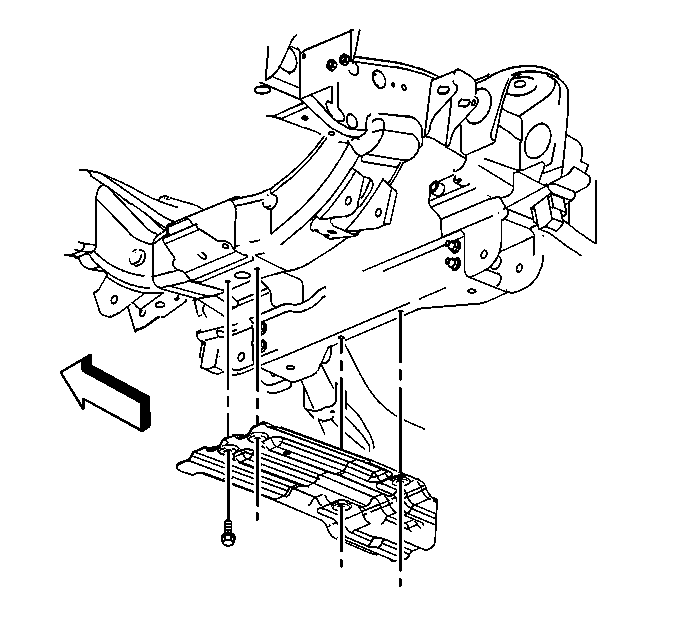
- Remove the oil pan skid plate (2WD shown).
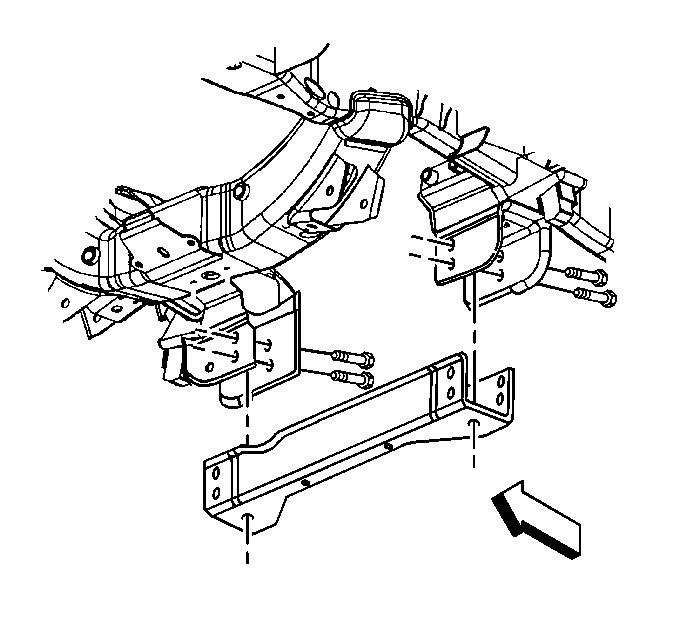
- Remove the crossbar 2WD vehicle.
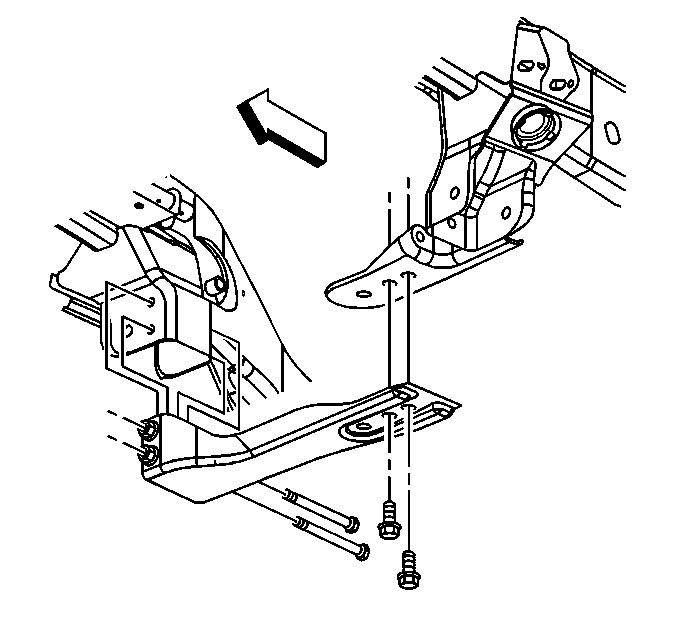
- Remove the crossbar 4WD vehicle.
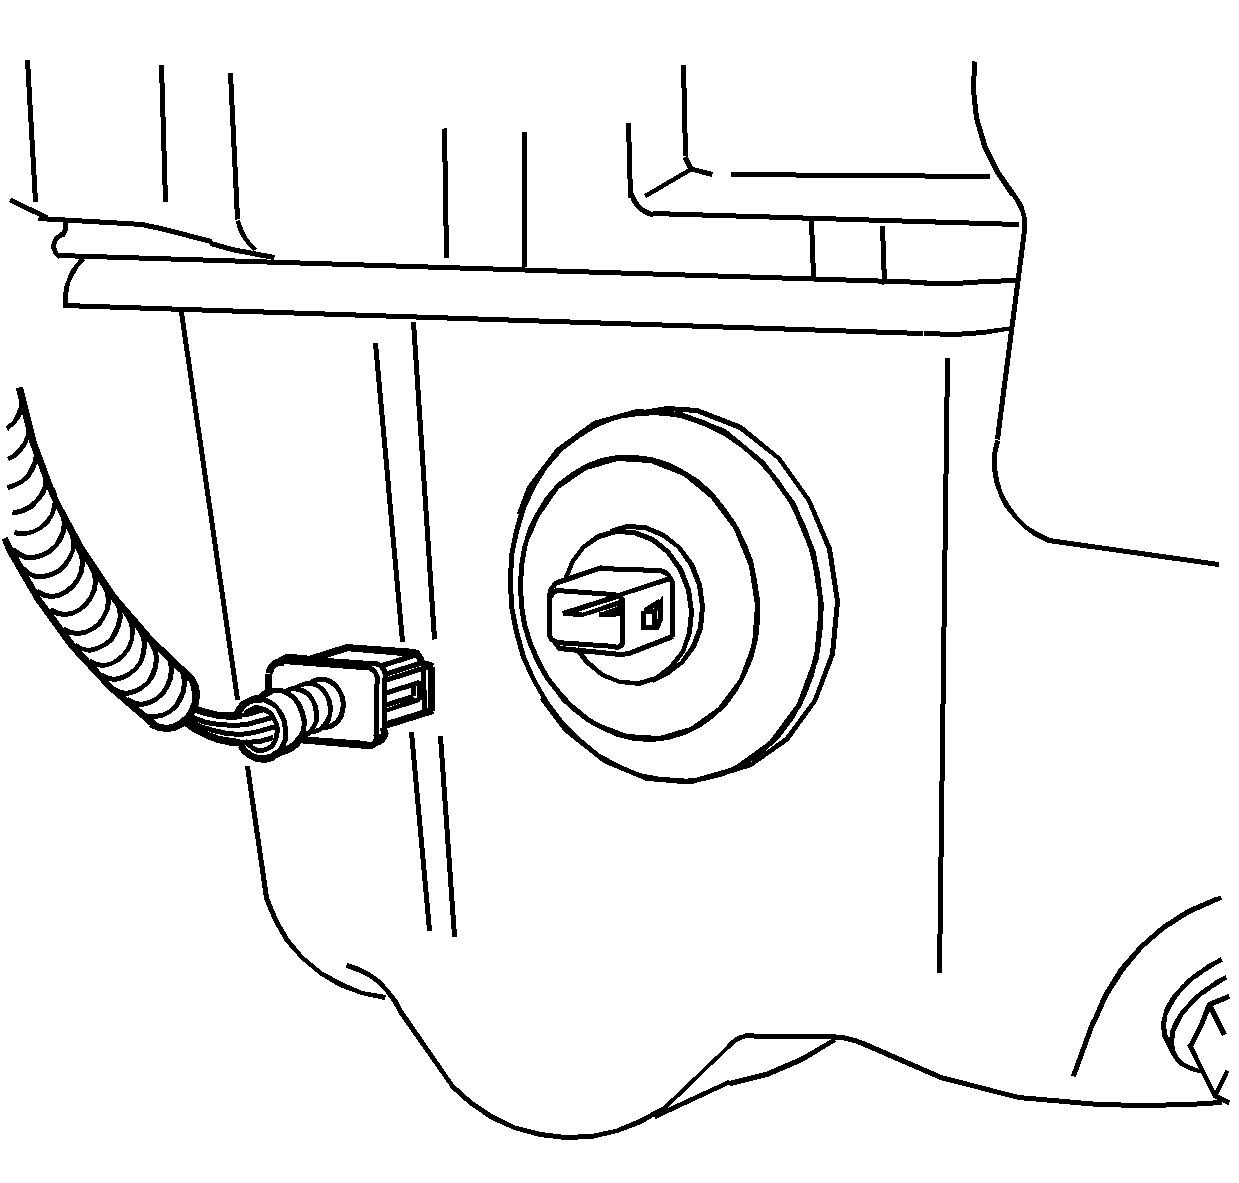
- Disconnect the oil level sensor.
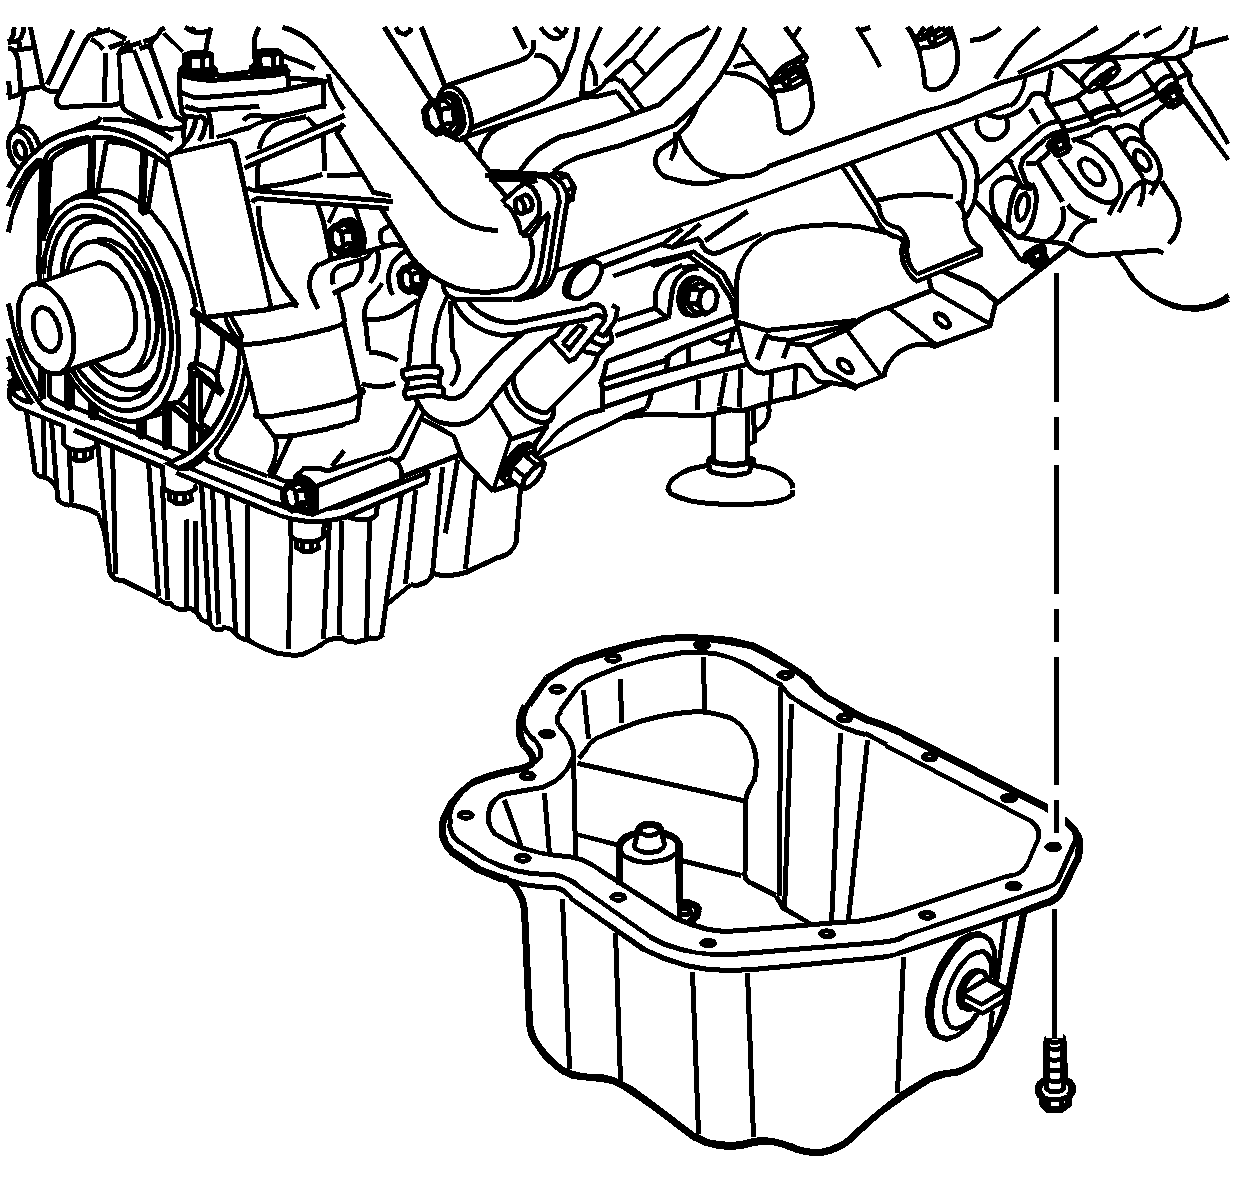
- Remove the lower oil pan bolts and nuts.
- Separate the lower oil pan from the lower crankcase.
- Remove the lower oil pan.
Inspection and Repair
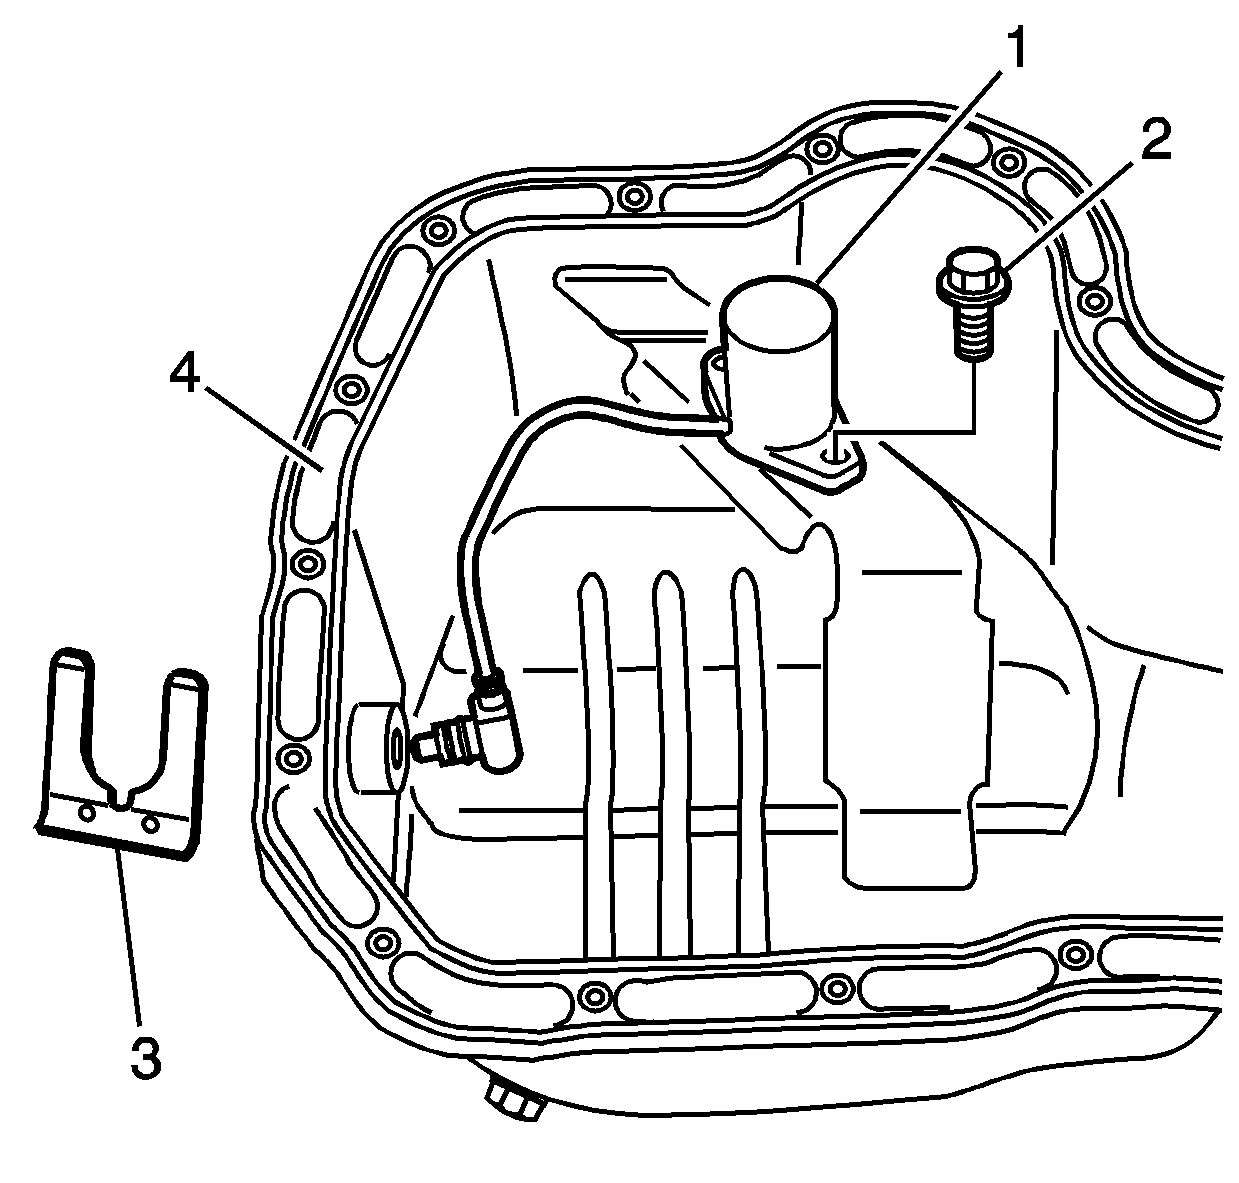
- Remove the oil level sensor (1) and retaining clip (3).
- Clean the lower oil pan. Remove any sludge or other deposits.
- Clean the lower oil pan mating surface (4).
- Inspect the lower oil pan for dents or distortion.
- Inspect the lower oil pan mating surface for damage.
- Replace the lower oil pan if any damage is found.
- Install the oil level sensor (1) and retaining clip (3).
- Install the oil level sensor bolt (2).
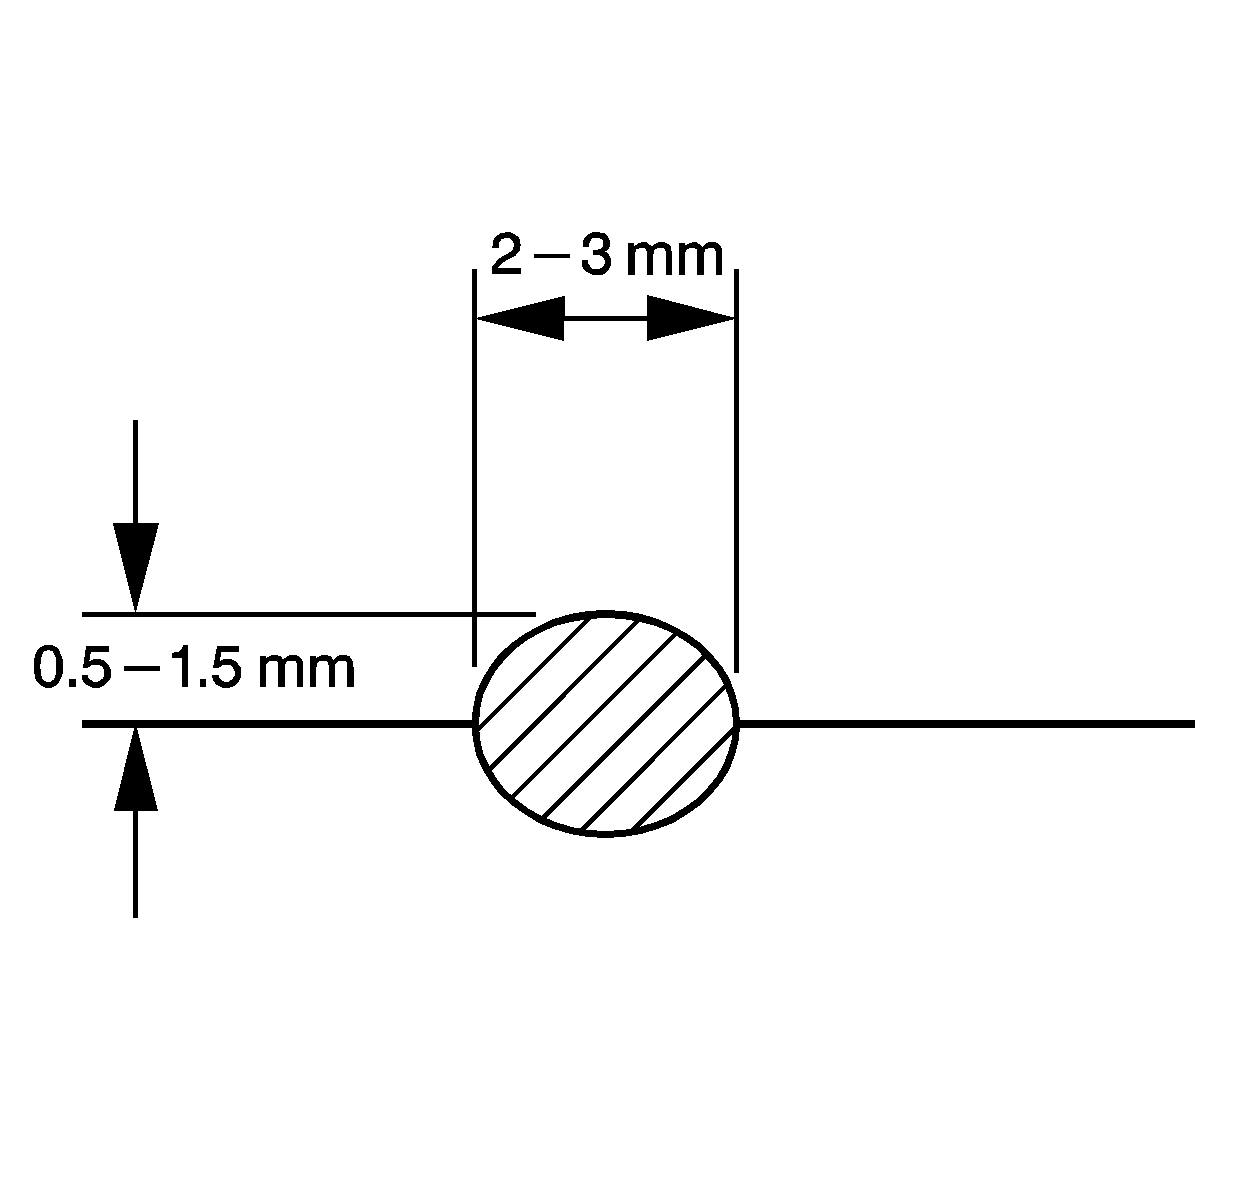
- Apply a 2 mm (1/8 in) wide bead of sealant GM P/N United States 97720043, GM P/N Canada 88901148, or equivalent to the lower oil pan mating surface.
- Install the lower oil pan.
- Install the lower oil pan bolts and nuts.
- Connect the oil level sensor and install the clip.
- Install the crossbar 2WD vehicle.
- Install the crossbar 4WD vehicle.
- Install the oil pan skid plate (2WD shown).
- Install the oil filter and the oil pan drain plug. Refer to Engine Oil and Oil Filter Replacement .
- Lower the vehicle.
- Fill the engine with oil. Refer to Engine Oil and Oil Filter Replacement .
Notice: Use the correct fastener in the correct location. Replacement fasteners must be the correct part number for that application. Fasteners requiring replacement or fasteners requiring the use of thread locking compound or sealant are identified in the service procedure. Do not use paints, lubricants, or corrosion inhibitors on fasteners or fastener joint surfaces unless specified. These coatings affect fastener torque and joint clamping force and may damage the fastener. Use the correct tightening sequence and specifications when installing fasteners in order to avoid damage to parts and systems.
Tighten
Tighten the bolts to 9 N·m (80 lb in).
Tighten
Tighten the bolts and nuts to 10 N·m (89 lb in).


Tighten
Tighten the bolts to 100 N·m (74 lb ft).

Tighten
Tighten the bolts to 100 N·m (74 lb ft).

Tighten
Tighten the bolts to 20 N·m (15 lb ft).
