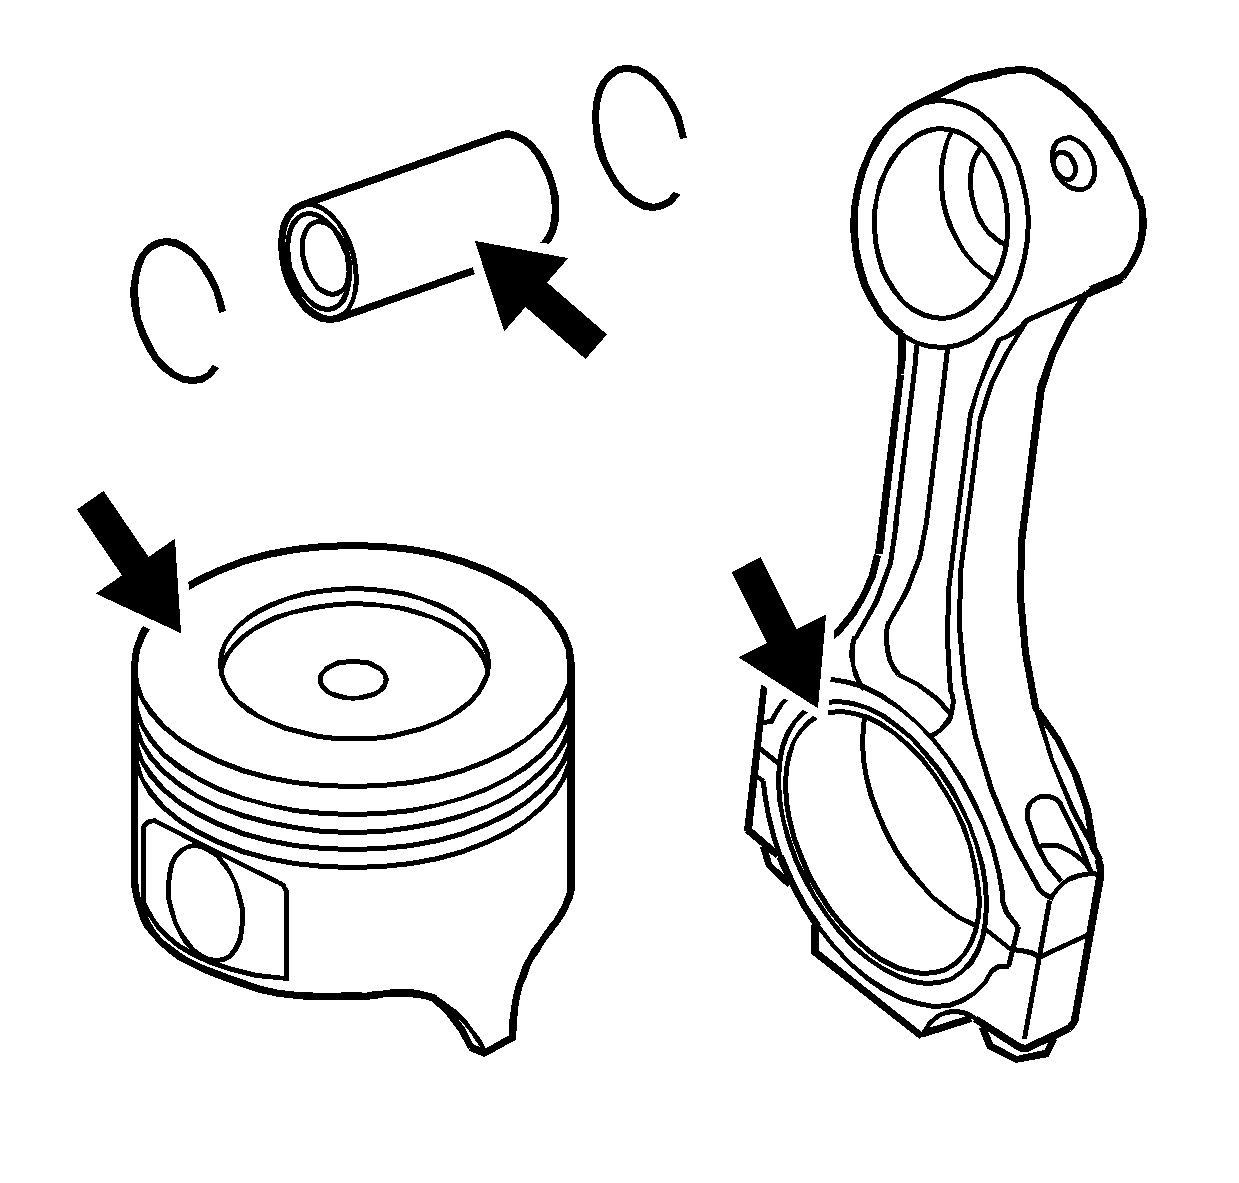
- Clean the deposits from the following components:
| • | Connecting rod and bearings |

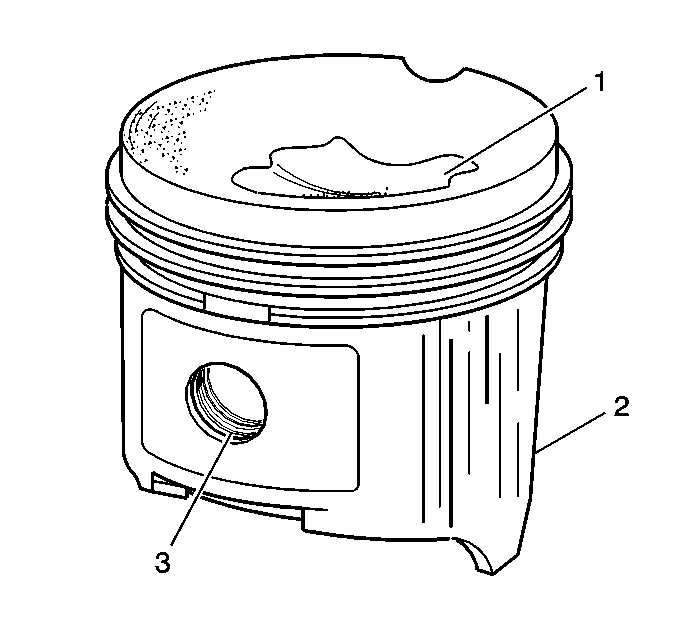
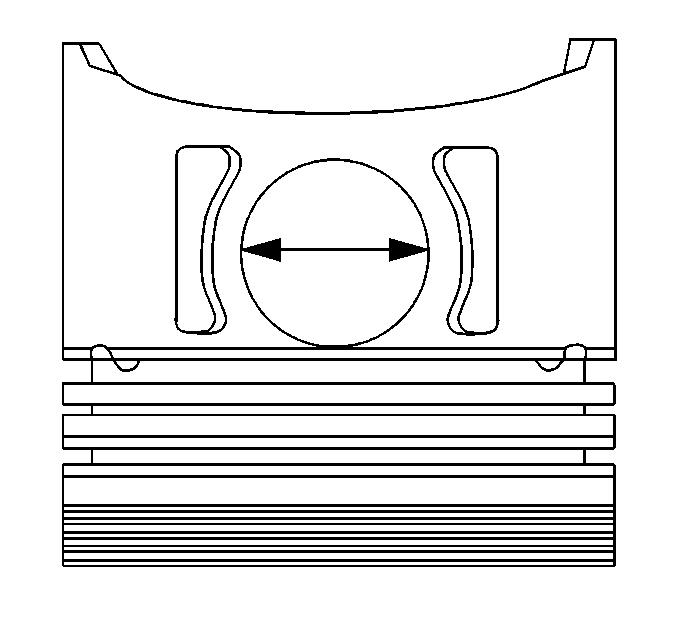
- Inspect the piston for
the following conditions:
| • | Scoring on the piston skirt (2) |
| • | Scoring in the piston pin area (3) |
| • | Broken ring groove lands |

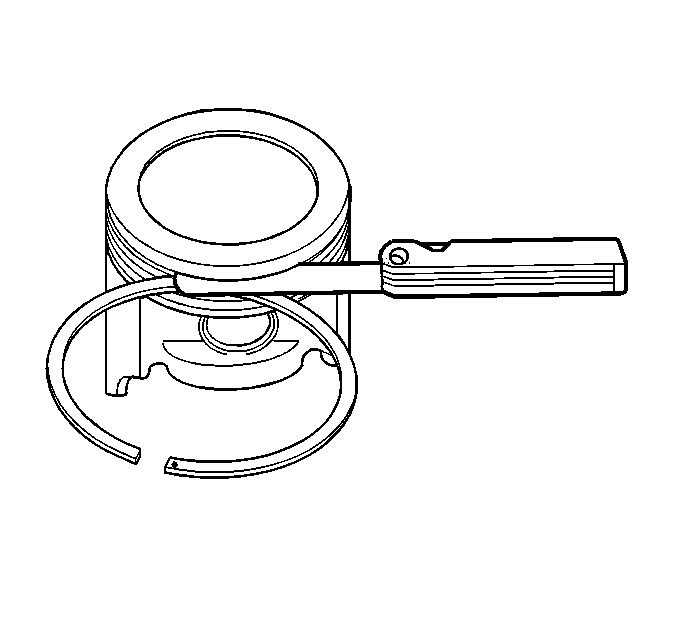
- Measure the piston ring
end gap.
| • | Use a piston to square the piston ring near the top of the cylinder. |
| • | Use a feeler gauge to measure the piston ring gap. |
| • | The 1st compression ring production gap is 0.30-0.45 mm
(0.0118-0.0177 in) and the service limit is 1.37 mm (0.0539 in). |
| • | The 2nd compression ring production gap is 0.50-0.65 mm
(0.0197-0.0256 in) and the service limit is 1.35 mm (0.0531 in). |
| • | The oil ring production gap is 0.15-0.35 mm (0.0059-0.0138 in)
and the service limit is 1.20 mm (0.0472 in). |
| • | Replace the piston ring if the measured value exceeds the service
limit. |

- Measure the piston ring
to piston ring groove clearance.
| • | Use a feeler gauge to measure the clearance between the piston
ring and the piston ring groove at several points around the piston. |
| • | The 1st compression ring production clearance is 0.08-0.17 mm
(0.0030-0.0007 in) and the service limit is 0.26 mm (0.0102 in). |
| • | The 2nd compression ring production clearance is 0.01-0.03 mm
(0.0004-0.0012 in) and the service limit is 0.10 mm (0.0039 in). |
| • | The oil ring production clearance is 0.01-0.03 mm
(0.0004-0.0012 in) and the service limit is 0.12 mm (0.0047 in). |
| • | Replace the piston ring if the measured value exceeds the service
limit. |

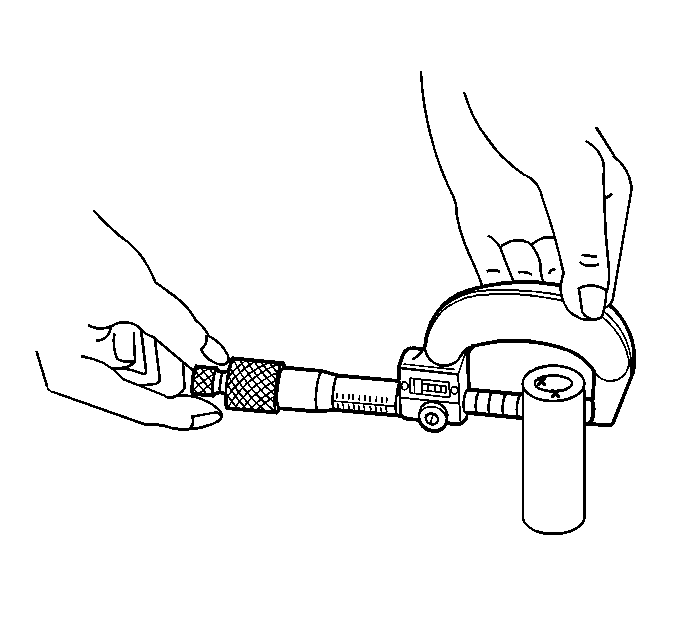
- Measure the piston pin
outside diameter.
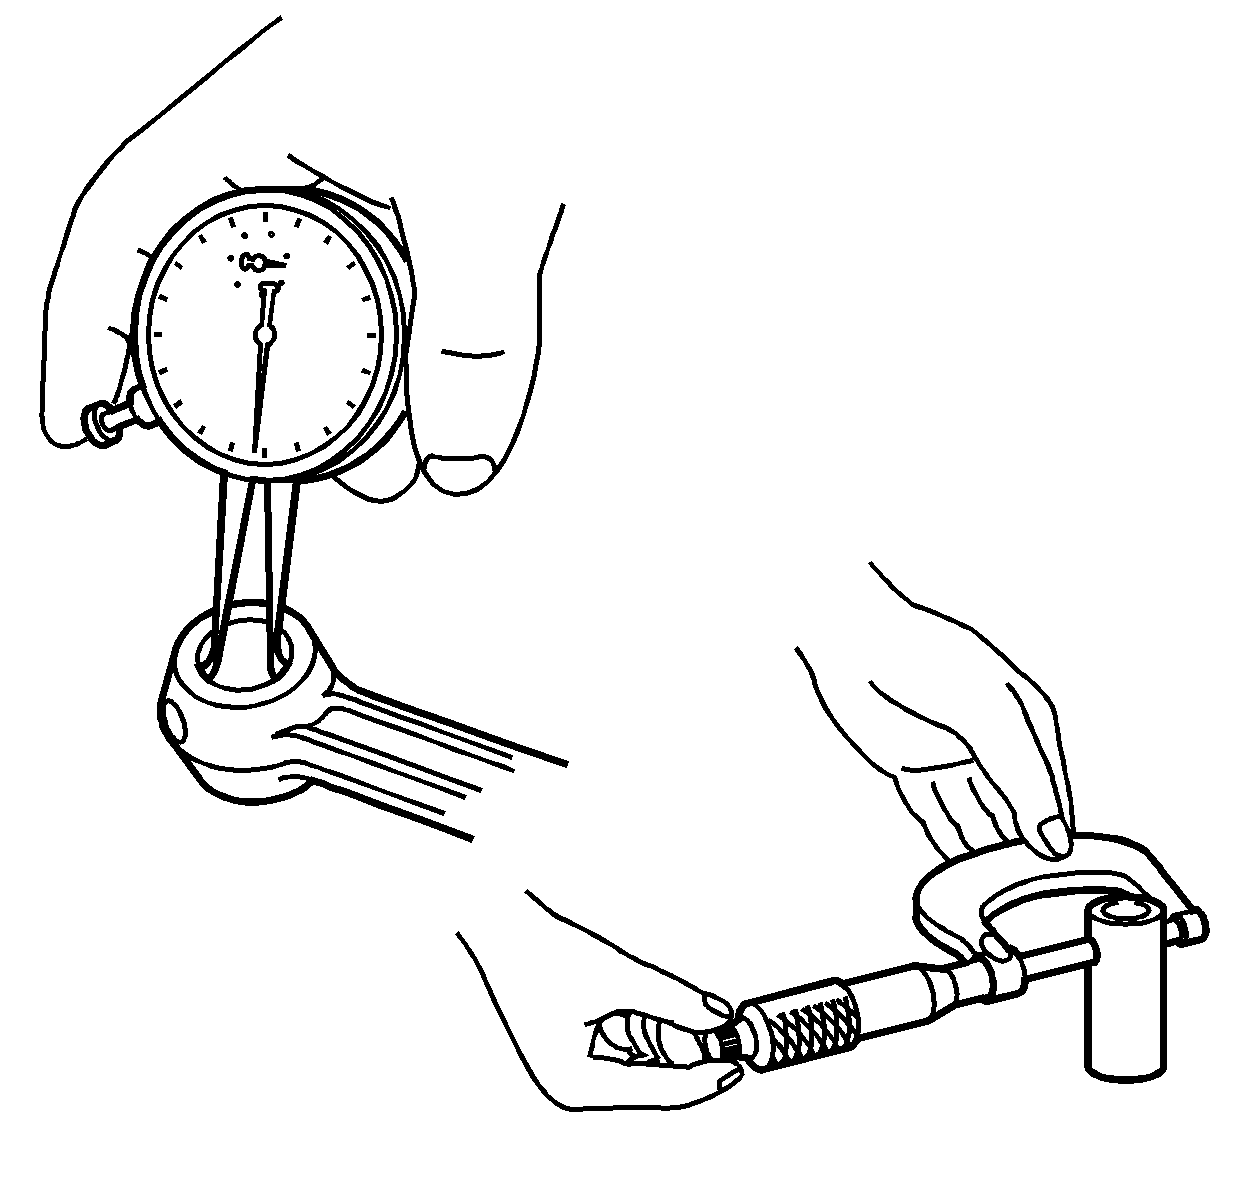
| • | Measure the piston pin outside diameter at several points. |
| • | The production value is 34.495-34.50 mm (1.3581-1.3563 in)
and the service limit is 34.450 mm (1.3563 in). |
| • | Replace the piston pin if the measured value is less than the
service limit. |

- Measure the piston pin
to piston pin bore clearance.
| • | Measure the piston pin bore. |
| • | Subtract the piston pin measurement that was taken previously
from the piston pin bore measurement. The difference between these two measurements
will be the piston pin to piston pin bore clearance. |
| • | The production clearance is 0.004-0.017 mm (0.0002-0.0007 in)
and the service limit is 0.017 mm (0.0007 in). |
| • | If the piston pin to piston pin bore clearance is beyond specifications
then replace the piston. |

- Measure the piston pin
to connecting rod small end clearance.
| • | Measure the inside diameter of the connecting rod small end. |
| • | Subtract the piston pin measurement that was taken previously
from the connecting rod small end measurement. The difference between these
two measurements will be the piston pin to connecting rod clearance. |
| • | The production clearance is 0.012-0.027 mm (0.0005-0.0011 in)
and the service limit is 0.08 mm (0.0031 in). |
| • | Replace the connecting rod if the piston pin to connecting rod
small end clearance is beyond specifications. The connecting rod small end
bushing is not serviceable. |
