Removal Procedure
- Disconnect the negative battery cable. Refer to Battery Negative Cable Disconnection and Connection in Engine Electrical.
- Remove the intake manifold cover. Refer to Intake Manifold Cover Replacement in Engine Mechanical - 6.6L (LLY).
- Remove both front wheelhouse panels. Refer to Wheelhouse Panel Replacement in Body Front End.
- Remove the air cleaner outlet duct. Refer to Air Cleaner Outlet Duct Replacement .
- Loosen the charged air cooler outlet duct to intake hose clamp.
- Remove the charged air cooler outlet duct from the intake.
- Loosen the charged air cooler inlet duct connector to turbocharger clamp (1).
- Remove the charged air cooler inlet duct connector (4) from the turbocharger.
- Disconnect the fuel injection control module electrical connectors.
- Cut the tie strap attaching the harness to the bracket.
- Remove the left glow plug harness bracket bolts.
- Remove the right glow plug harness bracket bolts.
- Remove the positive crankcase ventilation (PCV) hose/pipe. Refer to Positive Crankcase Ventilation Hose/Pipe/Tube Replacement in Engine Mechanical - 6.6L (LLY).
- Disconnect the engine coolant temperature (ECT) sensor electrical connector.
- Disconnect the exhaust gas recirculation (EGR) valve electrical connector.
- Disconnect the camshaft position (CMP) sensor electrical connector.
- Remove the 2 ground bolts.
- Disconnect the crankshaft position (CKP) sensor electrical connector.
- Remove the tie strap from the electrical harness.
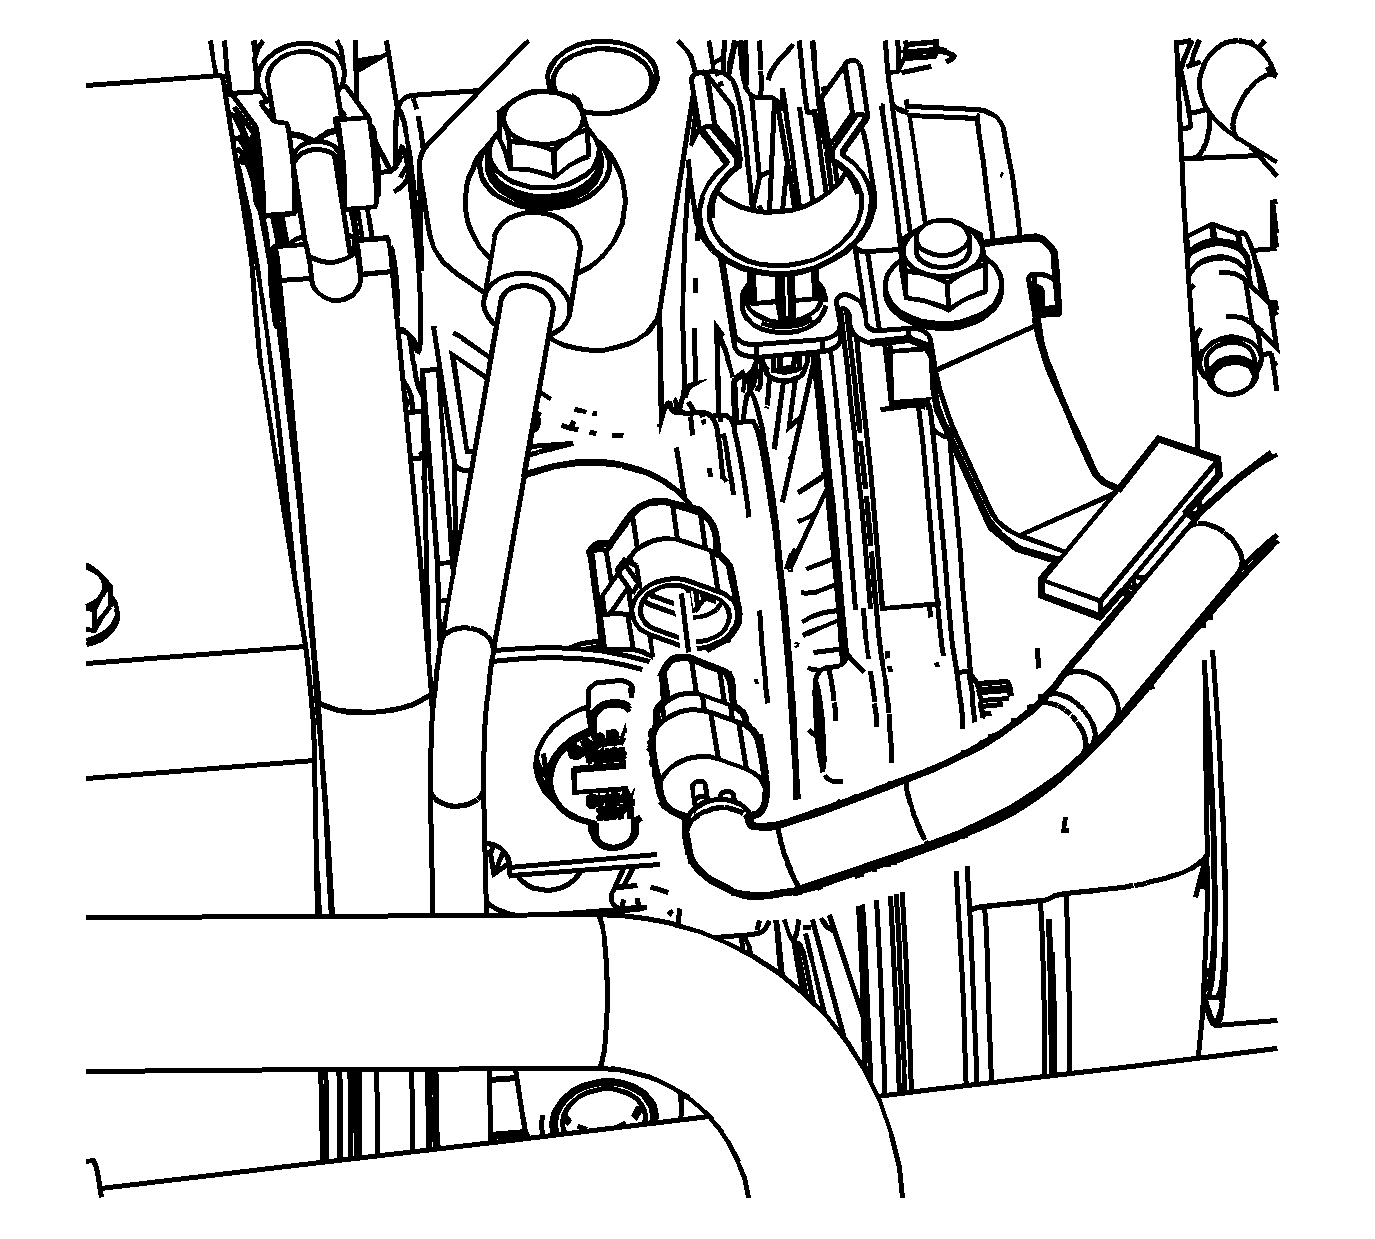
- Disconnect the main engine electrical harness connectors. Lift up on the latches (1) in order to disconnect the connectors.
- Open the harness clip (2).
- Remove the main engine electrical harness connectors.
- Disconnect the barometric sensor electrical connector.
- Remove the main engine electrical harness connector bolts.
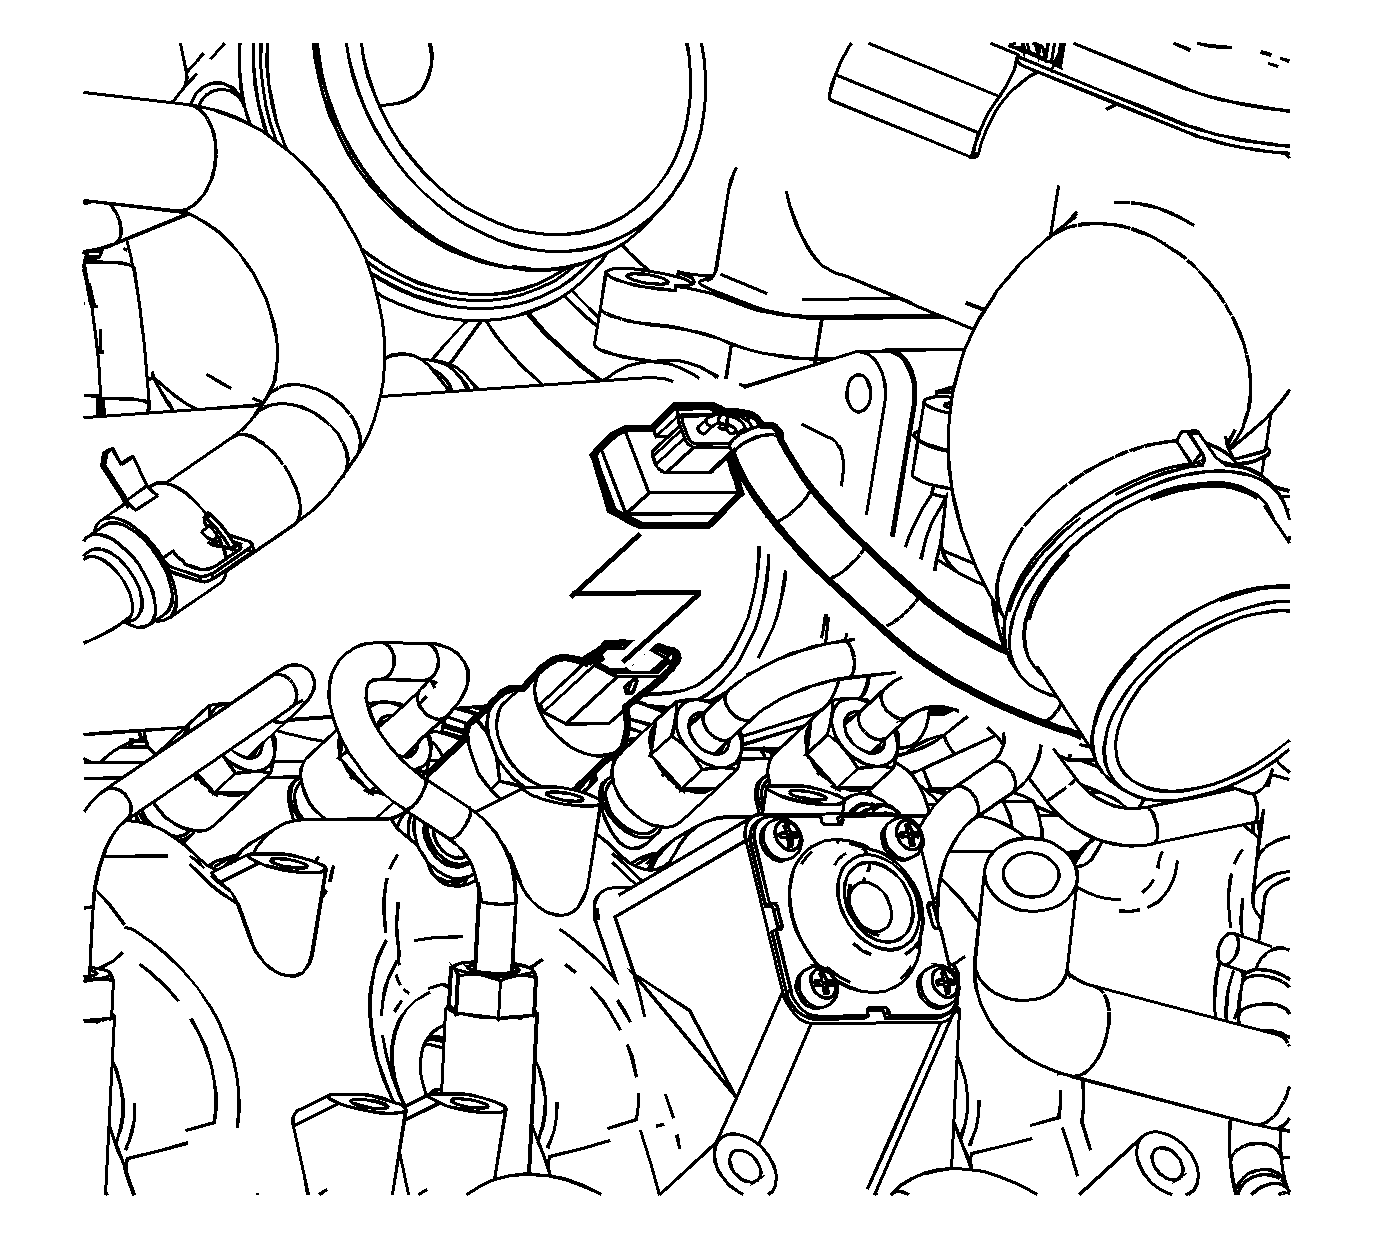
- Disconnect the fuel pressure control valve electrical connector.
- Disconnect the turbocharger boost sensor electrical connector.
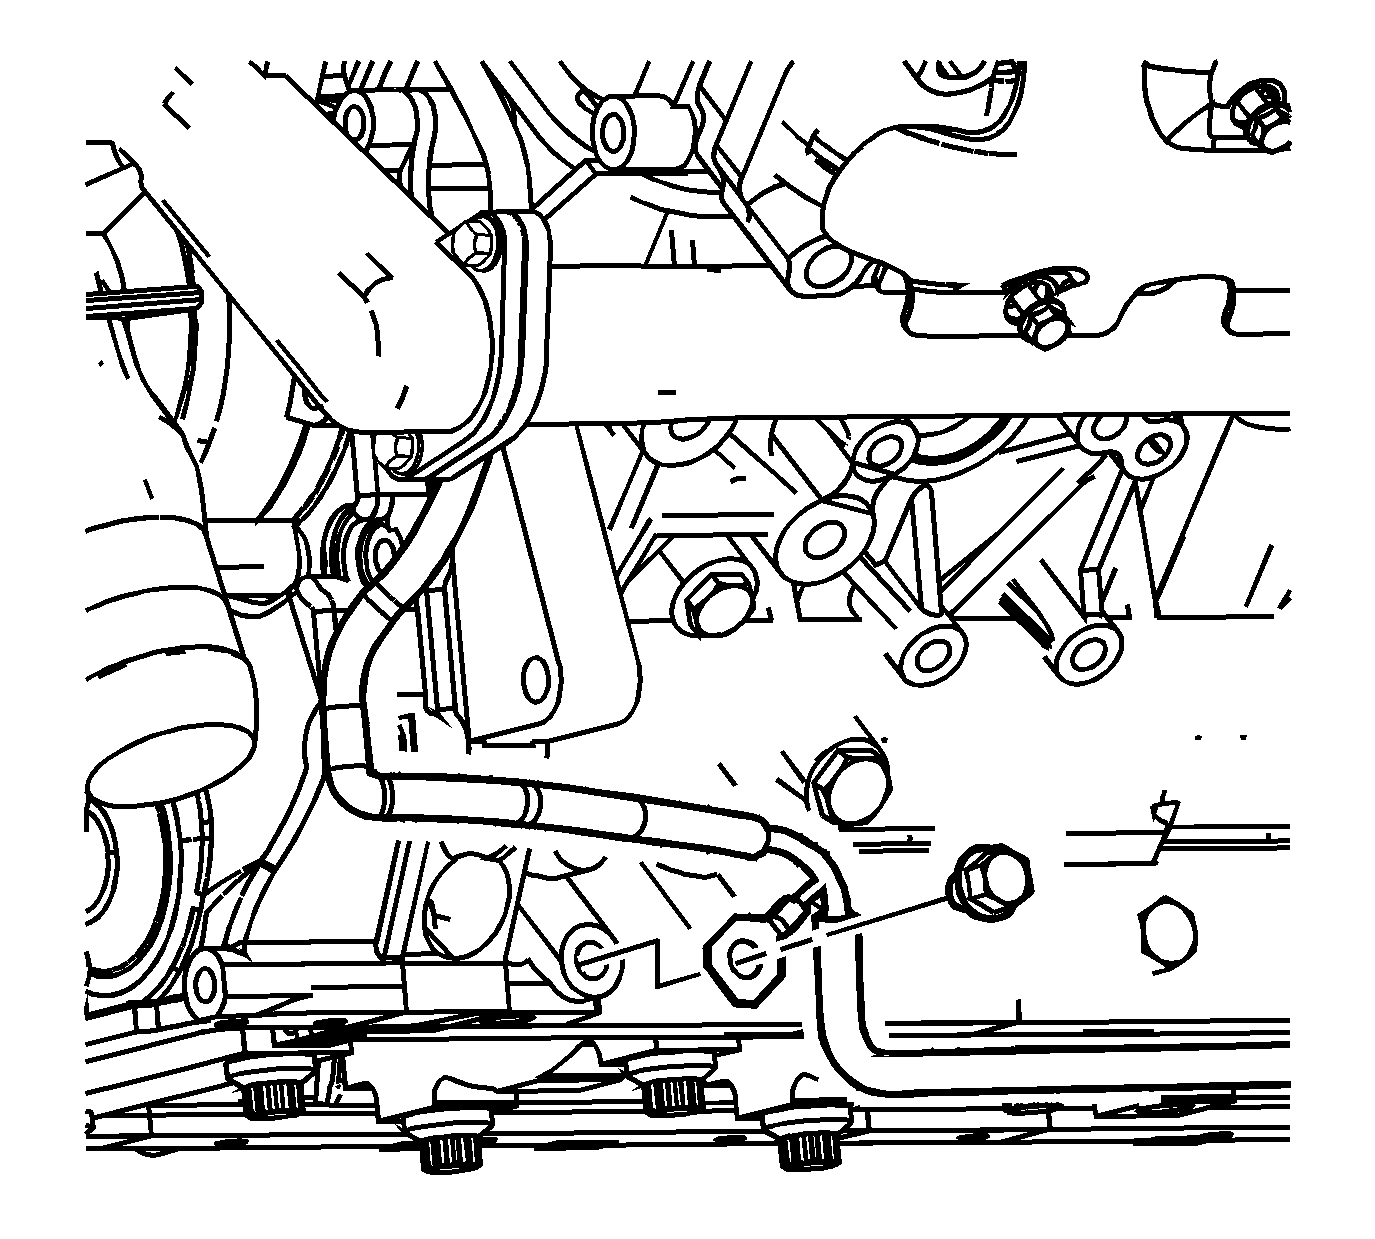
- Disconnect the oil level sensor electrical harness connector.
- Disconnect the fuel temperature sensor electrical connector.
- Disconnect the glow plug controller electrical connector.
- Disconnect the glow plug controller battery feed electrical connector (1).
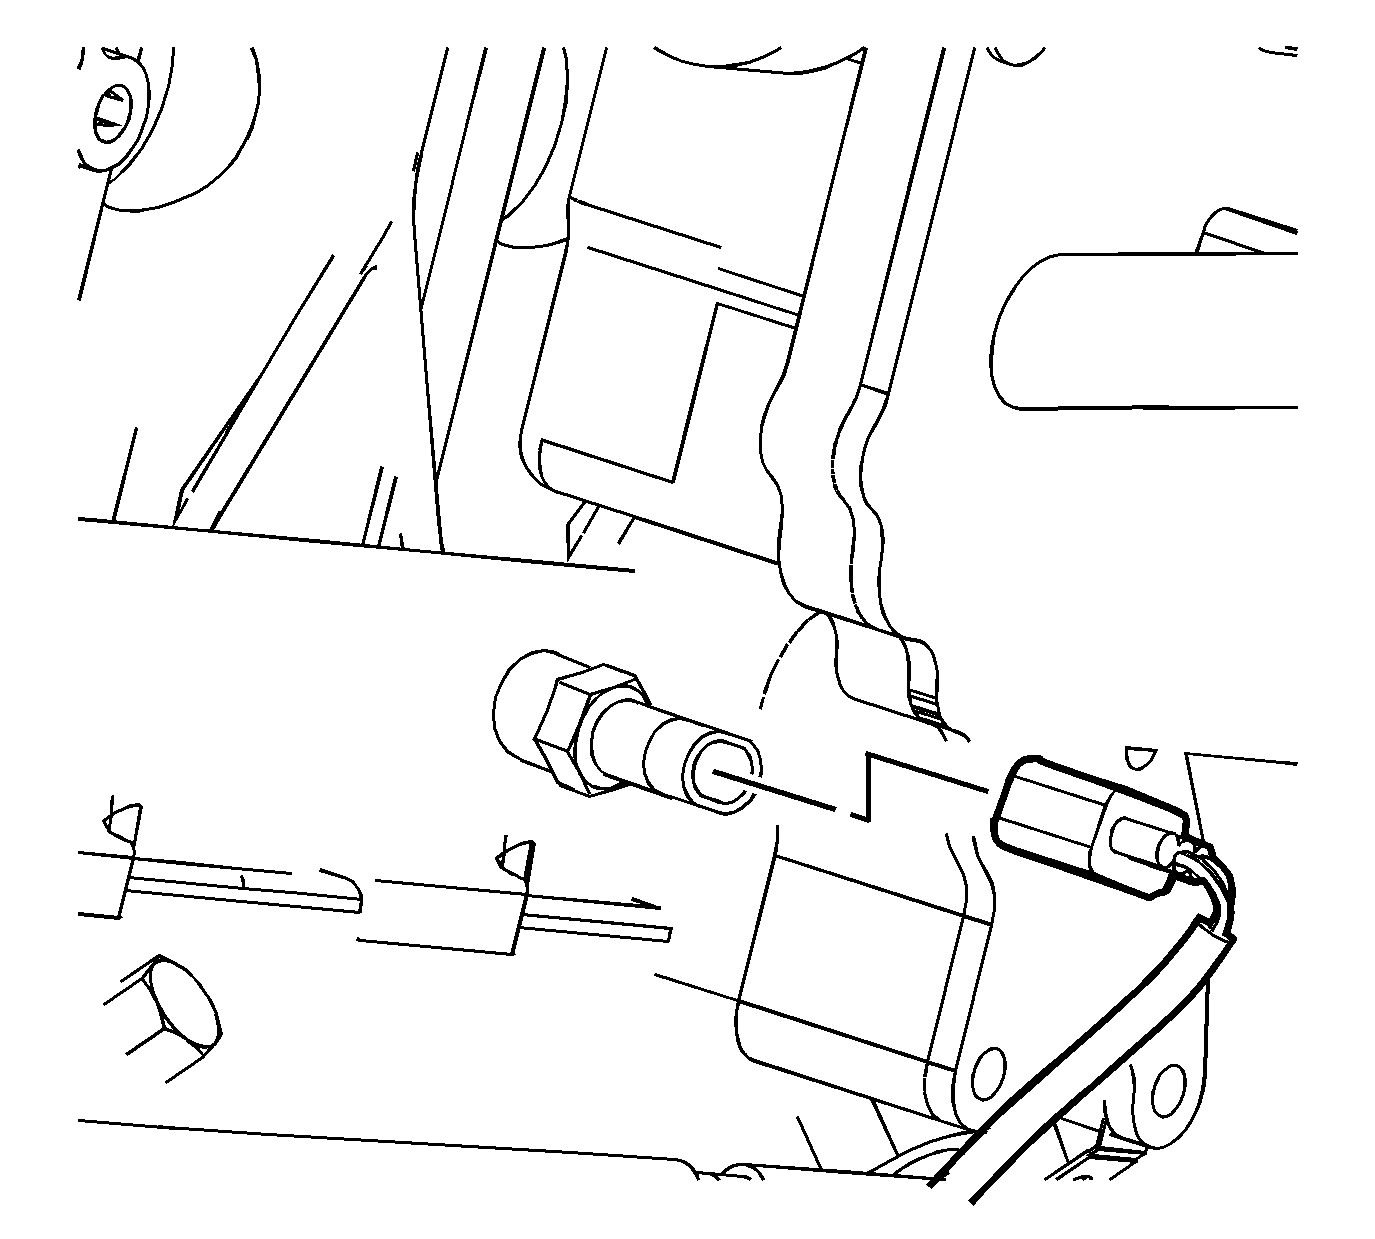
- Disconnect and remove the turbocharger vane position sensor.
- Disconnect the fuel injector electrical connectors.
- Disconnect the turbocharger vane control solenoid valve.
- Disconnect the fuel rail pressure sensor electrical connector.
- Disconnect the oil pressure sensor electrical connector.
- Remove the oil level sensor harness bolt.
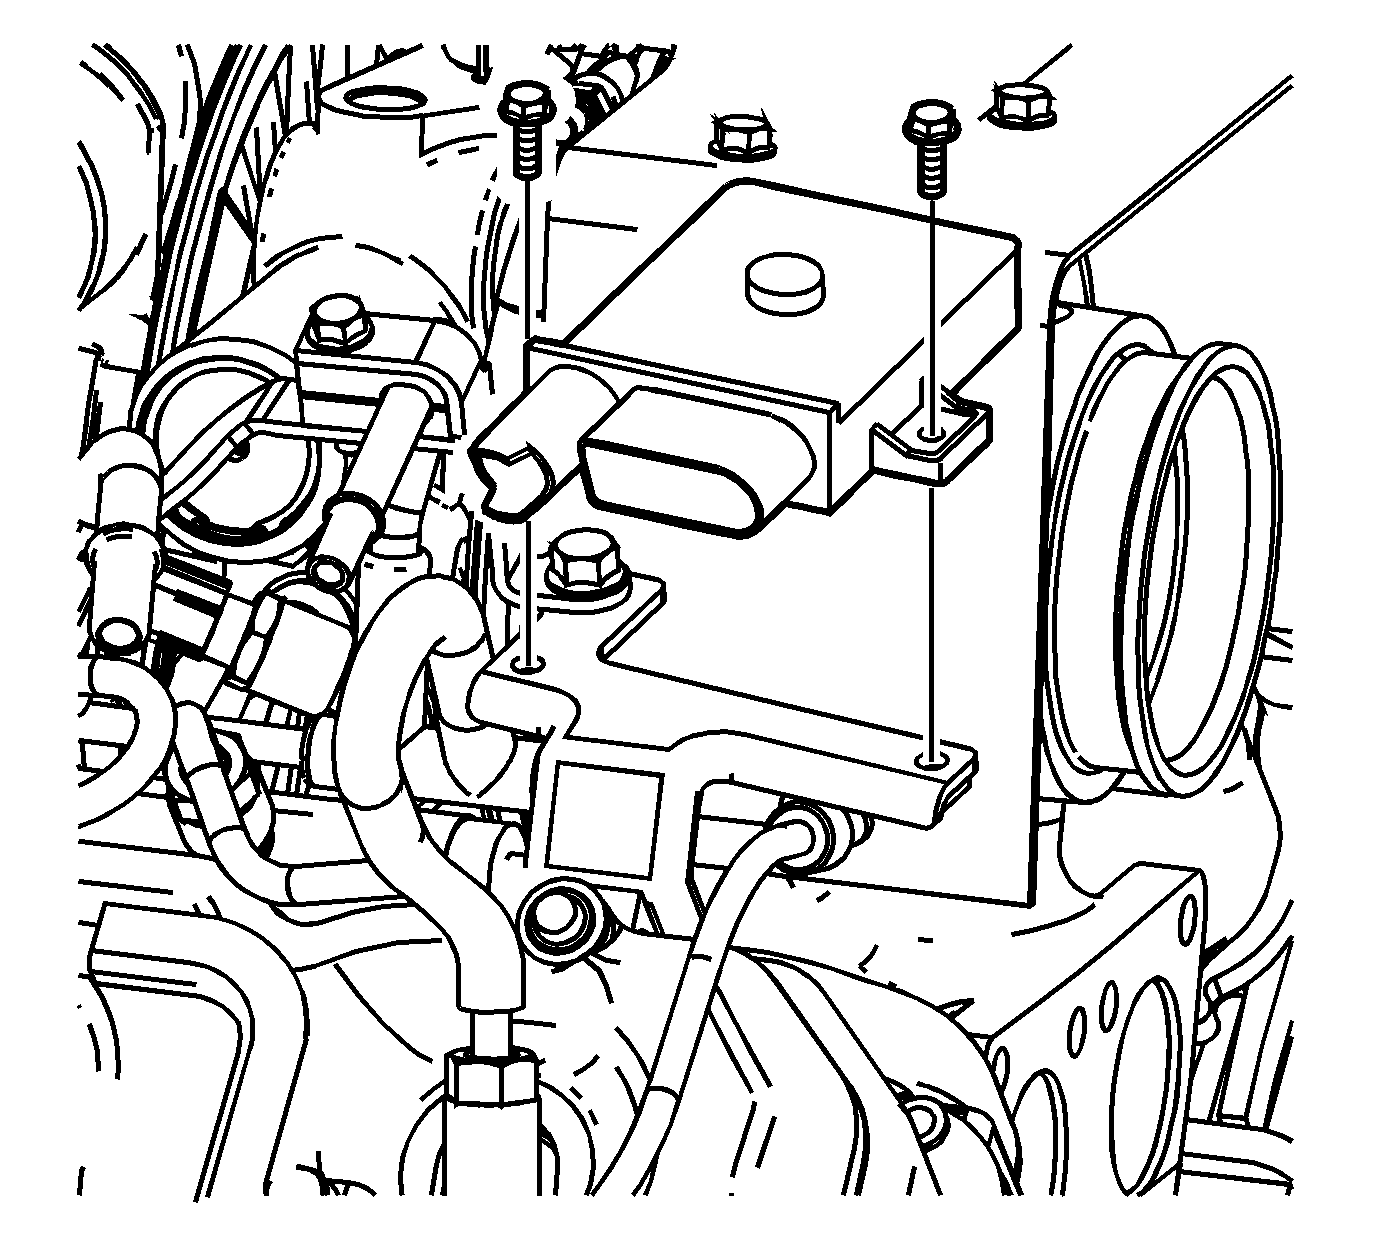
- Remove the glow plug controller bolts.
- Remove the glow plug controller.
- Remove the glow plug electrical connector nuts.
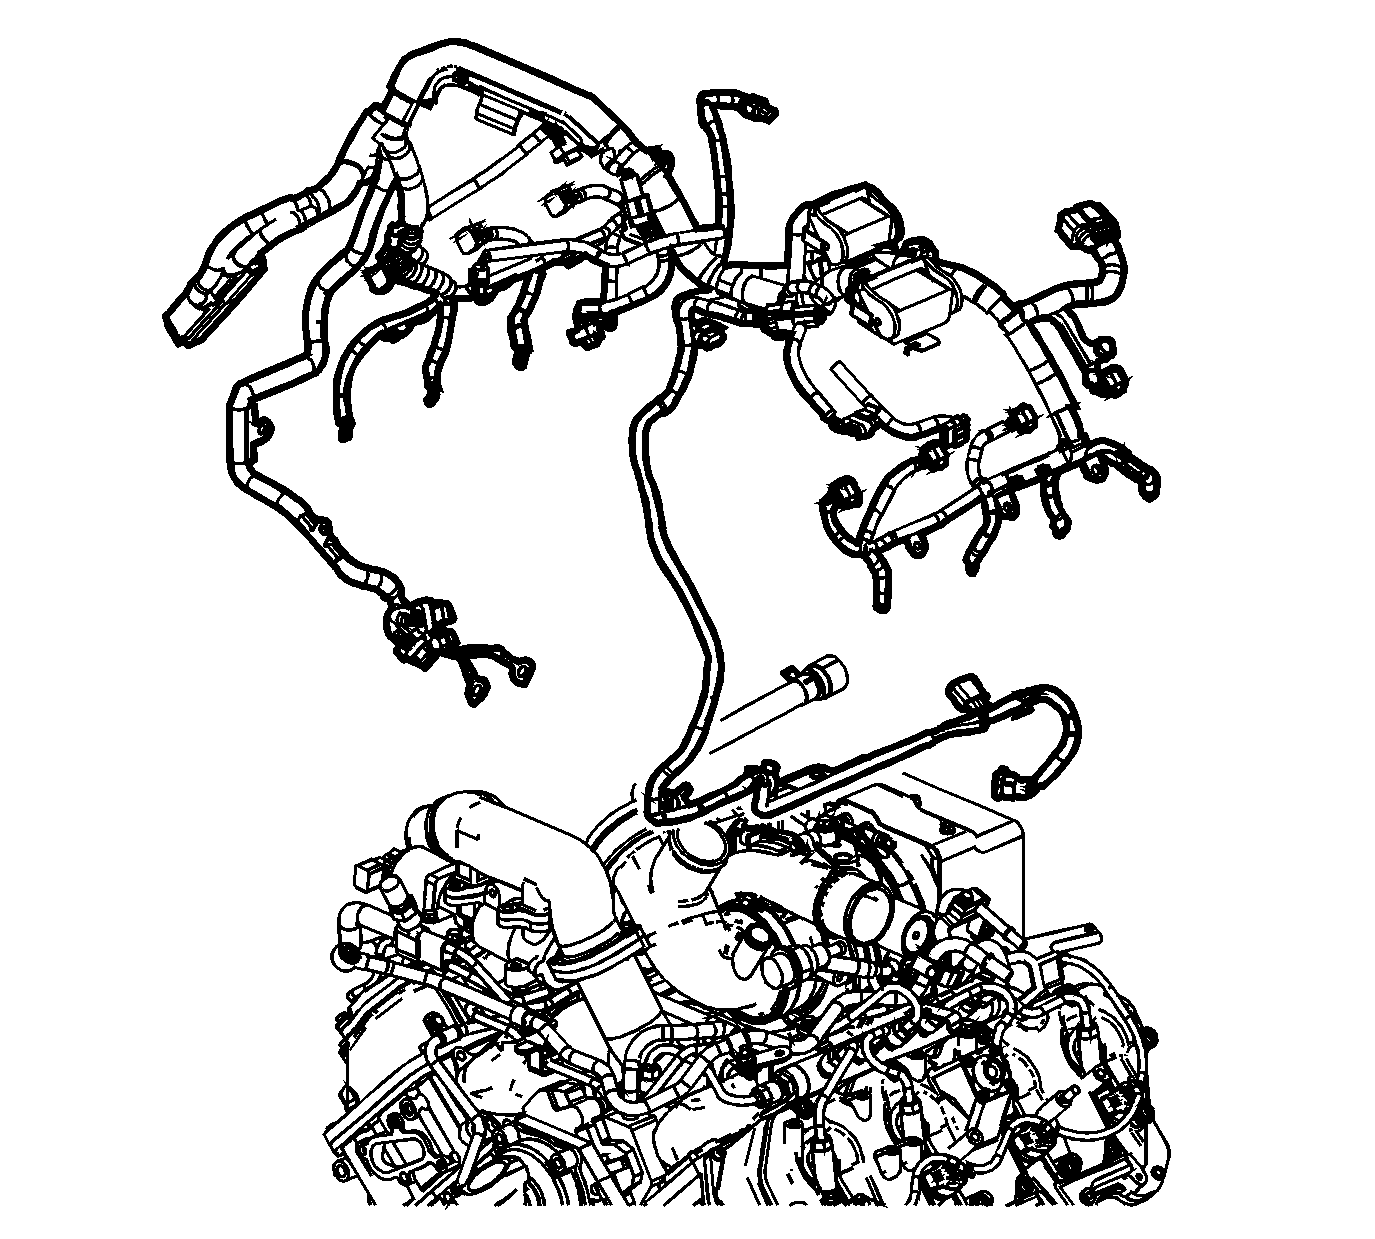
- Remove the engine wiring harness.
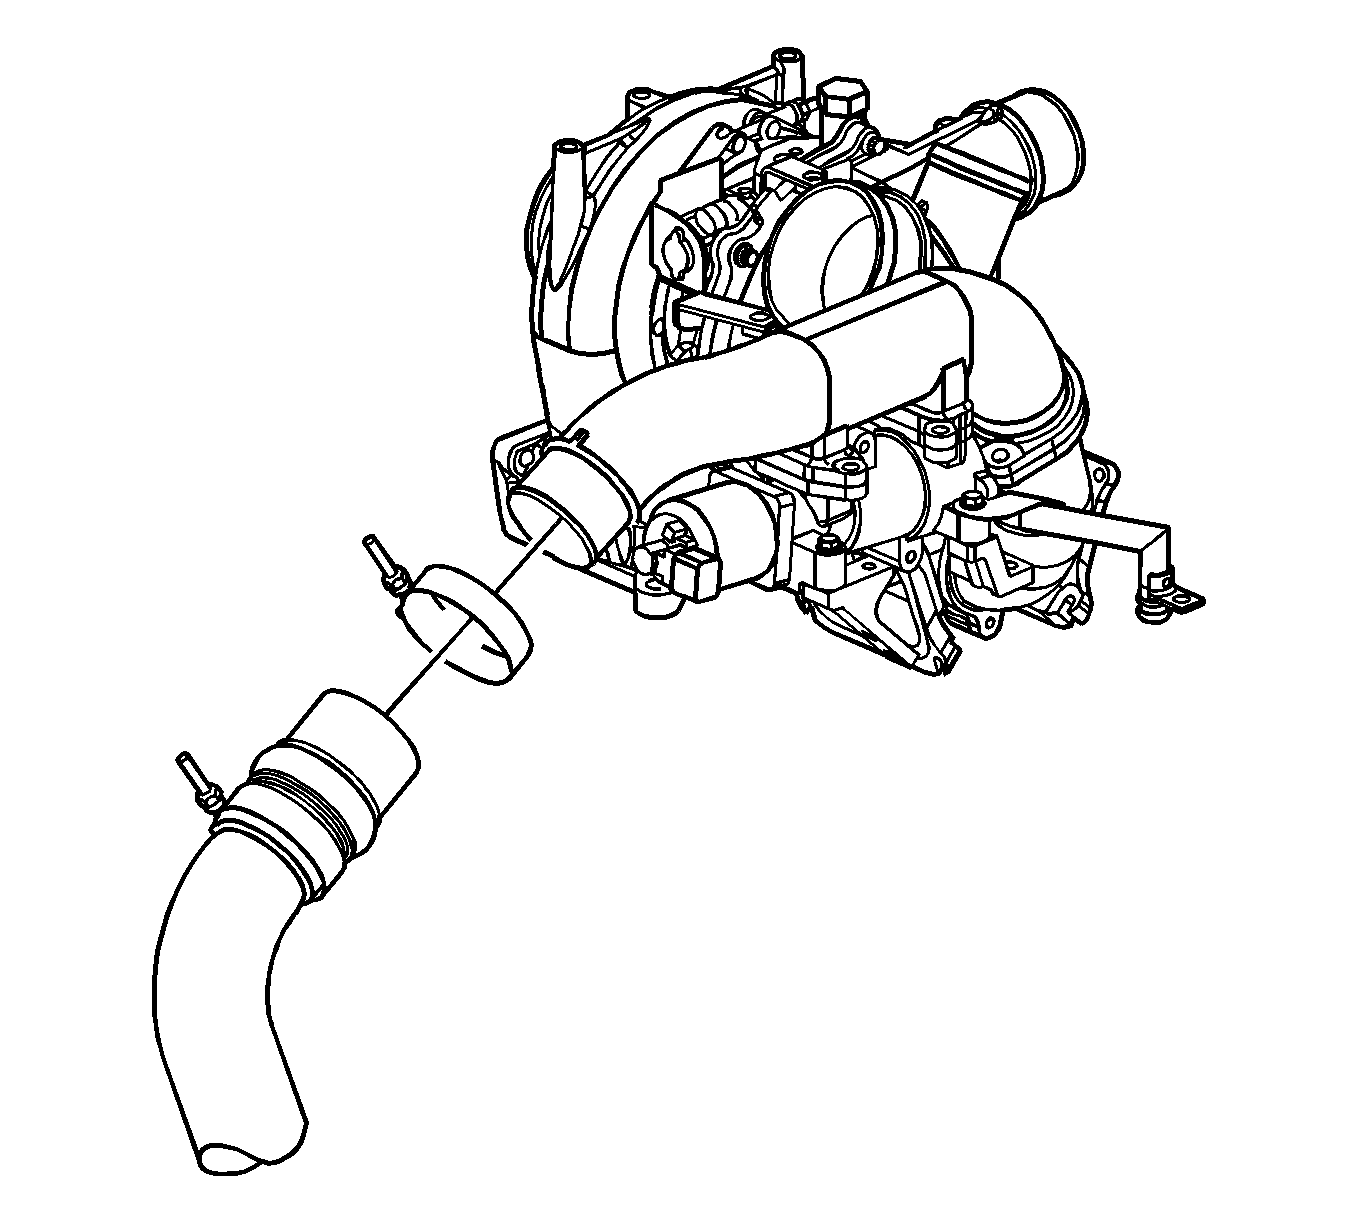
Important: Do not use a screwdriver or other tool to pry the hose loose. The hose can be torn or damaged. Loosen the hose by twisting.
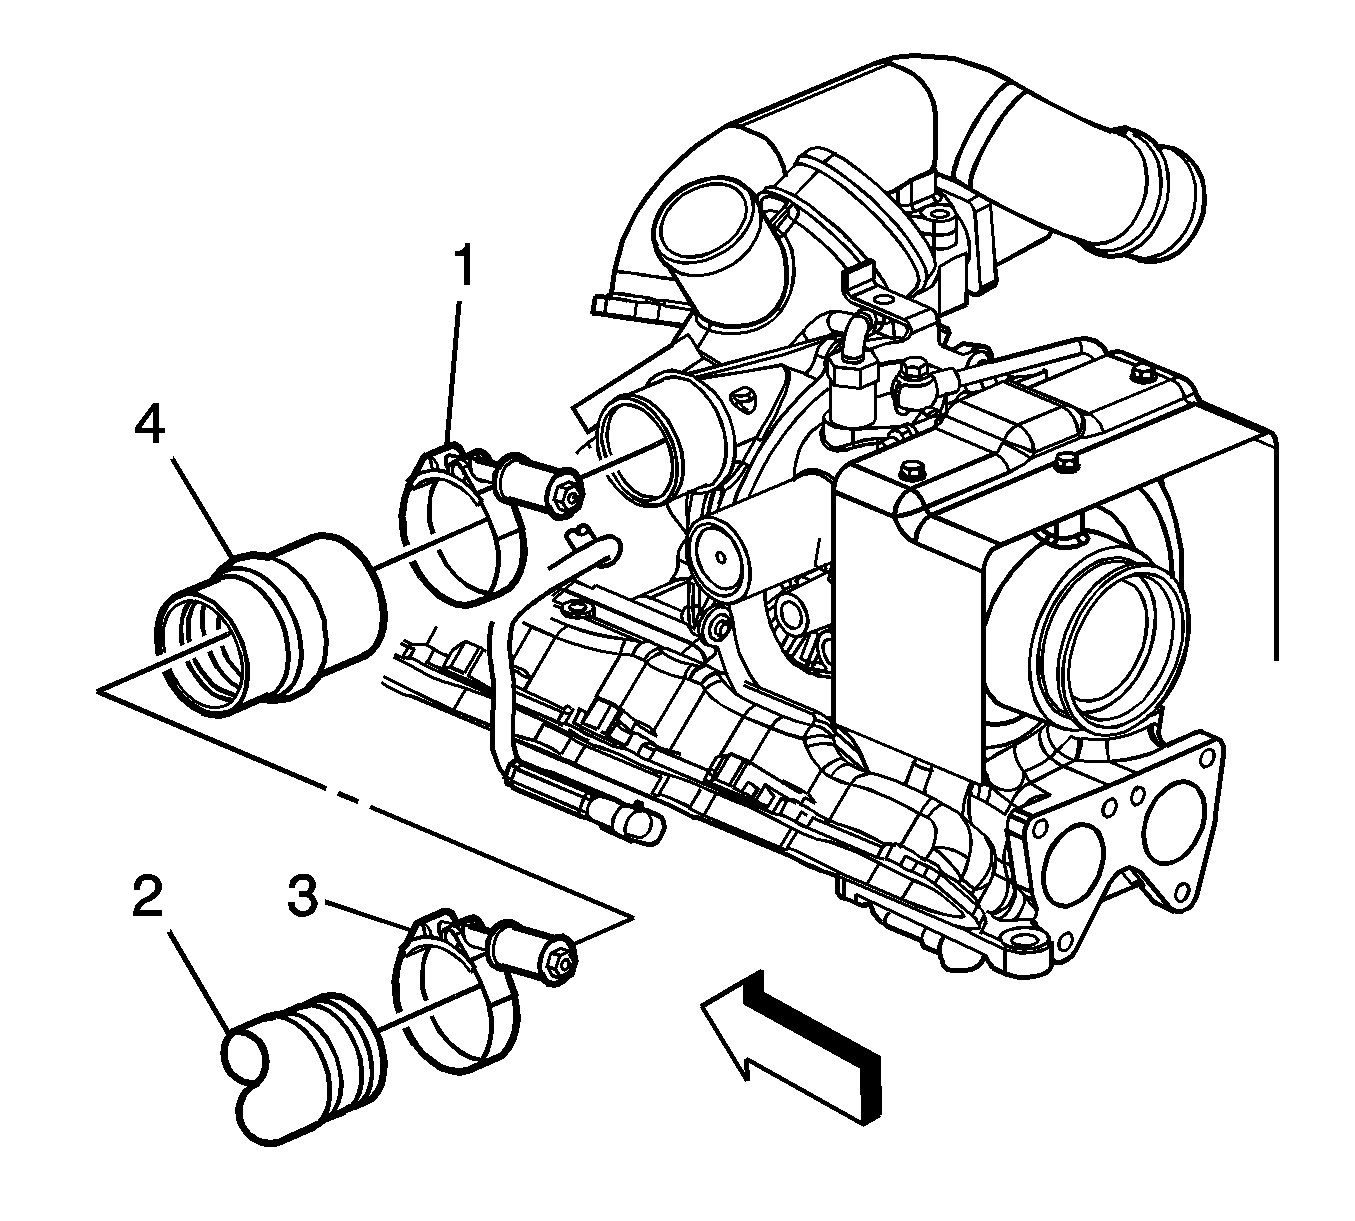
Important: Do not use a screwdriver or other tool to pry the hose loose. The hose can be torn or damaged. Loosen the hose by twisting.
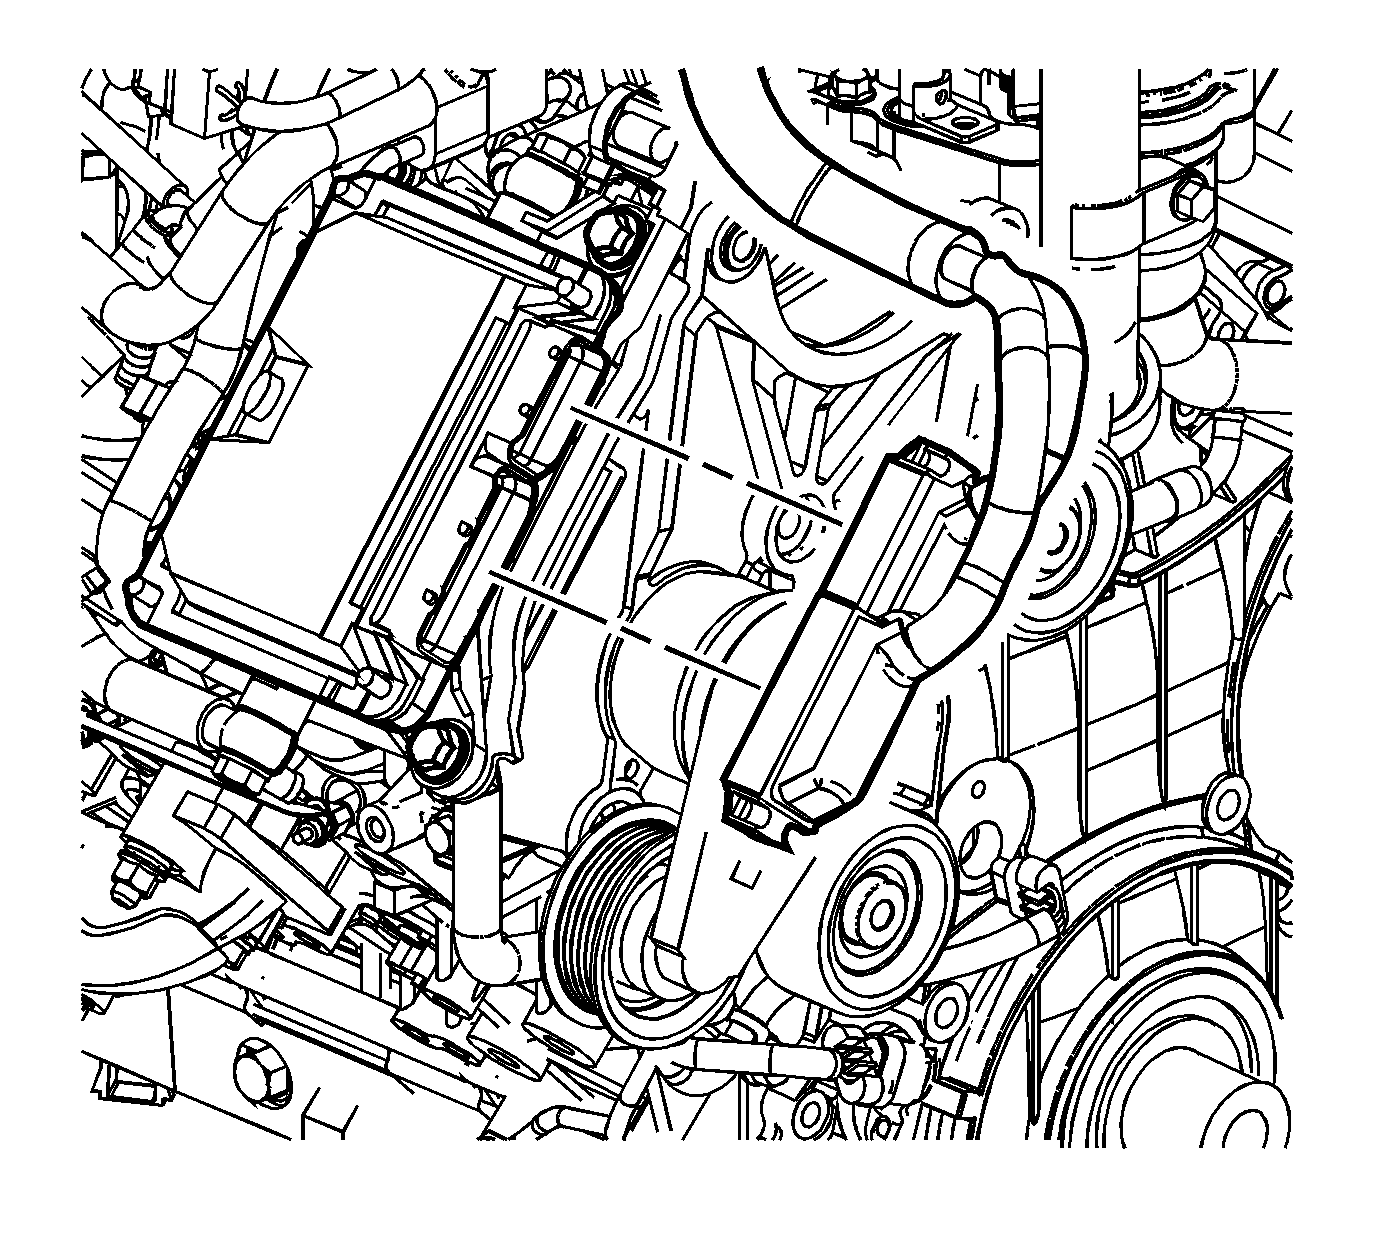
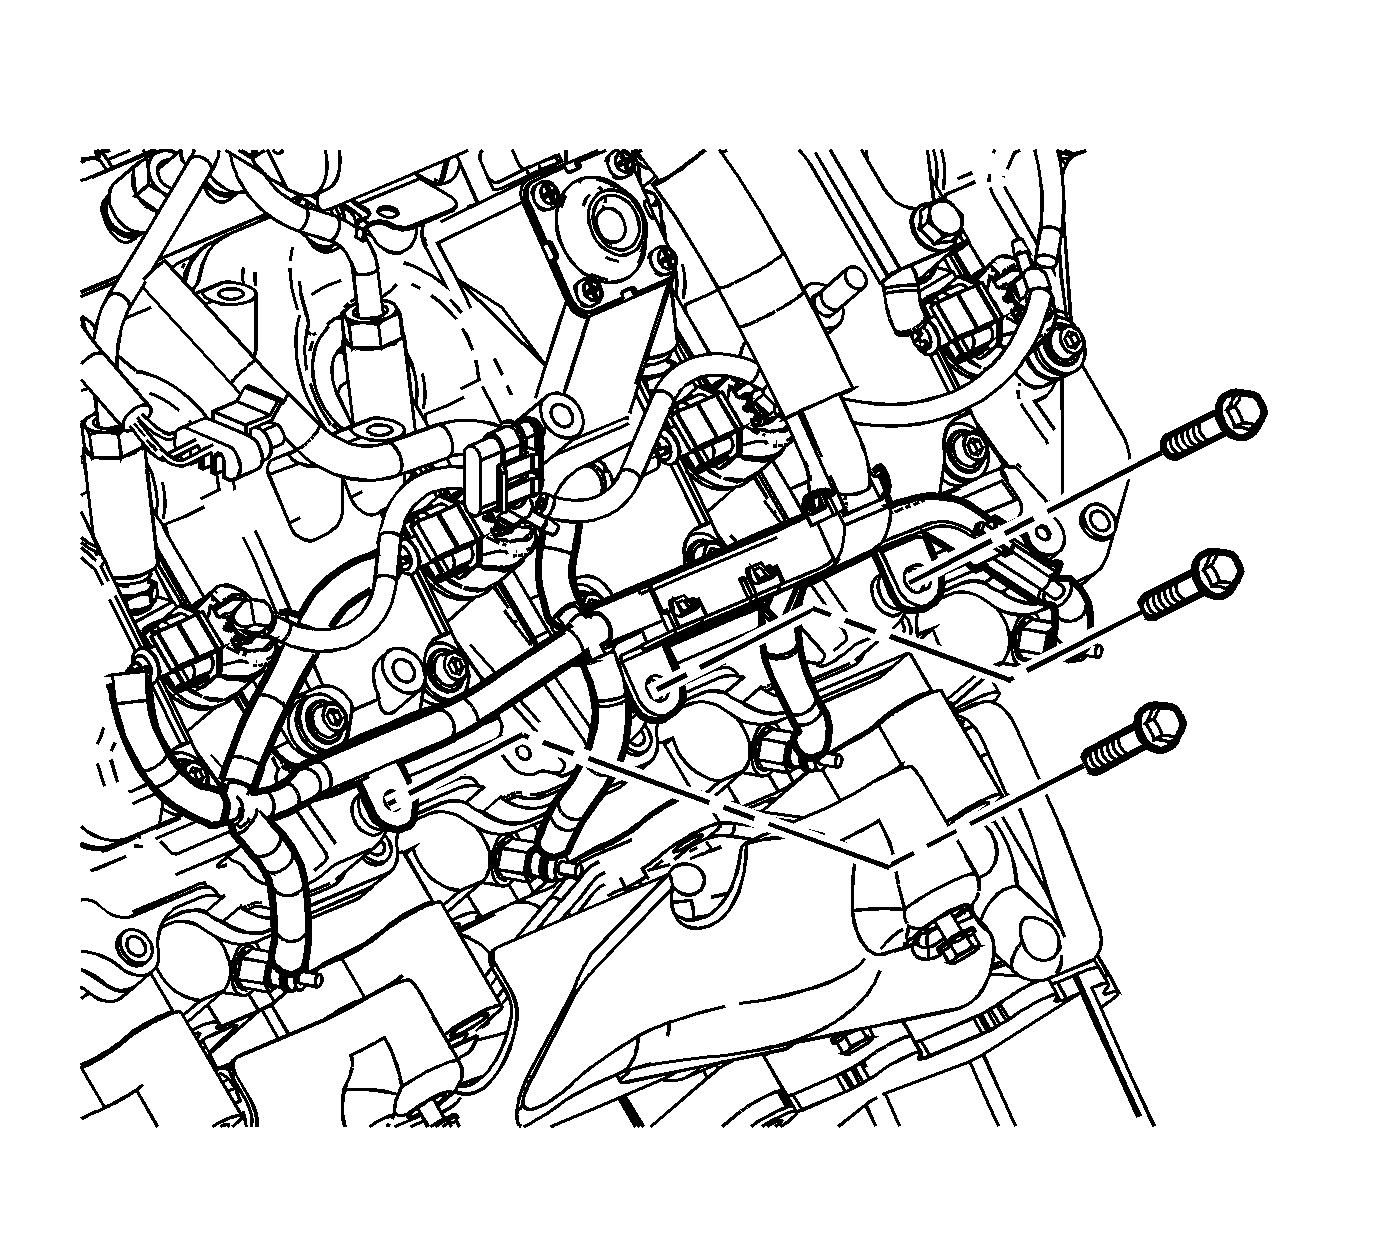
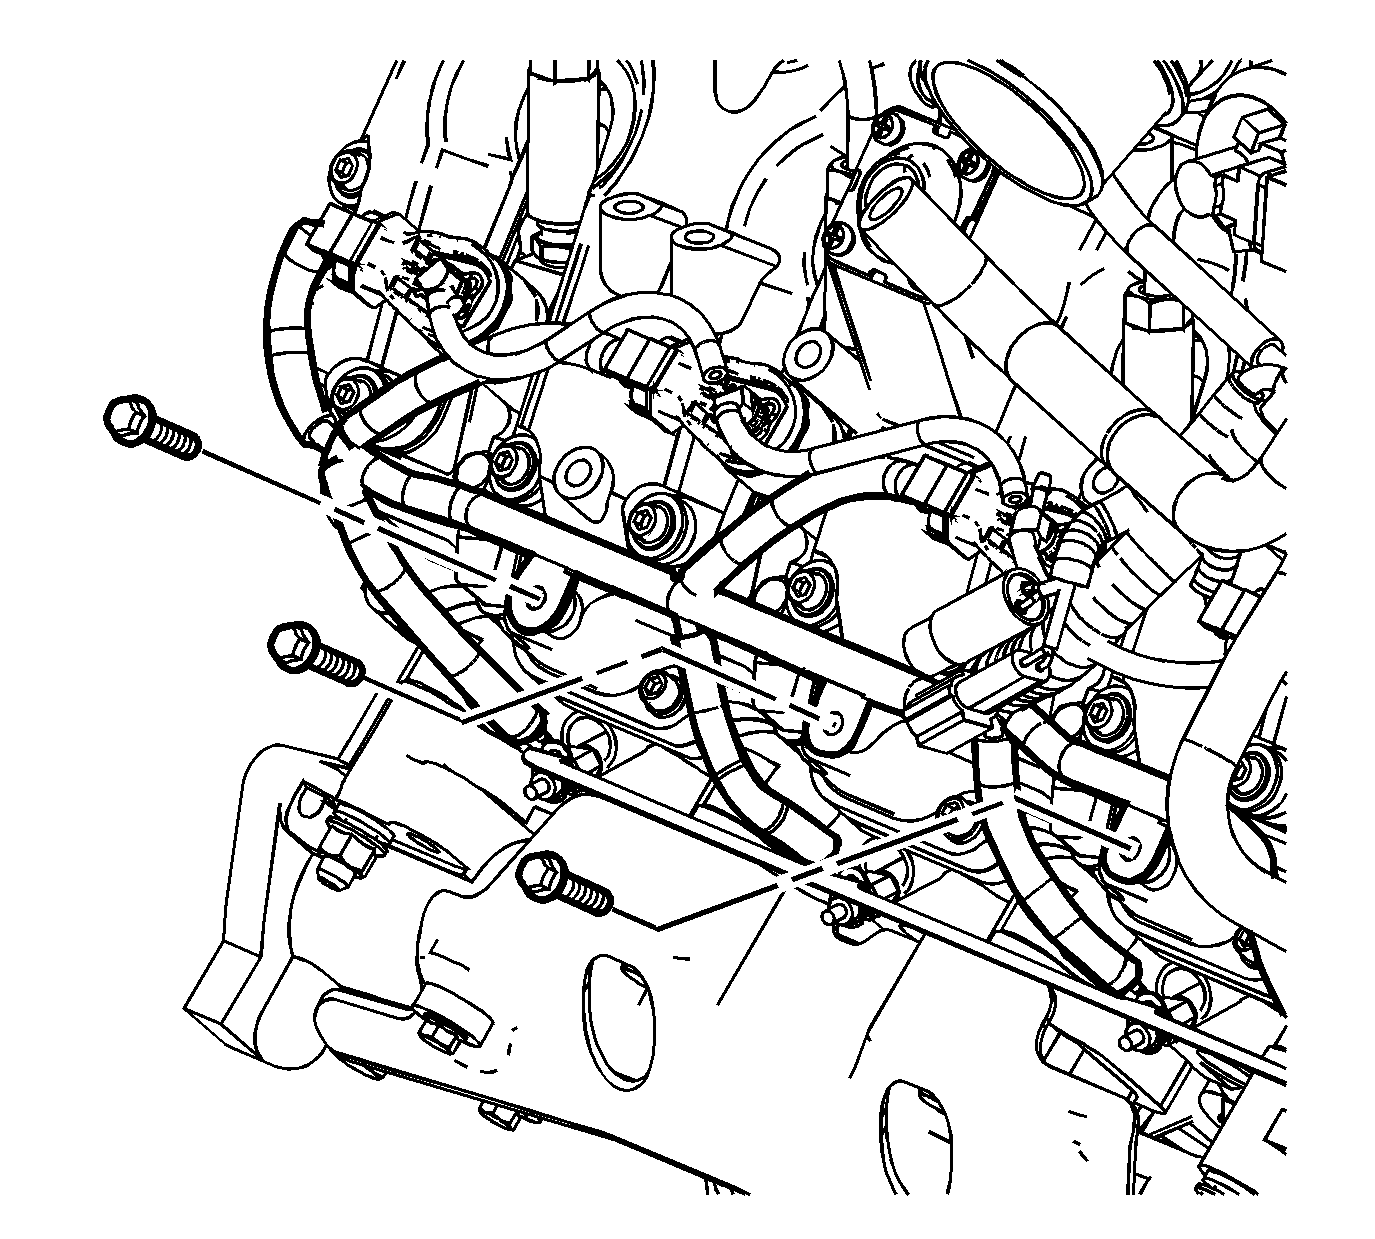
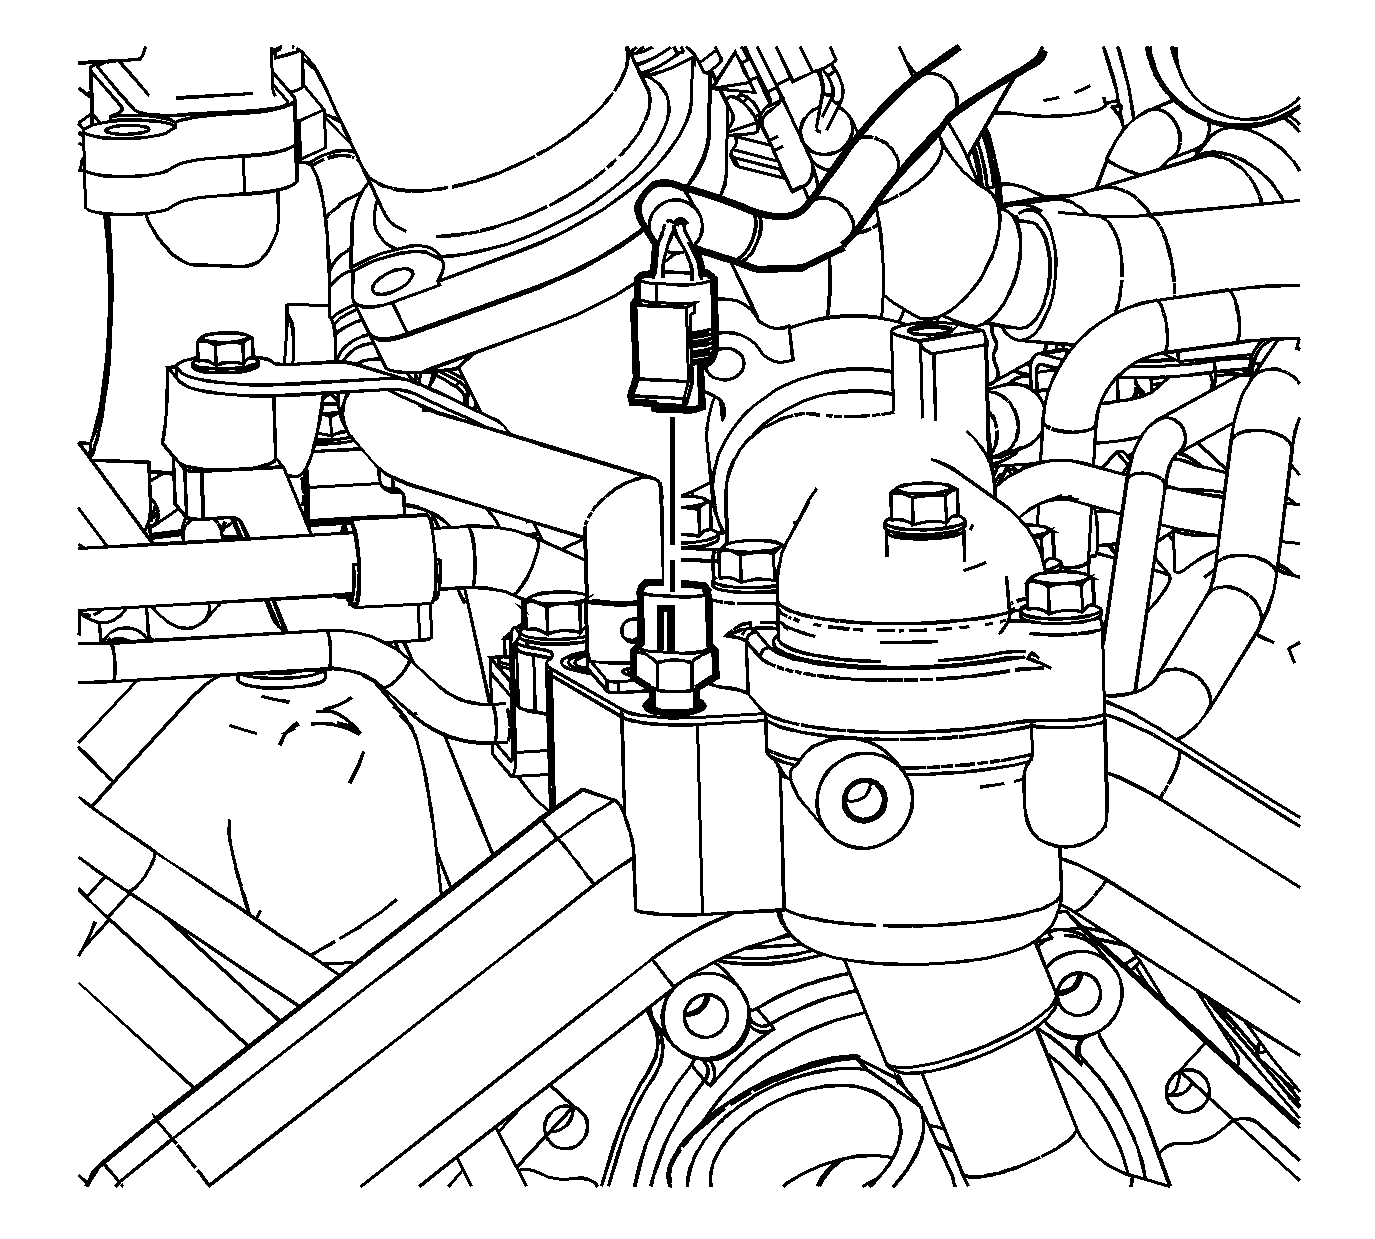
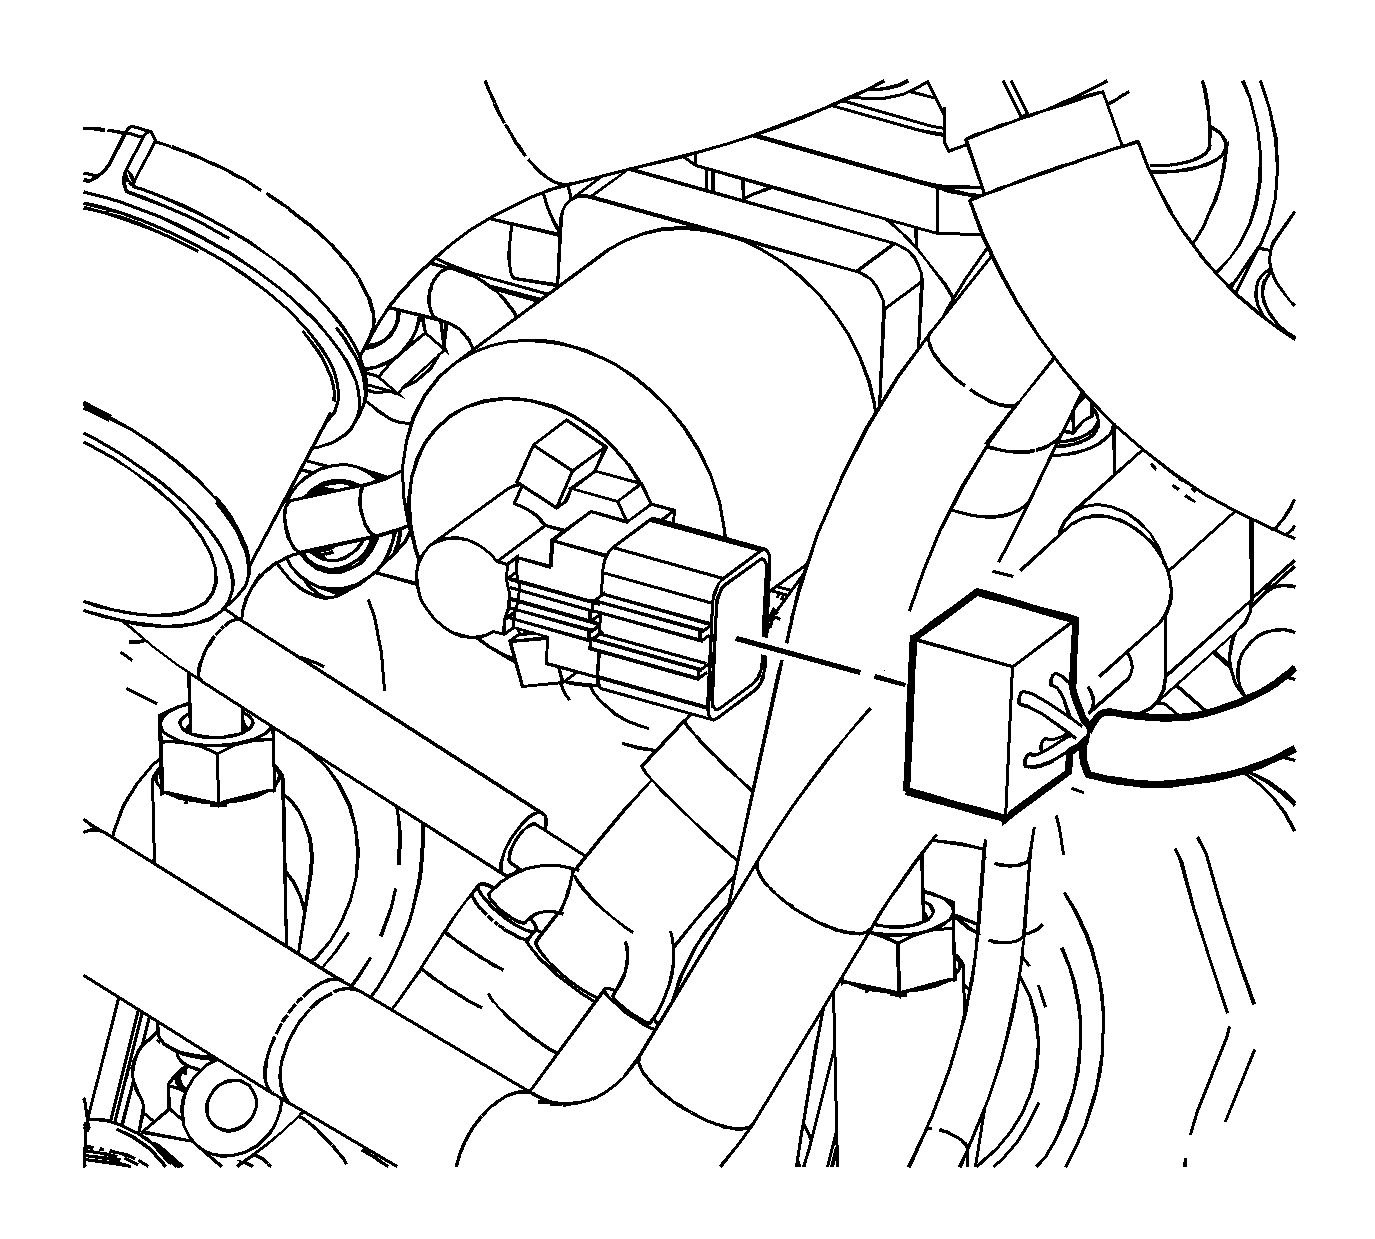
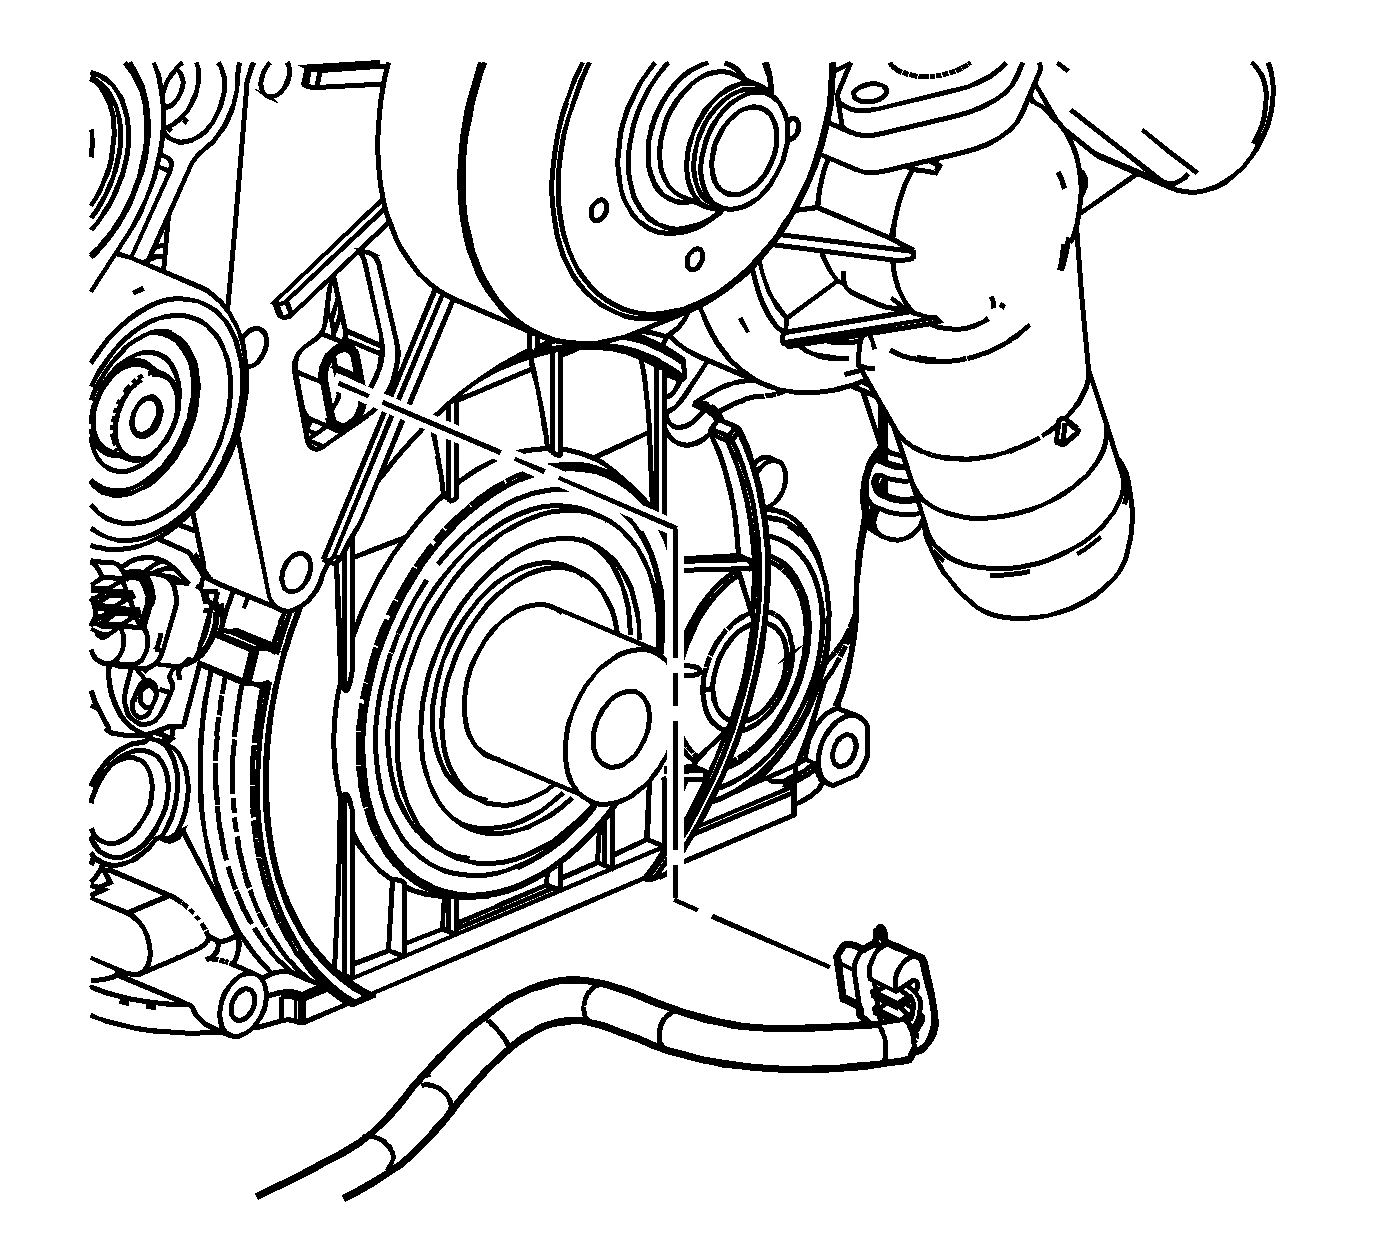
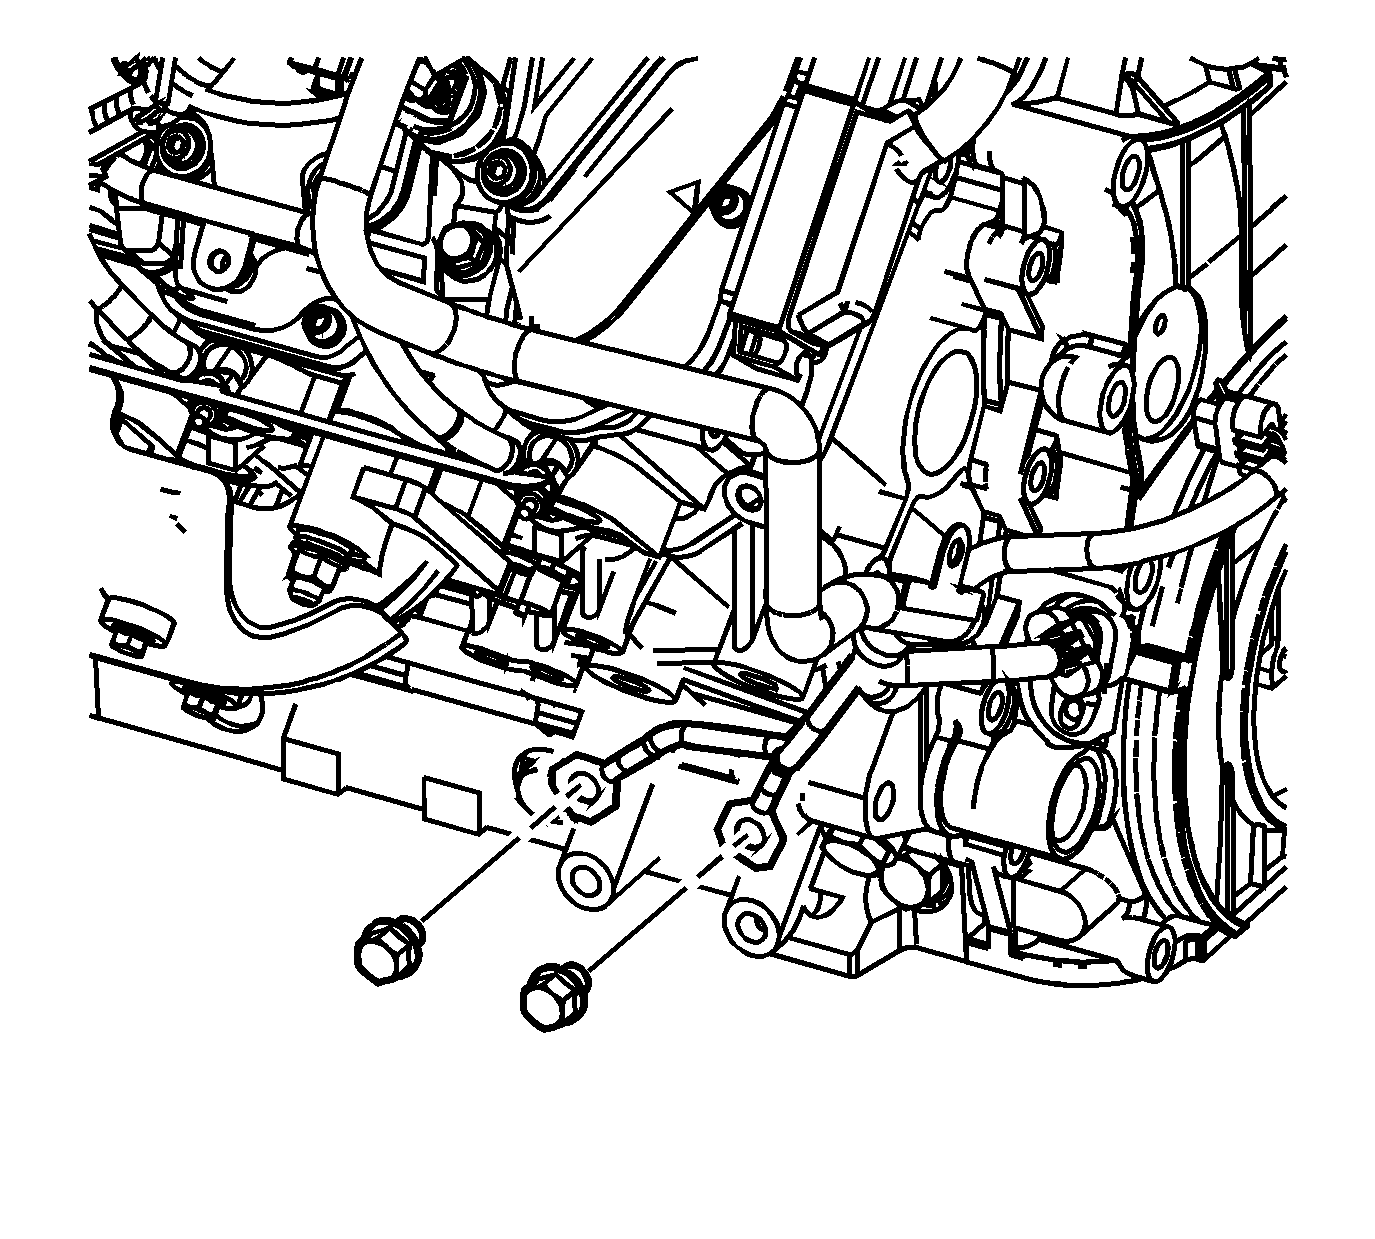
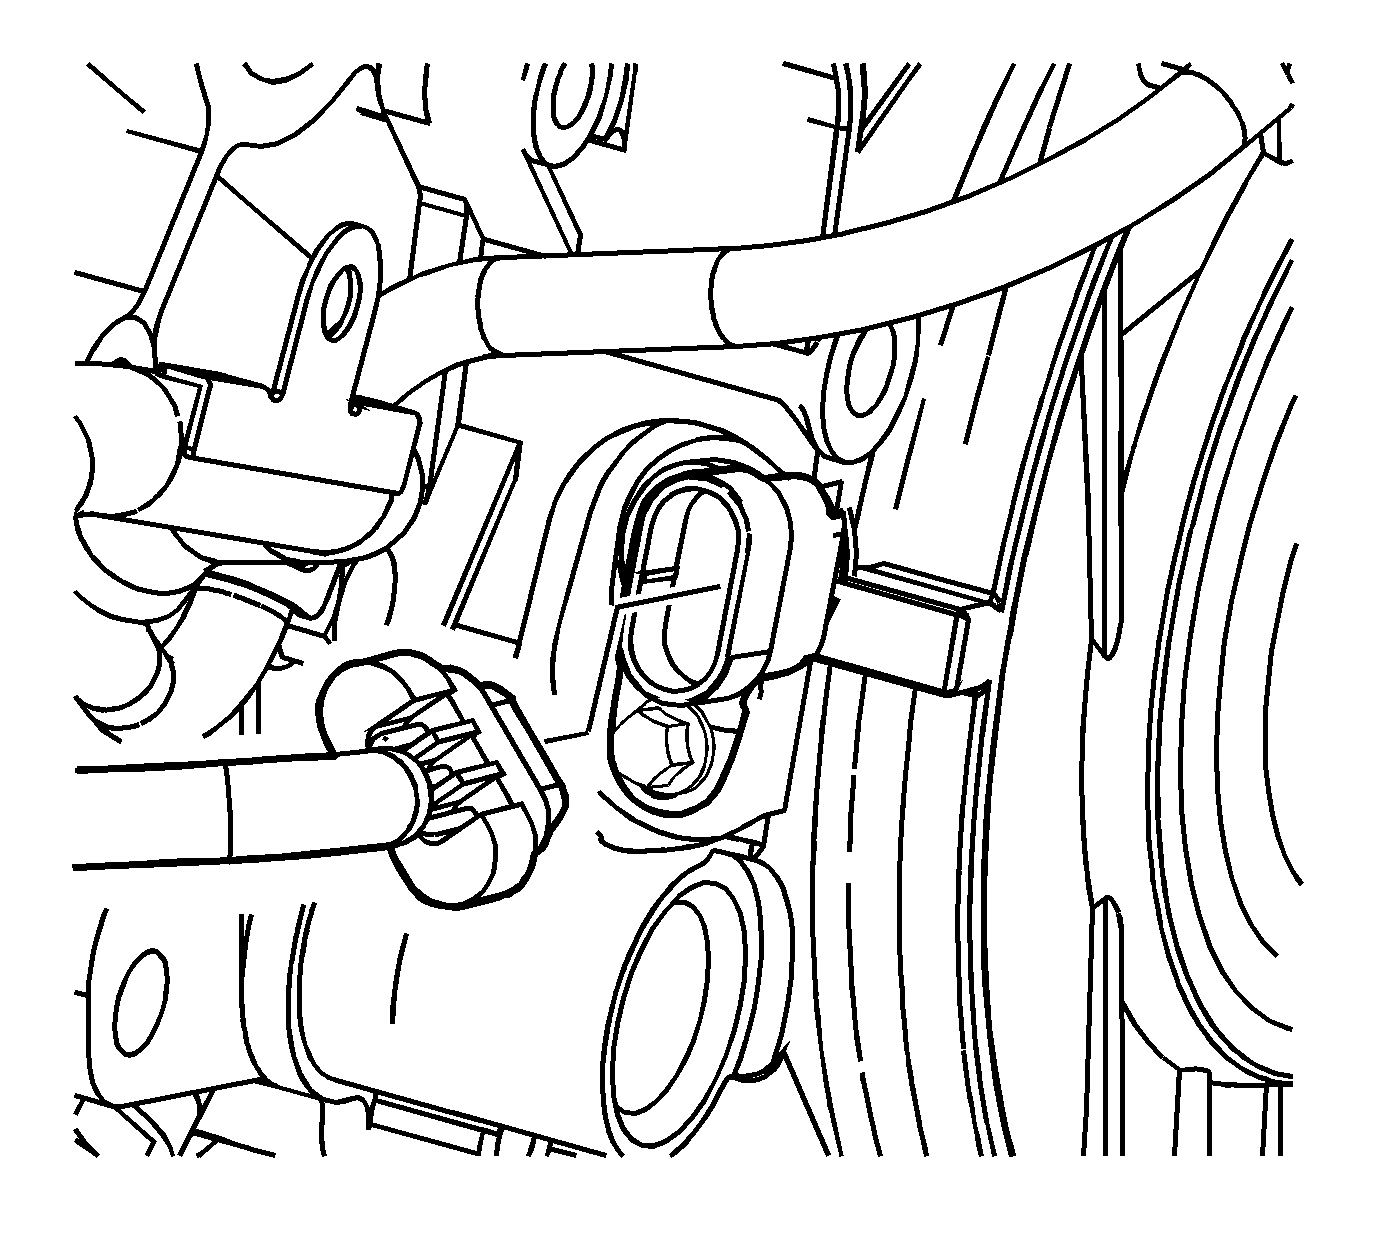
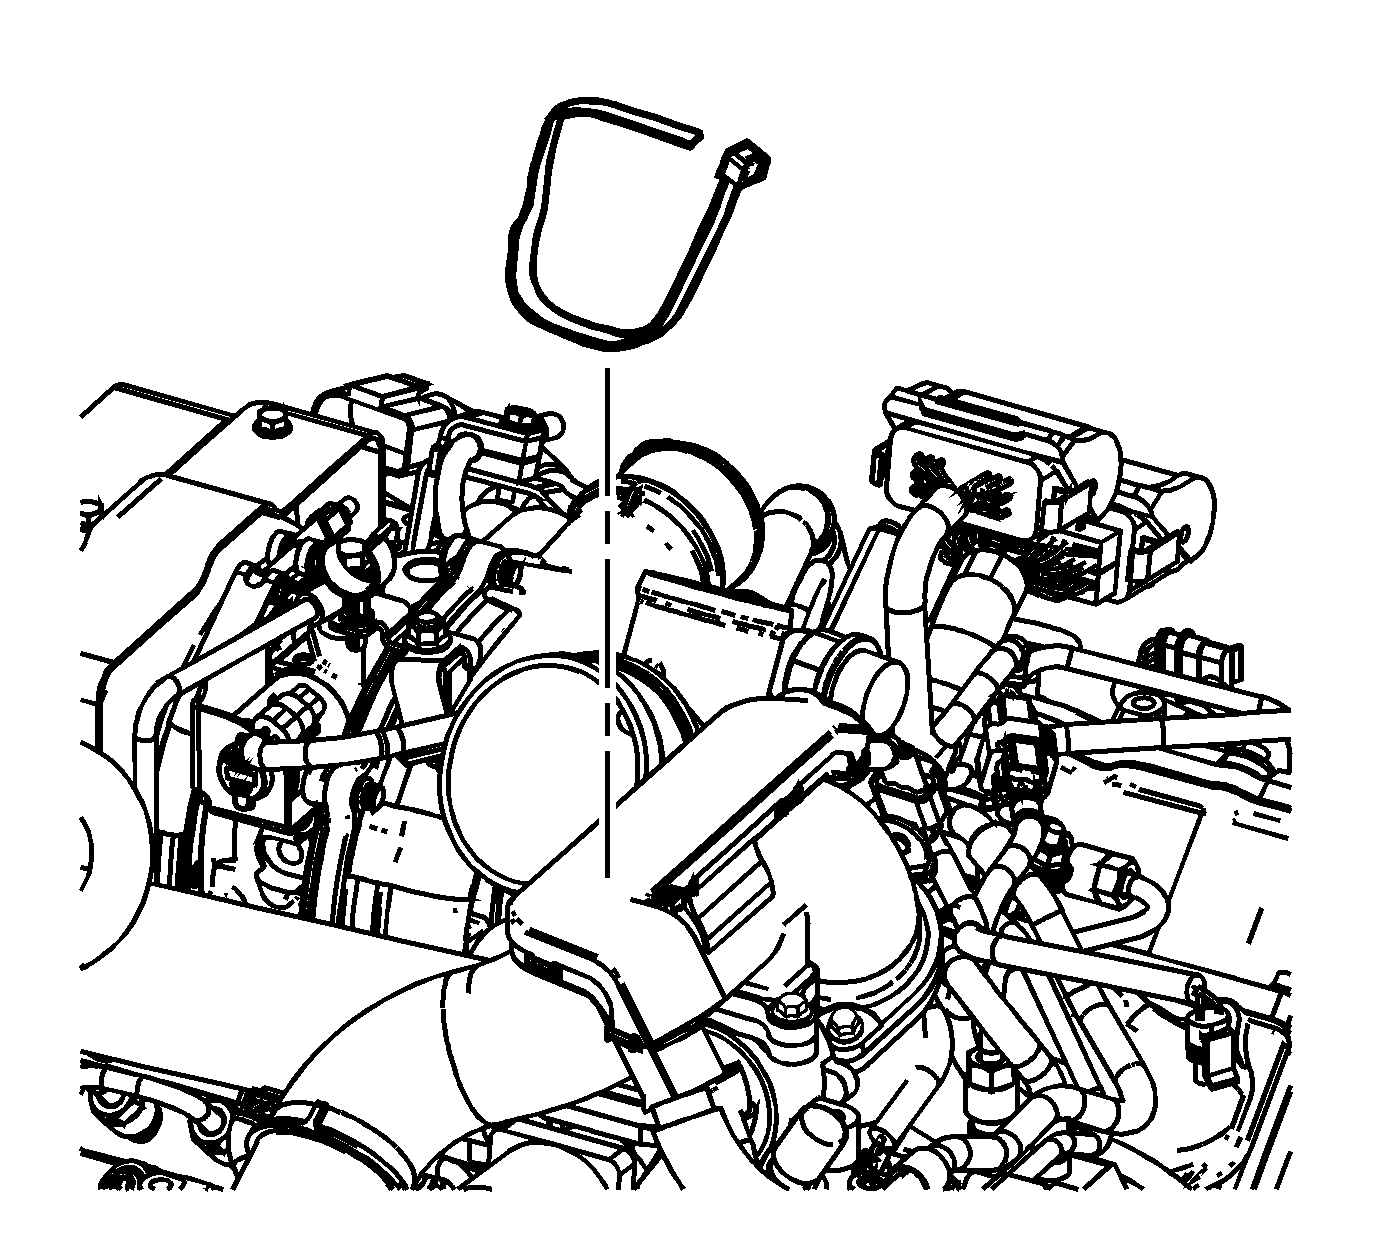
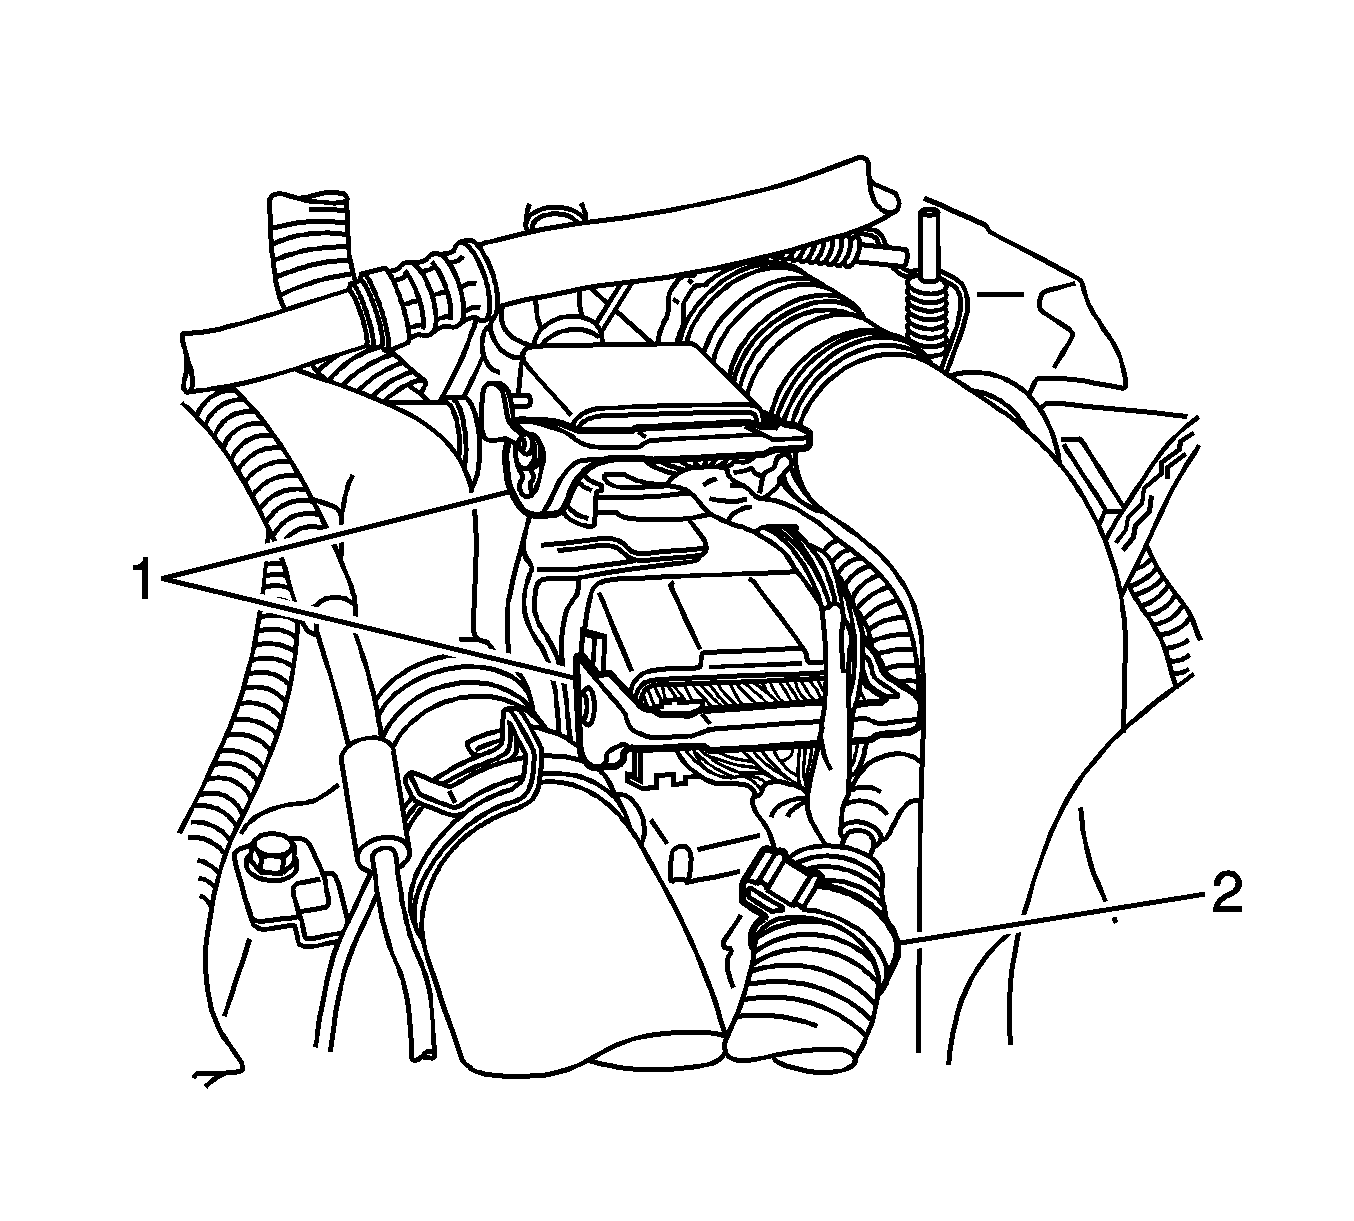
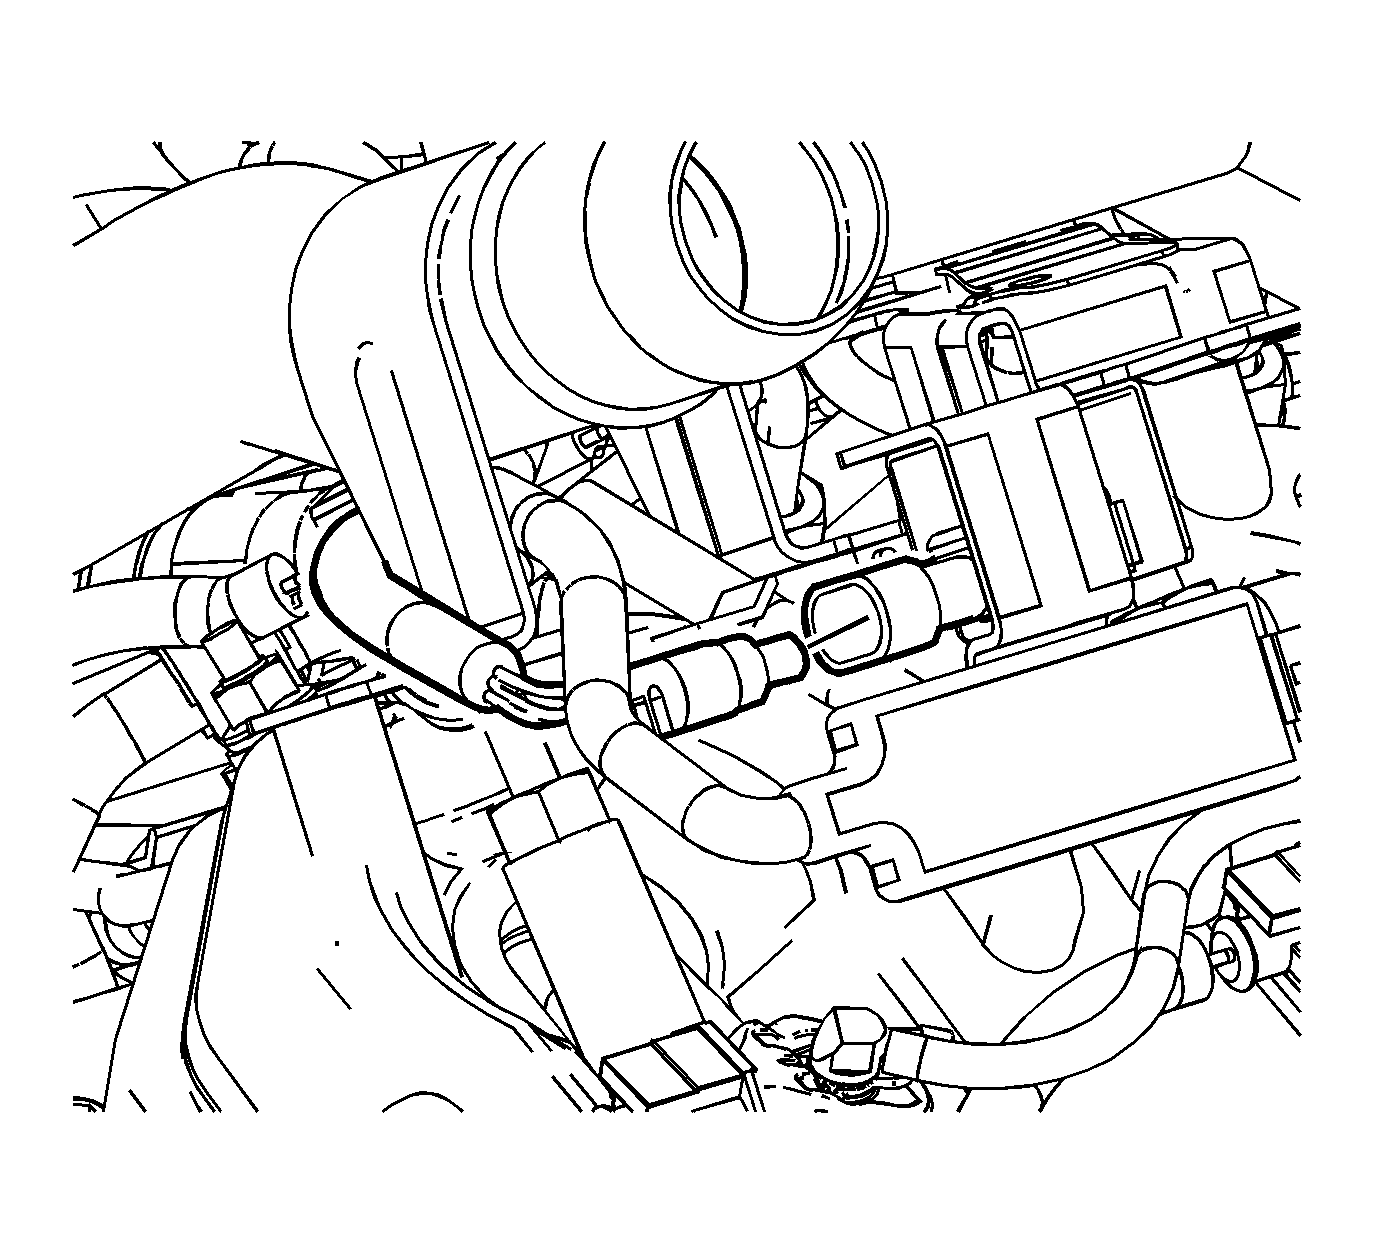
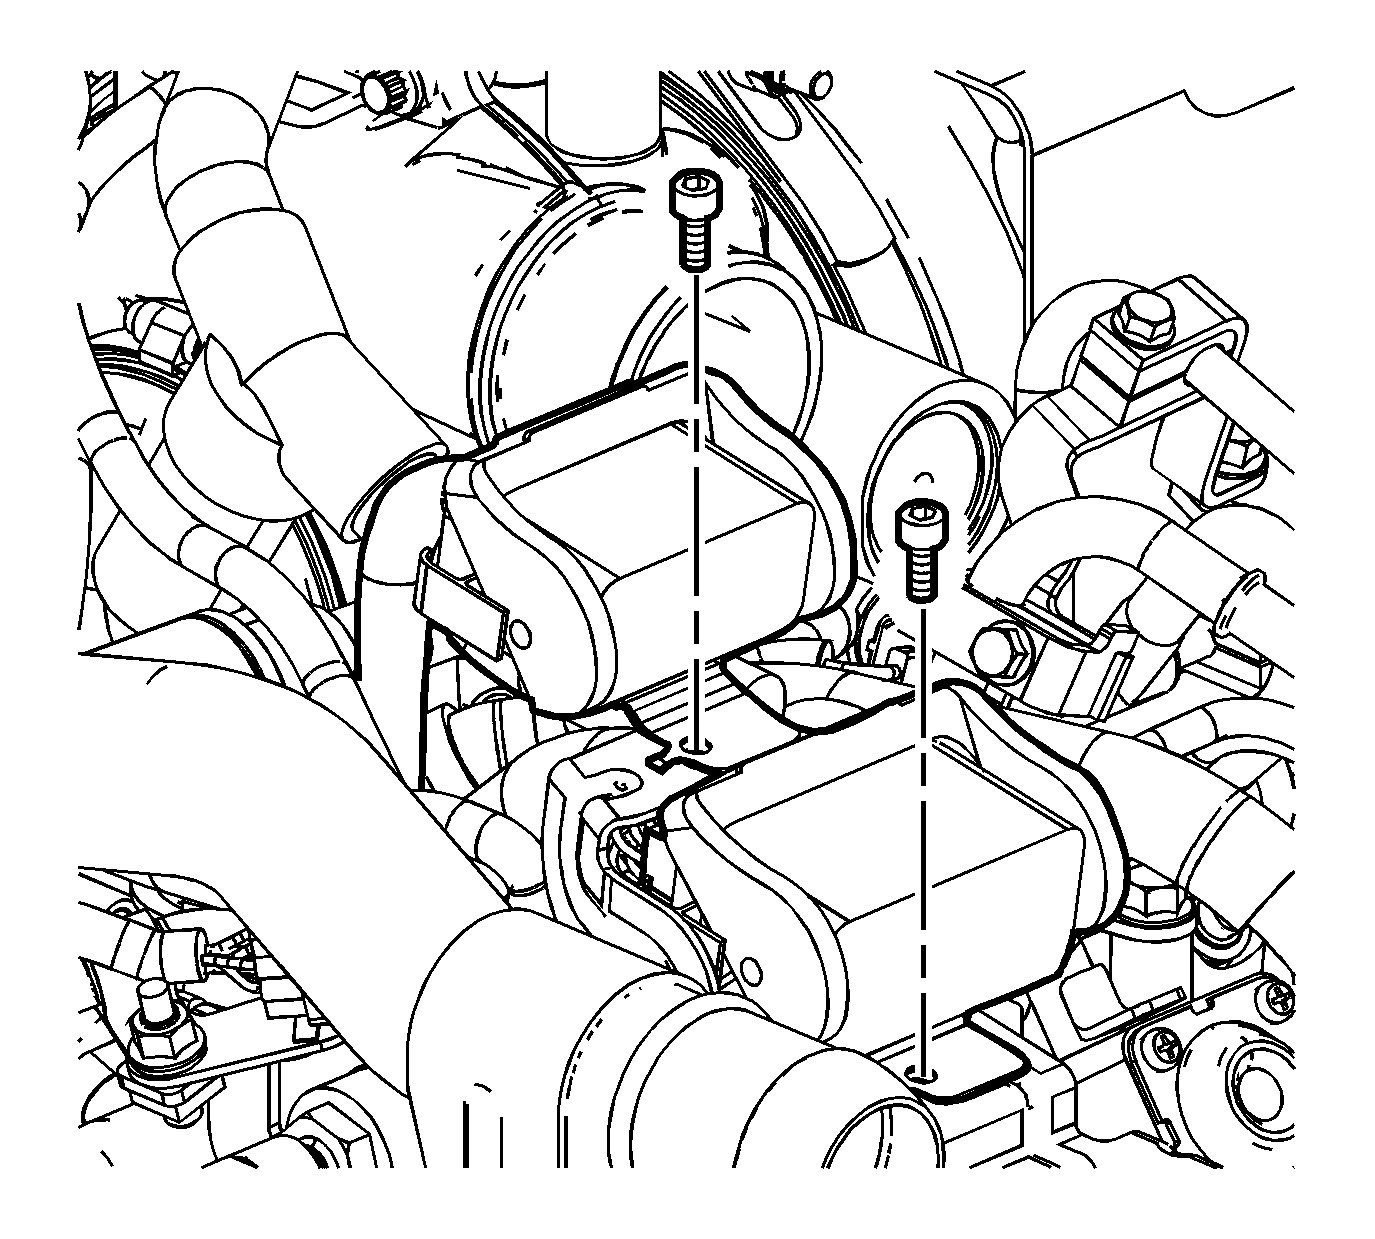
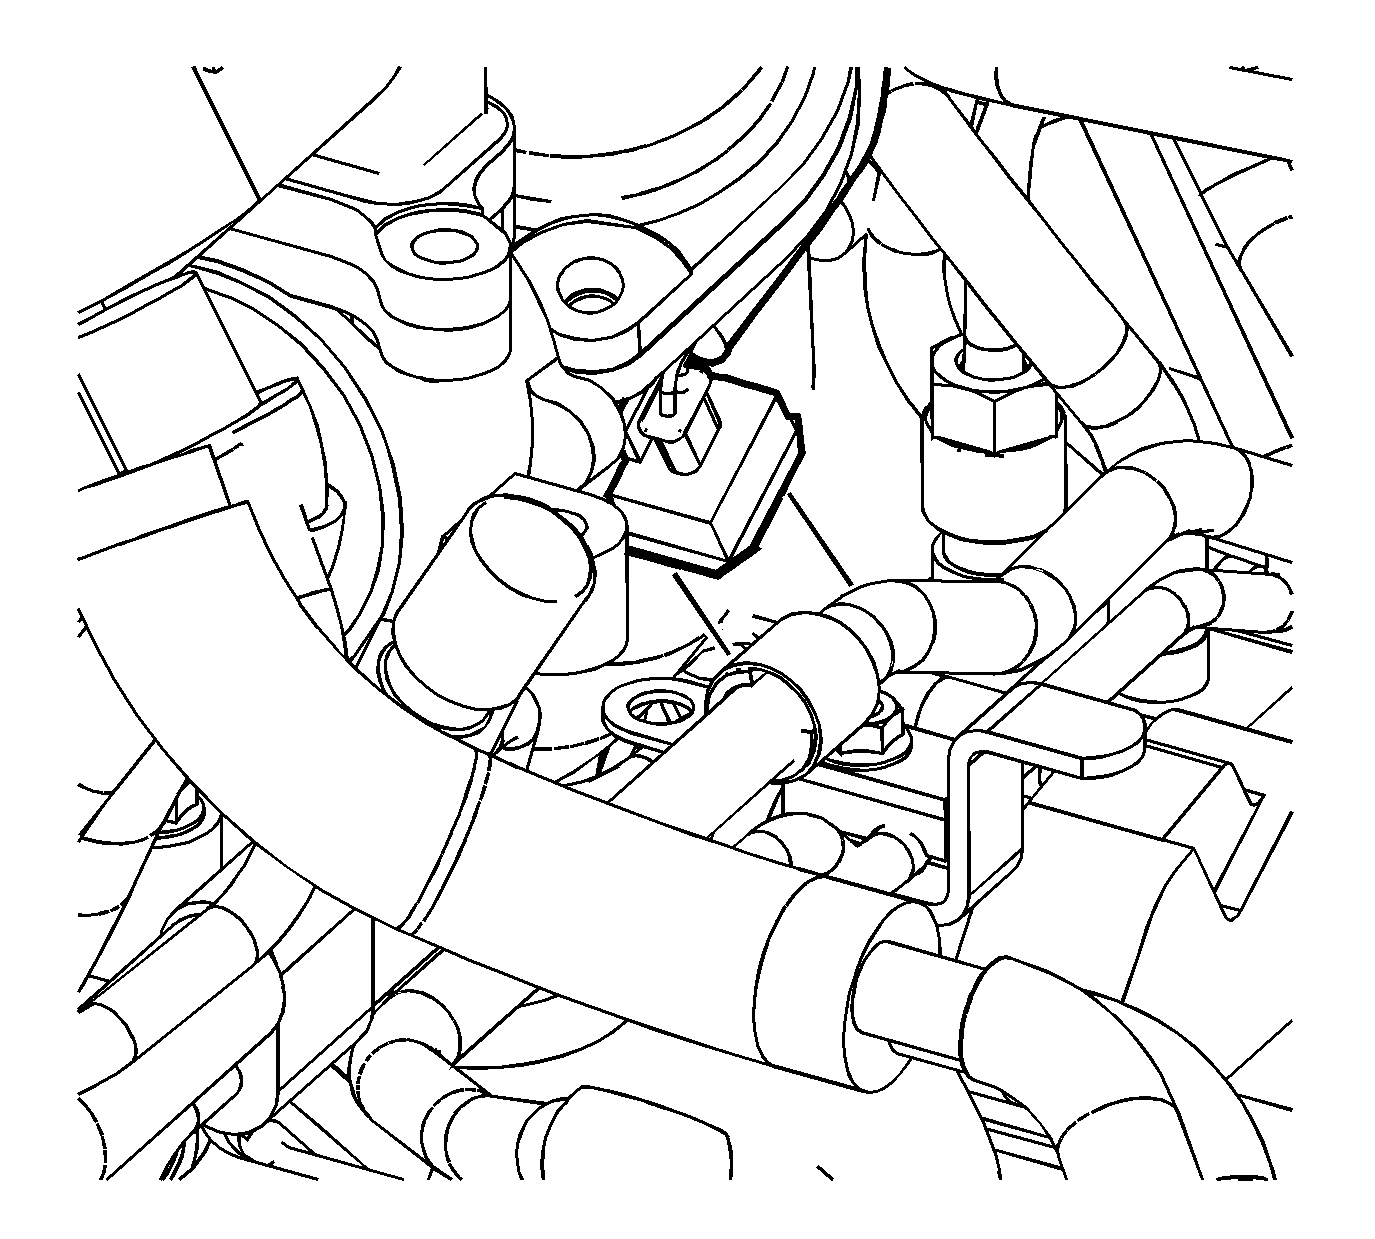
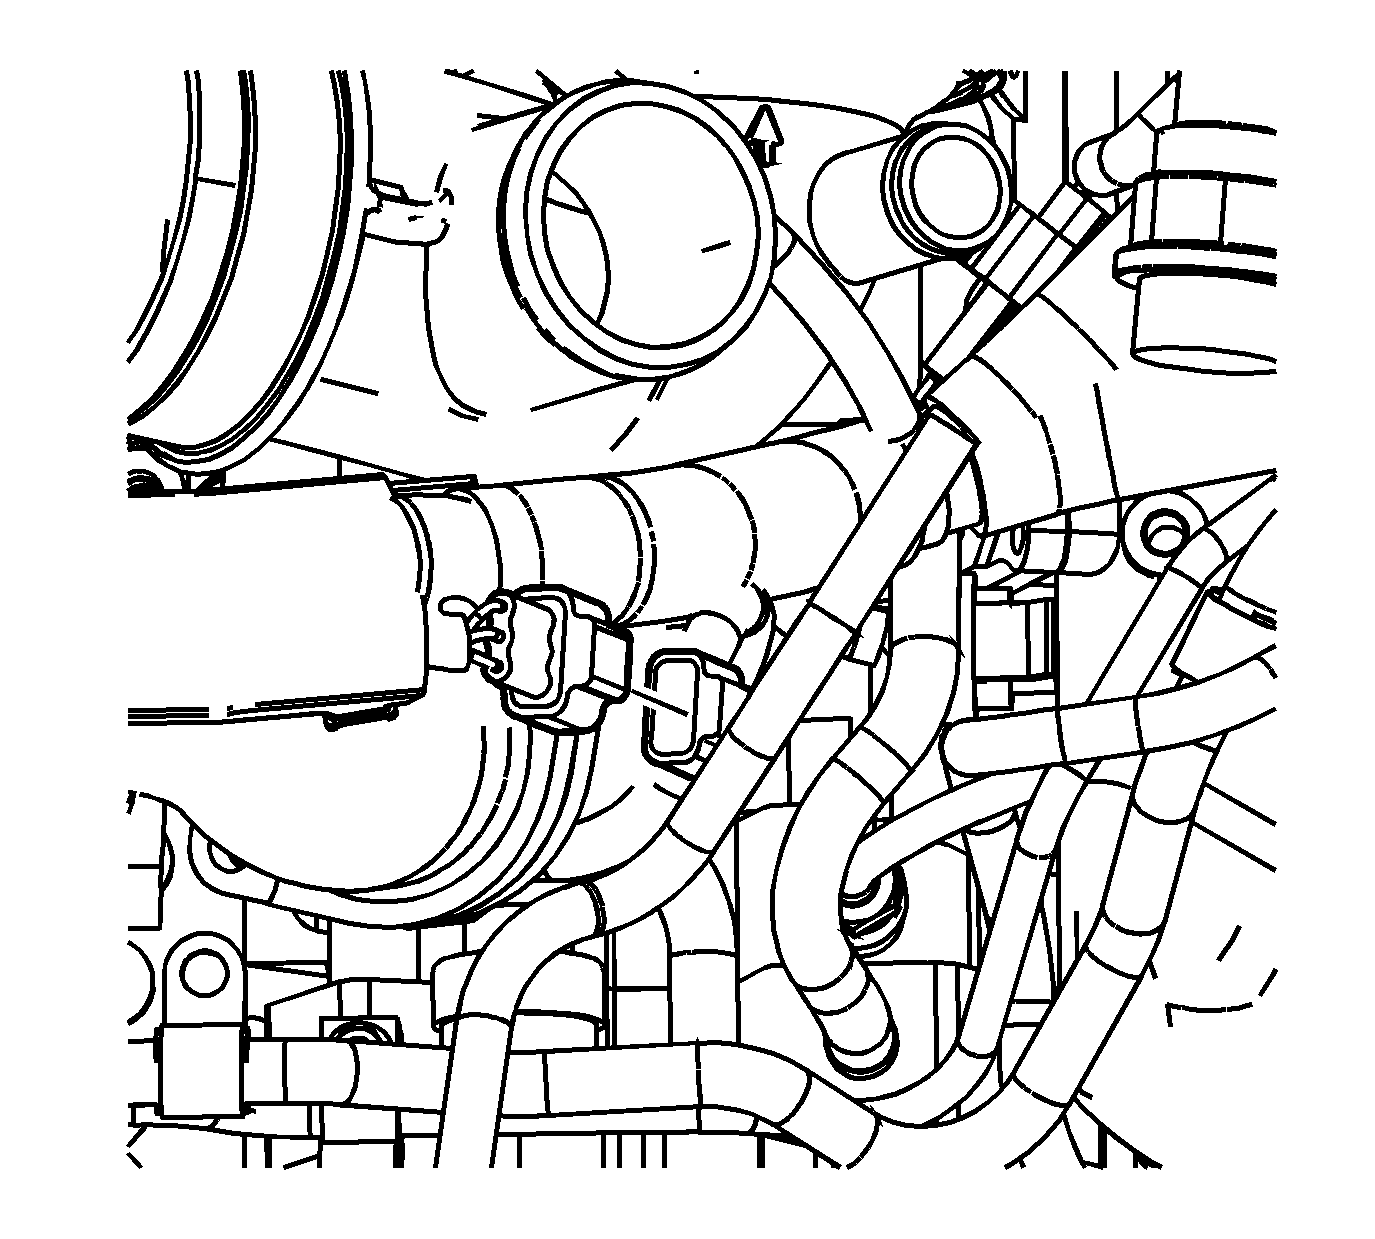
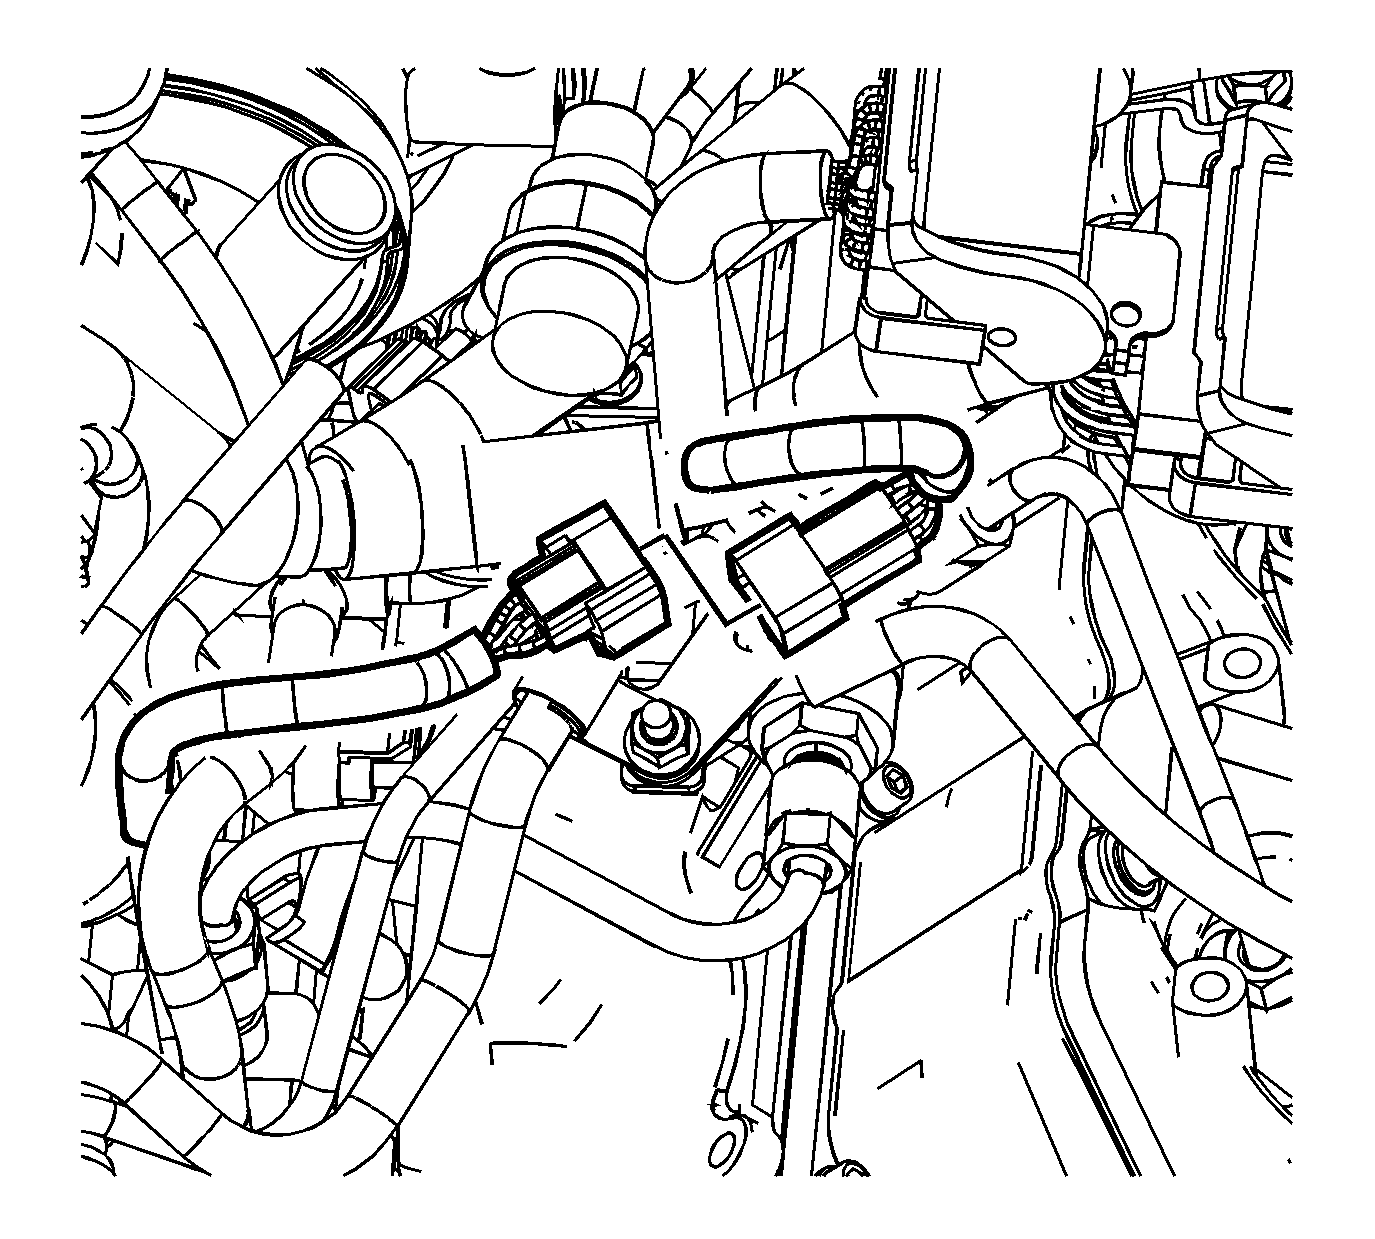
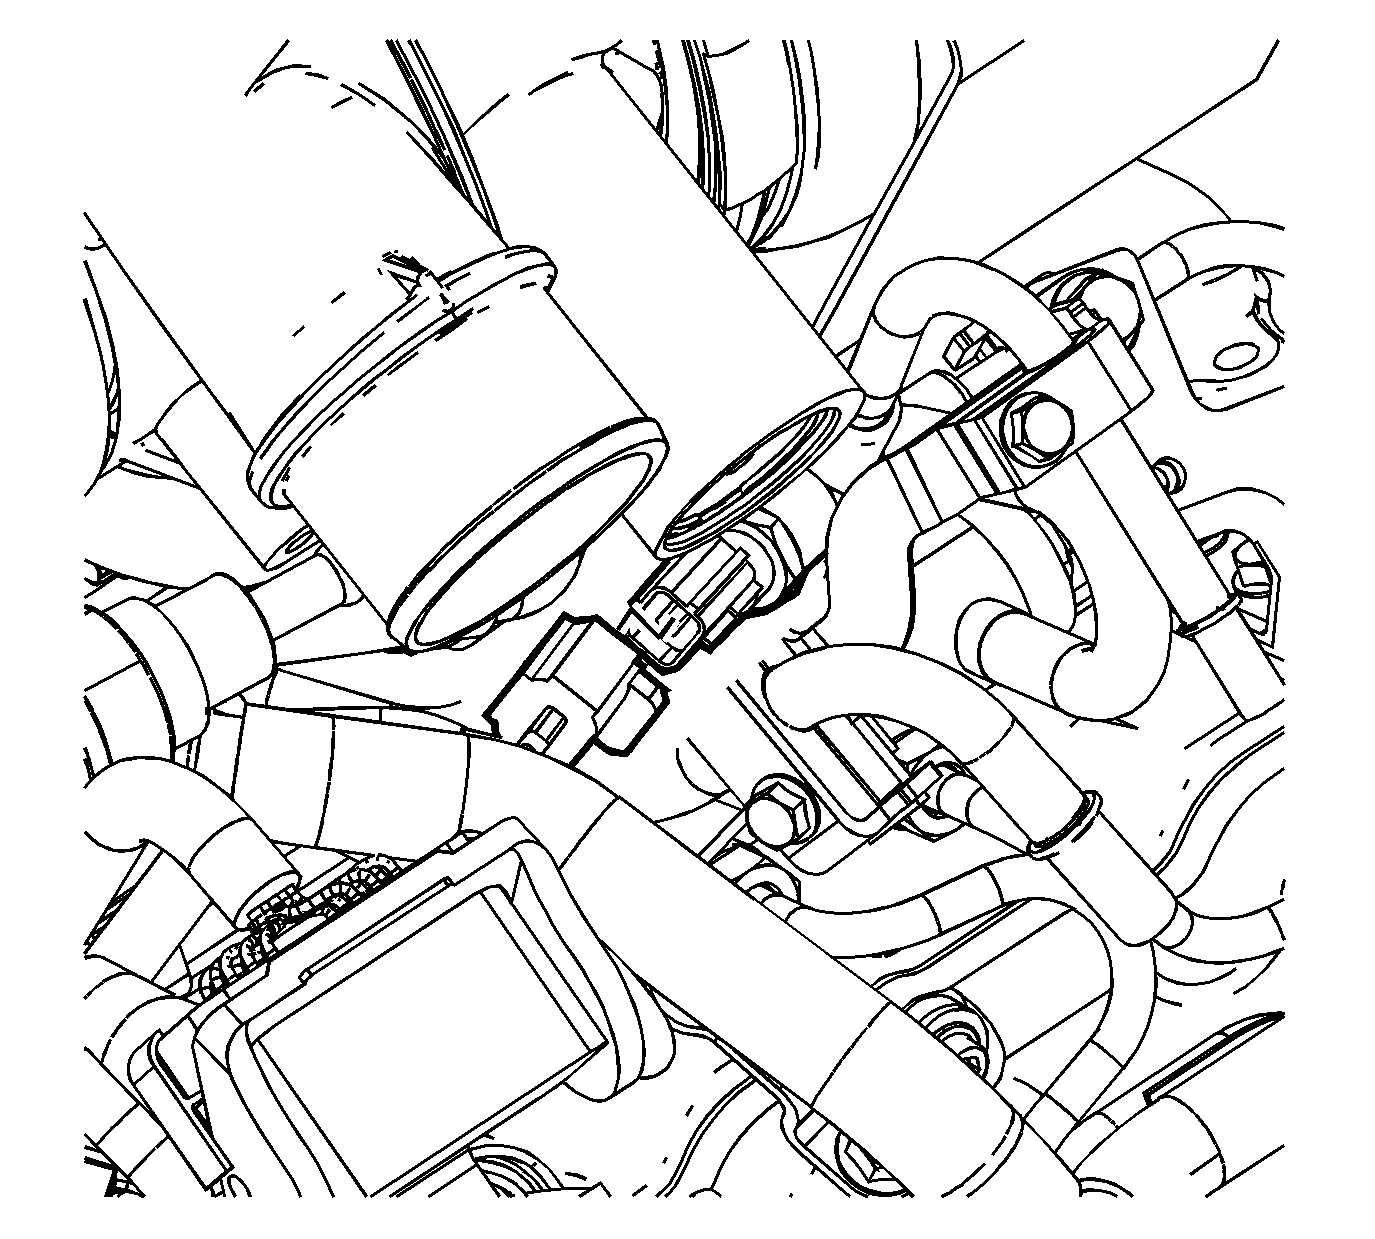
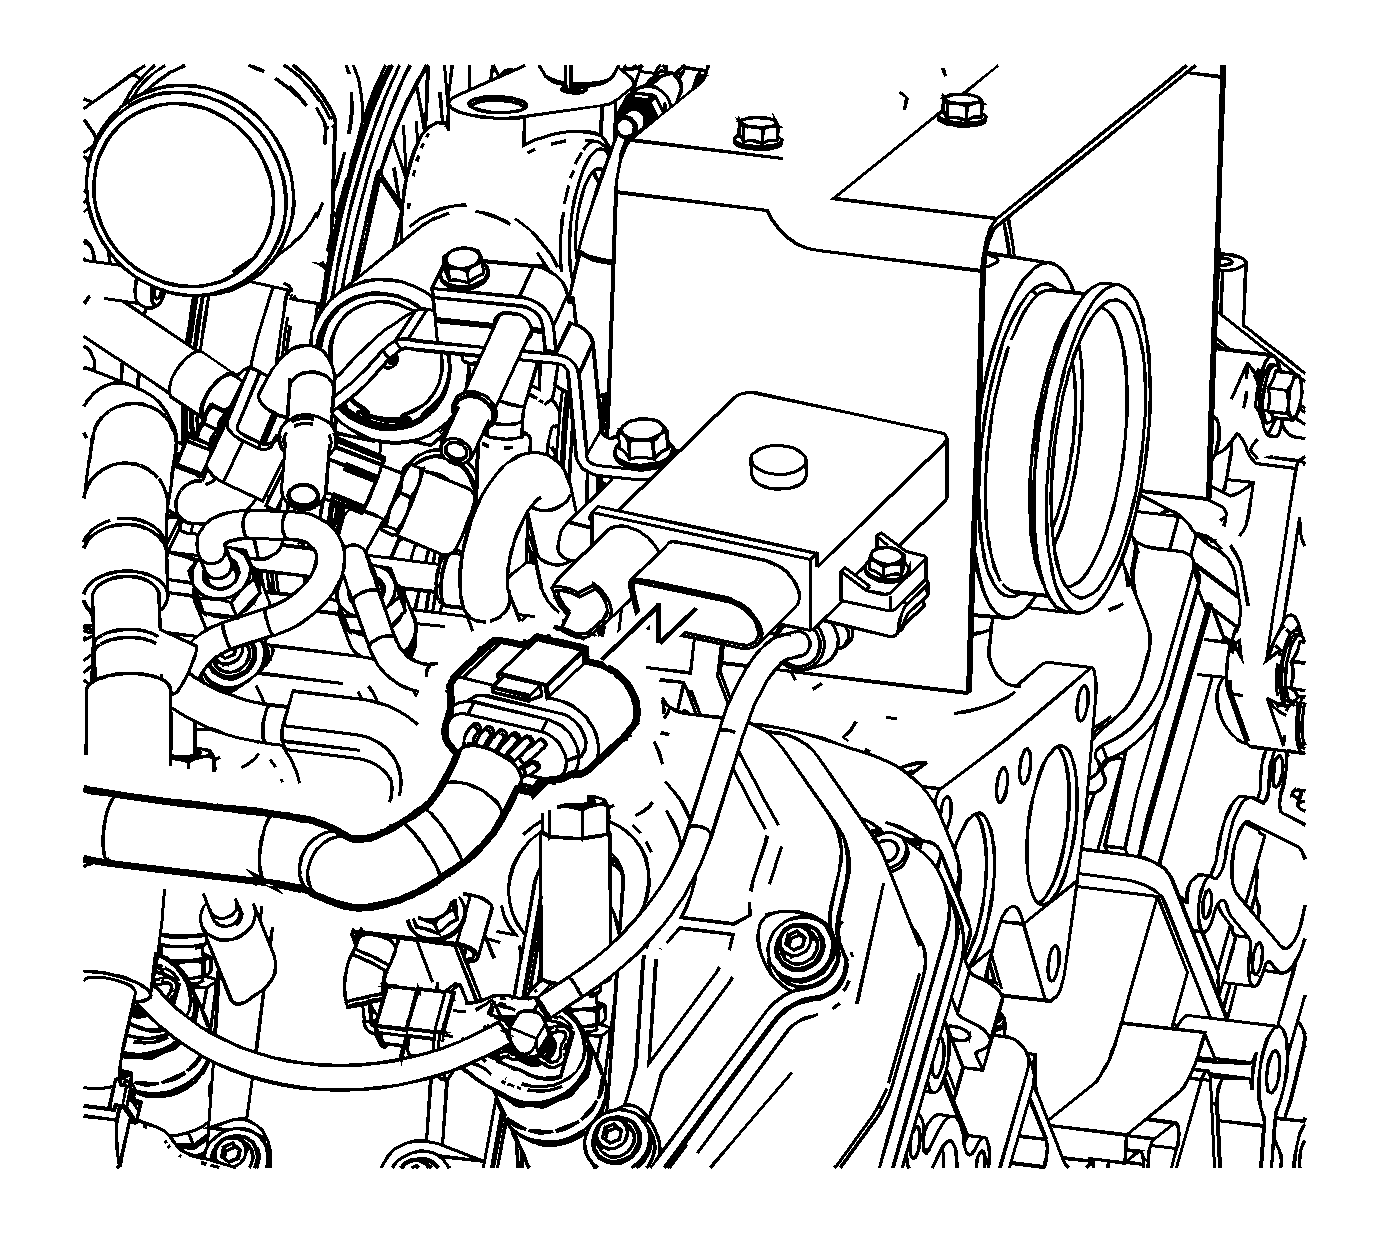
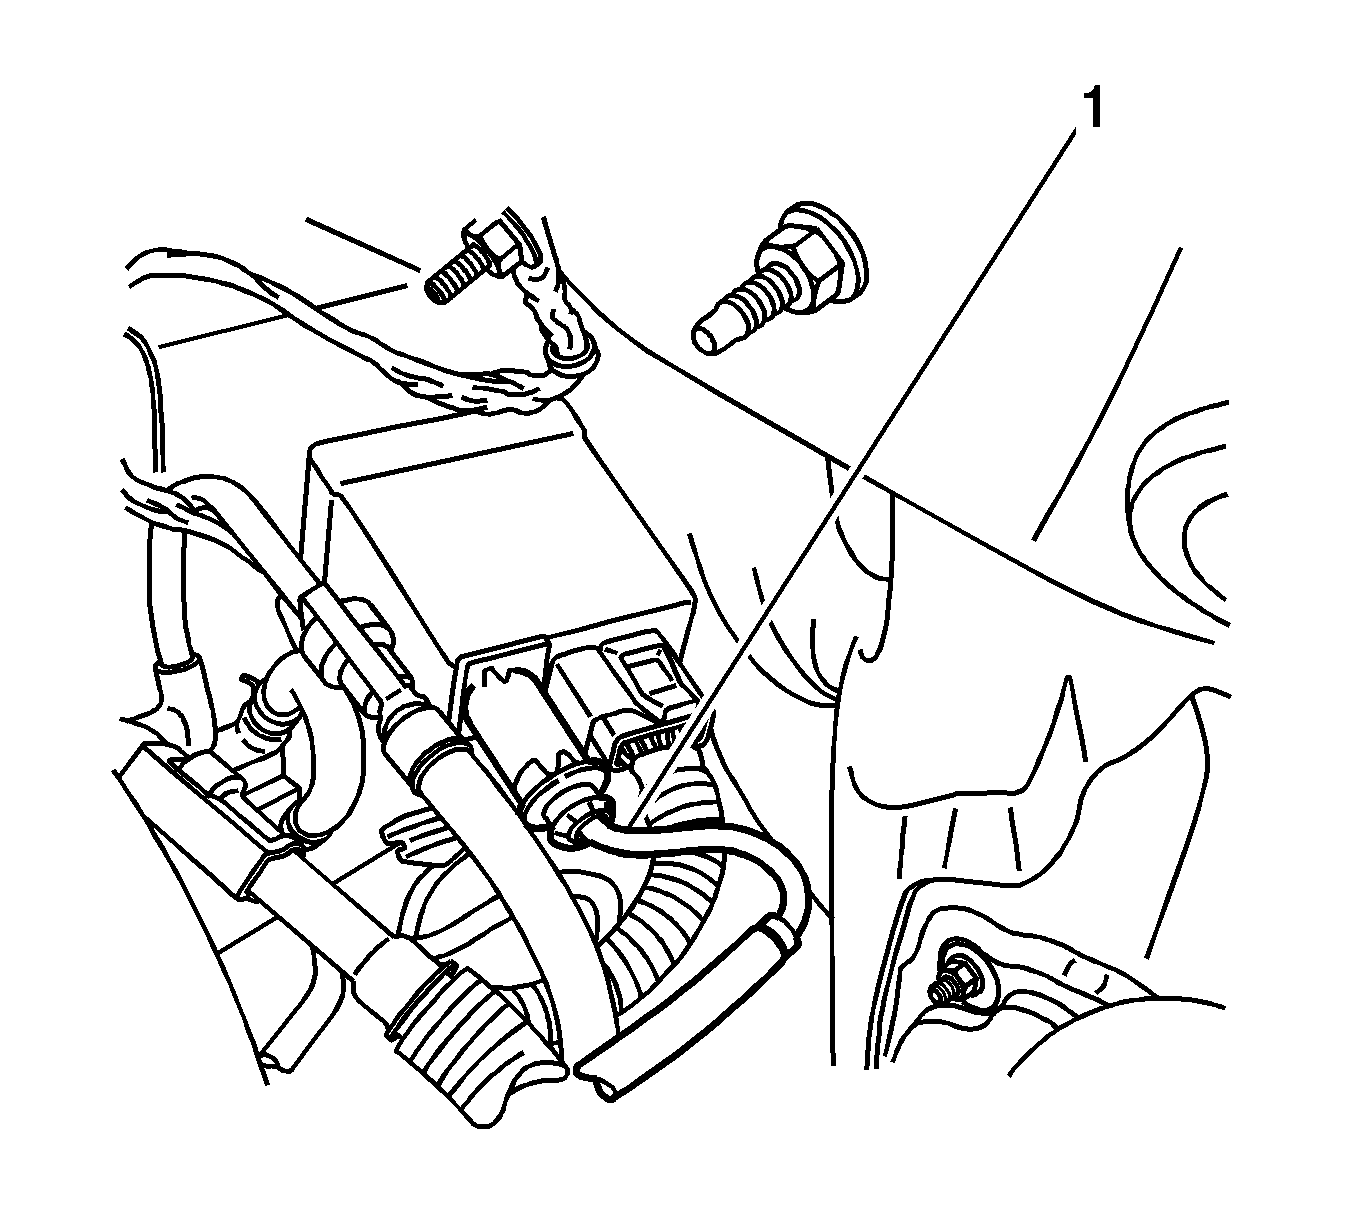
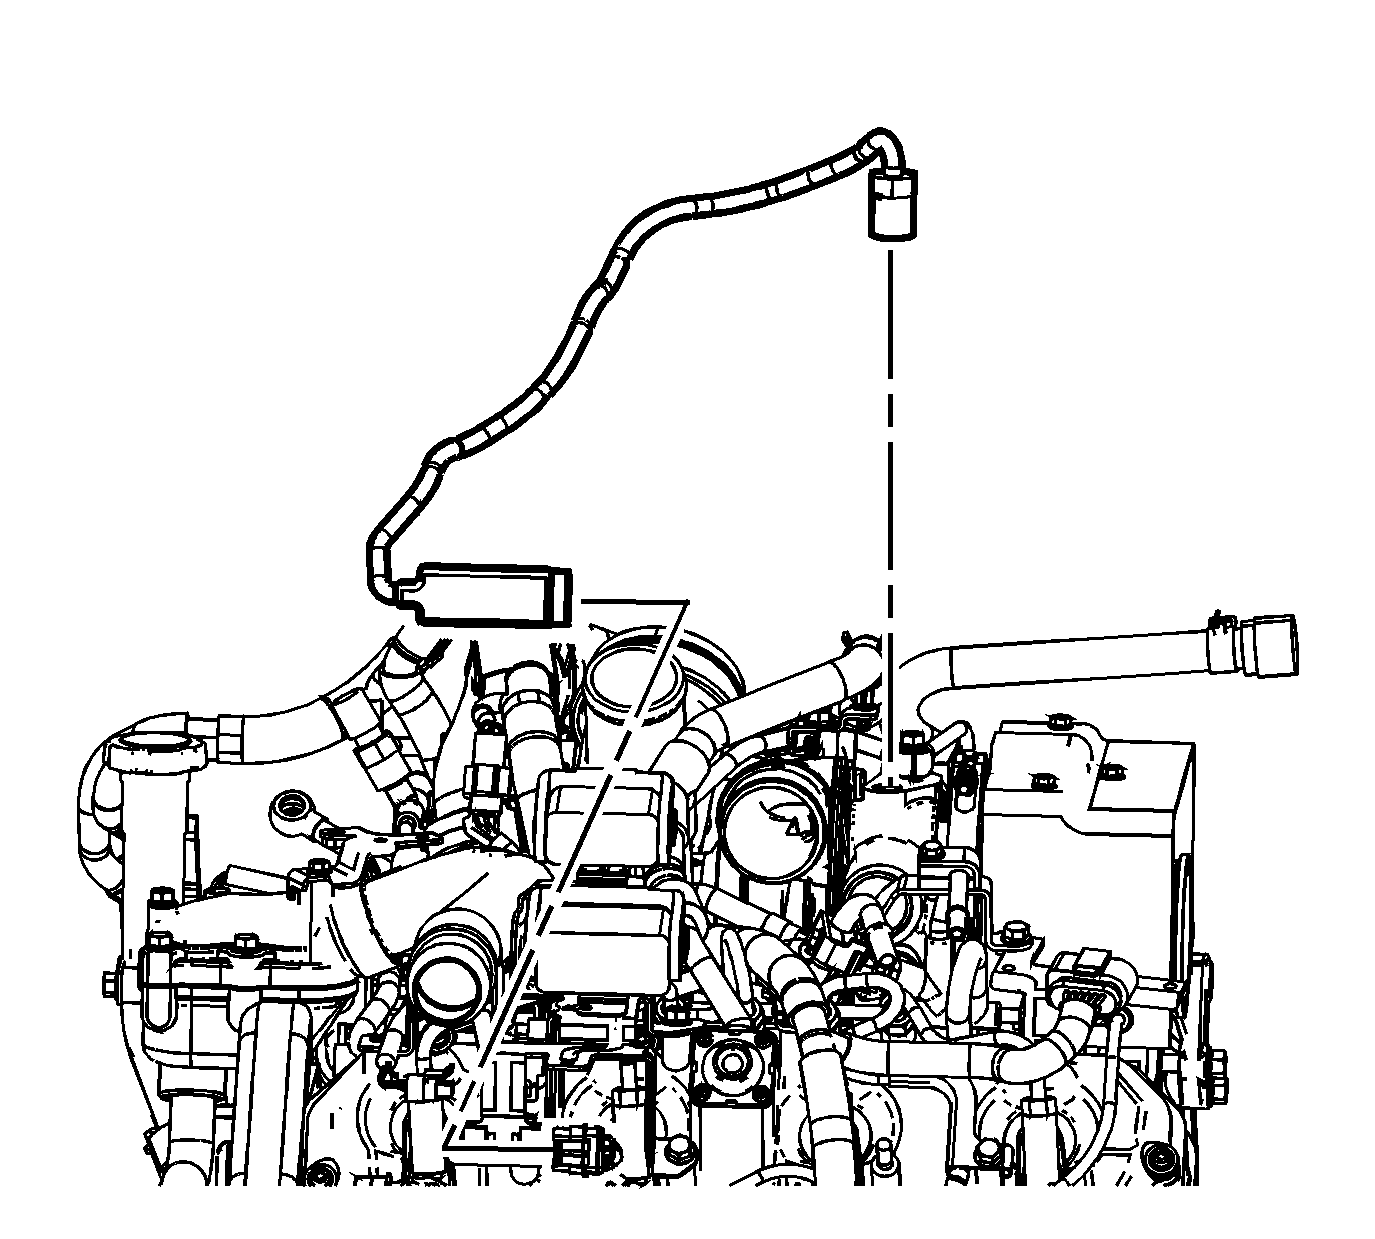
Important: Note the wire routing prior to removal.
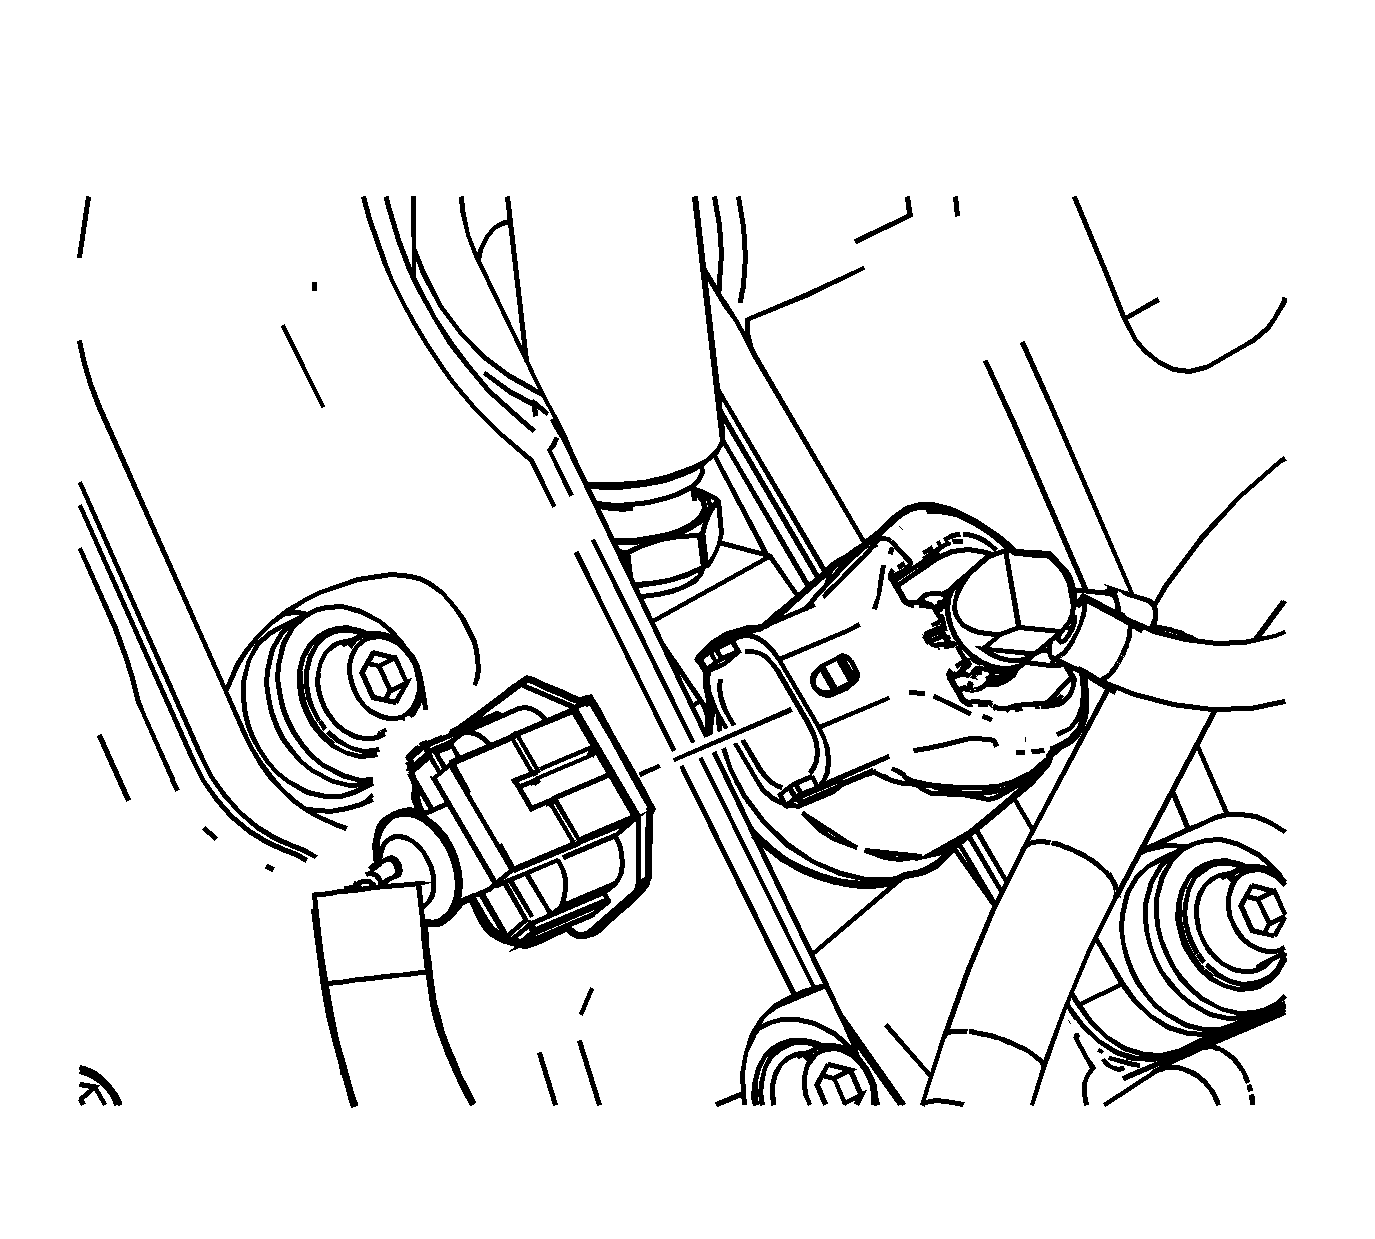
Notice: Label all the injector electrical connectors before the connectors are removed in order to prevent reconnecting to the wrong injector. Failure to properly connect the injectors in the correct sequence will cause severe engine damage.
Installation Procedure
- Install the engine wiring harness.
- Install the glow plug electrical connector nuts.
- Install the glow plug controller.
- Install the glow plug controller bolts.
- Install the oil level sensor harness bolt.
- Connect the oil pressure sensor electrical connector.
- Connect the fuel rail pressure sensor electrical connector.
- Connect the turbocharger vane control solenoid valve.
- Connect the fuel injector electrical connectors.
- Install and connect the turbocharger vane position sensor.
- Connect the glow plug controller battery feed electrical connector (1).
- Connect the glow plug controller electrical connector.
- Connect the fuel temperature sensor electrical connector.
- Connect the oil level sensor electrical harness connector.
- Connect the turbocharger boost sensor electrical connector.
- Connect the fuel pressure control valve electrical connector.
- Install the main engine electrical harness connector screws.
- Connect the barometric sensor electrical connector.
- Connect the main engine electrical harness connectors.
- Push down on the latches (1) in order to connect the connectors.
- Close the harness clip (2).
- Install a NEW tie strap to the electrical harness.
- Connect the CKP sensor electrical connector.
- Install the 2 ground bolts.
- Connect the CMP sensor electrical connector.
- Connect the EGR valve electrical connector.
- Connect the ECT sensor electrical connector.
- Install the PCV hose/pipe. Refer to Positive Crankcase Ventilation Hose/Pipe/Tube Replacement in Engine Mechanical - 6.6L (LLY).
- Install the right glow plug harness bracket bolts.
- Install the right glow plug connectors to the glow plugs.
- Install the left glow plug harness bracket bolts.
- Install the left glow plug connectors to the glow plugs.
- Connect the fuel injection control module electrical connectors.
- Install a NEW tie strap attaching the harness to the bracket.
- Remove the tape from the turbocharger openings.
- Install the charged air cooler inlet duct connector (4) to the turbocharger.
- Tighten the charged air cooler inlet duct connector to turbocharger clamp (1).
- Install the charged air cooler outlet duct to the intake.
- Tighten the charged air cooler outlet duct to intake hose clamp.
- Install the air cleaner outlet duct. Refer to Air Cleaner Outlet Duct Replacement .
- Install both front wheelhouse panels. Refer to Wheelhouse Panel Replacement in Body Front End.
- Install the intake manifold cover. Refer to Intake Manifold Cover Replacement in Engine Mechanical - 6.6L (LLY).
- Connect the negative battery cable. Refer to Battery Negative Cable Disconnection and Connection in Engine Electrical.

Notice: Refer to Fastener Notice in the Preface section.

Tighten
Tighten the nuts to 2 N·m (18 lb in).
Tighten
Tighten the bolts to 10 N·m (89 lb in).

Tighten
Tighten the bolt to 40 N·m (30 lb ft).


Tighten
Tighten the screws to 10 N·m (89 lb in).


Tighten
Tighten the bolts to 34 N·m (25 lb ft).


Tighten
Tighten the bolts to 10 N·m (89 lb in).
Tighten
Tighten the glow plug connector nuts to 2 N·m
(18 lb in).

Tighten
Tighten the bolts to 10 N·m (89 lb in.
Tighten
Tighten the glow plug connector nuts to 2 N·m
(18 lb in).


Important: Lubricate the end of the duct prior to installation.
Tighten
Tighten the clamp to 6 N·m (53 lb in).

Important: Lubricate the end of the duct prior to installation.
Tighten
Tighten the clamp to 6 N·m (53 lb in).
