The engine control module (ECM) processes the various input information. The ECM sends the necessary electrical responses to control fuel delivery.
The input information has an interrelation to more than one output. One failed input can affect more than one systems operation.
Diagnostic System Check - Vehicle
The Diagnostic System Check - Vehicle is an organized approach to identify a problem caused by an electronic engine control system malfunction. This diagnostic check must be the starting point for any driveability complaint diagnosis. The diagnostic directs the technician to the next logical step in diagnosing the complaint.
Use the Engine Scan Tool Data Definitions list for a comparison after fulfilling the following items:
| • | Complete the Diagnostic System Check - Vehicle. |
| • | Confirm that the on-board diagnostics are functioning properly. |
| • | Confirm there are no diagnostic trouble codes. |
The Engine Scan Tool Definitions are an average of display values recorded from normal operating vehicles. The definitions intend to represent what a normal functioning system should display.
Important: Do not use a scan tool that displays faulty data. Report the problem to the manufacturer. Using a malfunctioning scan tool can result in misdiagnosis and unnecessary parts replacement.
Use only the parameters listed in the Engine Scan Tool Data Definitions for diagnosis. When a scan tool reads other parameters, General Motors recommends not using the values for use in diagnosis. For more description on the values and the use of the scan tool to diagnose the engine control module (ECM) inputs, refer to the applicable diagnostic. When all the values are within the range illustrated in the Engine Scan Tool Data Definitions, refer to Symptoms - Engine Controls .Control Module Communications
The control module system has a computer, the engine control module (ECM), to control fuel delivery, timing, and some emission control systems. The control module system monitors a number of engine and vehicle functions and controls the following operations through the fuel injection control module (FICM):
| • | Fuel rail pressure |
| • | Fuel injector |
| • | Fuel injector pulse width |
The diesel ECM, located in the engine compartment, is the control center of the control module system. The engine control module used on the electronic fuel injected 6.6L diesel is referred to as a ECM.
The ECM constantly looks at the information from various sensors, and controls the systems that affect vehicle performance. The ECM performs the diagnostic function of the system. The ECM can recognize operational problems, alert the driver through the malfunction indicator lamp (MIL) - Service Engine Soon, and store one or more diagnostic trouble codes (DTCs) which identify the problem areas to aid the technician in making repairs. See the specific diagnosis procedure for more information.
Malfunction Indicator Lamp (MIL) Operation
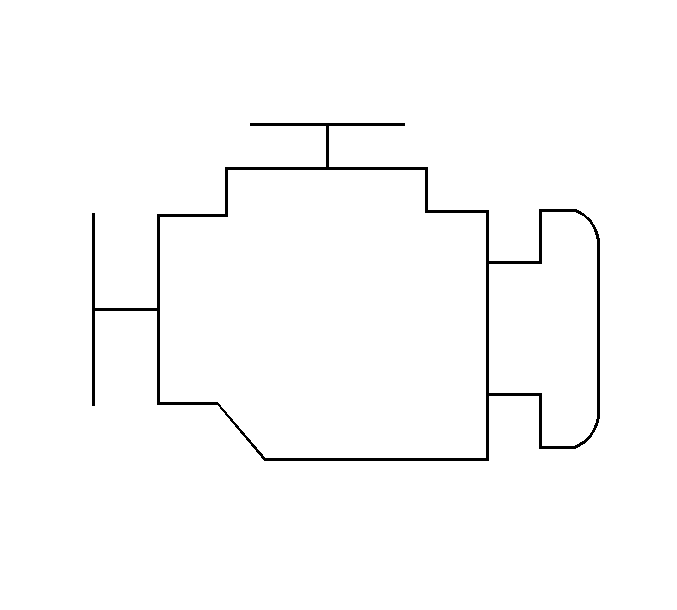
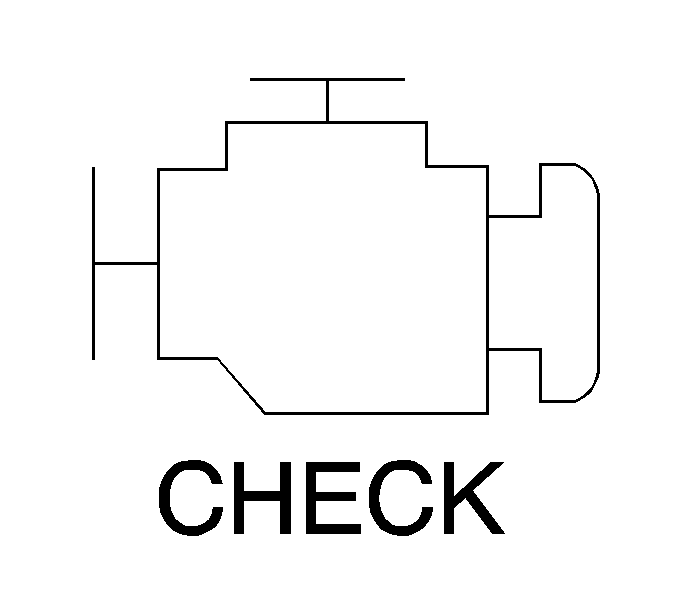
The malfunction indicator lamp (MIL) is located in the instrument panel cluster. The MIL will display as either SERVICE ENGINE SOON or one of the following symbols when commanded ON:


The MIL indicates that an emissions related fault has occurred and vehicle service is required.
The following is a list of the modes of operation for the MIL:
| • | The MIL illuminates when the ignition is turned ON, with the engine OFF. This is a bulb test to ensure the MIL is able to illuminate. |
| • | The MIL turns OFF after the engine is started if a diagnostic fault is not present. |
| • | The MIL remains illuminated after the engine is started if the control module detects a fault. A diagnostic trouble code (DTC) is stored any time the control module illuminates the MIL due to an emissions related fault. The MIL turns OFF after three consecutive ignition cycles in which a Test Passed has been reported for the diagnostic test that originally caused the MIL to illuminate. |
| • | The MIL flashes if the control module detects a misfire condition which could damage the catalytic converter. |
| • | When the MIL is illuminated and the engine stalls, the MIL will remain illuminated as long as the ignition is ON. |
| • | When the MIL is not illuminated and the engine stalls, the MIL will not illuminate until the ignition is cycled OFF and then ON. |
Aftermarket (Add-On) Electrical And Vacuum Equipment
Any equipment installed on a vehicle after leaving the factory that connects to the electrical or vacuum systems of the vehicle defines aftermarket (Add-On) electrical and vacuum equipment. The vehicle design makes no allowances for this type of equipment.
Notice: Do not attach add-on vacuum operated equipment to this vehicle. The use of add-on vacuum equipment may result in damage to vehicle components or systems.
Notice: Connect any add-on electrically operated equipment to the vehicle's electrical system at the battery (power and ground) in order to prevent damage to the vehicle.
The add-on electrical equipment, even when installed to these strict guidelines, may still cause the powertrain system to malfunction. This may also include any equipment which is not connected to the electrical system of the vehicle such as portable telephones and radios. Therefore, the first step in diagnosing any powertrain problem is to eliminate all of the aftermarket electrical equipment from the vehicle. After this is done, if the problem still exists, diagnose the problem in the normal manner.
Engine Controls Information
The driveability and emissions information describes the function and operation of the control module. The emphasis is placed on the diagnosis and repair of problems related to the system.
Engine Components, Wiring Diagrams, and Diagnostic Trouble Code (DTC) tables:
| • | The Component Locations |
| • | The Wiring Diagrams |
| • | The Control Module Terminal End View and Terminal Definitions |
| • | The Diagnostic System Check - Vehicle |
| • | The Diagnostic Trouble Code (DTC) tables |
The Component System includes the following items:
| • | The component and circuit description |
| • | The On-vehicle service for each subsystem |
| • | The Functional checks with the diagnostic tables |
| • | How To Use Electrical Systems Diagnostic Information |
The DTCs also contain the diagnostic support information containing the circuit or the system information, and helpful diagnostic information.
Wiring Harness Service
The control module harness electrically connects the control module to the various solenoids, switches, and sensors in the vehicle engine compartment and passenger compartment.
Replace the wire harnesses with the proper part number replacement. When splicing signal wires into a harness, use the wiring that has high temperature insulation.
Consider the low amperage and voltage levels utilized in the powertrain control systems. Make the best possible bond at all splices. Use rosin-core solder in these areas.
Molded-on connectors require complete replacement of the connector. Splice a new connector into the harness. Replacement connectors and terminals are listed in Group 8.965 in the Standard Parts Catalog.
For wiring repair, refer to Wiring Repairs in Wiring Systems.
Connectors and Terminals
In order to prevent shorting between opposite terminals, use care when probing a connector and when replacing terminals. Damage to the components could result.
Always use jumper wires between connectors for circuit checking.
Never probe through the Weather-Pack seals.
The J 35616 Connector Test Adapter Kit , or the equivalent, contains an assortment of flexible connectors used in order to probe the terminals during the diagnosis. The fuse remover and the BT-8616 Test Tool, or the equivalent, is used for removing a fuse and to adapt the fuse holder to a meter for diagnosis.
Open circuits are often difficult to locate by sight because oxidation or terminal misalignment are hidden by the connectors. Merely wiggling a connector on a sensor or in the wiring harness may temporarily correct the open circuit. Oxidized or loose connections may cause intermittent problems.
Be certain the type of connector and terminal before making any connector or terminal repair. Weather-Pack and Com-Pack III terminals look similar, but are serviced differently.
