For 1990-2009 cars only
Front Floor Console Compartment Replacement Pro
Removal Procedure
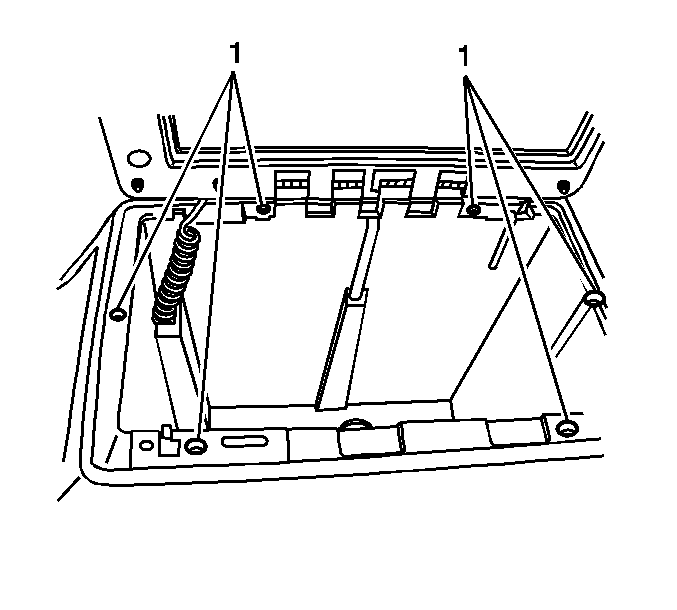
- Open the console lid and remove the 6 retaining screws (1).
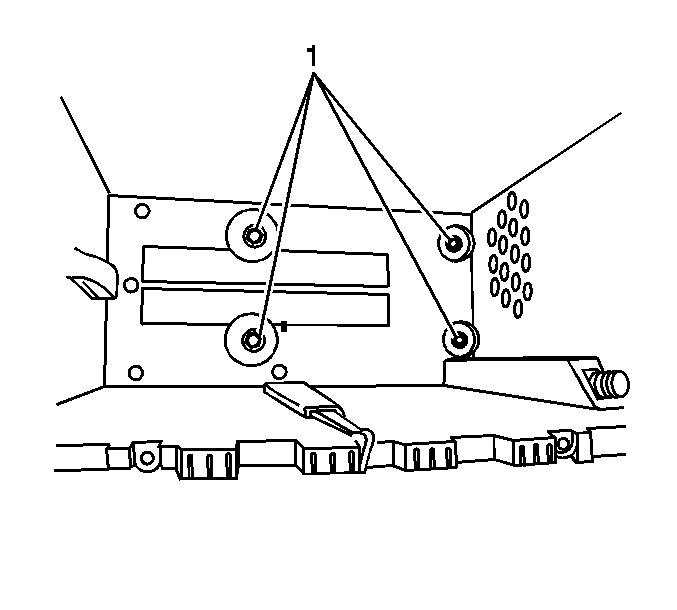
- Remove the 4 console bin retaining bolts (1).
- Lift the console bin and lid assembly in order to pull out the electric cord.
- Remove the console bin and lid assembly from the console.


Installation Procedure
- Place the console bin and lid assembly over the console in order to route the electrical cord to the console bin.
- Install the console bin and lid assembly to the console.
- Install the 4 console bin retaining bolts (1).
- Install the 6 retaining screws (1).
Notice: Refer to Fastener Notice in the Preface section.
Important: Ensure the rear bolts has the bigger washer.

Tighten
Tighten the 4 bolts to 3.5 N·m (35 lb in).
Important: Ensure the longer screw is installed in the front of the console bin.

Tighten
Tighten the 6 screws to 1.6 N·m (14 lb in).
Front Floor Console Compartment Replacement Expect Pro
Removal Procedure
- Remove the console compartment door. Refer to Console Compartment Door Replacement .
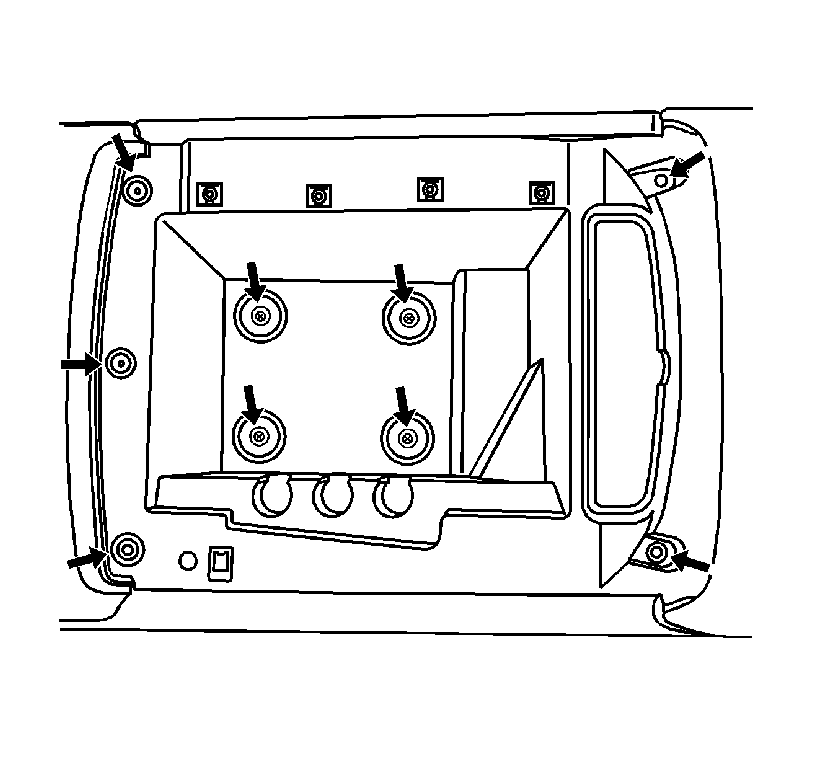
- Remove the bin retaining screws.
- Remove the 4 lower bolts.
- Remove the storage bin from the console.

Installation Procedure
- Install the storage bin in the console.
- Install the bin retaining screws.
- Install the 4 lower bolts
- Install the console compartment door. Refer to Console Compartment Door Replacement .

Notice: Refer to Fastener Notice in the Preface section.
Tighten
Tighten the retaining screws to 1.6 N·m (14 lb in).
Tighten
Tighten the 4 bolts to 3.5 N·m (31 lb in).
