Rear Brake Caliper Overhaul 1500 Series w/o NYS
Caution: Refer to Brake Dust Caution in the Preface section.
Caution: Refer to Brake Fluid Irritant Caution in the Preface section.
Disassembly Procedure
Important:
• Replace all the components included in the repair kits used to service
this brake caliper. • Lubricate the rubber parts with clean brake fluid to make assembly easier. • The torque values specified are for dry, non lubricated fasteners. • Perform the service operations on a clean bench free from all mineral
oil materials.
- Remove the brake caliper. Refer to Rear Brake Caliper Replacement .
- Place a thin piece wood in front of the piston in order to prevent damage. Remove the piston by directing compressed air into the brake hose inlet fitting port of the brake caliper.
- Remove the piston boot.
- Remove the piston seal.
- Remove the caliper bleed screw cap.
- Remove the caliper bleed screw.
- Inspect the caliper bore and the piston seal groove for scoring and corrosion. If you find excessive scoring or corrosion around the piston seal area, replace the brake caliper.
- Inspect the caliper bracket guide surfaces for corrosion and wear. Remove and replace the caliper bracket, if necessary.
- Clean all of the residue from the brake pad guiding surfaces on the caliper and the caliper bracket.
- Clean all of the parts not included in the repair kit with denatured alcohol.
- Dry all the parts with filtered unlubricated compressed air.
- Blow out all passages in the caliper and the caliper bleeder valve.
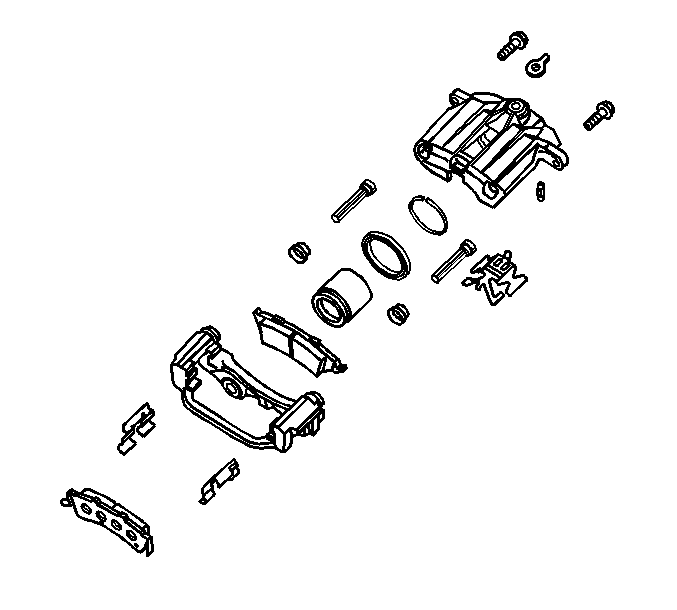
Caution: Do not place your fingers in front of the piston in order to catch or protect the piston while applying compressed air. This could result in serious injury.
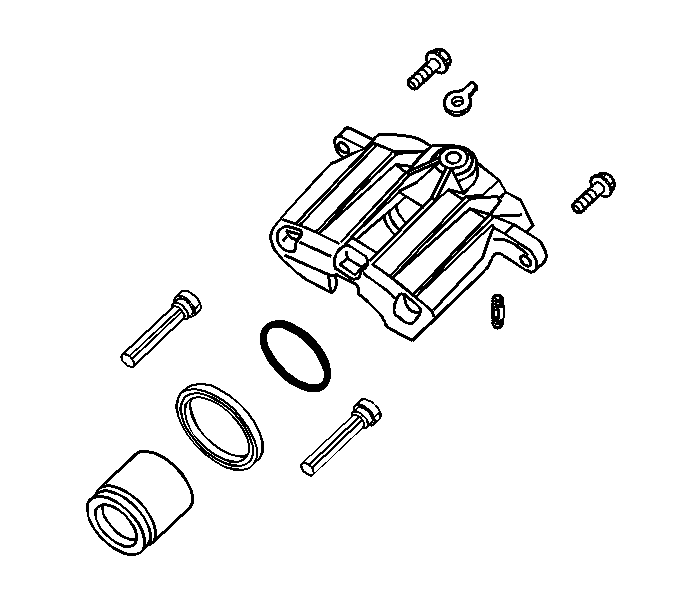
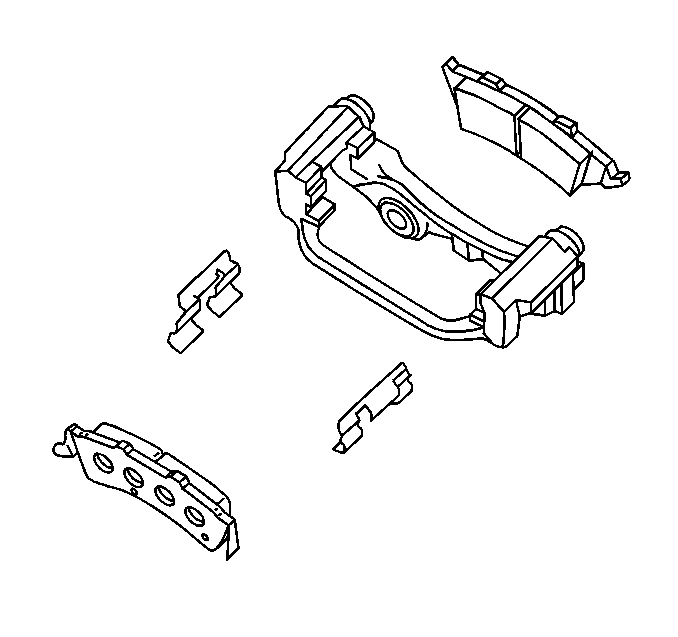
Assembly Procedure
- Install the caliper bleed screw.
- Install the caliper bleed screw cap.
- Lubricate the new piston seal and the caliper bore seal groove with brake fluid.
- Install new seals into the caliper bore seal grooves.
- Ensure that the seals are not twisted.
- Lubricate the caliper bores and the piston with brake fluid.
- Install the boot and piston.
- Install the brake caliper. Refer to Rear Brake Caliper Replacement .

Notice: Use the correct fastener in the correct location. Replacement fasteners must be the correct part number for that application. Fasteners requiring replacement or fasteners requiring the use of thread locking compound or sealant are identified in the service procedure. Do not use paints, lubricants, or corrosion inhibitors on fasteners or fastener joint surfaces unless specified. These coatings affect fastener torque and joint clamping force and may damage the fastener. Use the correct tightening sequence and specifications when installing fasteners in order to avoid damage to parts and systems.
Tighten
Tighten the screw to 12 N·m (106 lb in).
| 7.1. | Install the boot over the end of the piston so that the fold will face toward the brake caliper housing piston bore opening. |
| 7.2. | Seat the boot into the brake caliper bore groove. Slide the piston into the brake caliper bore. |
| 7.3. | Push down the piston to the bottom of the brake caliper bore. |
| 7.4. | Ensure that the boot is properly seats into the piston groove and into the groove in the brake caliper bore. |
Rear Brake Caliper Overhaul 1500 Series w/NYS, 25/3500 Series
Caution: Refer to Brake Dust Caution in the Preface section.
Caution: Refer to Brake Fluid Irritant Caution in the Preface section.
Disassembly Procedure
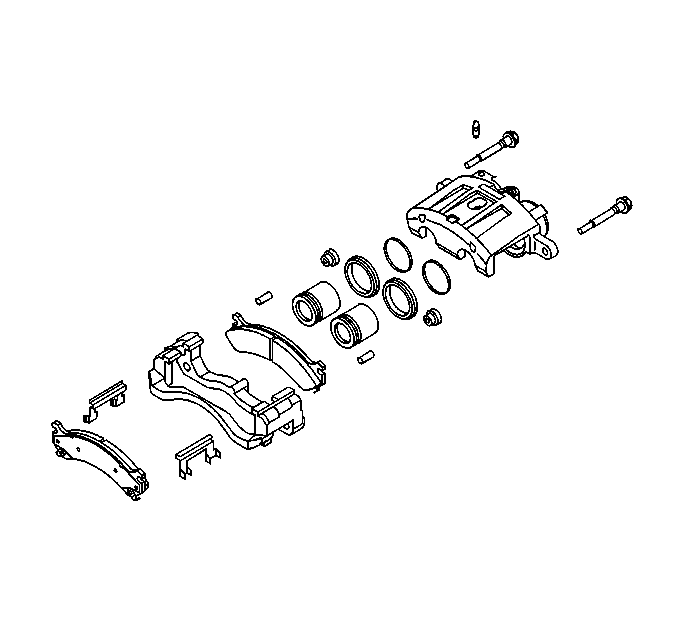
Important:
• Replace all the components included in the repair kits used to service
this brake caliper. • Lubricate the rubber parts with clean brake fluid to make assembly easier. • The torque values specified are for dry, non lubricated fasteners. • Perform the service operations on a clean bench, free from all mineral
oil materials.
- Remove the brake caliper. Refer to Rear Brake Caliper Replacement .
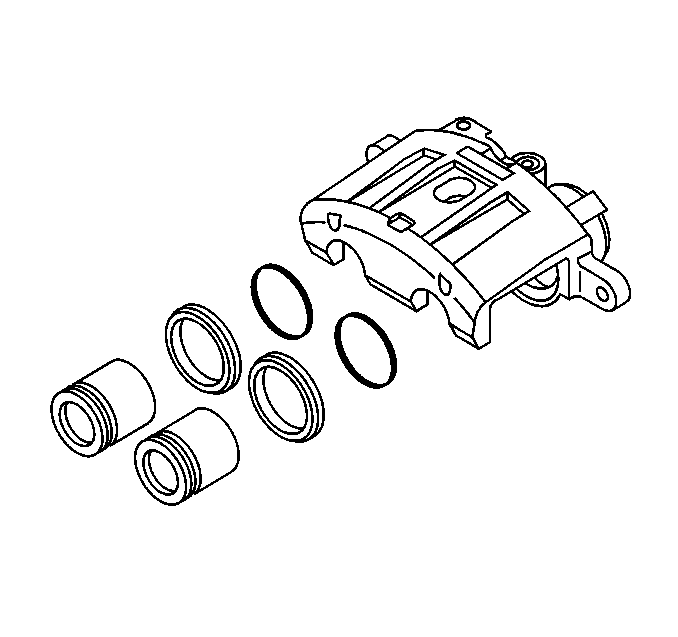
- Place a thin piece wood in front of the pistons in order to prevent damage. Remove the pistons by directing compressed air into the brake hose inlet fitting port of the brake caliper housing.
- Remove the pistons.
- Remove the piston boots.
- Remove the piston seals.
- Remove the caliper bleed screw cap.
- Remove the caliper bleed screw.
- Inspect the caliper bores and the piston seal grooves for scoring and corrosion. If you find excessive scoring or corrosion around the piston seal areas replace the brake caliper.
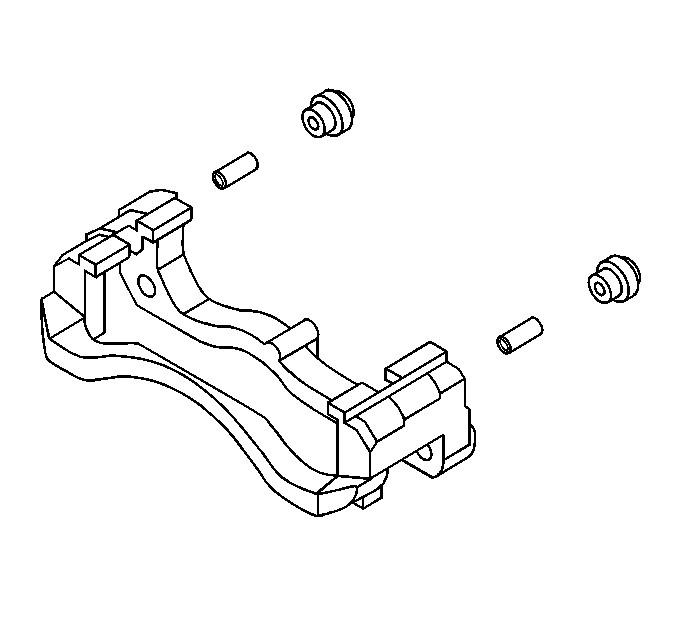
- Inspect the caliper bracket guide surfaces for corrosion and wear. Remove and replace the caliper bracket, if necessary.
- Clean all of the residue from the brake pad guiding surfaces on the caliper and the caliper bracket.
- Clean all the parts not included in the repair kit with denatured alcohol.
- Dry all the parts with non lubricated filtered compressed air.
- Blow out all passages in the caliper and the caliper bleeder valve.
Caution: Do not place your fingers in front of the piston in order to catch or protect the piston while applying compressed air. This could result in serious injury.
Assembly Procedure
- Install the caliper bleed screw.
- Install the caliper bleed screw cap.
- Lubricate the new piston seals and the brake caliper bore seal grooves with brake fluid.
- Install NEW seals into the brake caliper bore seal grooves.
- Ensure that the seals are not twisted.
- Lubricate the caliper bores and the pistons with brake fluid.
- Install the boots and pistons.
- Install the brake caliper. Refer to Rear Brake Caliper Replacement .

Notice: Use the correct fastener in the correct location. Replacement fasteners must be the correct part number for that application. Fasteners requiring replacement or fasteners requiring the use of thread locking compound or sealant are identified in the service procedure. Do not use paints, lubricants, or corrosion inhibitors on fasteners or fastener joint surfaces unless specified. These coatings affect fastener torque and joint clamping force and may damage the fastener. Use the correct tightening sequence and specifications when installing fasteners in order to avoid damage to parts and systems.
Tighten
Tighten the screw to 12 N·m (106 lb in).
| 7.1. | Install the boots over the end of the pistons so that the fold will face toward the brake caliper housing piston bore openings. |
| 7.2. | Seat the boost into the brake caliper bore grooves. Slide the pistons into the brake caliper bores. |
| 7.3. | Push down the pistons to the bottom of the brake caliper bores. |
| 7.4. | Ensure that the boots are properly seated into the piston grooves and into the grooves in the brake caliper bores. |
