For 1990-2009 cars only
Removal Procedure
- Raise and suitably support the vehicle. Refer to Lifting and Jacking the Vehicle in General Information.
- Remove the transfer case shield. Refer to Shield Replacement .
- Remove the front propeller shaft if replacing the front seal. Refer to Front Propeller Shaft Replacement in Propeller Shaft.
- Remove the rear propeller shaft if replacing the rear seal. Refer to One-Piece Propeller Shaft Replacement or Two-Piece Propeller Shaft Replacement or Three-Piece Propeller Shaft Replacement in Propeller Shaft.
- Remove the seal.
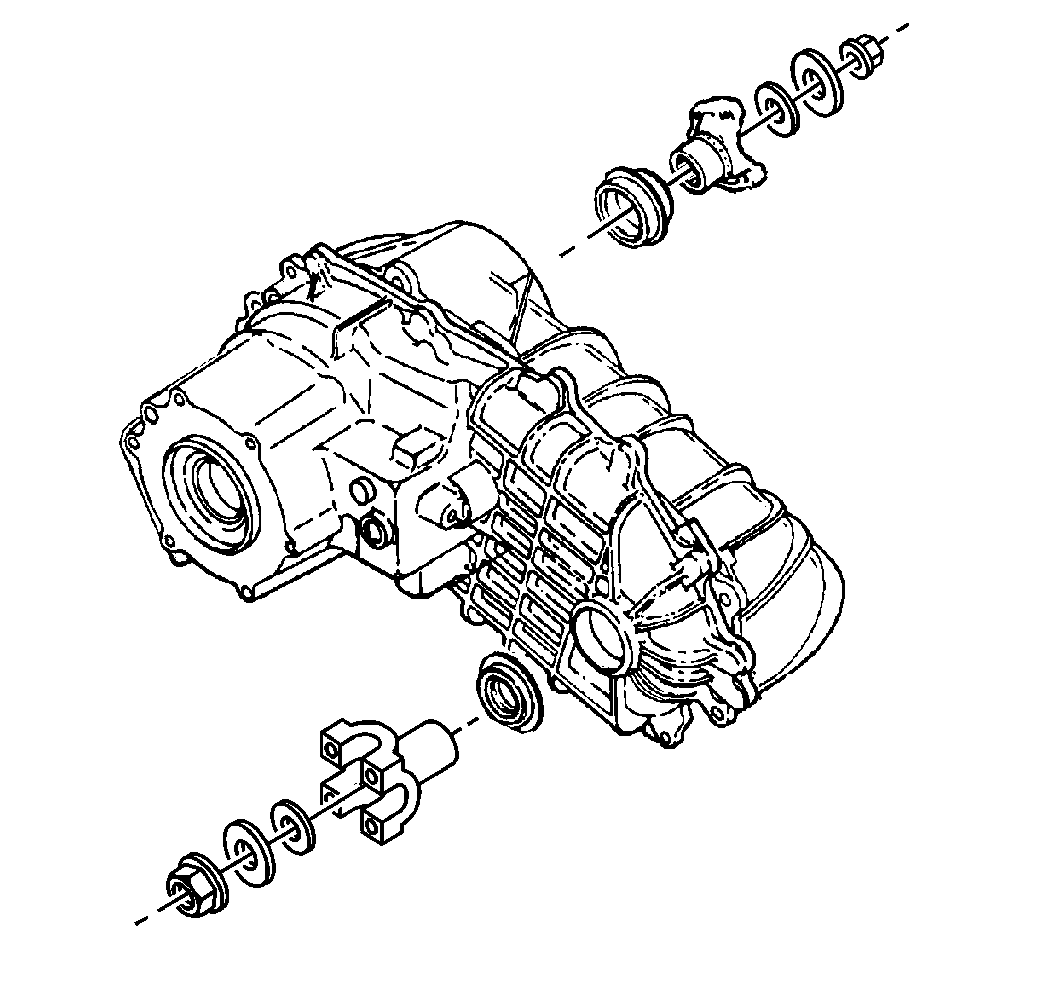
| • | Use a screwdriver in order to remove the seal. Do not damage the sealing bore. |
| • | The yoke nut and the flat washers are not used at the rear on some models. |
Installation Procedure
Tools Required
J 37668-A Output Shaft Seal Installer
- Install the seal using the following procedure:
- Install the front propeller shaft if required. Refer to Front Propeller Shaft Replacement in Propeller Shaft.
- Install the rear propeller shaft if required. Refer to One-Piece Propeller Shaft Replacement or Two-Piece Propeller Shaft Replacement or Three-Piece Propeller Shaft Replacement in Propeller Shaft.
- Install the transfer case shield. Refer to Shield Replacement .
- Check the transfer case oil level and add oil as necessary. Refer toCapacities - Approximate Fluid .
- Lower the vehicle.
| 1.1. | Lubricate the seal lips with petroleum jelly or with transmission oil. |
| 1.2. | Install the seal using the J 37668-A . |
